
Episode 4 : Draw ELEGANT Feathers
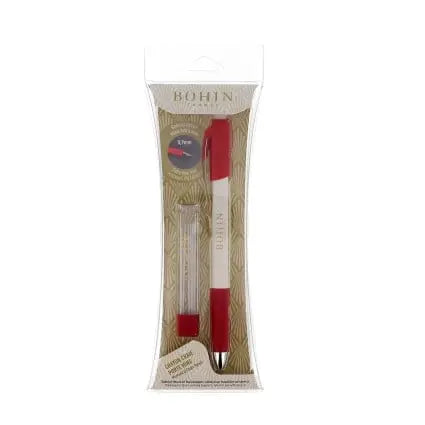
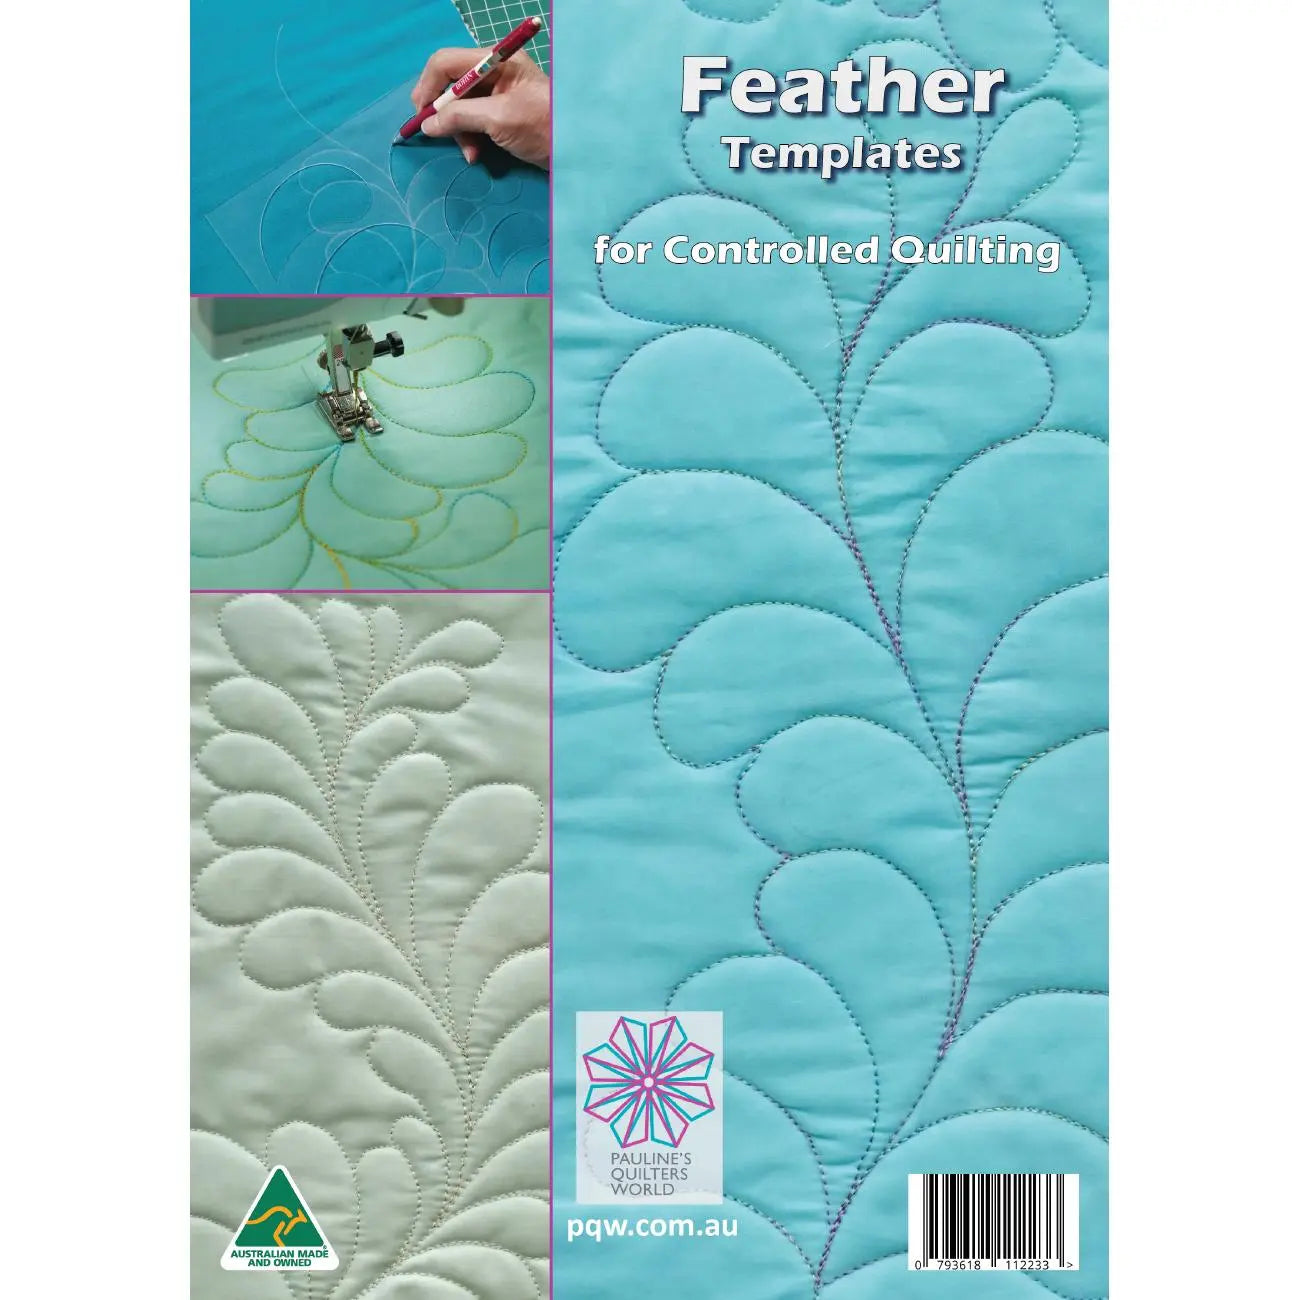
Episode 4 : Draw ELEGANT Feathers: In this episode, I show you how to use the feather template to create beautiful feathers and how to draw using the Bohin marking pencil. Building on the basics, we’ll dive deeper into the details, helping you refine your craft and gain confidence with each design.
You can follow along with Pauline's designs, create your own variations, or repeat the techniques I teach—it’s all about discovering new ways to make your quilt one-of-a-kind!
Don’t forget to download your class notes below this video:)
Companion Notes: Drawing Feathers That Flow
A quilted feather is really just a series of lobes along a spine, and Pauline's approach — draw them first with the feather template, using a fine marking pencil like the Bohin she demonstrates — turns a "talent" into a repeatable process. The drawing is the skill; the stitching simply follows.
Getting elegant feathers
- Draw the spine first, as one smooth, gentle curve. Feathers forgive wobbly lobes; they never forgive a kinked spine.
- Keep lobes plump and even. Each lobe should swell out and return to the spine at a shallow angle, roughly the same size as the last. Think of a string of teardrops, not a row of triangles.
- Work in one direction. Draw all the lobes up one side, then come back down the other. Turning the block (or your paper) so your hand always draws the same motion makes a visible difference.
- Practice on paper daily. Five minutes of drawing feathers on scrap paper builds the muscle memory faster than an hour of stitching — and paper is a lot cheaper than quilt blocks.
- Mark lightly. Your drawn line is a guide, not a fence. A light line you can stitch beside is better than a heavy line you have to scrub out of a finished quilt.
Draw a few variations once the basic feather feels comfortable — a feather that turns a corner, a feather wreath, a feather with an extra inner line. Your own variations are what make the finished quilt unmistakably yours.