
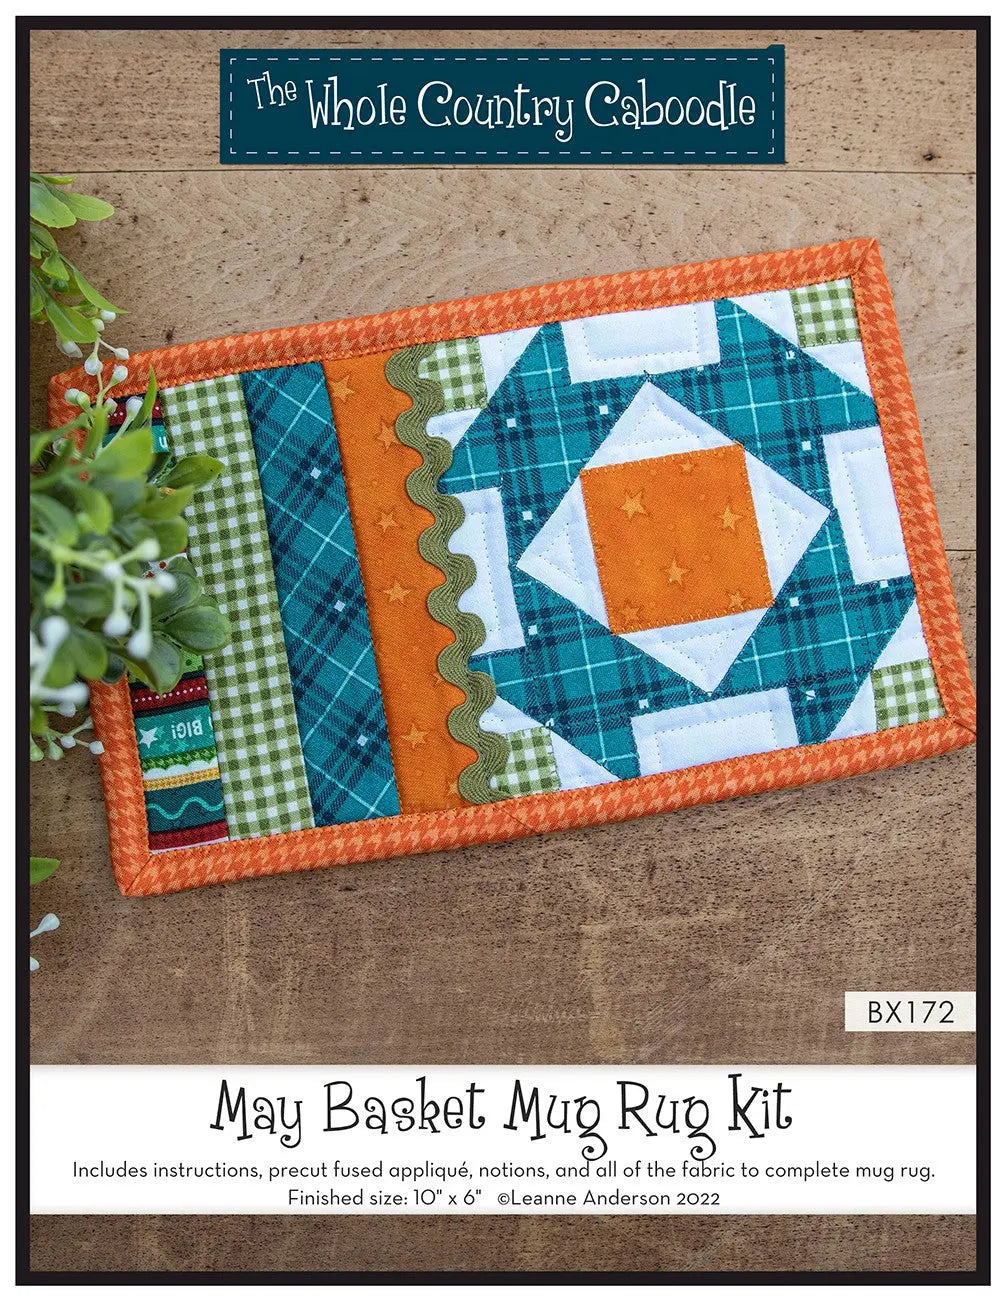
Making a May Basket Mug Rug: A Beginner-Friendly Appliqué Project That Finishes in One Session
A mug rug is one of the most useful small quilts you can make — bigger than a coaster, smaller than a placemat, with room for a cup and a cookie or spoon. The May Basket Mug Rug Kit turns that idea into a cheerful make built around a precut appliqué square, so the focal design is ready to place from the start.
What This Kit Makes
The finished mug rug measures 10 inches by 6 inches, and the finished appliqué measures 5 1/2 inches by 5 1/2 inches. That leaves the May Basket design as the clear centerpiece, framed by the small rectangular ground around it. At this size the finished piece sits comfortably on a desk, a side table, or a breakfast tray, and it protects the surface underneath while adding a handmade touch to an everyday routine.
The product description calls this kit perfect for gifting or making to keep. Make one as an accent for your sewing table, or finish a few as thoughtful, mailable gifts for teachers and quilting friends — flat and lightweight, a mug rug travels in a card or small parcel in a way a full quilt never could.
What's Included — and What You Will Need to Add
Everything structural is in the kit. You get a 7-inch by 7-inch base piece, a 7-inch by 10 1/2-inch backing piece, and a 6-inch by 6-inch piece of stabilizer. Four 2-inch by 7-inch strips are included, along with a 7-inch by 10 1/2-inch piece of double-sided fusible foam — the firm, padded layer that gives the rug its body and helps it lie flat.
For finishing, the kit provides a 2 1/2-inch by width-of-fabric strip for binding, the precut appliqué quilt square, and a 7-inch by 11/16-inch piece of ric rac for trim. The only material listed as needed beyond the kit is thread to match your fabric, so pick that up before you start and the whole project can be completed without a mid-make supply run.
Skill Level and Time
This is an approachable project for a confident beginner and a relaxing, palate-cleansing make for a more experienced quilter. The cutting that usually slows a small project down is already done: the base, backing, foam, and strips are pre-measured, and the appliqué square is precut. The skills you will practise are the core ones — layering and fusing, securing appliqué, adding a narrow trim, and binding a small rectangle.
Plan on a single sewing session — a few hours at an unhurried pace, including pressing and binding. That makes this a good first appliqué project, a satisfying finish between larger quilts, or a last-minute gift you can genuinely complete on time.
Tips for Success With These Materials
Align before you fuse. The double-sided fusible foam and the backing piece are both cut to 7 inches by 10 1/2 inches. Line up the edges carefully on a flat surface before pressing, because on a piece this small even a small shift will show at the binding stage.
Let the stabilizer do its job. The 6-inch by 6-inch stabilizer is sized to sit behind the 5 1/2-inch appliqué. Keep it in place while you stitch the square down so the base fabric stays smooth and does not pucker around the basket.
Preview the ric rac. Lay the 7-inch ric rac strip along its line and pin it before sewing. It is only 11/16 inch wide, so it reads as a fine detail — even spacing and a straight line matter more than sewing it quickly.
Bind it like a quilt, not an afterthought. Mug rugs are excellent binding practice. Fold the 2 1/2-inch strip evenly, go slowly around the corners, and press as you work. A crisp, well-turned binding is what turns these few pieces into a finished gift.
Choose thread with both fabrics in mind. Since matching thread is the one supply you add, test it against the appliqué and the binding strip as well as the base. A thread that blends across all three keeps the eye on the May Basket, not on your stitches.
Shop the May Basket Mug Rug Kit at Linda's Electric Quilters.


