
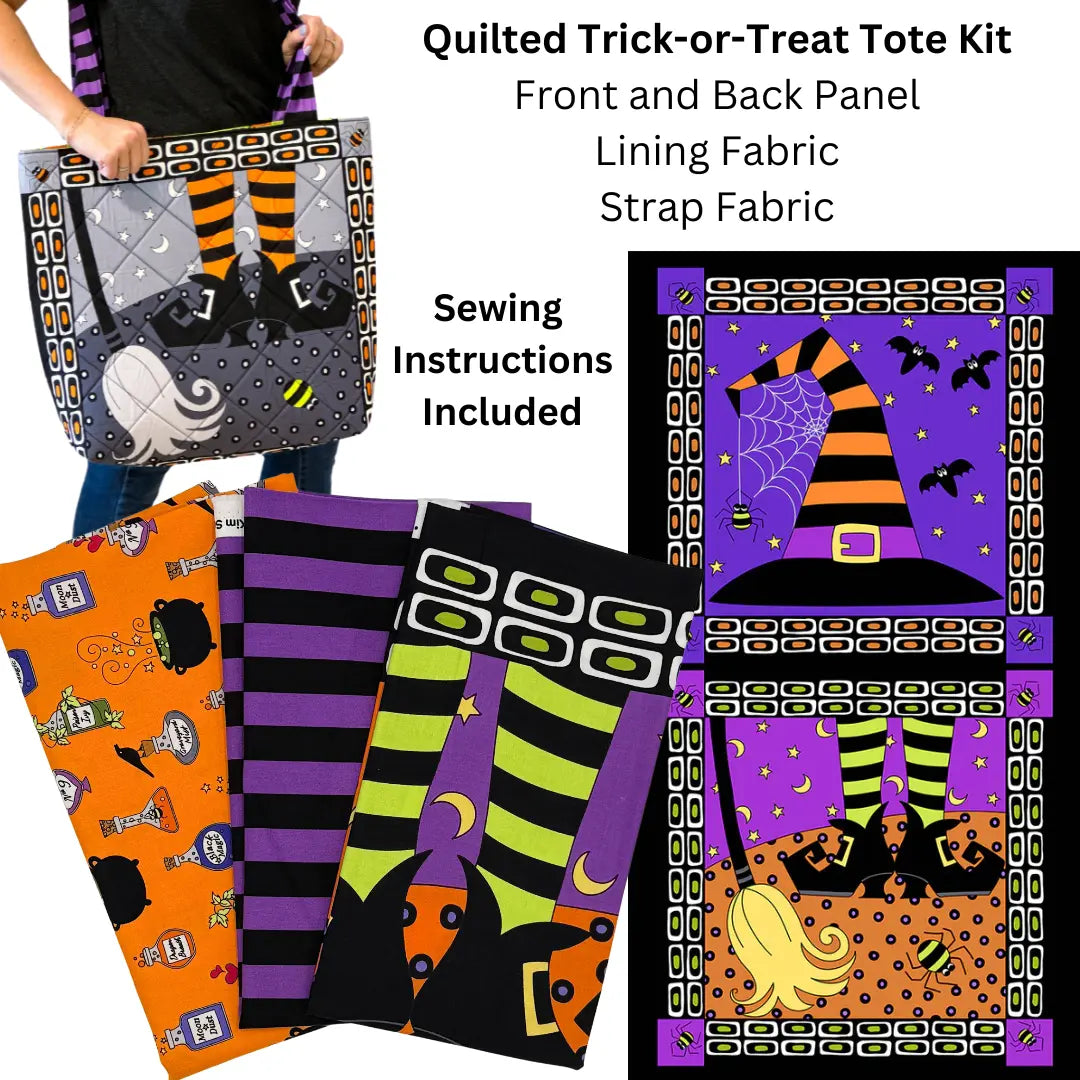
Why Foam Makes This Halloween Tote Work
A trick-or-treat bag needs to stay open while small hands drop candy in, stand up without collapsing, and survive an evening of being carried and set down on porches. The Quilted Trick or Treat Tote - Quilt Kit (Purple Panel) from The Fabric Company solves that with structure — it is a beginner-friendly Halloween bag project built around quilting cotton panels on foam. It also teaches tote construction, strap making, and boxed bottoms, so you finish with a sturdy tote and skills you can reuse on bags all year.
What You Make: A Structured Purple Halloween Tote
This kit makes a quilted tote in the purple panel colorway, designed for Halloween night. The front and back panels give the bag its seasonal look, while the quilted foam body gives it shape. Unlike a soft fabric sack, a foam-quilted tote holds its form, making it easier to fill and far more reusable — bring it out each October, or use it for Halloween parties and trunk-or-treat events.
The product description does not list finished dimensions, so do not plan around an assumed size. What it does promise is a fun first quilting project that finishes as a sturdy candy tote.
What Is Included — and What to Gather
In the kit you will find front and back cotton panels in the purple colorway, lining fabric, strap fabric, and step-by-step instructions. All of the fabrics are 100% cotton, and because the panels, lining, and straps are already coordinated, you can start sewing instead of spending time matching fabrics.
Backing in the traditional quilt sense and batting are not part of this project — foam takes their place. You will need to supply 1 yard of one-sided fusible foam, which is not included. Also gather 40-weight black all-purpose thread, an 80/12 universal needle, a rotary cutter and mat, a ruler, a fabric pen, a point turner, quilting clips, an iron, and a safety pin. Most quilters already own these tools; for most beginners, the fusible foam will be the one new purchase.
Skill Level and Time to Finish
The listed skill level is beginner. That is honest here because the construction is broken into short, logical stages: fuse and quilt the panels, make the straps, join the outer bag and lining, then box the bottom corners to create depth. Each stage uses straight stitching and short seams, so there is no large quilt to wrestle through the machine.
Allow a relaxed afternoon from fusing to finishing. Rushing the fusing and quilting is where mistakes happen, while the assembly itself comes together quickly once the panels are prepared.
Tips for Success With Fusible Foam, Straps, and Boxed Bottoms
Fuse first, quilt second. One-sided fusible foam must be firmly bonded to the panel before you quilt it. Press evenly with your iron, then let the panel cool flat so it does not shift as you stitch. A smooth bond means smoother quilting lines.
Let clips do the holding. Foam makes layers thicker than pins handle well. Quilting clips hold the edges evenly without bending pins or leaving extra holes, especially when you join the bag body and attach straps. The specified 80/12 universal needle is a good match for sewing through cotton and foam without skipping.
Mark your boxed bottoms. A boxed bottom looks like a trick the first time you do it, but it is simply a measured corner seam. Use your ruler and fabric pen to mark both corners to the same depth before sewing — matching corners are what let the tote sit flat and square.
Take care with straps and corners. Use a safety pin to turn narrow straps, press them flat, and use a point turner for clean corners — small steps that make the tote look polished.
If you want a first bag project that teaches real construction — and a purple Halloween tote that will last beyond one night — this kit is a smart place to start.
Shop the Quilted Trick or Treat Tote - Quilt Kit (Purple Panel) at Linda's Electric Quilters.


