
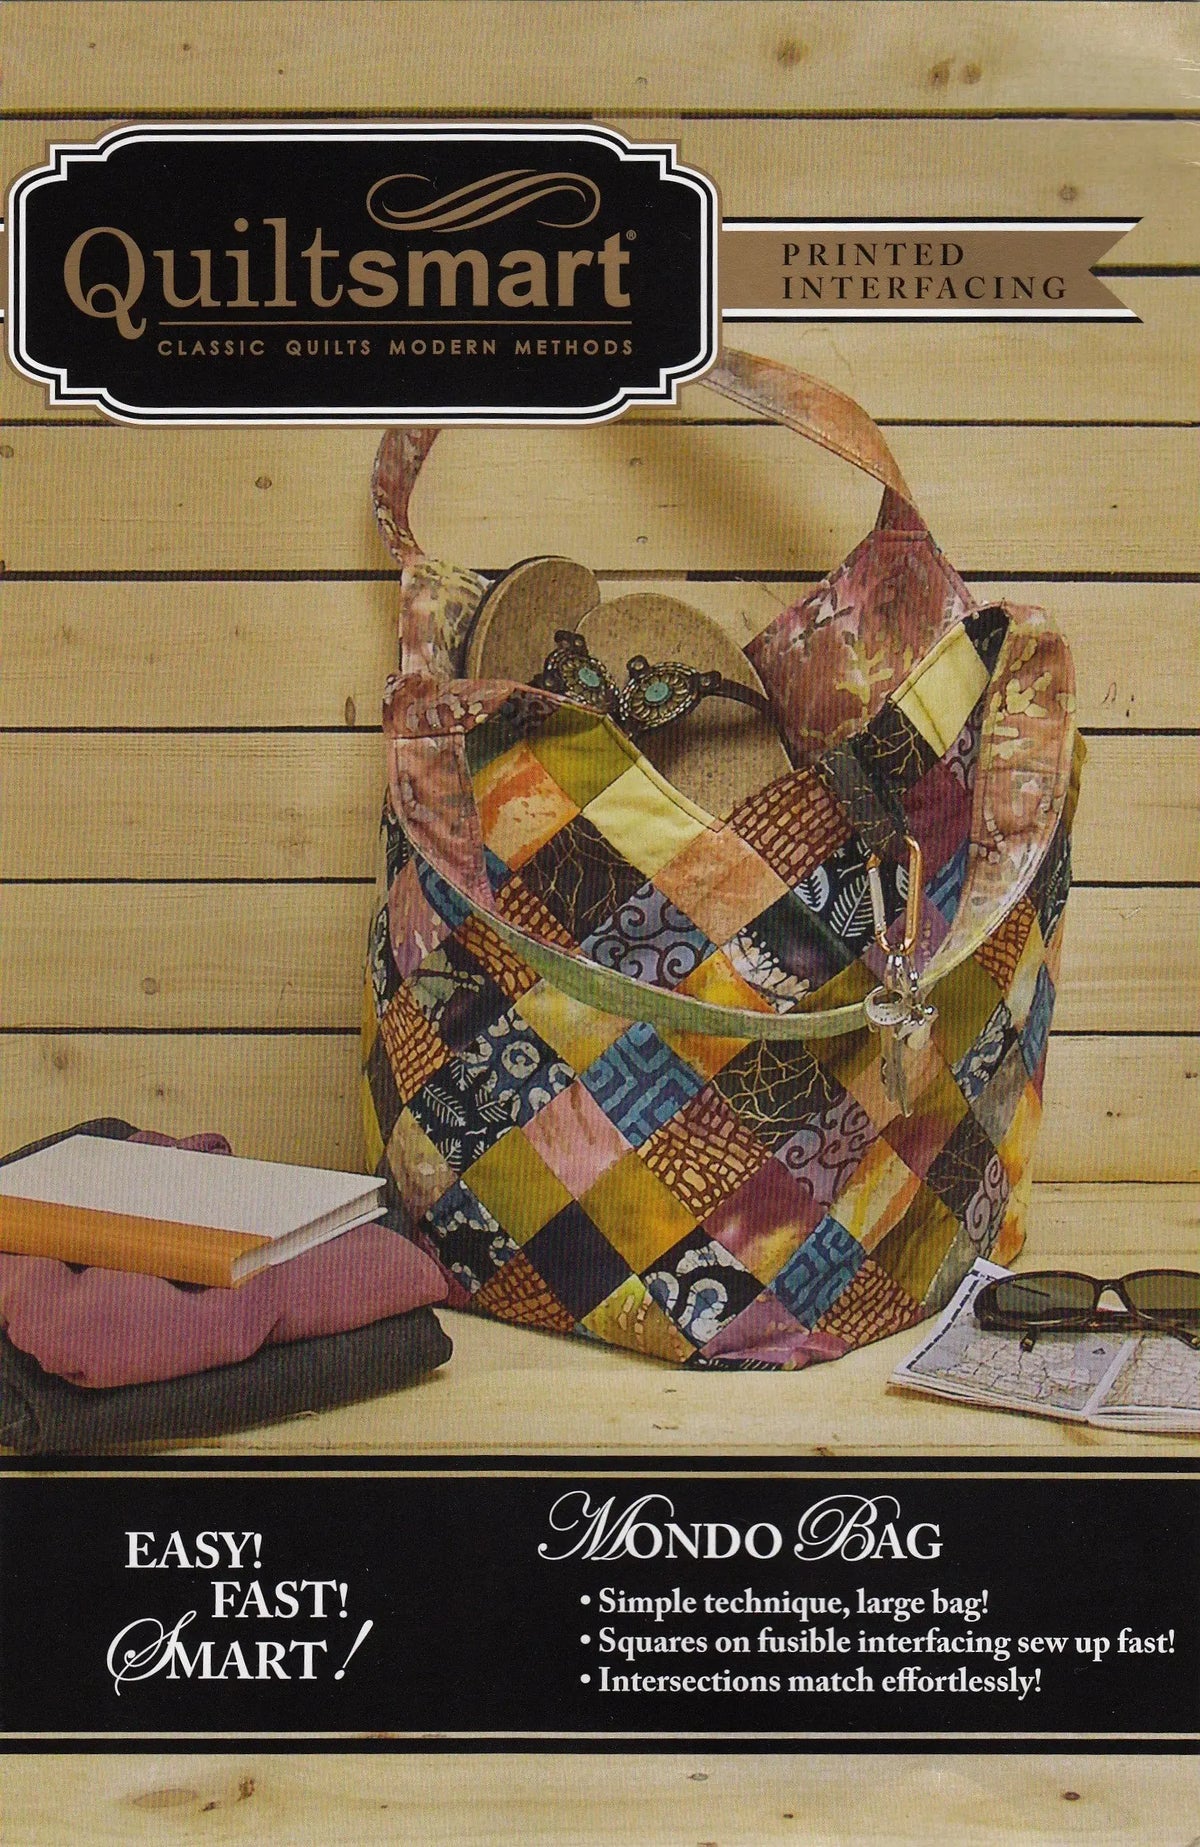
How to Make a Mondo Bag with Quiltsmart Grid Interfacing: A Roomy Tote for Quilters
If you have ever finished a quilt top and thought, “If only I had room in my bag for one more thing,” the Mondo Bag Fun Pak was made for you. This pack contains the instructions and Quiltsmart printed interfacing panels you need to make one Mondo Bag — a roomy, comfortable bag built with the Quiltsmart grid interfacing technique. The finished bag has a bottom about 10 inches square with 17-inch tall sides, so it holds far more than a typical tote while still sitting neatly on its base.
What the Mondo Bag Fun Pak Is
The Fun Pak is a printed paper pattern paired with printed interfacing panels. Instead of measuring and marking a grid yourself, the grid is already printed on the interfacing. You arrange your fabric on that grid, fuse it in place following the instructions, and then sew where the grid tells you to sew. That is the heart of the Quiltsmart technique: the interfacing does the measuring for you, which is why the pattern promises perfectly matched seams and easy construction, even though the finished bag looks impressively pieced. The technique used is standard machine sewing, so no specialty equipment beyond your regular sewing machine is called for.
Why Quilters and Sewists Love It
Matching seams across many small pieces is where patchwork bag projects slow down. With the grid printed for you, your pieces line up from the start, and the seams follow naturally when you fold and stitch on the lines. The result looks carefully pieced, without the frustration of easing mismatched edges together. The generous finished size — about 10 inches square at the bottom and 17 inches tall — makes it genuinely useful, too: roomy enough for projects and supplies, yet comfortable to carry.
How to Use It, Step by Step
- Read the instructions first. The Fun Pak includes full instructions for one Mondo Bag. Read them start to finish before cutting anything, so you understand how the printed panels become the bag.
- Choose and prepare your fabric. Pick fabrics that show off a pieced, gridded layout — combining prints and solids makes the matched-seam effect easy to see. Press your fabric well before you begin.
- Arrange fabric on the printed interfacing. Lay out your pieces on the Quiltsmart printed interfacing panels, following the grid and the placement guidance in the instructions. Take a moment to check your arrangement before fusing.
- Fuse the pieces in place. Following the pattern instructions, fuse the fabric to the interfacing so everything stays exactly where you placed it while you sew.
- Sew on the grid lines. Fold and stitch along the printed lines as directed, using standard machine sewing. This is where the perfectly matched seams happen — the grid keeps every row and column aligned.
- Assemble the bag. Continue following the instructions to join the panels and form the bag, finishing with that sturdy, roughly 10-inch square bottom and 17-inch tall sides.
Practical Tips for Best Results
Press at each stage rather than saving all the pressing for the end; flat, fused panels sew together far more accurately. When arranging fabric on the grid, step back and look at the whole panel — strong contrast between neighboring pieces shows off the matched seams best. Sew at a steady pace on the printed lines, and check each seam as you go.
Care and Storage
Store unused printed interfacing panels flat and dry, away from heat, so the printed grid stays crisp and the panels do not crease before use. Keep the paper instructions with the panels so everything is together when you are ready to sew.
Project Ideas
Carry a quilt project and its supplies to class or retreat, use it as an oversized everyday tote, pack it for travel, or fill it as a generous gift for a fellow quilter. Because the pieced exterior comes from your fabric choices, every version looks different — try one in seasonal prints, one in brights, and one from a favorite collection.
Shop the Mondo Bag Fun Pak at Linda's Electric Quilters.


