
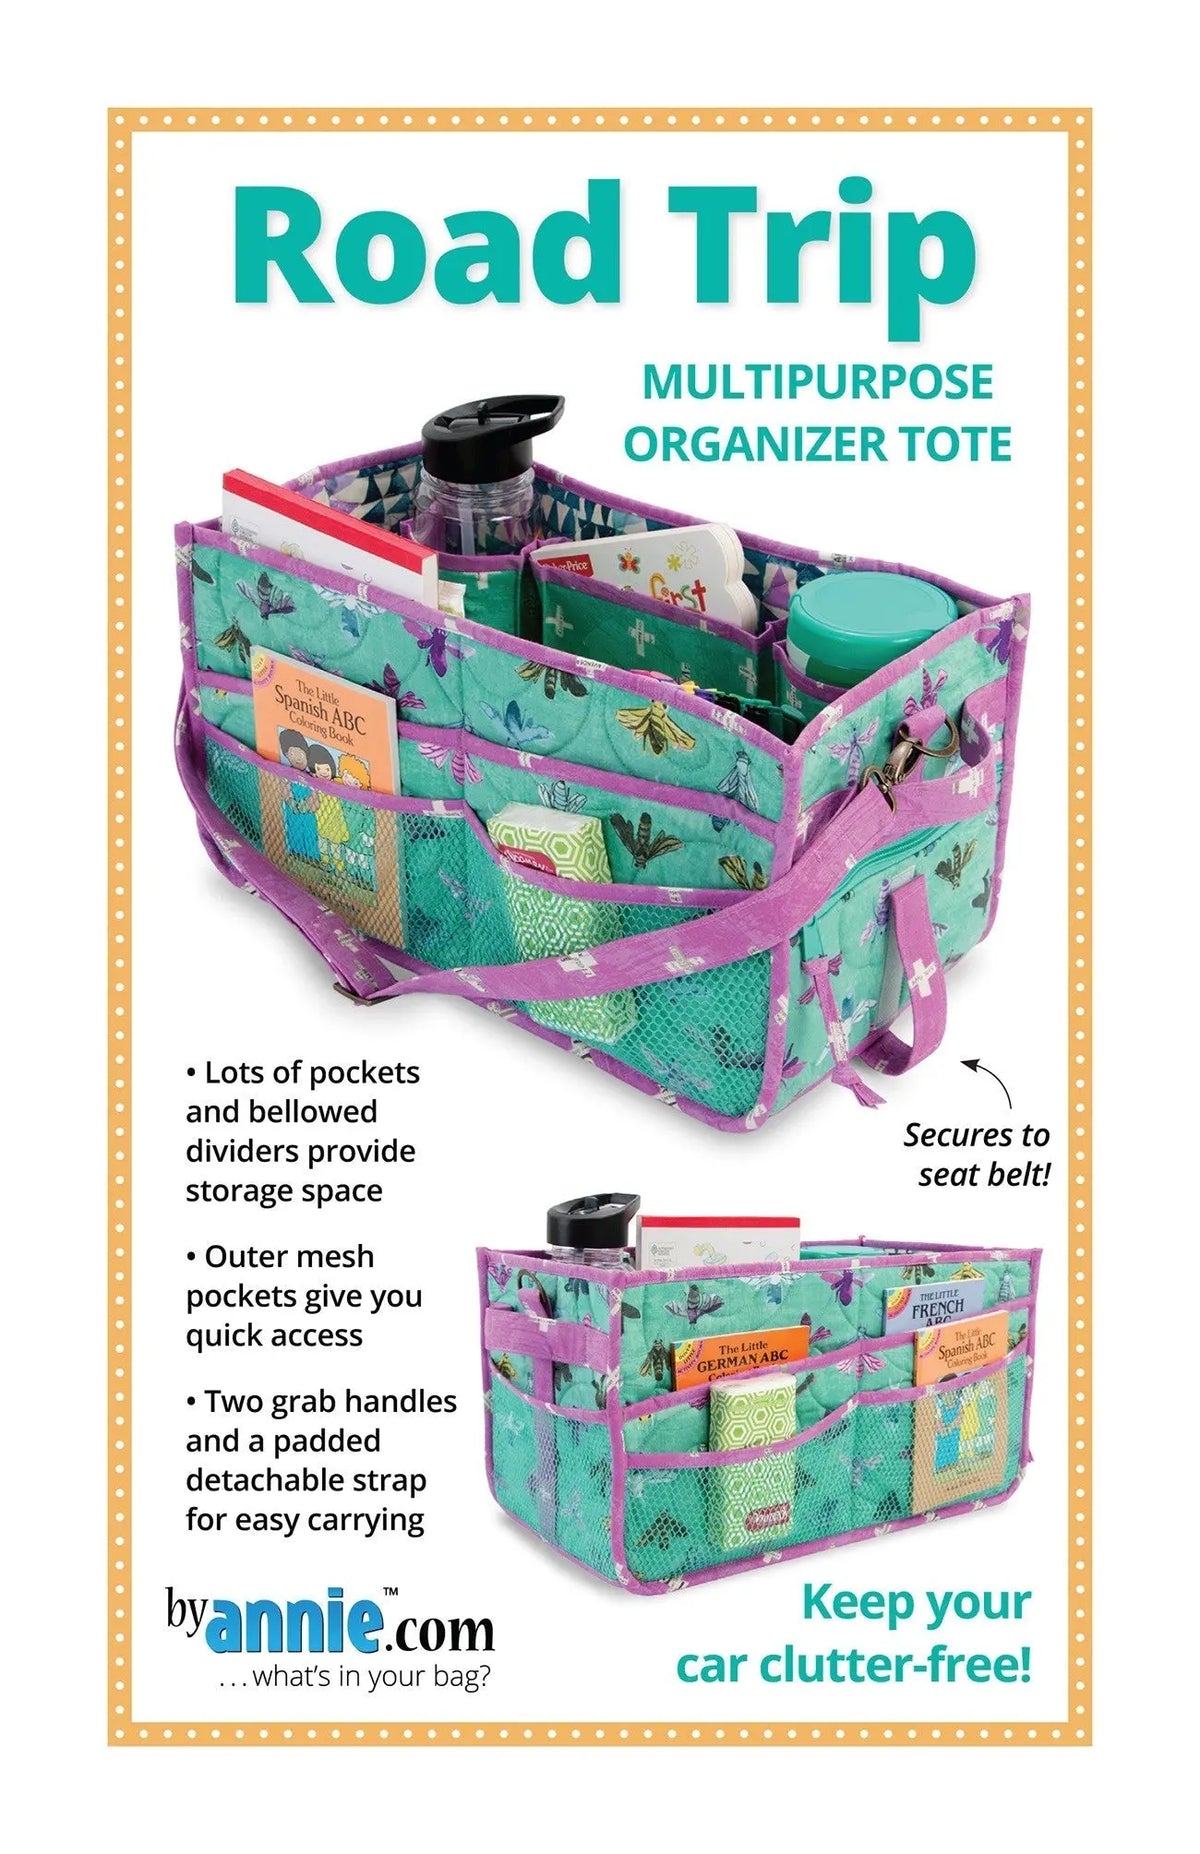
How to Sew the Road Trip Tote: A Backseat Organizer Pattern for Quilters
Long drives go better when everything has a place. The Road Trip pattern makes a multipurpose tote designed to ride in the backseat, keeping passengers occupied and the car clutter free. Finished, the tote measures 15.5in L x 8in H x 8in D — roomy enough to hold snacks, toys, books, games, and electronic gear, yet compact enough to sit neatly on a seat beside a passenger. If you enjoy bag-making, this is a satisfying project that turns your quilting skills into something the whole family uses every trip.
Why Sewists Love This Pattern
Most car organizers are flimsy, single-pocket affairs. This sewn tote is different. Abundant pockets and bellowed dividers made from mesh and fabric organize items for easy visibility and quick access, so a passenger can find a book, a charger, or a snack without dumping everything out. The mesh dividers let you see what is inside at a glance, while the bellowed shape expands to hold bulkier items like headphones or a small blanket.
The tote is built to travel safely, too. It can be buckled in with a seatbelt so it stays put through turns and stops, and a handy back strap plus bottom grip strips help prevent sliding. When you reach your destination, two grab handles and an adjustable, detachable carrying strap make it easy to carry the whole tote into a hotel room, a rest stop, or grandma's house.
How to Make It
- Gather your supplies. The pattern's supply list calls for PBAZIP24 and SUP209 in your chosen color, along with your fabrics for the body, pockets, and dividers. Choose a sturdy quilting cotton or canvas-weight fabric for the outside, and coordinating fabrics for the fabric dividers.
- Cut and prepare your pieces. Cut the body panels, mesh and fabric divider pieces, and pocket components following the pattern. Prepare straps and handles so they are ready when assembly begins.
- Build the dividers and pockets. Construct the bellowed mesh and fabric dividers and attach the pockets. This interior structure is what keeps everything sorted, so take your time aligning pieces evenly.
- Assemble the tote. Sew the body together around the organized interior, then add the two grab handles and the adjustable, detachable carrying strap.
- Add the travel features. Finish with the back strap and bottom grip strips that keep the tote from sliding, and check that it buckles in securely with a seatbelt.
Practical Tips
- Use mesh for dividers where visibility matters most — games, cords, and small toys — and fabric dividers where you want a little more structure.
- Assign each passenger their own pocket or divider section before a big trip; it prevents backseat squabbles and keeps rest stops quick.
- Test the fit in your car before the trip. Buckle the tote in and load it up so you can adjust the strap and placement at home instead of in a parking lot.
- Keep a small trash pouch and a pack of tissues in one pocket — the two things every road trip eventually needs.
Care and Storage
Between trips, empty the tote and shake out crumbs, then spot clean as needed based on your fabric choices. The carrying strap detaches, so the tote stores flat in a closet or hangs by its grab handles on a hook. Keeping it packed with a few basics — a notebook, pencils, and a travel game — means you can grab it and go on short notice.
Project Ideas
Make one tote per child in their favorite fabrics for family vacations. Sew a version as a busy bag for church, waiting rooms, or plane rides. Fill one with quilting handwork — English paper piecing, binding clips, and a small project — and you have the perfect passenger-seat sewing kit while someone else drives. It also makes a thoughtful gift for new parents as a diaper-and-toys car organizer.
Shop the Road Trip at Linda's Electric Quilters.


