
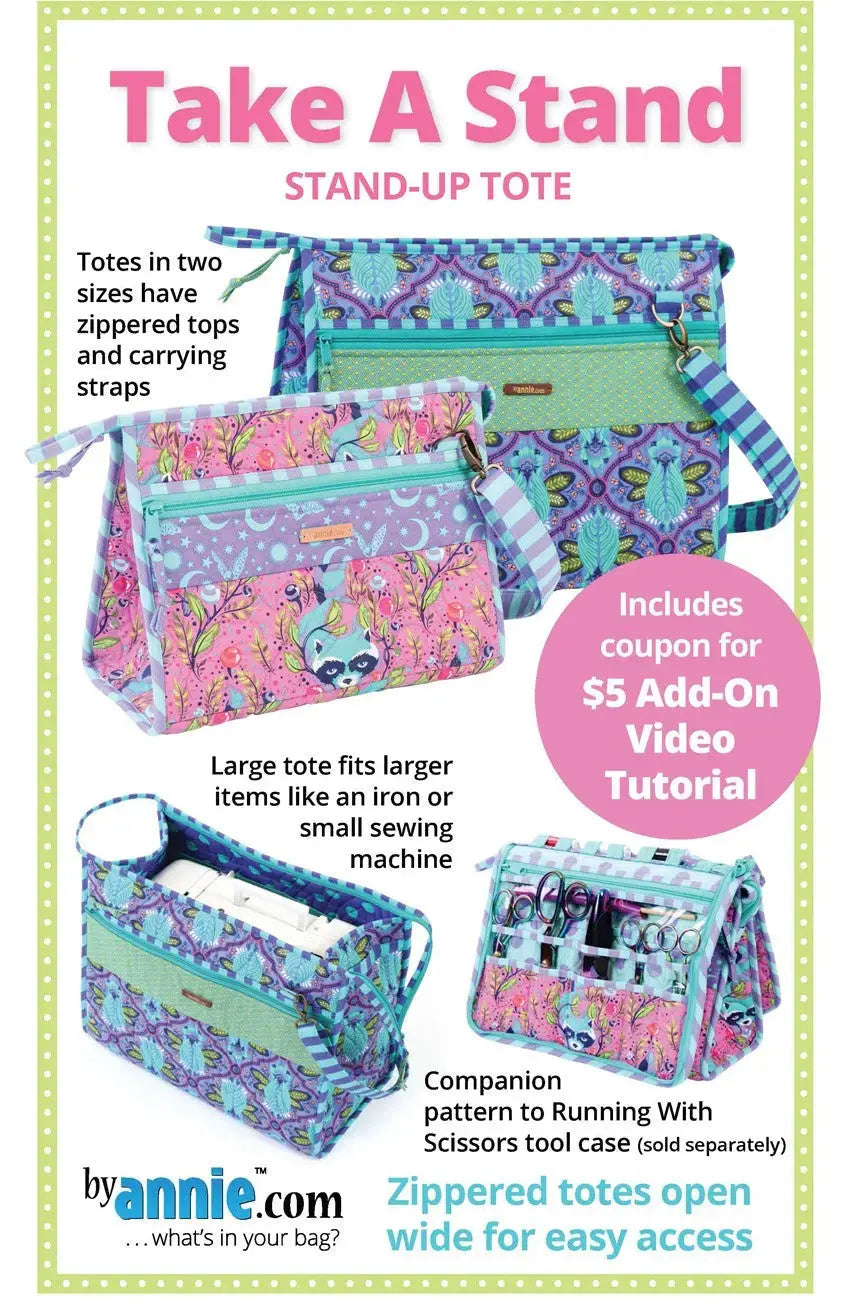
How to Sew the Take A Stand Tote: A Stand-Up Bag Pattern in Two Sizes
Some supply bags slump, spill, and hide everything at the bottom. Take A Stand is a printed paper pattern for sewing a stand-up tote that stays upright and opens wide, so you can actually see and reach what you packed. It comes in two sizes, has an easy-to-install zippered top, and keeps supplies organized beside your machine, in class, or on the go.
What This Pattern Is
Take A Stand is a printed paper pattern — the finished product is a bag you sew yourself. The tote stands up on its own and features a zippered top that opens wide for easy access to the contents. Each tote has an adjustable, detachable carrying strap, two zippered pockets on the outside, and two inner mesh pockets, so everything has a place and stays easy to view.
Choose the size that fits the job. The small tote measures 8-3/4in (H) x 12in (W) x 6-1/2in (D). The large tote measures 12-1/2in (H) x 16in (W) x 8in (D). Sewing both gives you a matched pair: one for everyday tools, one for bigger loads.
Why Quilters and Sewists Use It
A tote that stands upright behaves differently from a soft bag. Set it next to your machine and it stays reachable instead of collapsing onto its contents. The wide-opening top lets you look straight down into the bag to find what you need, then zip it closed for travel. The outside zippered pockets keep small, frequently grabbed items separate, while the inner mesh pockets let you see supplies at a glance. The adjustable, detachable strap makes the tote easy to carry to class — and easy to unclip at your workstation.
How to Sew and Use It, Step by Step
- Pick your size first. Choose the small tote for a compact set of tools and supplies, or the large tote when you need room for fabric, tools, and more. Many sewists eventually make both.
- Read the pattern through before cutting. A full read first helps you see how the zippered top, pockets, and strap come together before any fabric is cut.
- Plan your pocket assignments. Decide in advance what will live in the outside zippered pockets and what belongs in the inner mesh pockets, so the tote is organized around how you work.
- Sew the tote and install the zippered top. The pattern's zipper installation is designed to be easy, and the payoff is a top that opens wide rather than fighting you every time you reach inside.
- Attach the strap and load the tote. Clip on the adjustable, detachable strap, set a comfortable length, and load heavier supplies low with everyday tools near the top.
Practical Tips
Pair this pattern with its companion. The Running With Scissors pattern includes instructions for a zip-up Tool Case for tools such as rotary cutters, scissors, markers, turning tools, and small rulers, with pockets you can customize to fit your tools. The small Take A Stand tote makes a perfect stand for that Tool Case: fold the Tool Case over so the inner pockets are exposed, then place it billboard-style over the upright tote for stability and easy access. The large tote will hold the Tool Case and/or fabric, tools, and more. And use the wide opening fully — unzip the top all the way rather than reaching through a half-open gap.
Care and Storage
Store the printed pattern flat and dry so the pieces stay crisp for the next tote you sew. For a finished tote, care follows the fabrics you chose; empty the mesh and zippered pockets before any cleaning so small tools do not go missing. Store the tote upright — it is built to stand, and storing it that way keeps its shape.
Project Ideas
Sew the small tote as a machine-side supply station or a stand for the Running With Scissors Tool Case. Sew the large tote as a class and retreat carrier, a project tote that keeps one quilt's supplies together from first cut to binding, or a gift filled with notions for a sewing friend.
Shop the Take A Stand at Linda's Electric Quilters.


