
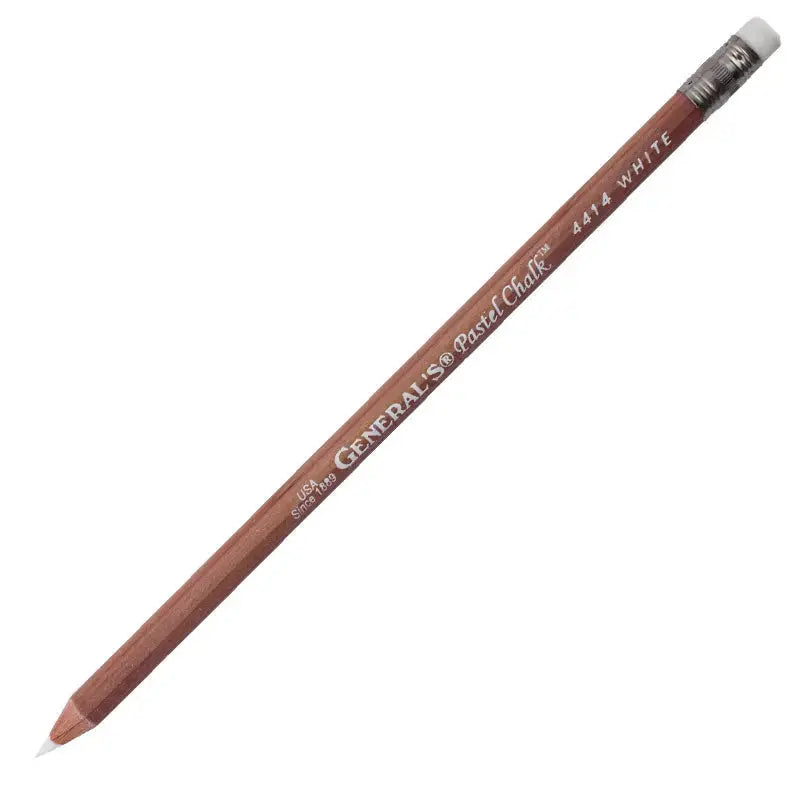
How to Use a White Chalk Pencil: Marking Dark Fabrics for Quilters
Some fabrics swallow a marking line whole. On navy, black, deep green, burgundy, and busy dark prints, a regular pencil line can vanish before you even reach the machine. A White Chalk Pencil solves that contrast problem: it is a pencil-form marking tool that lays down a white line you can actually see on dark fabric. The product description calls it a wonderful tool for marking your quilt — and clear marking is what lets you stitch a planned design instead of guessing your way across the top.
What This Pencil Is
A white chalk pencil puts chalk in a familiar pencil shape, so you hold it, aim it, and control it just as you would a writing pencil. That control matters for quilting work. You can rest it against a ruler for a straight stitching line, trace around a template for a motif, or make a small, precise tick where two points need to meet. Where a broad marker would be clumsy, a pencil point can mark a corner, a center, or the start and stop of a design exactly.
White is the useful color here because of contrast. It is made for the fabrics where darker marking colors disappear, which is why many quilters keep a white option alongside their other marking tools rather than relying on one color for everything.
Why Quilters and Sewists Use It
Good marking prevents unpicking. Marking your quilting path first helps you keep spacing even, keep a motif symmetrical, and stay oriented on a large top where it is easy to drift off course. It also helps before stitching begins: appliqué pieces can be placed against a marked outline, embroidery can be centered with a cross mark, and garment details such as dart points can be transferred to dark fabric where they would otherwise be hard to see.
Because you control the pressure, you can also control the line. A firmer pass makes a main quilting path easy to follow, while a lighter touch makes a faint guide you only need to glimpse as you sew.
How to Use It, Step by Step
- Test on a scrap first. Draw a line on a scrap of your project fabric, or in a seam allowance, and check two things under your sewing light: that you can see the white clearly, and how the mark behaves on that particular fabric before you mark the whole top.
- Press and support the fabric. Mark on a flat, firm surface with the fabric smooth and pressed. A line drawn on a wrinkled or stretched top will not be where you think it is once the fabric relaxes.
- Keep the point tidy. Sharpen or tidy the tip as needed so the line stays fine. A worn, rounded point makes a broad, vague line that is hard to follow accurately.
- Use a guide for straight and shaped work. Run the pencil along a ruler for straight-line and grid quilting, and trace around templates for curves, motifs, and appliqué shapes.
- Draw with a light, steady hand. Press just firmly enough to leave a visible line. Bearing down can distort the fabric and deposits more chalk than you need.
- Mark in sections and stitch promptly. On a large quilt, mark one area at a time, add center and registration marks so you can realign the design, then stitch that section while the lines are at their clearest.
Practical Tips
Judge contrast on your actual fabric, not on the bolt or in the shop. A white line that sings on solid black may be quieter on a dark print with pale flecks, so test a few fabrics in your project and mark the most important lines on the plainest areas where possible. Mark only the key lines — main paths, centers, and endpoints — rather than every detail; a top covered in marks is confusing to follow. If a line fades as you handle the quilt, simply re-trace that section from your registration marks instead of re-marking the whole design.
Care and Storage
Store the pencil with your other marking tools, with the point protected so it is not knocked or crushed in a crowded drawer or project bag. Keep it dry and easy to reach near your pressing and cutting area, since marking usually happens right after a top is pressed flat. Re-sharpen as the point wears, so the next line you draw is as accurate as the first.
Project Ideas
Reach for a White Chalk Pencil to mark straight-line, grid, or motif quilting on a dark wholecloth or a navy-backed quilt, to place appliqué on a black or deep-toned background, and to mark centers for embroidery on dark fabric. It is equally handy beyond quilting: transferring dart and placement marks on dark garment fabric, and laying out holiday projects in deep reds, forest greens, and charcoal, where a visible guide makes the sewing calmer and more accurate.
Shop the White Chalk Pencil at Linda's Electric Quilters.


