
How to Trim Quilt Blocks Square with Lori Holt Trim-It Rulers: Tips for Quilters
A block that is slightly too big, wonky, or off-center causes headaches when you sew blocks together — seams stop matching and rows refuse to lie flat. Trimming each block to an exact size before assembly solves most of those problems, and that is what the Lori Holt Trim-It Square Ruler Pack is made for. Designed by Lori Holt of Bee in my Bonnet, this set of five clear square rulers helps you trim blocks after piecing, appliqué, or embroidery so every unit starts out the same size and perfectly centered.
What the Trim-It Ruler Pack Is
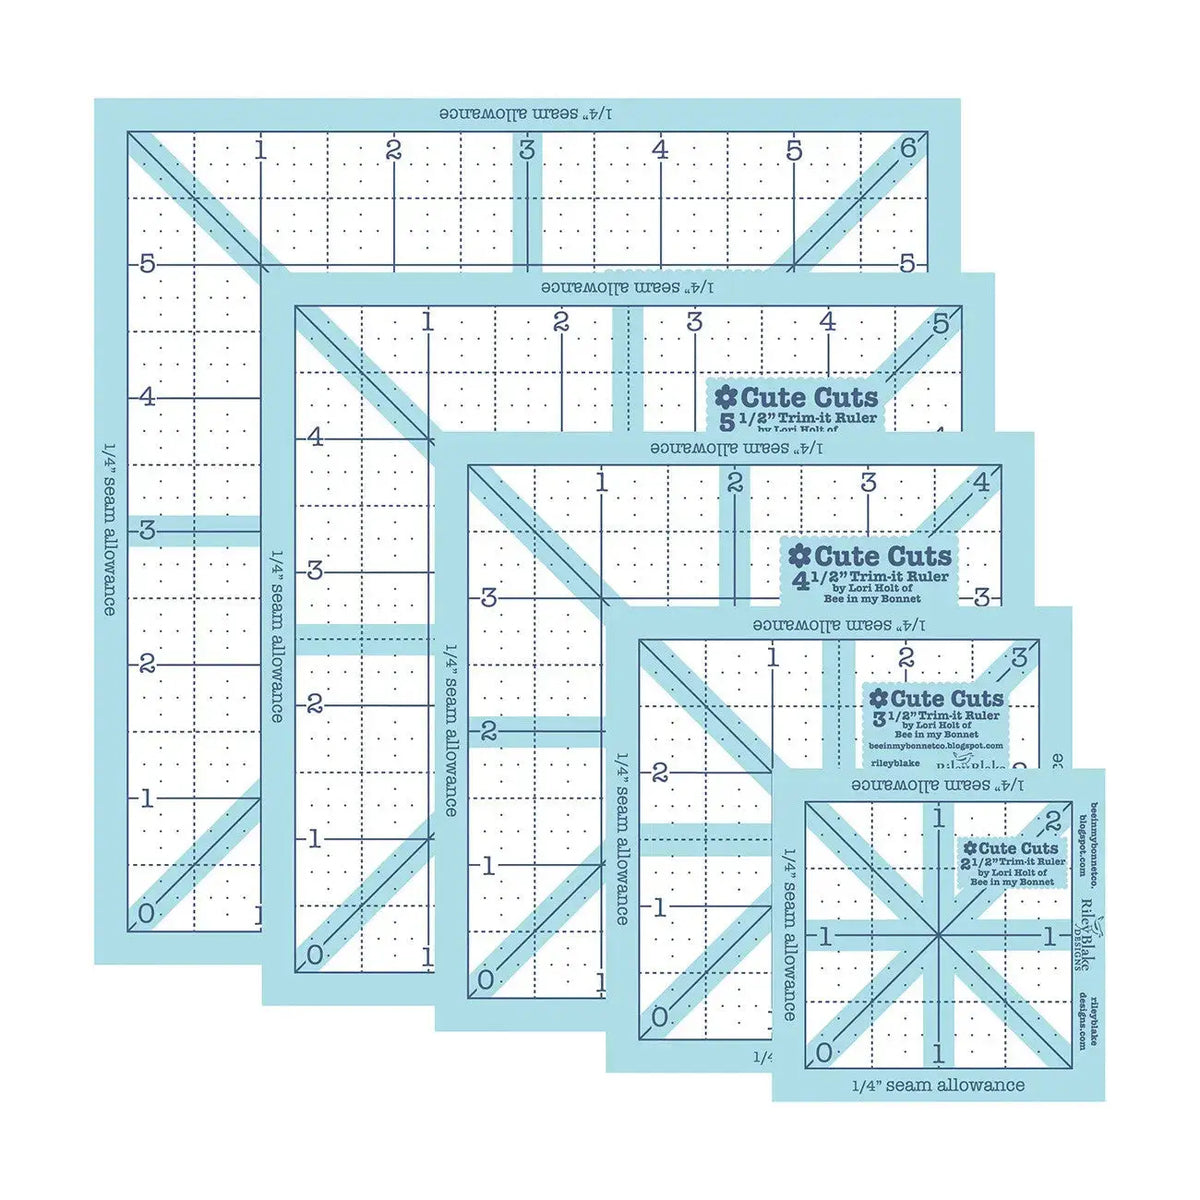
The pack includes five square quilting rulers in the sizes quilters reach for most often: 2-1/2 inch, 3-1/2 inch, 4-1/2 inch, 5-1/2 inch, and 6-1/2 inch. They are made of clear plastic, so you can see your block underneath. Aqua and denim markings are printed in 1-inch grids, marked in 1/8-inch and 1/4-inch increments. Diagonal lines help you center a block, and colored marks around the outside show the 1/4-inch seam allowance, so you can preview what will show after the block is sewn into your quilt. Non-slip daisies on the back help each ruler stay put while you cut.
Why Quilters and Sewists Use Them
Blocks rarely come off the machine at exactly their intended size. Stitching, pressing, and fabric can nudge a block a fraction of an inch, and those fractions add up across a quilt. Trimming standardizes every block, making seams easier to match and rows easier to keep straight. The diagonal centering lines are especially helpful for appliqué and embroidery blocks, where the design — not the raw fabric edge — needs to sit in the middle. The seam allowance marks add confidence, too: before you cut, you can see whether a point or motif will be clipped in the finished quilt, and adjust while there is still time.
How to Trim a Block, Step by Step
- Press your block first. A well-pressed block lies flat and measures honestly. Trim after piecing, appliqué, or embroidery is complete.
- Choose the right ruler. Pick the 2-1/2, 3-1/2, 4-1/2, 5-1/2, or 6-1/2 inch ruler that matches your target block size.
- Center the block using the diagonal lines. Lay the ruler over the block and use the diagonal lines to center the design or piecing evenly on all sides.
- Check the seam allowance marks. Look at the colored outside 1/4-inch marks to preview what will show after sewing, and shift the ruler if a point or motif would be lost.
- Hold the ruler steady and trim. Press down firmly so the non-slip daisies grip the fabric, then trim the excess from two sides with your rotary cutter. Rotate the block, realign the ruler on the trimmed edges using the grid markings, and trim the remaining sides.
- Measure the finished block. Confirm it matches the size you intended, then trim every block in the project the same way.
Practical Tips
Trim a test block first and sew it to a neighbor before trimming a whole stack. Work in good light so the aqua and denim grid lines are easy to read. If a block is slightly too small, center it and trim to the largest consistent size your blocks share rather than forcing it. Trim as you go, too — a few blocks per session is far less daunting than facing dozens at once.
Care and Storage
Store the rulers flat so they stay true, and keep them away from heat that could warp the plastic. Wipe them clean with a soft cloth if lint or spray builds up, and avoid stacking heavy objects on them. Keep the five sizes together so the one you need is always at hand.
Project Ideas
Use the smaller sizes for half-square triangles, four-patches, and small pieced units, and the larger rulers to square up appliqué and embroidered blocks. The set is at home in sampler quilts, where many different blocks must finish at a consistent size, and in any project where a centered motif matters.
Shop the Lori Holt Trim-It Square Ruler Pack - 2-1/2in,3-1/2in,4-1/2in,5-1/2in,6-1/2in at Linda's Electric Quilters.


