
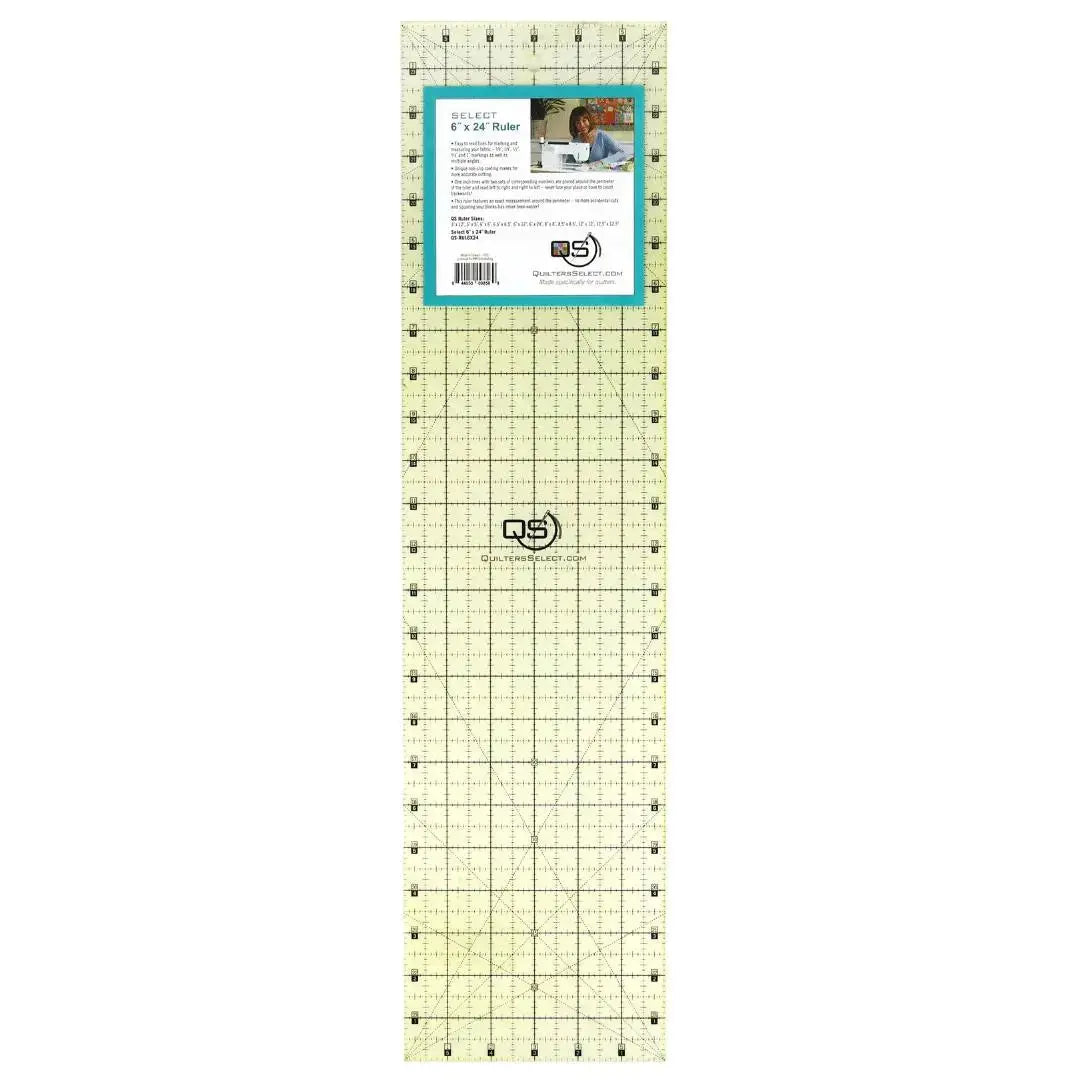
What Is a 6" x 24" Non-Slip Ruler?
If one ruler earns a permanent spot next to the cutting mat, it is a long 6" x 24" ruler. That length lets you span folded quilting cotton and cut clean strips in a single pass, while the 6-inch width gives you room to measure and align without constantly repositioning your tool. The Quilters Select Non-Slip Ruler 6" x 24" is built for exactly that everyday cutting work.
It features easy-to-read lines for marking and measuring fabric, as well as multiple angles for angled cuts. What sets it apart is its unique non-slip coating, which helps the ruler stay where you put it and makes for more accurate cutting. The one-inch lines carry two sets of corresponding numbers placed around the perimeter of the ruler, and they can be read left to right and right to left — so you never have to lose your place or count backwards, whichever side of the fabric you are working from.
Why Quilters and Sewists Use It
- Cutting strips: The 24-inch length covers folded fabric, making it the go-to ruler for cutting the long strips that become binding, sashing, borders, and strip-pieced units.
- Accuracy that holds still: A ruler that creeps mid-cut ruins a strip. The non-slip coating grips the fabric so your measurement stays true from the start of the cut to the end.
- Squaring up: The clear perimeter numbers and long straight edges make squaring blocks and trimming panels easier than ever, as the product notes.
- Reading from either direction: Dual number sets mean left-handed cutters can read measurements naturally instead of upside down.
How to Use It: Step by Step
- Press and fold your fabric. Press out wrinkles, then fold so the fold is straight and the edges line up. A crooked fold guarantees a crooked strip.
- Square the edge first. Lay the ruler near one raw edge, align a horizontal line on the ruler with the fold, and trim the uneven edge away. Now you have a clean, straight starting edge.
- Measure your strip. Slide the ruler over until the line for your desired strip width sits exactly on that freshly cut edge. Use the perimeter numbers — reading from whichever direction is comfortable — to confirm the width at both ends of the ruler.
- Hold firm and cut. Press down firmly with your non-cutting hand, fingers spread and safely away from the edge, then cut along the ruler's edge in one smooth motion. Let the non-slip coating help keep everything in place.
- Check and subcut. Measure the first strip before cutting the rest of the yardage. Once your strips are cut, use the same ruler to subcut them into squares and rectangles, and to square finished blocks before assembly.
Practical Tips
- Always verify the width at both the top and bottom of the ruler before cutting — a ruler angled by even a hair produces a strip that widens or narrows along its length.
- Use the angled lines when a pattern calls for angled cuts, and double-check the angle against your pattern before the blade touches fabric.
- If you are cutting several identical strips, re-square the fabric edge whenever it starts to drift, rather than chasing the error through the whole piece.
Care and Storage
Store the ruler flat or hanging so it stays straight and the edges stay nick-free. Wipe it clean with a soft cloth when lint builds up on the markings or the non-slip surface — a clean ruler reads more clearly and grips more reliably. Keep it at the cutting table rather than buried under fabric, where edges can get chipped.
Project Ideas
- Strip quilts: Cut fast, consistent strips for rail fence, log cabin, and jelly-roll-style projects from your own yardage and stash fabrics.
- Borders and binding: Use the full length to cut long, even border strips and binding strips with fewer wobbly joins.
- Squaring a finished top: Before adding borders, use the long edge and perimeter markings to check and trim the quilt top so it lies flat and square.
Shop the Quilters Select Non-Slip Ruler 6" x 24" at Linda's Electric Quilters.


