
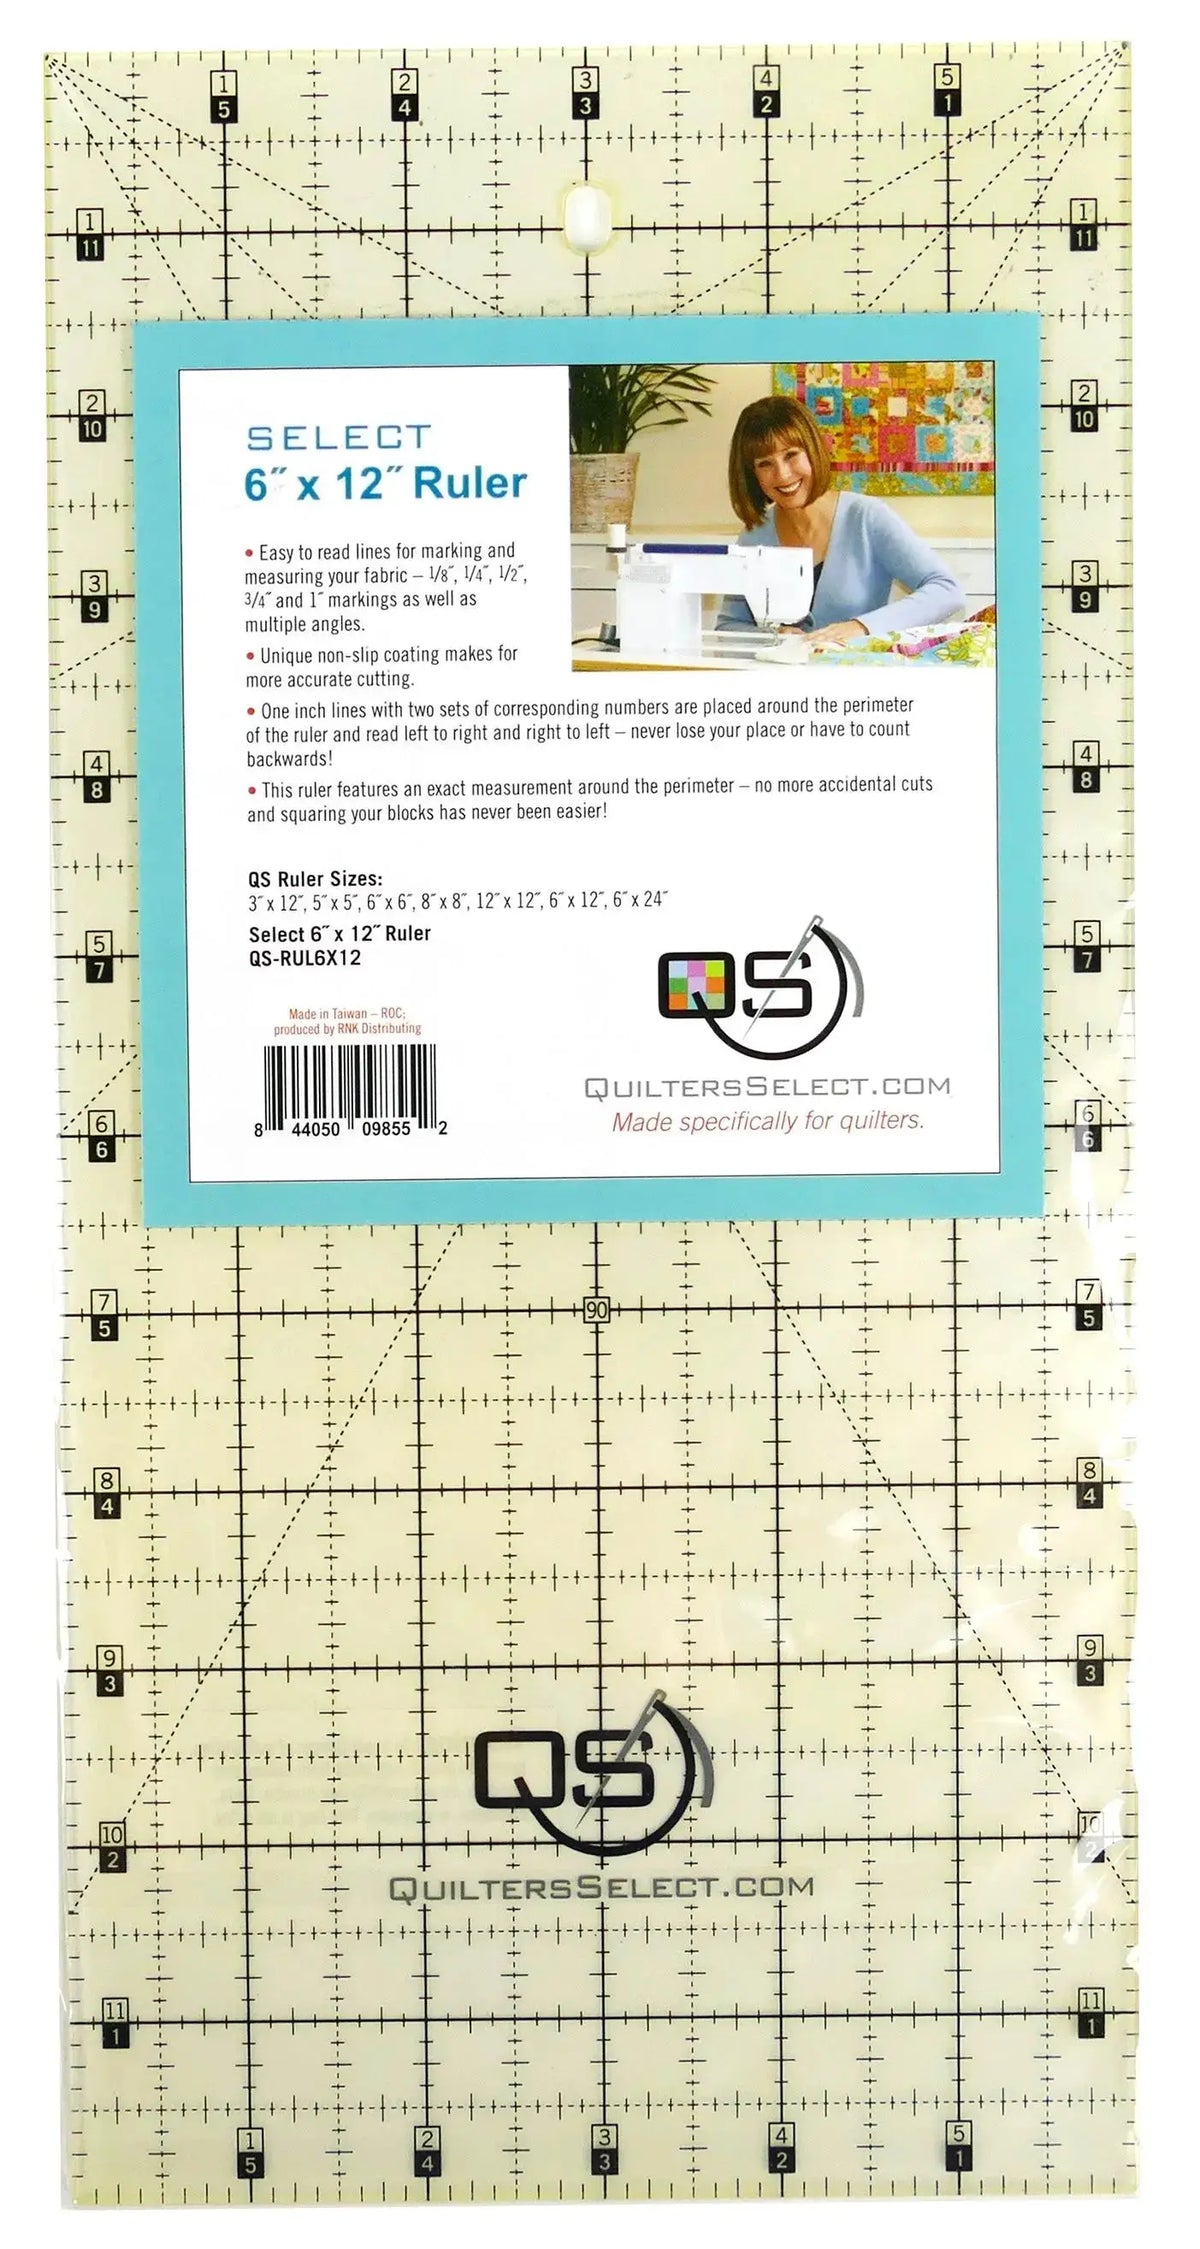
What Is the Quilters Select 6" x 12" Non-Slip Ruler?
The Quilters Select Non-Slip Ruler 6" x 12" is a mid-size cutting ruler for everyday marking, measuring, and cutting. At 6 inches wide by 12 inches long, it is large enough to cut strips and trim blocks with confidence, yet easy to handle and take to class.
It features easy-to-read lines for marking and measuring fabric, as well as multiple angles. Each ruler has a unique non-slip coating that makes for more accurate cutting, helping the ruler stay in place instead of shifting as you cut. The one-inch lines, with two sets of corresponding numbers placed around the perimeter, can be read left to right and right to left — which means you never have to lose your place or count backwards. That design makes squaring blocks easier than ever.
Why Quilters and Sewists Use It
- Everyday versatility: The 6" x 12" size fits in-between jobs — wider than a small trimming ruler, handier than a full-length ruler — for strips, rectangles, and block work.
- Accuracy that holds still: The non-slip coating grips the fabric, so your starting measurement is still your measurement at the end of the cut.
- Reading from either side: Dual number sets around the perimeter mean you can work from the left or the right without reading numbers upside down.
- Cleaner squaring: Clear one-inch lines and perimeter markings make it easier to check corners, align edges, and trim blocks to a consistent size.
How to Use It: Step by Step
- Start with pressed fabric. Press out wrinkles and lay the fabric flat on your cutting mat. A fold that is not straight will throw off even the most accurate ruler.
- Square the first edge. Align a one-inch perimeter line with the fabric edge, hold the ruler firmly, and trim away the uneven edge. This gives you a true edge to measure all following cuts from.
- Position for your cut width. Move the ruler so the line for your desired width sits exactly on the squared edge. Check the numbers at both ends — because they read in both directions, you can confirm the width without walking around the table.
- Hold and cut in one smooth pass. Press down evenly so the non-slip coating can do its work, keep fingers clear of the cutting edge, and run your rotary cutter along the ruler in a single steady motion.
- Use the angles when needed. Align the appropriate angle line with your fabric edge or seam, double-check it against your pattern, and then cut.
- Square blocks the same way. Lay the ruler over a finished block, align the markings with the block's seams, confirm all four sides, and trim any excess a little at a time.
Practical Tips
- Re-check the measurement at both ends before cutting — a ruler at a slight angle produces a strip that widens or narrows along its length.
- Let the non-slip coating help you, but still hold the ruler firmly and evenly; light, uneven pressure can still allow a shift.
- Work on a mat large enough for the whole ruler, so no part overhangs the edge and flexes as you cut.
- If cutting several identical pieces, re-square the edge whenever it starts to drift.
Care and Storage
Store the ruler flat or hanging so it stays straight and its edges stay nick-free. Wipe it with a soft cloth when lint builds up on the markings or the non-slip surface — a clean ruler is easier to read and grips more reliably. Keep it away from hot irons, and check the edges occasionally; a chipped edge will no longer give you a clean cutting guide.
Project Ideas
- Patchwork blocks: Cut squares and rectangles and square finished blocks so consistent sizing keeps points and seams aligned.
- Small and medium projects: Size panels for tote bags, zip pouches, table runners, and placemats, where the 12-inch length covers most pieces in one placement.
- Trimming work: Trim appliqué backgrounds and embroidered panels to size before setting them into a quilt.
Shop the Quilters Select Non-Slip Ruler 6" x 12" at Linda's Electric Quilters.


