
How to Use a Cleaning Brush to Keep Your Machine Lint-Free: Tips for Quilters
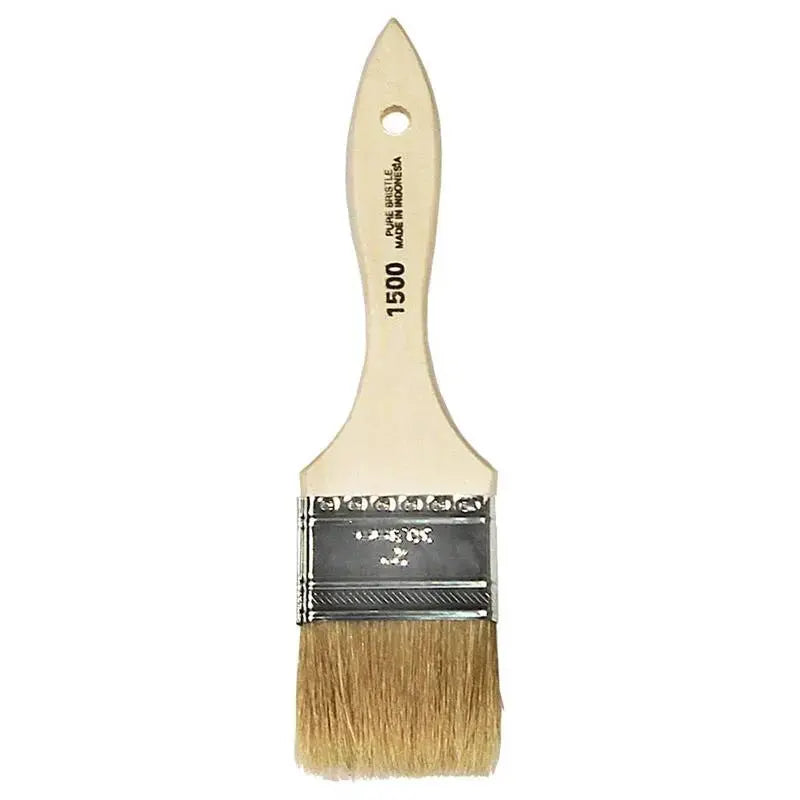
Every quilt leaves something behind in your machine — a fine layer of lint, thread tails, and batting fuzz tucked into corners you cannot see. The Cleaning Brush is a small, simple answer to that hidden buildup. At just 2 inches, it is made to reach tight spots where lint collects, and it is recommended for cleaning your bobbin case area, tracks, and any other places where fuzzies can hide.
What This Cleaning Brush Is
This is a compact 2-inch cleaning brush for sewing and quilting machines. Its job is not scrubbing — it is sweeping. You use it to loosen and lift away the dry lint and fuzzy debris that naturally builds up as thread, fabric, and batting pass through your machine.
That buildup is easy to ignore because the machine keeps stitching while it accumulates. Over time, though, packed lint around the bobbin area and along tracks can get in the way of smooth movement.
Why Quilters and Sewists Use It
Quilters work with the materials that make the most lint: cotton fabrics, batting, and long lengths of thread. Domestic and longarm machines both collect fuzz, especially when quilting through three layers.
The bobbin case area is a prime hiding place, and tracks are another — lint works its way in and stays put because nothing in normal stitching pushes it back out. A purpose-sized brush lets you clear those spots quickly, without taking your machine apart or reaching for improvised tools that were never meant for the job.
How to Use It, Step by Step
- Turn the machine off and raise the needle. Start with the machine powered down and the needle area clear so you can see what you are doing.
- Remove what is easy to remove. Take out the bobbin and, if your machine allows it easily, the bobbin case, following your machine manual. Set them on a clean cloth.
- Sweep the bobbin case area first. Use short, gentle strokes to pull lint outward, toward you, rather than pushing it deeper in. Work around the edges where fuzzies tend to pack down.
- Clear the tracks. Run the brush lightly along the tracks and any other channels or corners where you can see fuzz collecting, sweeping debris out, not further in.
- Check the hidden spots. Look in any small recesses you can reach. The brush is recommended for any place where fuzzies can hide, so if you can see lint, give it a sweep.
- Replace and test. Put the bobbin case and bobbin back, and stitch a short test seam on scrap fabric before you return to your project.
Practical Tips
- Make it a habit: give the bobbin area a quick sweep when you change a bobbin on a lint-heavy project, rather than waiting for a problem.
- Always brush dry lint out first. Do not add oil or moisture before cleaning — dry fuzz lifts away much more easily.
- Use a light touch. You are coaxing lint out of corners, not scrubbing a surface.
- Keep the brush with your machine. If it is within reach when you sit down to sew, you will actually use it.
- After a fuzzy project, do a second pass — the first sweep often loosens lint hidden underneath.
Care and Storage
Tap or wipe the brush clean after each use so collected lint does not go back into the machine next time. Store it in your machine accessory tray or a small notions pouch where it stays clean, dry, and easy to find. Because it is only 2 inches, it also fits neatly in a travel sewing kit for classes and retreats.
Project Ideas
Reach for this brush before starting any big quilting project, so you begin with a clean bobbin area and clear tracks. Use it after a high-lint project such as a flannel quilt, as part of your end-of-session tidy-up, and before loading a quilt on a longarm, when a quick sweep of the tracks helps everything move smoothly.
Shop the Cleaning Brush at Linda's Electric Quilters.


