
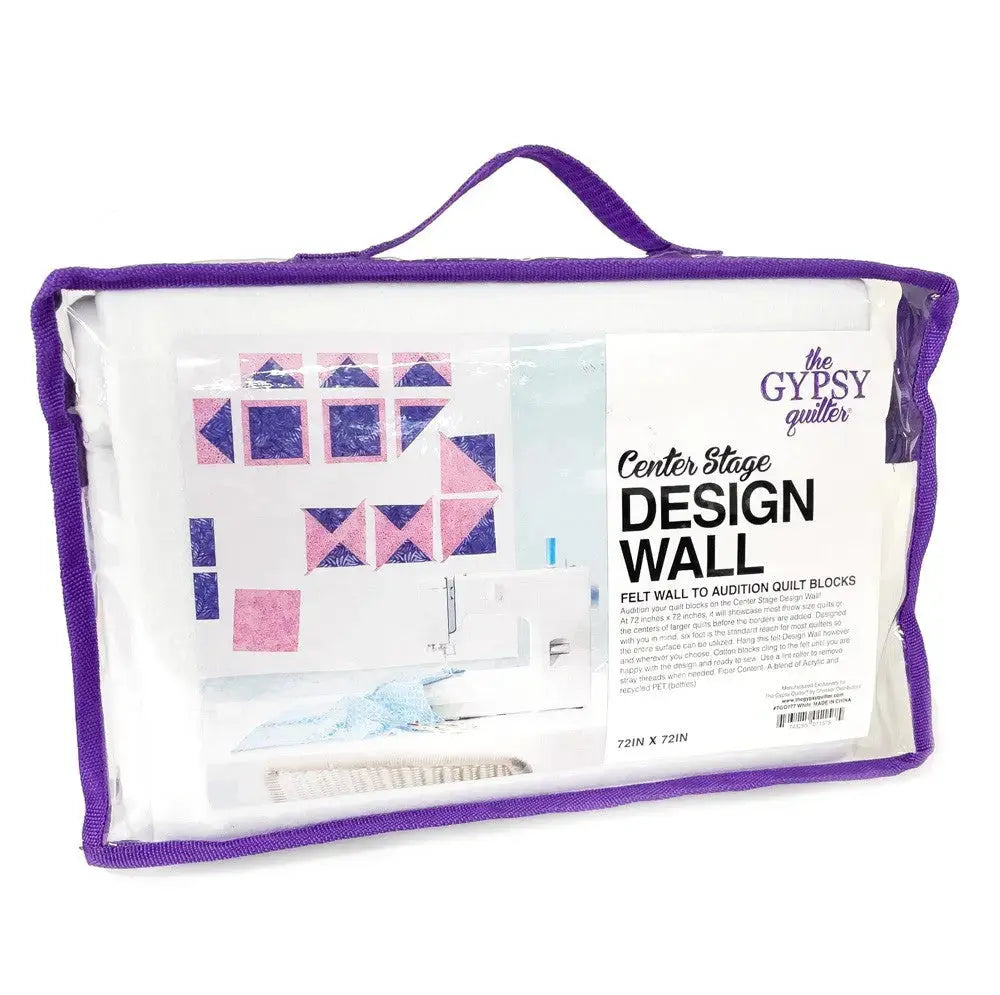
How to Use a Design Wall: Auditioning Blocks with the Center Stage Design Wall
Every quilter knows the moment: the blocks are finished and lovely one by one, yet the quilt still depends on how they sit next to each other. Colors that sang in the fabric stack can clash side by side, and a layout that worked on paper can feel lopsided at full size. A design wall solves that by letting you see the whole quilt before you sew a single seam. The Center Stage Design Wall from The Gypsy Quilter is a white design wall made for exactly that job — auditioning blocks at real scale.
What a Design Wall Is and Why Quilters Use It
The Center Stage Design Wall measures 72 inches by 72 inches, a generous square that can handle most throw-sized quilts, as well as the centers of larger quilts before the borders are added. It is made of a blend of acrylic and recycled PET (plastic bottles), and its fibers are what help hold your blocks in place once you smooth them onto the surface — no pinning each block up and taking it down again every time you want to try a new arrangement.
Quilters use a design wall for three reasons. First, distance: stepping back shows value, contrast, and balance in a way a cutting table never can. Second, freedom: blocks move in seconds, so you can try an on-point setting, swap a busy block away from its neighbor, or rotate blocks to build a secondary pattern, all before committing. Third, accuracy: living with a layout for a day often reveals the one block turned the wrong way — far better to spot it there than after the rows are sewn.
How to Use It, Step by Step
- Choose the right wall. Pick a wall surface that is free from any protruding elements such as windows, doors, and moldings, so the design wall hangs flat and your blocks sit evenly.
- Hang it at a comfortable height. The Gypsy Quilter recommends self-adhesive wall clips made for hanging tapestries and posters, found at most hardware stores, hung at a height comfortable for you to reach.
- Smooth your blocks on. Place each block on the wall and smooth it into place with your hand. The surface holds the blocks while you work, so start with your planned layout, block by block, row by row.
- Step back and audition. View the arrangement from across the room. Swap blocks, rotate them, and try alternate layouts, smoothing each block back on as you go, until the balance of color and value looks right from a distance.
- Photograph and sew. Take a quick photo of the final arrangement as your map, then take blocks down in order and sew the rows together, checking the photo as you assemble.
Practical Tips
Leave a new layout up overnight and look at it with fresh eyes — problem spots announce themselves. If two fabrics argue, move one to a corner or space the strong prints evenly rather than clustering them. Work on the quilt center first, since this 72-inch square is sized for centers of larger quilts before borders are added. When stray threads accumulate, run a lint roller over the surface so they do not transfer to your blocks.
Care and Storage
Care is simple. Use a lint roller to remove stray threads when needed. When dust builds up or the surface seems less willing to hold blocks, toss it in the dryer on a low heat setting — that removes dust and re-fluffs the fibers that help hold your blocks. Between projects it can stay hanging, ready for the next quilt.
Project Ideas
Use it to lay out throw quilts from start to finish, audition centers of bed quilts before borders go on, arrange sampler blocks until the setting feels balanced, plan color-gradation layouts, and test sashing and cornerstone choices at full size. Any project where the whole needs judging at once benefits from time on the wall.
Shop the Center Stage Design Wall White 72in x 72in at Linda's Electric Quilters.


