
How to Use a 60-Degree Triangle Ruler: Tips for Quilters
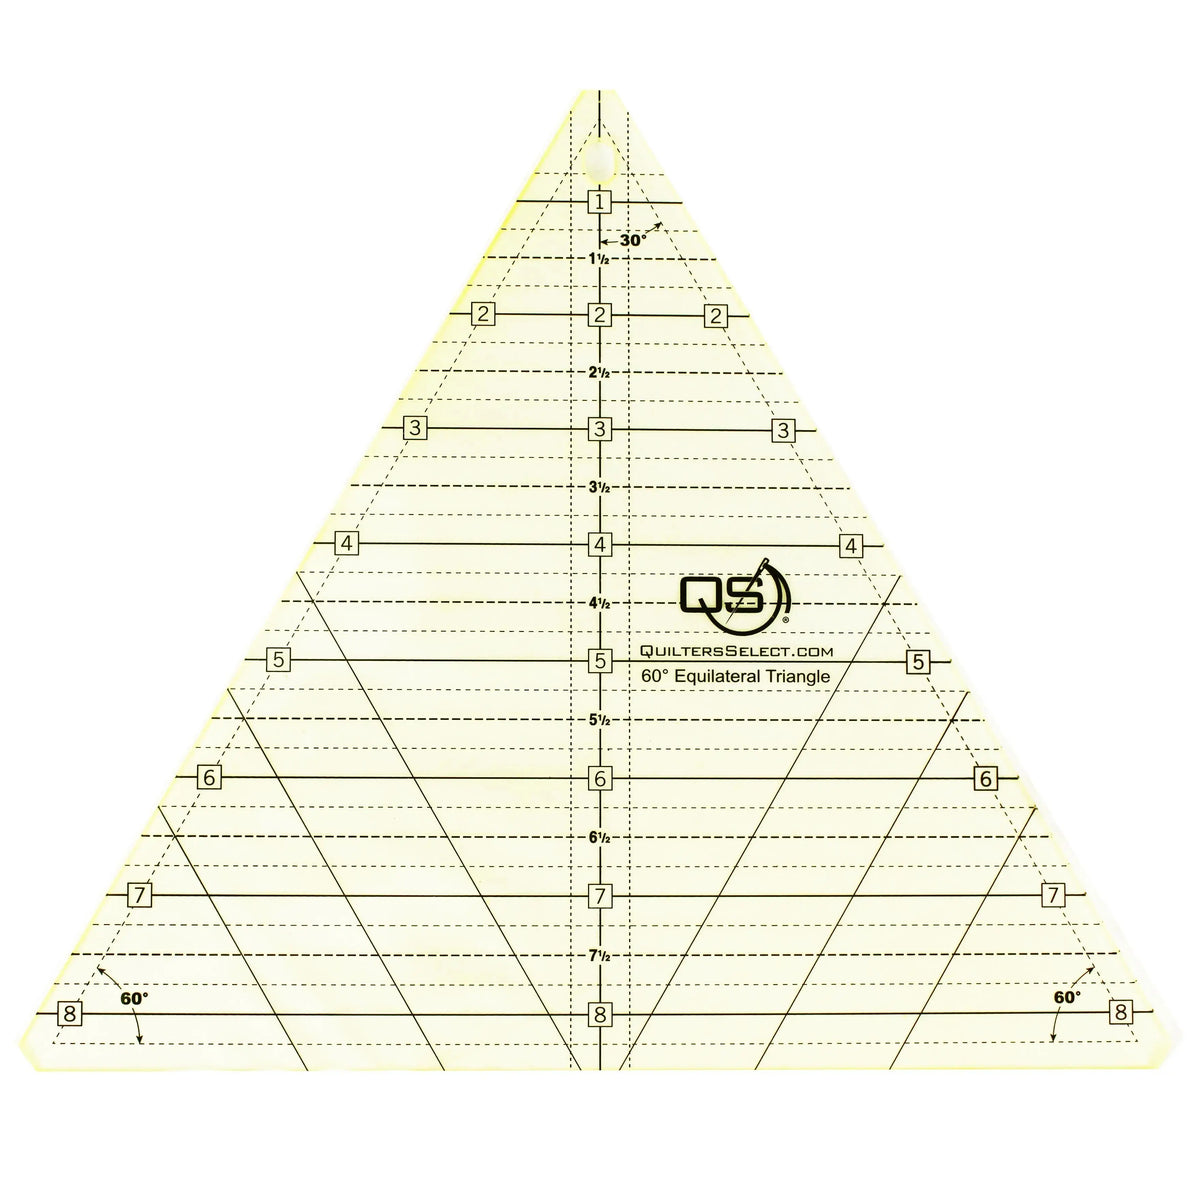
Some quilt patterns come alive on a 60-degree angle. Diamonds line up into stars, strips turn into kaleidoscopes, and rows of equilateral triangles settle into a flat, satisfying pattern. Getting those shapes right depends on cutting true 60-degree angles, cut after cut. The Quilters Select 60 Degree Triangle 8.5" Ruler is made for exactly that work — a clear acrylic triangle ruler with easy-to-read markings and the Quilters Select non-slip coating that helps it stay put on fabric while you cut.
What This Ruler Is and Why Quilters Use It
This is a single clear acrylic ruler, measuring 8-1/2 inches by 8-1/2 inches, designed for marking and measuring fabric as well as cutting 60-degree triangle shapes. Like other Quilters Select rulers, it features lines in 1/8-inch, 1/4-inch, 1/2-inch, 3/4-inch, and 1-inch markings, plus multiple angles, so you can measure and align without reaching for a second tool.
Two details make it practical at the cutting table. First, the one-inch lines carry two sets of numbers around the perimeter that read both left to right and right to left — so you never lose your place or count backwards. Second, it features an exact measurement around the perimeter, which helps prevent accidental cuts. The unique non-slip coating keeps it in place for cleaner cuts — important with triangles, where a small slip changes the point.
How to Use It, Step by Step
- Press and prepare your fabric. Press out wrinkles, straighten one edge, and lay the fabric flat on your cutting mat in a single layer or a neatly aligned stack.
- Cut a strip first if your pattern calls for one. Many 60-degree designs start with a strip of a set width. Check the finished triangle size in your pattern, then confirm that width against the markings on the ruler before you cut.
- Place the ruler on the fabric or strip. Align the ruler's edge and the measurement lines with the fabric edge, using the 1-inch perimeter numbers to confirm your size. Let the non-slip coating grip the fabric, and hold the ruler firmly with your non-cutting hand, fingers well away from the cutting edge.
- Make the first cut. Run your rotary cutter smoothly along the ruler's edge, keeping the blade vertical and close to the acrylic. That angled cut establishes your 60-degree side.
- Flip or rotate for the next cut. Turn the ruler or the strip as your pattern directs to cut the opposite angle, forming a complete equilateral triangle, diamond, or half-triangle. Re-check alignment against the printed lines before each cut rather than assuming the last piece was perfect.
- Trim and check. Lay a cut piece back under the ruler to verify its size and points, and trim any uneven edge using the exact perimeter measurement before you start sewing.
Practical Tips
Take the first cuts slowly on scrap until reading the dual-direction numbers feels natural. Re-position your holding hand instead of reaching across the blade, and replace a dull rotary blade promptly — a dull blade makes you push harder, which is when a ruler is most likely to shift. Cut one test triangle, measure all three sides, and only then batch-cut the rest.
Care and Storage
Wipe the ruler clean with a soft, dry or slightly damp cloth and keep it flat or hanging by a peg away from heat and direct sunlight, which can warp acrylic over time. Store it where other rulers and cutters will not scratch the printed markings or the non-slip surface, and check the edges occasionally for nicks that could steer a blade off course.
Project Ideas
Use this ruler for equilateral triangle quilts, 60-degree diamond and star blocks, hexagon-based layouts built from triangles, table runners with angled repeats, and kaleidoscope-style blocks cut from striped fabric. It is equally handy for trimming angled units to size before piecing, so points meet cleanly when the blocks come together.
Shop the Quilters Select 60 DEGREE TRIANGLE 8.5" RULER at Linda's Electric Quilters.


