
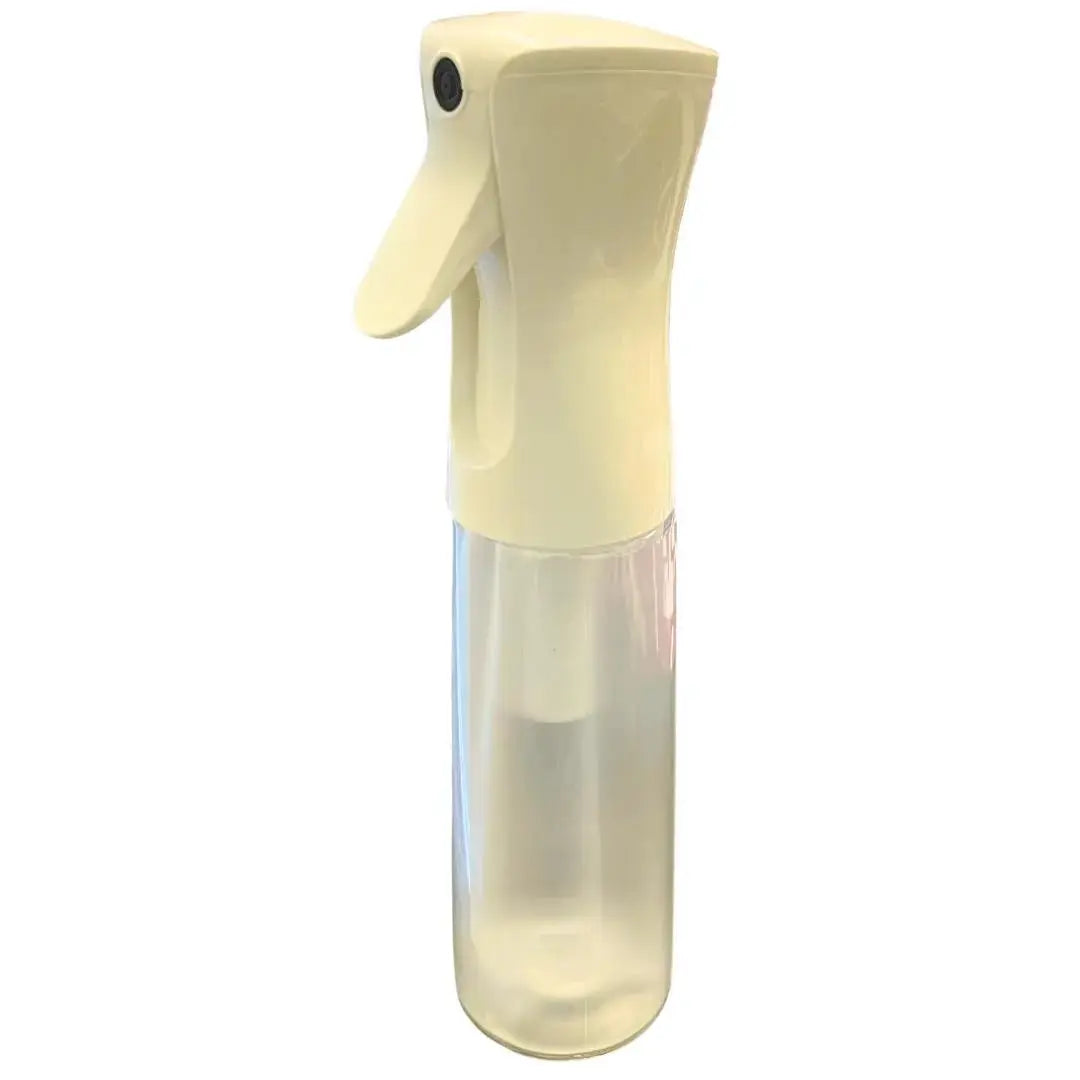
How to Use a Spray Mister Bottle: Tips for Quilters
Pressing can make or break a quilt block. Starch that lands in heavy spots instead of an even layer can throw off your results before you ever start sewing. A spray mister bottle solves that delivery problem: instead of spurts and drips, it lays down a fine, even mist over a large area, quickly and with far less effort from your hand.
What a Spray Mister Bottle Is
The Spray Mister Bottle is a spray bottle for use with liquid starch sprays — such as Best Press and Flatter — as well as plain water. It is engineered with multi-patented technologies to deliver a remarkable spray every time. Its standout feature is continuous spray: repeated actuation produces an endless spray, allowing large areas to be covered quickly and easily. It also offers 360 degree spraying, so you can reach areas from different angles rather than repositioning your fabric. Its superior ergonomics make it delightful to use, with less hand fatigue compared to standard trigger and fingertip sprayers.
Why Quilters and Sewists Use It
Even coverage is the whole point. When starch or water lands unevenly, some parts of the fabric get saturated while others stay dry, and the iron responds unevenly too. A fine, continuous mist coats the surface more uniformly, so pressing gives a consistent result across a fat quarter, yardage, or a finished block. Continuous spray also matters on big jobs: pressing a quilt top with a fingertip sprayer means hundreds of small pumps, and tired hands tend to rush.
How to Use It, Step by Step
- Fill the bottle. Pour in your chosen liquid — a liquid starch spray such as Best Press or Flatter, or plain water for everyday pressing.
- Lay your fabric flat. Place the piece on your ironing surface, smoothing out wrinkles with your hands first so the mist lands on a flat surface.
- Mist evenly. Spray across the fabric, using repeated actuation for a continuous spray on larger pieces. Move steadily so the coverage stays light and even rather than pooling in one spot.
- Use the 360 degree spraying. Tilt the bottle to reach edges, corners, and awkward areas without moving the fabric and disturbing what you have already smoothed.
- Press as usual. Follow with your iron while the fabric is evenly damp, pressing seams and surfaces as your project requires.
- Repeat in sections. For yardage or a full quilt top, work one section at a time — mist, press, move on — so each area is pressed while it is evenly damp.
Practical Tips
Less is usually more: a fine mist is meant to dampen, not soak, so start light and add another pass if needed. Keep your motion steady and sweeping to avoid heavy spots. Choose your liquid for the job — starch sprays when you want extra body and crispness for piecing, plain water when you simply need moisture for seams and hems.
Care and Storage
Store the bottle upright at your pressing station so it is ready whenever the iron is hot. If you switch liquids, empty and rinse the bottle first so yesterday's product does not end up on today's fabric. If you press often, keep one bottle for starch and another for water, and label them. Test a new liquid on a scrap first.
Project Ideas
Use a spray mister when pre-pressing yardage before cutting. It shines during piecing, when blocks need crisp seams before trimming, and when pressing appliqué pieces or garment seams that benefit from even starch. It is equally handy for refreshing a finished quilt top before layering and basting, and for large jobs like backing fabric, where continuous spray covers ground fast.
Shop the Spray Mister Bottle at Linda's Electric Quilters.


