
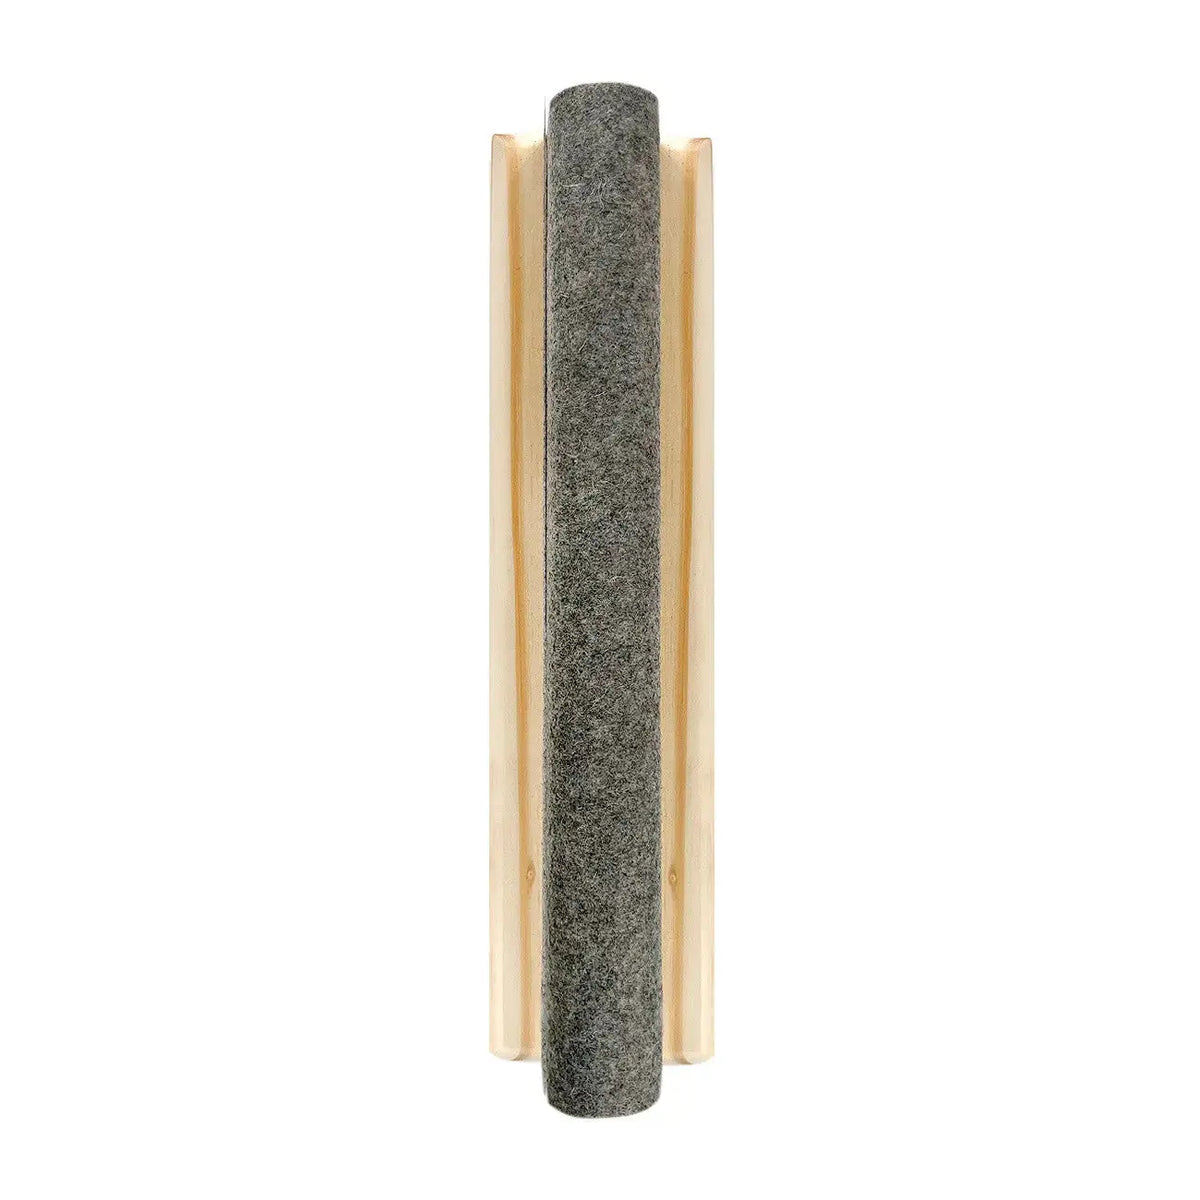
How to Use a Wool Pressing Bar and Clapper: Crisp Open Seams for Quilters
Pressing is where a good quilt top becomes a great one, and few spots are trickier than a seam you want to press open. A flat ironing board spreads the bulk of both seam allowances under your iron, so the seam never quite sits flat. The Gypsy Quilter Presser Bar 12in solves that problem in a simple, clever way: it is a 12-inch wool pressing bar with a bonus clapper built right in.
What Is a Presser Bar?
The Presser Bar measures 3 inches by 2 inches by 12 inches and is made of wood and 100% wool. One edge is rounded and covered with 100% wool, giving you a narrow, curved pressing surface instead of a wide flat board. The wood base does double duty as a clapper, the weighted block quilters lay over a freshly pressed seam to set it. One compact tool gives you both the surface you press on and the clapper you press with afterward.
Why Quilters and Sewists Use It
Sliding a seam over the rounded wool edge lets the two seam allowances fall away on either side while only the seam line itself meets the iron. That makes pressing seams open easier than ever, especially where seams sit close together. The product description calls out Dresden Plates and Fans as perfect examples — blocks with many narrow seams radiating from a center, where a flat board turns pressing into a wrestling match.
How to Use the Presser Bar, Step by Step
- Set up at your pressing station. Place the bar on a heat-safe surface with the rounded, wool-covered edge facing up and the wood base resting steady.
- Position your seam. Drape your pieced unit over the rounded edge so the seam line runs along the top of the curve and the seam allowances hang down on either side.
- Open the seam. Use your fingers to separate the allowances, then press along the seam with your iron, working over the rounded surface to press the seam open.
- Set it with the clapper. As soon as a section is pressed, lay the wood base flat on the seam to set the seam and flatten it even further. Hold it there for a few seconds while the fabric cools.
- Move along and repeat. Slide the work down the 12-inch length and continue until the whole seam is open, pressed, and set.
Practical Tips
- Work in short sections. Press and clap a few inches at a time rather than racing down the full seam — the clapper works best on fabric that is still warm from the iron.
- Let the curve do the work. Resist pressing down hard on a flat surface afterward; that can push the allowances back toward each other and undo the open press.
- Mind the seam intersections. Where several seams meet, position just that junction on the rounded edge so you can open it without distorting the surrounding piecing.
Care and Storage
The bar is simply wood and wool, so care is easy. Brush lint and loose threads off the wool surface after a pressing session so they do not transfer to your next project. Keep the bar dry, store it flat or standing on its wood base near your ironing station, and avoid leaving a hot iron resting on the wool edge.
Project Ideas
Reach for the Presser Bar whenever a pattern calls for seams pressed open: Dresden Plate and Fan blocks, intricate pieced blocks with seams close together, backgrounds where you want allowances spread to reduce bulk, and long joining seams on quilt tops where a flatter finish helps the layers quilt smoothly.
Shop the The Gypsy Quilter Presser Bar 12in at Linda's Electric Quilters.


