
How to Use My Happy Place Zippers: Colorful Double-Pull Zippers for Bags and Pouches
If you sew bags, pouches, and organizers, the zipper is often the first thing people notice — and the part that has to work every time. My Happy Place Zippers, the Happy Zippers by Lori Holt of Bee in my Bonnet, bring both color and function to that job.
What Are My Happy Place Zippers?
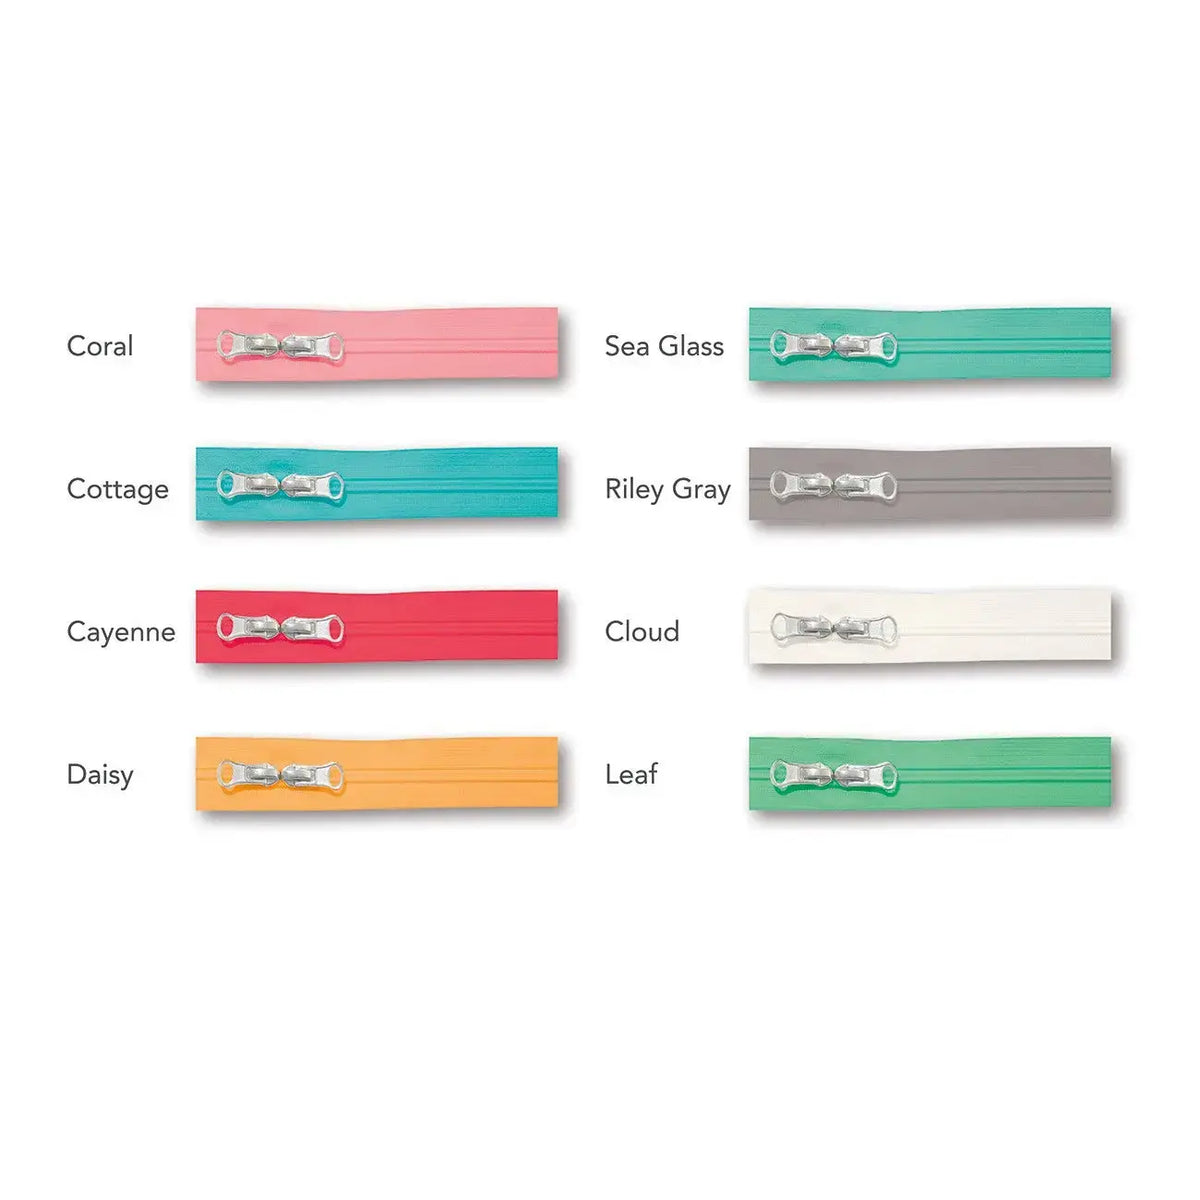
My Happy Place Zippers come in a package of 8 different zippers in Lori Holt's fun colors. Each zipper measures 1 inch by 16 inches — the 1-inch measurement is the tape width — and each zipper has 2 zipper pulls. That double-pull detail is the defining feature: you have a pull at each end, so the zipper can be opened from either side, or opened in the middle with the two pulls parting as you reach inside.
Because the pack includes eight different colors, you can match a zipper tape closely to your fabric or choose a contrasting color and let the zipper become part of the design.
Why Quilters and Sewists Use Them
First, double pulls add real convenience. On a wide pouch or project bag, you can unzip from whichever end is closest, open just the center, or close the bag with the pulls meeting in the middle.
Second, color choice matters. A zipper that coordinates with your prints makes a handmade bag look finished and intentional, while a bright contrast adds a cheerful look.
Third, having a pack on hand saves time. With eight colors in the same 16-inch length in your stash, you can start when inspiration strikes.
How to Use Them, Step by Step
- Choose your color. Lay your project fabrics next to the eight zippers and pick the tape that matches or contrasts best.
- Check the length. Each zipper is 16 inches long. Compare it to your pattern's zipper opening before you sew, and follow your pattern if it calls for shortening.
- Position the pulls. Before sewing, move both pulls to where your pattern needs them — often meeting in the center — so neither pull gets caught in a seam allowance.
- Attach the zipper. Pin or clip the 1-inch tape in place along the opening, following your pattern. Sew one side, then the other, keeping stitching clear of the zipper teeth.
- Move the pulls as you sew. When your presser foot approaches a pull, stop with the needle down, lift the foot, and slide the pull past. Lower the foot and continue for a smooth seam.
- Test before you finish. Open and close the zipper from both ends several times. Both pulls should travel smoothly, and the opening should lie flat.
Practical Tips for Success
Never sew over closed zipper teeth — always move the pull out of the way or stop and reposition it. Keep the two pulls together when handling the zipper before installation so a slider does not run off the end of the tape. If you are making a matching set of pouches, orient each zipper the same way so they all open consistently. Press the tape gently flat from the fabric side before installing; a flat tape is easier to align accurately.
Care and Storage
Store unused zippers flat or loosely coiled in a drawer or pouch, away from direct sunlight, so the tape colors stay bright and the tape does not take a permanent curl. Keep the pack together and note which colors you have used. For finished bags, follow the care needs of your project fabrics, and close zippers before laundering a washable project to help the pulls and tape keep their shape.
Project Ideas
Use a double-pull zipper on a wide project bag so you can open it from either end at a class or retreat. Add one to a notions pouch and open just the center to grab a spool. Make a set of gift pouches, giving each a different color from the pack. A 16-inch zipper also suits a pillow back, a book sleeve, and a travel organizer.
Shop the My Happy Place Zippers at Linda's Electric Quilters.


