
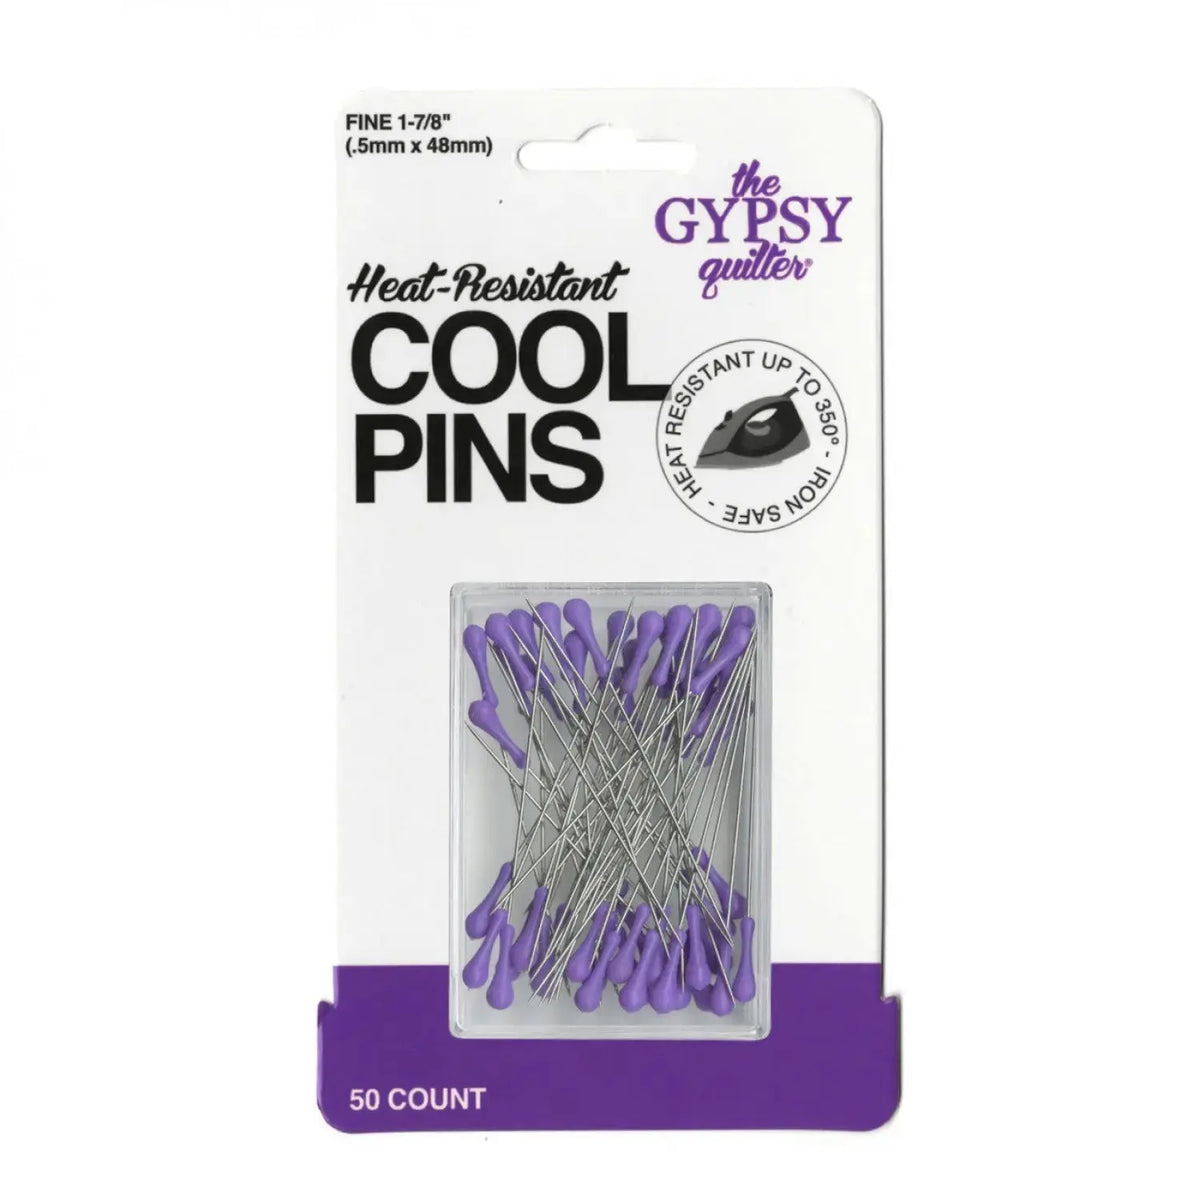
What Are Cool Pins?
Cool Pins from The Gypsy Quilter are straight pins with one very useful difference from ordinary pins: they are heat resistant up to 350 degrees Fahrenheit. That means you can iron right over them without melting the head of the pin — and without burning your fingers on a hot pinhead when you pull them out. This pack includes 50 pins in Gypsy Purple, each 1-7/8 inches long, made of stainless steel with nylon heads, and they arrive in a reusable storage box. Cool Pins are also available in Bohemian Blue.
Why Quilters and Sewists Use Them
Pressing is where quilts are made flat, crisp, and accurate — but standard pins and hot irons do not mix. A regular plastic pinhead can soften or melt under a hot iron, and a metal pin pulled straight from under the press can be uncomfortably hot to handle. Cool Pins remove that worry, so you can pin a seam allowance, a binding edge, or an appliqué piece in place and press it exactly as pinned, keeping everything aligned while the heat sets it.
The design helps in other ways, too. The large pinheads are easy to grasp and manipulate, which makes them comfortable for all ages and for hands that find tiny pinheads fiddly. The heads are also colorful, so the pins are easy to spot against your fabric and easy to remember to remove before you sew. And because the shafts are sharp and fine at just 0.5 mm, they glide into fabric smoothly and will not leave holes in your finished projects — an important detail on quilting cottons and other fabrics you want to keep pristine.
How to Use Cool Pins: Step by Step
- Pin your layers as usual. Place your fabric pieces, seam allowances, or appliqué shapes where they belong and pin through all layers, letting the large heads sit on top where you can see them.
- Check your iron temperature. Cool Pins are heat resistant up to 350 degrees Fahrenheit, so keep your iron at or below that level while pressing over the pins.
- Press right over the pins. Iron directly across the pinned area to set seams flat, hold a fold in place, or tack down an edge. The heads will not melt, and your alignment stays exactly as you pinned it.
- Remove the pins before sewing. The bright purple heads make each pin easy to spot. Pull them out as you approach the needle — Cool Pins are for pinning and pressing, not for sewing over.
- Return the pins to their box. Drop them back into the reusable storage box so all 50 stay together and off the floor.
Practical Tips
Use the fine 0.5 mm shaft to your advantage on precision work: pin close to a seam line when you need an edge to stay put for pressing, knowing the pin will slip back out without marking the fabric. The generous 1-7/8 inch length gives you plenty of pin to hold multiple layers securely. If you press a lot of pinned work, keep this set dedicated to the ironing board so a heat-safe pin is always within reach, and use the colorful heads as a visual checklist — if you can still see purple, a pin is still in the project.
Care and Storage
Store Cool Pins in their reusable box with the lid closed, which keeps the fine points protected and prevents strays in your sewing basket. Wipe the stainless steel shafts clean if they pick up any residue from fusibles or starch, and set aside any pin that becomes bent so it does not snag fabric. Keep the box near your pressing station rather than in direct contact with a hot iron soleplate.
Project Ideas
Cool Pins shine anywhere pinning meets pressing: setting seam allowances open or to one side as you piece blocks, holding binding in place while you press its fold, positioning appliqué pieces before fusing or stitching around them, and keeping hems, facings, and garment edges aligned at the ironing board. They are equally handy for everyday sewing tasks where you want to baste with pins, press, and then sew with confidence that nothing has shifted.
Shop the The Gypsy Quilter Cool Pins Gypsy Purple 50pc at Linda's Electric Quilters.


