
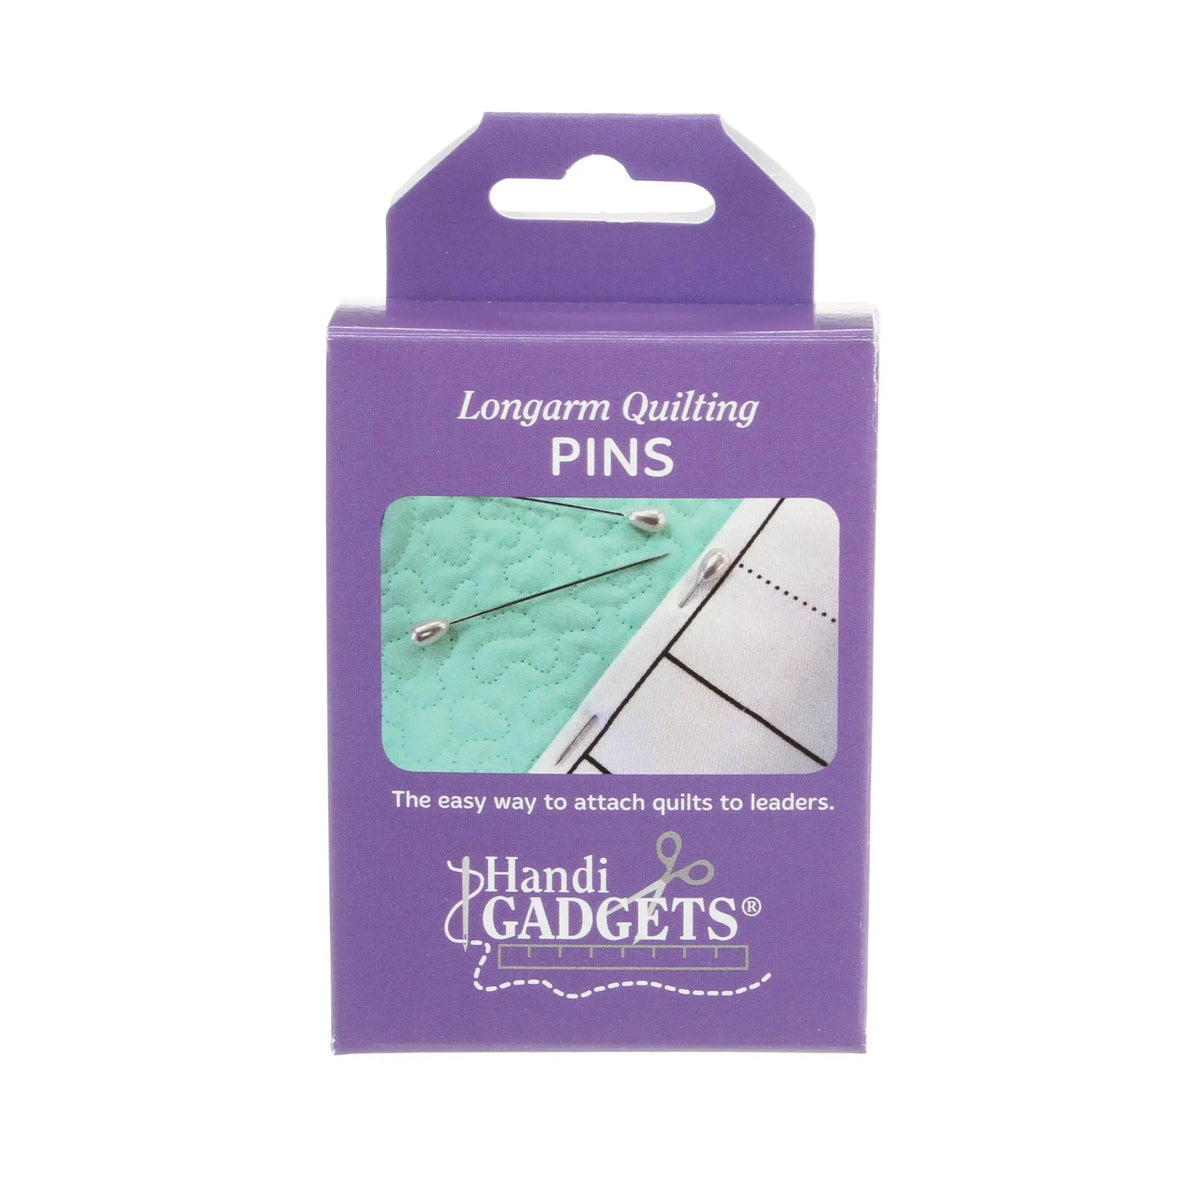
How to Use Longarm Quilting Pins: Tips for Securing Quilt Layers on a Longarm
Pinning for a longarm frame is different from pinning for a domestic machine. You need pins long enough, sharp enough, and easy to see and remove as you advance the quilt. Longarm Quilting Pins are made for exactly that job.
What These Pins Are
These are 2-inch pins with white pear-shaped heads, made of plastic and metal. At 2 inches long, they are longer than many standard sewing pins, so they can take a deeper bite into the quilt sandwich. According to the product description, they are sharp enough to pierce multiple layers of fabric.
Each pack contains 144 pins. The description notes that one box holds enough pins to pin even a king-sized quilt, and that the pins will last you for years. The white pear-shaped heads are practical, too — they stand out against most fabrics and are easier to grip than tiny round heads when you are removing pins quickly.
Why Longarm Quilters Use Them
Longarm quilters use long pins to secure backing, batting, and top to leaders and to hold layers in place along the sides and edges of the frame. If a pin is too short, it may only catch the top layer or pull out as the quilt is advanced. If it is not sharp enough, it drags through the layers instead of piercing them cleanly, which can shift the sandwich you just squared up.
A longer, sharp pin helps you pin through the full thickness with confidence, so the layers stay smooth and do not creep while you quilt. Having 144 in the box also means you do not have to ration pins on a large quilt.
How to Use Them, Step by Step
- Load and square the backing first. Attach the backing to your leaders as you normally do, smoothing it taut but not stretched.
- Lay in the batting and top. Center the batting and quilt top over the backing, smoothing from the center outward so there are no wrinkles underneath.
- Pin at an angle through all layers. Push each 2-inch pin through the top, batting, and backing, angling it so the length of the pin takes a deep bite. Let the white head rest on top where you can see it.
- Space pins evenly. Work across the area you are securing, keeping spacing consistent. Use closer spacing on edges that tend to shift.
- Check from the side. Run your hand lightly over the pinned area. If you feel a bubble or ripple, remove the nearest pins, smooth the layers again, and re-pin.
- Remove pins before they reach the needle area. As you advance the quilt, take pins out well ahead of where you will stitch. Never quilt over a pin.
Practical Tips
Pin in the direction you will be removing them, so you can pull them in a smooth, predictable motion. Keep a magnetic dish or pin holder at the frame so removed pins go straight into one place instead of onto the floor. Count pins in and out on a large quilt — a quick count at the end is a simple safety check. If a pin bends or develops a rough spot, retire it; a damaged pin can snag fabric.
Care and Storage
Store the pins in their box or in a closed pin container with the points protected. Keep them dry to protect the metal shafts. Because the heads are plastic, avoid leaving pins in a hot car or under a hot iron. Inspect pins occasionally and discard any that are bent or dull.
Project Ideas
These pins earn their keep on any longarm-loaded project: king, queen, and throw quilts that need much of the box, quilts with thicker batting that need a longer bite, and quilts where the backing and top are pinned to leaders for loading. They are also handy for holding layers steady while you check alignment before quilting begins.
Long, sharp, easy-to-see pins remove one source of frustration — layers shifting after careful loading — and let you get to the stitching sooner.
Shop the Longarm Quilting Pins at Linda's Electric Quilters.


