
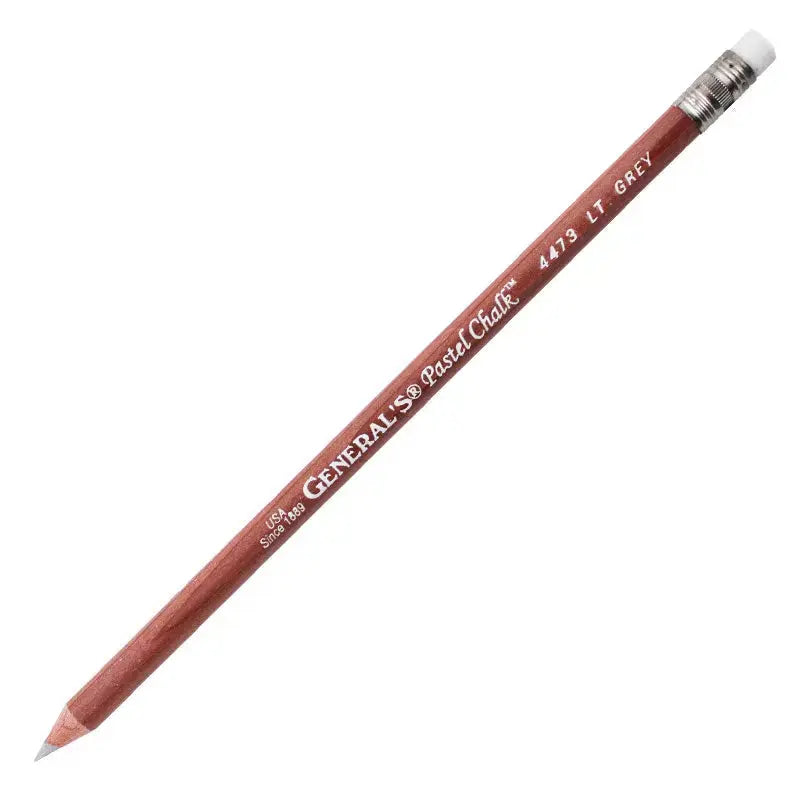
How to Use a Light Grey Chalk Pencil: Marking Tips for Quilters
Every accurate quilt starts with a line you can follow. A Light Grey Chalk Pencil is a simple marking tool for drawing quilting lines, placement guides, and reference marks directly on fabric before you stitch. The product description calls it a wonderful tool for marking your quilt — and that is where it earns its place: at the start of a project, when a clear line saves you from unpicking later.
What a Chalk Pencil Is
A chalk pencil puts chalk into a familiar pencil form, so you hold and control it the way you would any pencil. That makes it easy to draw straight lines along a ruler, trace around templates, and mark small details that would be awkward with a broader marker. The light grey color is a practical middle tone: it is a step softer than a dark pencil line and a step more visible than white on pale fabrics, which is why grey is a handy color to keep in a general marking kit.
Quilters and sewists reach for a marking pencil whenever a design needs to be transferred to fabric before stitching — quilting motifs, stitching lines, appliqué placement, and cutting or alignment guides.
Why Quilters Use One
Freehand quilting is beautiful, but many designs work better when the key lines are marked first. A chalk pencil helps you keep quilting evenly spaced, keep motifs symmetrical, and stay on track across a large quilt top where it is easy to drift. Because you control the pressure, you can make a bold line for a main quilting path or a faint line for a guide you only need to glimpse as you sew.
How to Use It, Step by Step
- Test first. Make a small mark on a scrap of your project fabric, or in an inconspicuous spot such as a seam allowance, and check that you can see it clearly and that it behaves the way you expect on that fabric.
- Keep the point tidy. Sharpen or tidy the tip as needed so your line stays fine and accurate rather than broad and fuzzy.
- Use a ruler or template for straight work. Rest the pencil against a ruler for stitching and squaring lines, or trace around a template for motifs and appliqué shapes.
- Draw with a light, steady hand. Let the chalk lay down a clear line without pressing so hard that you distort the fabric. Mark in sections if you are working on a large top.
- Mark only what you need. Add registration marks, centers, and endpoints so you can realign a design if you need to re-mark part of it.
- Stitch along your lines. Follow the marked path, checking as you go that the line is still visible under your machine lighting.
Practical Tips
Choose your marking color for contrast: light grey works across a wide range of medium prints and solids, but always judge it against your actual fabric under your actual sewing light. Mark on a flat, supported surface so the fabric does not stretch as you draw. Re-mark in small sections on big projects, so the lines you need most are the freshest and clearest.
Care and Storage
Store your chalk pencil with your other marking tools, protected so the tip is not knocked or crushed in a crowded drawer. Keep it dry and within reach of your cutting and pressing area, since marking often happens right after pressing a top flat. Replace or re-sharpen as the point wears so your lines stay precise.
Project Ideas
Use a Light Grey Chalk Pencil to mark straight-line and grid quilting, lay out a repeating motif across a table runner, place appliqué pieces before stitching, and mark centers and alignment points for embroidery. It is equally handy for garment sewing tasks like marking darts and buttonhole placement on a test piece.
Shop the Light Grey Chalk Pencil at Linda's Electric Quilters.


