
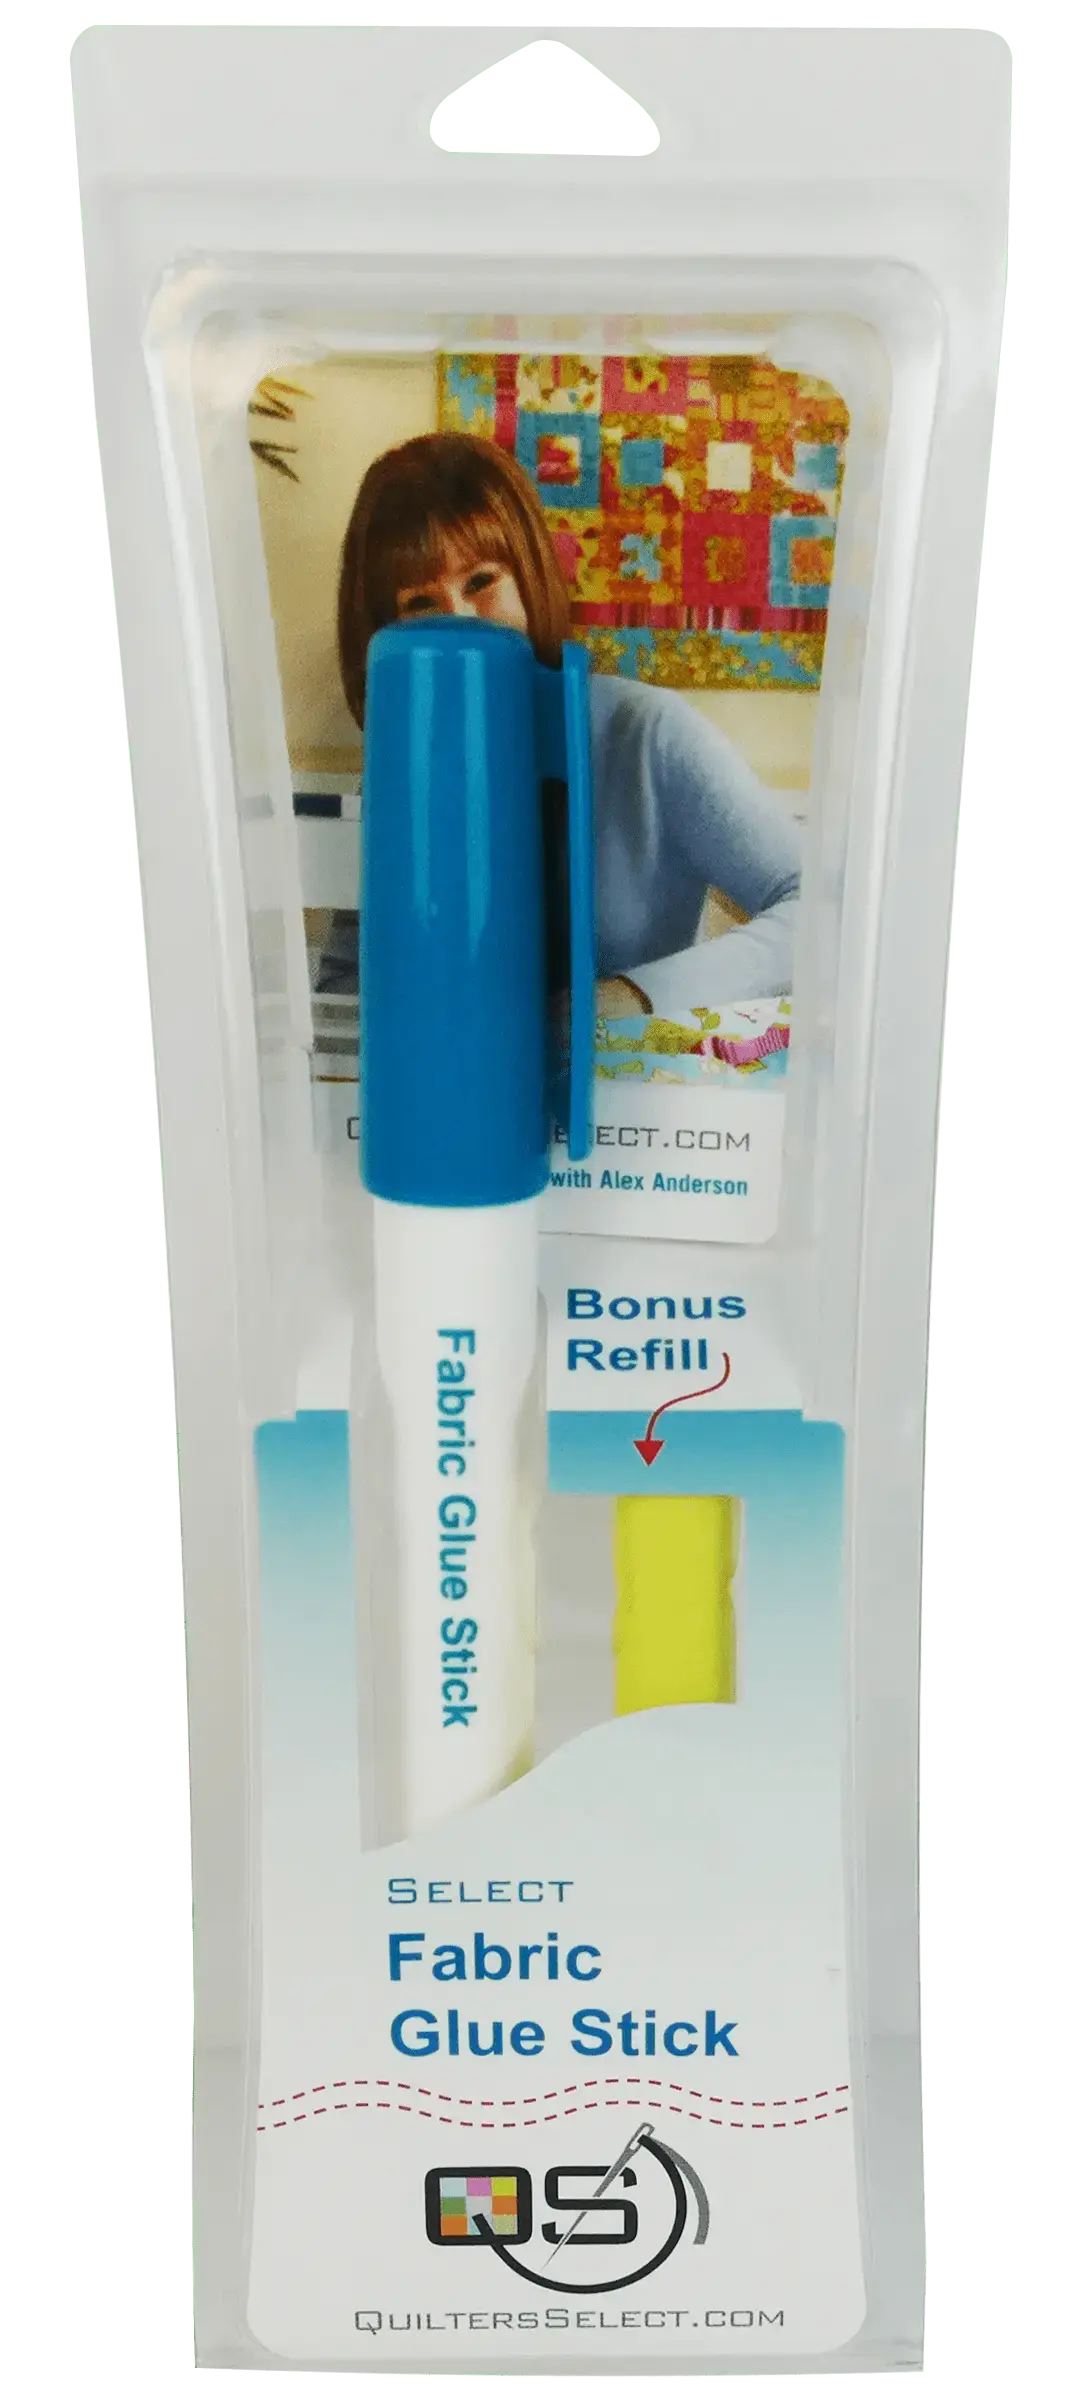
How to Use the Quilters Select Glue Stick - Yellow: Pin-Free Help for Appliqué and Quilting
Sometimes the hardest part of a project is not the sewing — it is holding a small piece of fabric exactly where you want it while you sew. Appliqué shapes shift, and tiny pieces refuse to stay put under pins. The Quilters Select Glue Stick - Yellow is made for that moment: a fabric glue stick that helps you position pieces before you stitch, so you can work with more control and less fuss.
What This Glue Stick Is
The Quilters Select Glue Stick is uniquely designed for use with fabrics, rather than being a general-purpose glue borrowed from a desk drawer. Its shape is part of its appeal: it is long and thin, which makes it easier to handle along narrow edges, small appliqué pieces, and other detailed areas. The glue is yellow when applied, so it is easy to see what is being glued. That visible color is genuinely helpful — instead of guessing whether you missed a corner, you can check your coverage at a glance before you place the fabric.
Why Quilters and Sewists Use It
Quilters reach for a fabric glue stick when pins get in the way. Pins can distort small pieces, leave you repositioning the same shape over and over, or be awkward on work that needs to lie flat. A light application of glue helps hold a piece in position while you move it to the machine and stitch it down. That is why the product is described as a must-have tool for appliqué, quilting, and general sewing. It is especially helpful for beginners, because you can arrange a design, check the placement, and only then commit to stitching.
How to Use It, Step by Step
- Prepare your pieces. Cut your appliqué shape and lay out your background fabric on a flat surface. Decide on the final placement before you apply any glue.
- Test first. On a scrap of the same fabric, make a small mark to see how the yellow glue looks on that color and how much pressure gives an even application.
- Apply a light line of glue. Run the long, thin stick along the back of the piece, focusing on edges and any points or curves that tend to lift. Because the glue is yellow when applied, you can easily see gaps.
- Position the piece. Place the fabric where you planned it, smooth it gently from the center outward, and press lightly with your fingertips.
- Check before you sew. Confirm that edges are aligned, shapes are not twisted, and no extra glue is visible outside the piece.
- Stitch as planned. Sew the piece down using the stitch your project calls for, working steadily around curves and points.
Practical Tips
Use less than you think you need. A thin line along the edge usually does the job, and it is easier to add a touch more than to deal with a heavy application. Work on a clean, flat surface, and apply glue to the smaller piece rather than the background for better control. Keep a scrap nearby for wiping your fingers, so you do not transfer glue to the right side of your fabric.
Care and Storage
Replace the cap after every use so the end of the stick stays clean and ready to apply smoothly next time. Store it with your other appliqué tools in a dry spot at your sewing table or in a notions pouch. Check the tip for lint before you start, and avoid pressing down hard, which can make application uneven.
Project Ideas
Try it on appliqué blocks, to hold small pieces in place while you build a quilt block, to position labels, or for general sewing tasks where an extra hand helps keep edges aligned. Its slim shape makes it easy to tuck into a class or travel kit.
Shop the Quilters Select Glue Stick - Yellow at Linda's Electric Quilters.


