
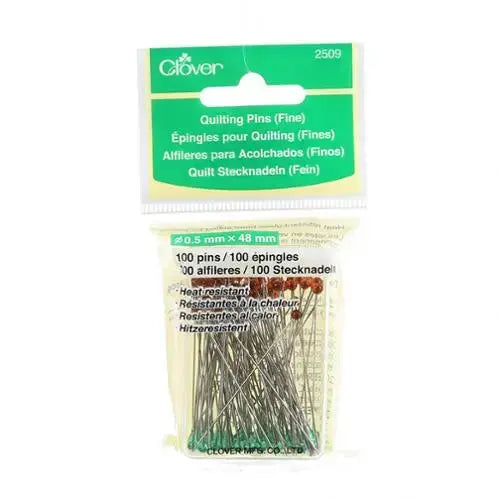
How to Use Quilting Pins Fine by Clover: Tips for Precise, Heat-Safe Pinning
Every quilter knows the frustration of a pin that will not glide through layered fabric, leaves a visible hole, or melts when it meets a hot iron. Quilting Pins Fine by Clover are made specifically for quilt work, with a thin, sharp point and a heat-resistant glass head, so you can pin accurately, press with confidence, and keep seams exactly where you placed them.
What These Pins Are
Quilting Pins Fine by Clover come in a package of 100 pins. Each pin measures 0.6 mm in diameter and 48 mm in length — long enough to hold quilt layers and seam allowances securely, yet fine enough to pass easily through fabric. The thin, sharp tip slips cleanly between fibers instead of pushing them aside roughly, which helps protect quilting cottons and keeps your pinning precise. The head is made of iron-proof glass, so it is heat resistant and will not melt the way a plastic head can if your iron touches it.
Why Quilters and Sewists Use Them
Quilters reach for fine, longer pins where accuracy matters most: matching seams at intersections, holding long seams together before stitching, pinning borders so they do not shift, and securing binding. Because the shaft is fine at 0.6 mm, these pins are less likely to distort fabric or leave a noticeable hole, while the 48 mm length gives more holding power across thicker spots than a short, standard pin. They are also useful when you pin close to a press line: the glass head tolerates heat, so you can press a seam allowance flat with pins still in place instead of removing every pin and hoping nothing creeps.
How to Use Them, Step by Step
- Start with flat fabric. Press your pieces first, then lay them out with seam allowances arranged exactly as they will be sewn.
- Pin perpendicular to the seam line. Insert the pin across the seam line, not along it. Drive the fine tip in, under, and back up through all layers in one smooth motion, so you can remove the pin just before the needle reaches it.
- Space pins for the job. Place pins every 2 to 3 inches on curves, long borders, and matched intersections, and farther apart on short, straight, stable seams.
- Lock intersections first. Nest the seam allowances, place a pin directly through the intersection to lock the match, then add one pin on either side.
- Press if needed, then sew. You can press pinned pieces briefly to set a fold or seam. Sew slowly, remove each pin before the needle arrives, and never sew over a pin.
Practical Tips
Let the sharp, fine tip do the work. If a pin resists, do not force it — that can bend the shaft or tear fibers. Try a slightly different angle or a fresh pin instead. Inspect pins regularly and discard any that are bent, dull, or burred, because a damaged pin can snag fabric. Note that heat resistant does not mean indestructible: brief contact with a hot iron is fine, but do not park the iron on the glass heads.
Care and Storage
Store pins in a closed container, pincushion, or magnetic dish so the fine points stay protected and no strays end up in carpet or upholstery. Keep them dry, and store them away from small children and pets, as you would any sharp notion. Sort occasionally — straight, sharp pins go back in the cushion, and damaged ones go into a safe sharps container for disposal.
Project Ideas
Use these pins for piecing quilt blocks where points and intersections must match, attaching borders evenly around a quilt top, pinning binding in place before stitching it down, and holding long seams on quilt backings. They are equally handy for garment and craft sewing whenever a fine pin and a heat-safe head make pressing and precision easier.
Good pinning is invisible in a finished quilt — the seams simply meet, the borders lie flat, and nothing has shifted. A fine, sharp, heat-resistant pin makes that quiet accuracy much easier to achieve.
Shop the Quilting Pins Fine by Clover at Linda's Electric Quilters.


