
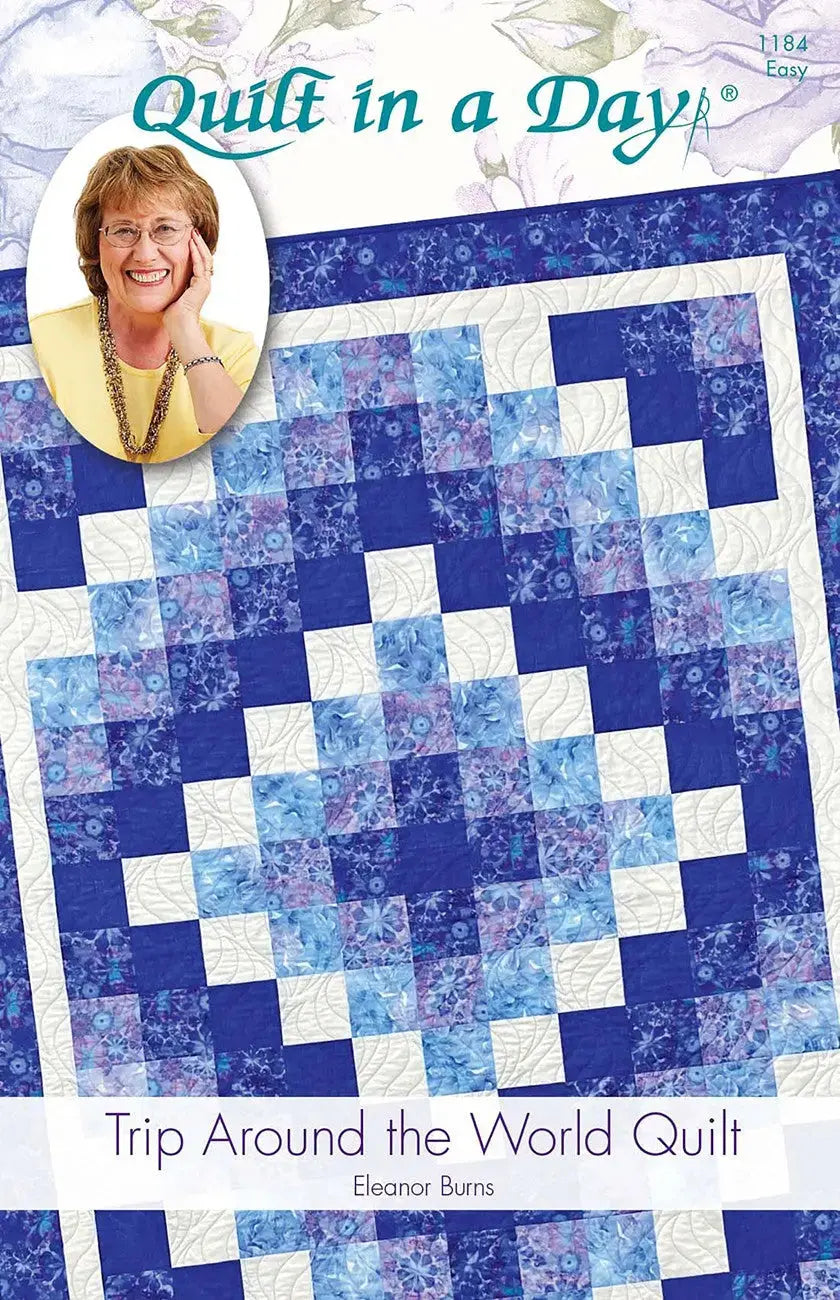
How to Make a Trip Around the World Quilt: A Beginner's First Quilt You Can Make in a Day
Some classic designs look complicated from a distance and wonderfully simple once you see how they go together. Trip Around the World is one of those designs. This printed paper pattern walks a beginner through a beautiful quilt that can truly be made in a day, using standard machine sewing and tools most quilters already own.
What It Is and Why Quilters Use It
Trip Around the World is a printed paper pattern for a finished quilt measuring 56 inches by 72 inches. It is rated for beginners and uses standard machine sewing, with no templates included — and, importantly, none needed beyond the basics for this design. The pattern describes itself as a great first quilt, which makes sense: instead of asking a new quilter to master specialty rulers or complicated piecing, it builds the quilt from strips and rows.
Quilters love this layout because the finished effect comes from how fabrics are arranged in rows, not from difficult construction. That makes it satisfying for a first-time quilter who wants a real finished quilt, and relaxing for an experienced quilter. At 56 inches by 72 inches, the finished size is generous enough to use and display, while still being manageable to piece and finish.
How to Use It, Step by Step
- Read the whole pattern first. Before cutting anything, read through the printed instructions from start to finish so you understand how the strips become rows and how the rows build the design.
- Gather your basic tools. According to the pattern, a 6 inch by 24 inch ruler and a rotary cutter are all you need to cut strips and rows for your quilt. No other fancy rulers are needed. Add your sewing machine, set up for standard machine sewing, along with your usual pressing and cutting surfaces.
- Choose and prepare your fabrics. Pick fabrics that show up clearly next to each other in rows, press them flat, and lay them out in sewing order to preview the effect before you cut.
- Cut your strips. Using the ruler and rotary cutter on a cutting mat, cut the strips the pattern calls for, keeping edges straight and consistent. Accuracy here keeps the rows aligning neatly later.
- Sew strips into rows. Follow the pattern's order to join your strips and build the rows with standard machine sewing, pressing as you go so each row lies flat.
- Join the rows and finish. Sew the completed rows together in the pattern's sequence, watching the arrangement as the Trip Around the World design emerges. Then layer, quilt, and bind your top to reach the finished 56 inch by 72 inch quilt.
Practical Tips
Label your rows as you cut and sew them. A small sticky note or clip on each row prevents the most common beginner mistake — sewing a beautiful row in the wrong place. Press consistently, check strips are straight before joining them, and photograph your laid-out rows before sewing; a photo makes misplaced fabrics easier to spot. Work at a comfortable pace: a quilt that can be made in a day is still more enjoyable when the cutting is careful.
Care and Storage
Store this printed paper pattern flat and dry, away from direct light, in an envelope or clear pattern sleeve. Keep it away from hot irons and cutting areas where a stray rotary cut could damage a page. Keep any notes about fabric choices or row order with the pattern so your second version starts even faster.
Project Ideas
Make it as written for a confident first quilt, then make it again in a different fabric arrangement to see how dramatically the same rows can change. It is a natural choice for a gift quilt, a charity quilt, a beginner class or sew-along, and a weekend project for experienced quilters who want a classic finish without specialty tools.
Shop the Trip Around the World at Linda's Electric Quilters.


