
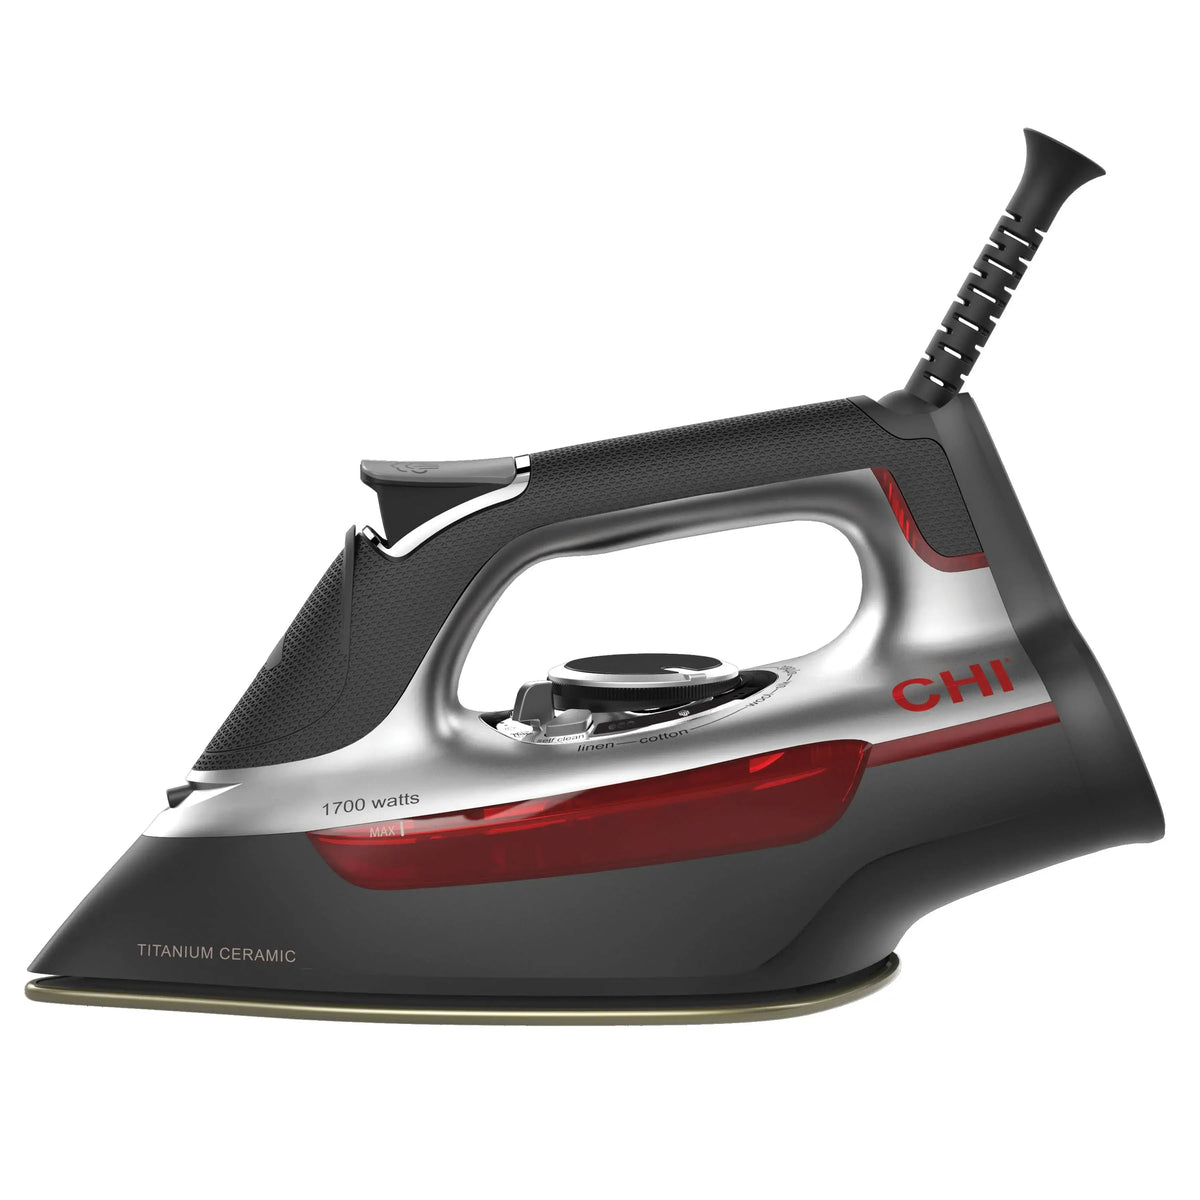
A crisp seam starts long before you sew the next one — it starts at the pressing station. The CHI Professional Iron brings CHI flat iron technology to your sewing room, pairing it with a titanium-infused ceramic soleplate designed for an extra-smooth glide over fabric. It is built for pressing yardage, setting seams as you piece, and flattening finished blocks.
What the CHI Professional Iron Is
This is a full-size iron made of plastic and metal, sold as one iron per package. Its titanium-infused ceramic soleplate is scratch resistant and made to move smoothly across cotton and quilt layers without dragging. Underneath, over 300 steam holes deliver steam across the soleplate for superior performance, rather than concentrating it in just a few spots.
Two controls matter most: precise temperature control to match heat to your fabric, and a unique adjustable steam control. It heats up quickly, has an easy-to-grasp comfort grip, a generous 10-foot cord, and a limited 2-year warranty.
Why Quilters and Sewists Use It
Quilters press to set stitches, flatten seam allowances, smooth yardage before cutting, and coax blocks to lie flat and square — dozens of times in a session. A smooth-gliding soleplate helps you lift and set the iron down without shifting layers, even steam relaxes wrinkles and sets creases, and precise temperature control helps you work confidently across quilting cottons. Quick heat-up matters too: you are ready to press instead of waiting around.
How to Use It
- Set up your station. Place the iron on a stable, heat-safe surface with room for fabric to spread out, and keep the 10-foot cord clear of your fabric path.
- Choose your temperature. Use the precise temperature control to select a setting suited to your fabric, and allow the iron to heat up fully before you begin.
- Prepare the fabric. Lay yardage, units, or blocks flat and smooth them by hand first, so you are pressing out wrinkles rather than pressing them in.
- Press, do not slide. Lift the iron, set it down on the seam or section, hold briefly, then lift and move to the next spot. Let the smooth soleplate and even steam do the work.
- Adjust steam as needed. Use the adjustable steam control for stubborn wrinkles, setting seams, and final pressing. Reduce or turn off steam for steps where a dry press gives you better control.
- Work in stages. Press seams as you sew, press units before joining them, and give finished blocks a final press before trimming or assembly.
Practical Tips
Press every seam as you go — it is far easier to keep blocks accurate than to rescue distorted ones later. Test temperature and steam on a scrap first, especially when you change fabric types. When pressing large yardage before cutting, work in manageable sections and let each section cool flat before stacking it.
Care and Storage
Let the iron cool completely before storing it in a stable spot where it cannot tip. Keep the soleplate clean and check it before pressing light fabrics — a clean surface glides better and protects your work. Coil the cord loosely, keep the iron dry at your pressing station, and follow the manufacturer's guidance for filling, emptying, and cleaning.
Project Ideas
Use it throughout a quilt, not just at the end: prep yardage before cutting, set seams while piecing, press sashing and borders before joining rows, and give the finished top a final press before layering with batting. Beyond quilts, it presses garment seams, smooths table runners and placemats, and freshens finished projects before gifting. Any project where flat, crisp seams matter is one where good pressing pays off.
Shop the CHI Professional Iron at Linda's Electric Quilters.


