
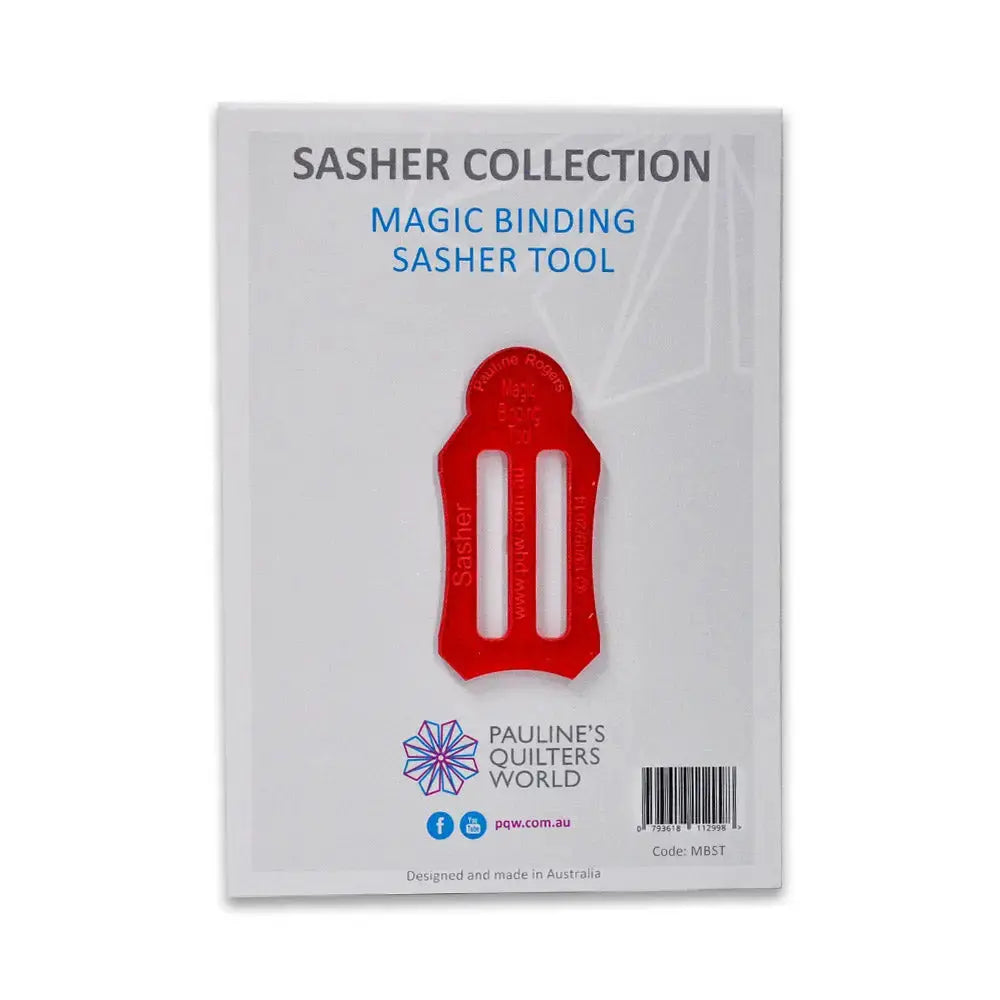
How to Use the Magic Binding Sasher Tool: Flanged Binding Without Burned Fingers
Binding is the last thing you add to a quilt, and often the first thing people notice. A flanged binding — sometimes called a peeper binding — goes one step further: a narrow strip of accent colour peeks out between the main binding and the quilt, adding a crisp line of contrast. The Magic Binding Sasher Tool, from Pauline's Quilters World, is described as the quickest and most precise way to make binding with a peeper or flange, giving your quilt a professional look — without burning your fingers.
What It Is and Why Quilters Use It
Making flanged binding the usual way means folding a long, awkward strip by hand at the iron while trying to keep every fold the same width. That is slow, folds easily go wavy and uneven, and fingertips end up uncomfortably close to a hot iron.
The Magic Binding Sasher Tool does the folding for you as you press. Its curved edge, butted up to the side of your iron, lets it move smoothly along the strip, folding the edges in as you glide — so you get precise, uniform folds and consistent binding widths from end to end.
How to Use It, Step by Step
- Cut the main colour strip. Cut your main binding fabric at 1 1/2 inches wide.
- Cut the accent strip. Cut the accent colour for the peeper/flange at 1 3/4 inches wide — slightly wider than the main strip, which is what lets that narrow line of colour show.
- Cut enough to go around. Make sure you cut enough strips of each fabric to go around the full length of your quilt, then join each set of strips together so you end up with two long, individual strip sets: one main, one accent.
- Join the two strips. Stitch the two long strips together with a 1/4-inch seam.
- Press toward the main colour. Press the seam to the main colour — the 1 1/2-inch strip. You now have a combined strip that measures 2 3/4 inches wide, ready to fold.
- Fold with the Sasher. Feed the combined strip through the Magic Binding Sasher Tool, butt the tool's curved edge up to the side of your iron, and glide the tool smoothly along the strip. The tool folds the edges while the iron sets them, working your way along the full length until the whole binding strip is folded and pressed.
- Apply as usual. Your flanged binding is now ready to sew to your quilt using your preferred binding method, with the accent flange sitting neatly where the binding meets the quilt top.
Practical Tips
Press the seam consistently toward the main colour to keep the flange even all the way around, and take the folding stage at a steady pace — a smooth glide produces uniform folds. Try a short test strip first to get comfortable guiding the tool against the iron. Choose the accent with contrast in mind: the flange is narrow, so a colour that stands apart from both the binding and the quilt top will read best.
Care and Storage
Store the tool flat in your pressing drawer, away from direct iron heat when not in use, with your other binding supplies. Wipe off lint and loose threads after a session so it glides smoothly next time, and roll any pressed leftover binding strips to store alongside it.
Project Ideas
Flanged binding shines anywhere a crisp frame matters: a modern quilt needing a sharp line of contrast, a baby quilt with a playful pop of colour, table runners and placemats where the binding is a feature, and wall hangings that benefit from a tailored finish.
Shop the Magic Binding Sasher Tool at Linda's Electric Quilters.


