
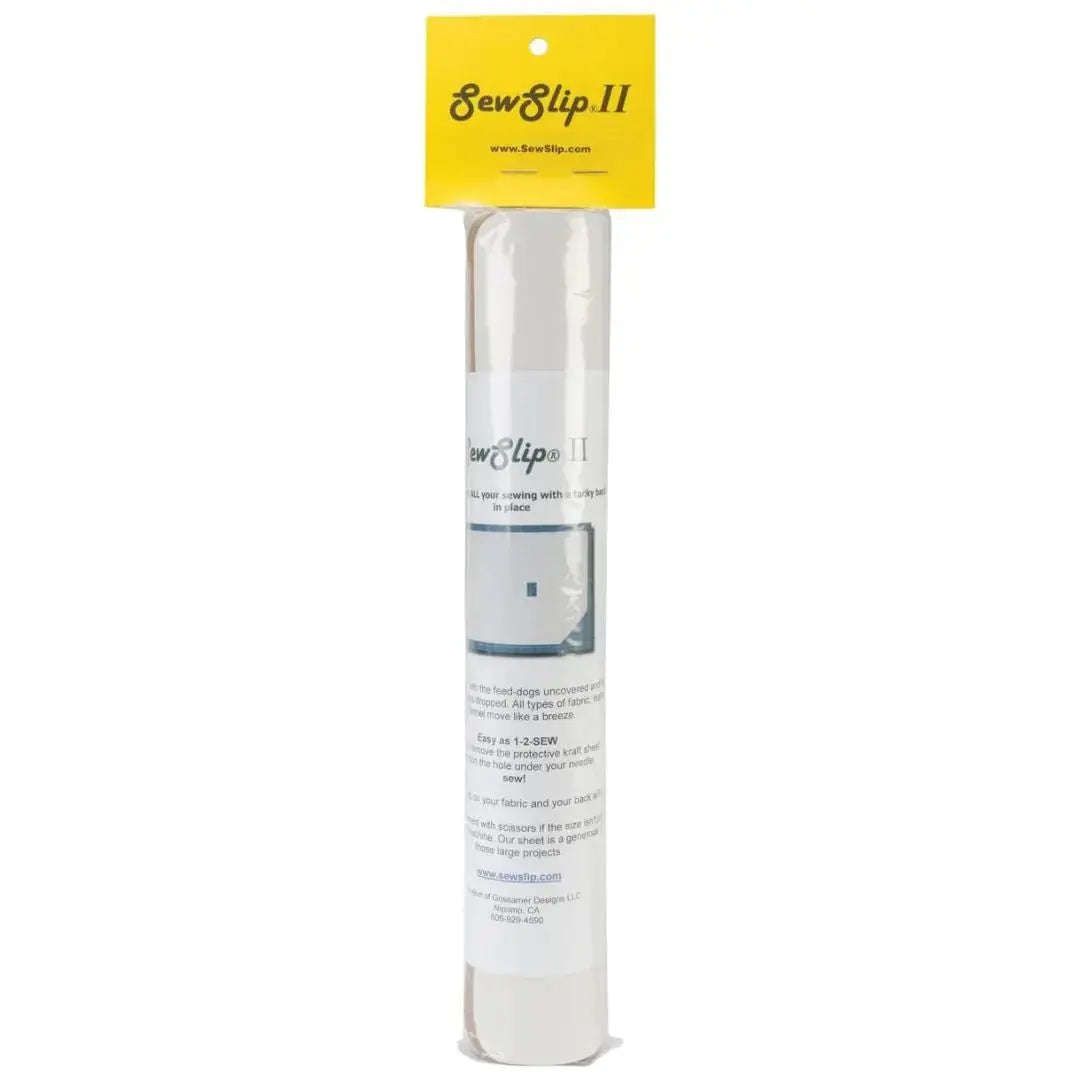
What Is the Sew Slip Mat II?
The Sew Slip Mat II is a dual-sided mat that sits on the bed of your sewing machine to help fabric and quilt layers move more easily as you sew. One side is slippery, so your work glides across it instead of dragging. The other side is tacky, so the mat grips the machine bed and stays put while you work. In the middle is a rectangular hole measuring 1 inch by 1.5 inches, sized to let the feed dogs show through.
That combination — a slick top, a grippy underside, and an opening for the feed dogs — is what makes the mat so useful: your quilt moves freely on top, while the mat itself stays put underneath.
Why Quilters and Sewists Use It
Anyone who has wrestled a large quilt through a domestic machine knows the effort involved. You push, pull, bunch, and reposition, and by the end of a long session your shoulders, neck, and back feel it. Because the Sew Slip Mat II lets quilt layers glide smoothly over the machine bed, there is far less pushing and pulling to do, and that translates into less physical strain during long quilting sessions.
The mat also shines with fabrics that normally resist feeding. The description notes it allows sewing with difficult fabrics such as leather and pleather, minky, flannel, and fleece. Those are exactly the materials that tend to stick, shift, or drag — and a slippery surface under them helps them move along instead of fighting you.
How to Use It, Step by Step
- Place the mat tacky side down. Set the mat on your machine bed with the tacky surface against the machine so it adheres securely, and the slippery surface facing up.
- Align the hole over the feed dogs. Position the 1 inch by 1.5 inch rectangular hole so the feed dogs show through it.
- Choose your setup for your technique. For free motion quilting, lower the feed dogs and use a darning foot — the hole accommodates the needle movement. For guided quilting, the mat also works with a walking foot or an open toe foot.
- Lay your work on the mat. Position your quilt or fabric on the slippery surface, supporting the bulk of a large quilt on the table around the machine as usual.
- Sew and let the mat do the sliding. Guide your work with a light touch. Instead of shoving the quilt through, let it glide — especially helpful when using a walking foot to glide large quilts while stitching in the ditch.
Practical Tips
Check the hole alignment before you start stitching. If the opening has shifted away from the feed dogs or needle area, your fabric will not feed or move the way you expect, so a quick reposition is worth it.
Resist the urge to force bulky work. The point of the slippery surface is that gentle guidance replaces muscle. If you still find yourself pushing hard, stop and redistribute the weight of the quilt on your table first, then continue.
Reach for the mat when a fabric feels grabby. Minky, fleece, and flannel backings, and leather or pleather projects, are good candidates to test on a scrap first, so you can get a feel for how much more freely they move.
Care and Storage
Store the mat flat so it lies smoothly on the machine bed next time. Keep the tacky side clean and free of lint so it continues to grip the bed securely, and clear loose threads and scraps from both surfaces before you place it.
Project Ideas
Use the Sew Slip Mat II for free motion quilting on quilts of any size, for stitching in the ditch on large quilts with a walking foot, and for quilting projects backed with minky, fleece, or flannel. It is equally handy at the machine for sewing projects in leather or pleather, where a surface that lets the material glide can make feeding far more manageable.
Shop the Sew Slip Mat II at Linda's Electric Quilters.


