
How to Use a 16-Inch Rotating Cutting Mat for English Paper Piecing and Trimming Blocks
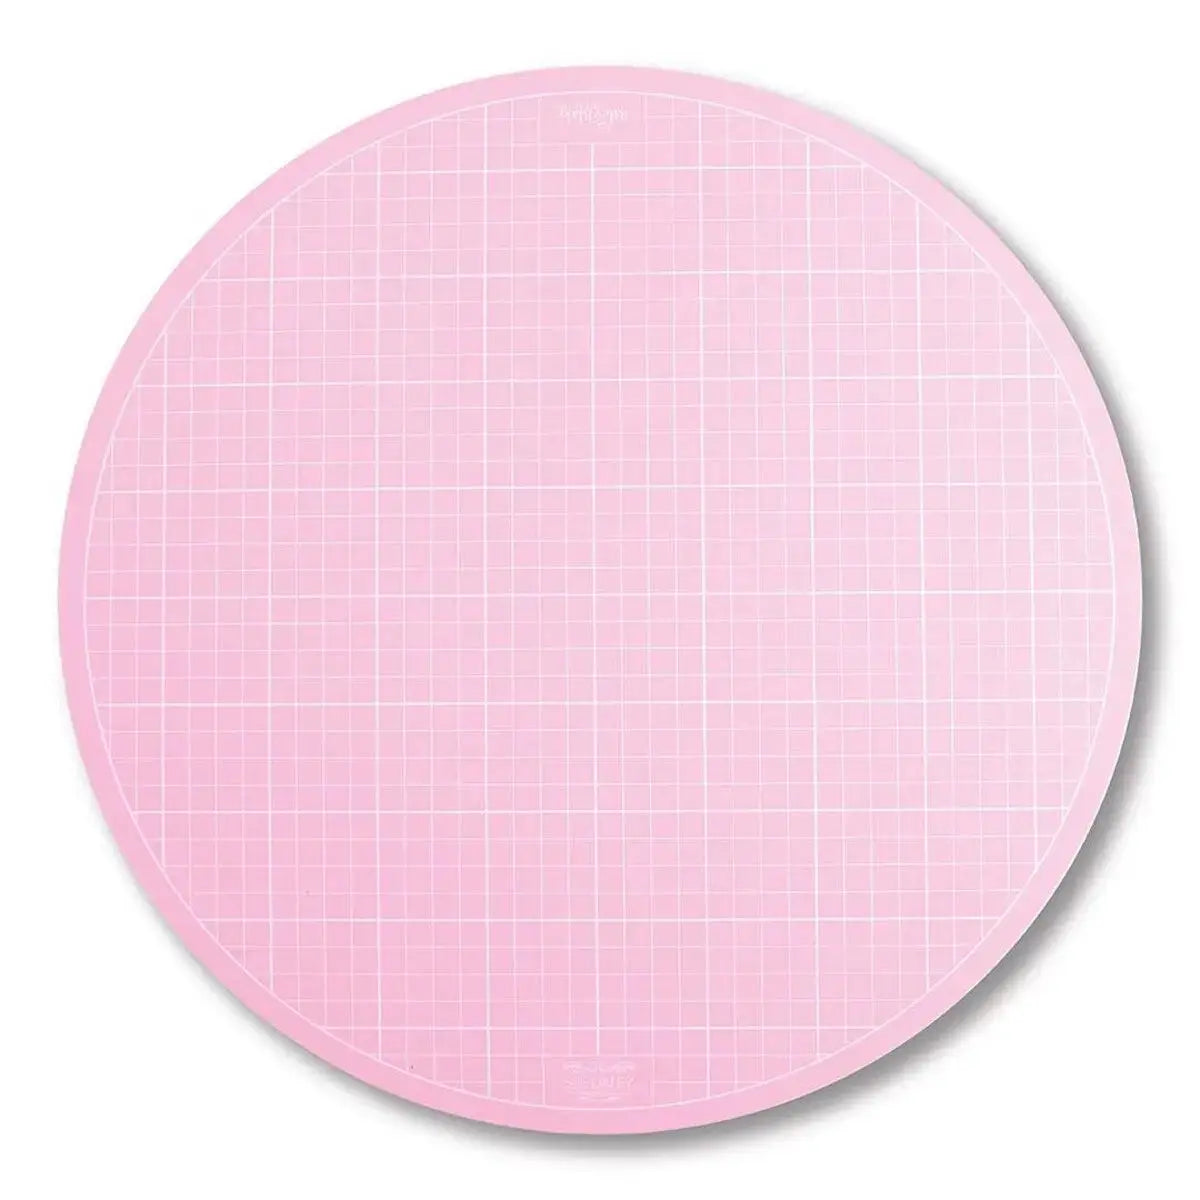
Some cutting jobs are easier when the work turns instead of you. The Sue Daley Designs Rotating Cutting Mat 16" is built for exactly that. Instead of lifting a block or twisting a ruler into an awkward angle, you place your work on the mat and rotate the mat itself. It rotates a full 360 degrees with a smooth rotation, is self-healing, and carries inch grid marks to help you line up cuts accurately. For English paper piecing in particular, it is a favorite work surface — and it is just as handy for everyday patchwork trimming.
What This Mat Is — and Why Size Matters
This is a 16-inch rotating cutting mat from Sue Daley Designs, offered by Riley Blake Designs. That size hits a practical sweet spot. It is large enough to hold most quilt blocks, half square triangles, and English paper piecing shapes while you trim or glue them, yet compact enough to sit beside your machine or travel to a class or retreat. The description calls it especially useful for patchworkers on the move, and that portability is a big part of its appeal.
The self-healing surface matters, too. A self-healing surface closes over small rotary-cutter nicks so the mat stays smooth longer and your blade is less likely to wander into an old groove. The inch grid marks give you a quick reference for checking sizes and squaring edges before you cut.
Using It for English Paper Piecing
English paper piecing involves small shapes, frequent turning, and a lot of repetitive trimming and gluing — precisely the work a rotating mat simplifies. Try this rhythm:
- Cut and trim shapes: Place your fabric and paper shape on the mat, trim one edge, then spin the mat a quarter turn instead of repositioning the piece by hand. Your fingers stay clear of the blade path and the shape stays registered against the grid.
- Glue baste in place: The mat provides a stable, flat surface for cutting and gluing your English paper piecing shapes, so you can work through a stack of hexagons or other shapes in one sitting, rotating as you go.
- Keep pieces organized: Worked shapes can stay on the mat while you turn it to reach the next one, keeping your small pieces corralled rather than scattered across the table.
Trimming Blocks and Half Square Triangles
Beyond hand piecing, the mat shines at the trimming stage of machine patchwork. Blocks rarely come out perfectly square, and half square triangles almost always need a trim to size. Set the block on the mat, align your ruler, trim the first two sides, then rotate the mat 180 degrees to trim the remaining sides — without lifting the block and losing your alignment. Rotating the surface instead of the fabric helps finished blocks stay consistent from one to the next.
Auditioning Blocks Before You Sew
One use quilters overlook is auditioning. Lay a block or small arrangement of pieces on the mat and slowly turn it. Seeing the block from every orientation helps you check value placement, spot a turned unit before it is sewn into a row, and decide which way a directional print should face.
Care Tips for a Longer-Lasting Mat
Store the mat flat and away from direct heat or sunlight, which can warp any cutting surface. Keep it clean by wiping away lint and glue residue after a piecing session so the rotation stays smooth and the grid remains easy to read. Use it as a cutting and work surface only — not as an ironing surface — and it will serve through many projects.
Whether you are trimming half square triangles at the machine or glue basting paper piecing shapes in an armchair, a rotating mat removes the constant shuffle of lifting, turning, and realigning — in a size that fits real sewing rooms and travel bags.
Shop the Sue Daley Designs Rotating Cutting Mat 16" at Linda's Electric Quilters.


