Hi Bestie,
We know the feeling: you find the perfect batik and immediately want to start cutting.
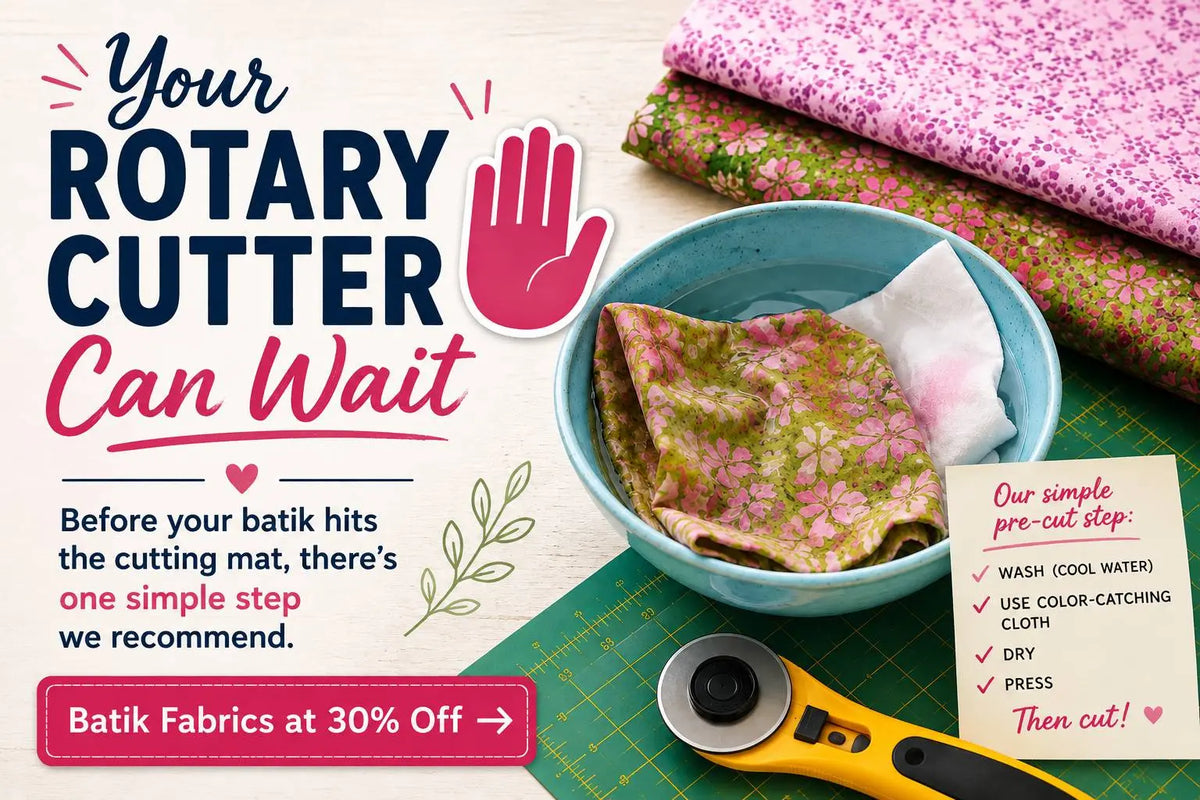
But give it a quick wash first.
Batiks are made with a wax-resist dyeing process that saturates the fabric with rich, deep color — and that same process means some of that dye can stay loose in the fibers when the fabric arrives at your door. We recommend washing batiks in cool water with a color-catching cloth to help remove excess dye. Dry, press, and then reach for that rotary cutter.
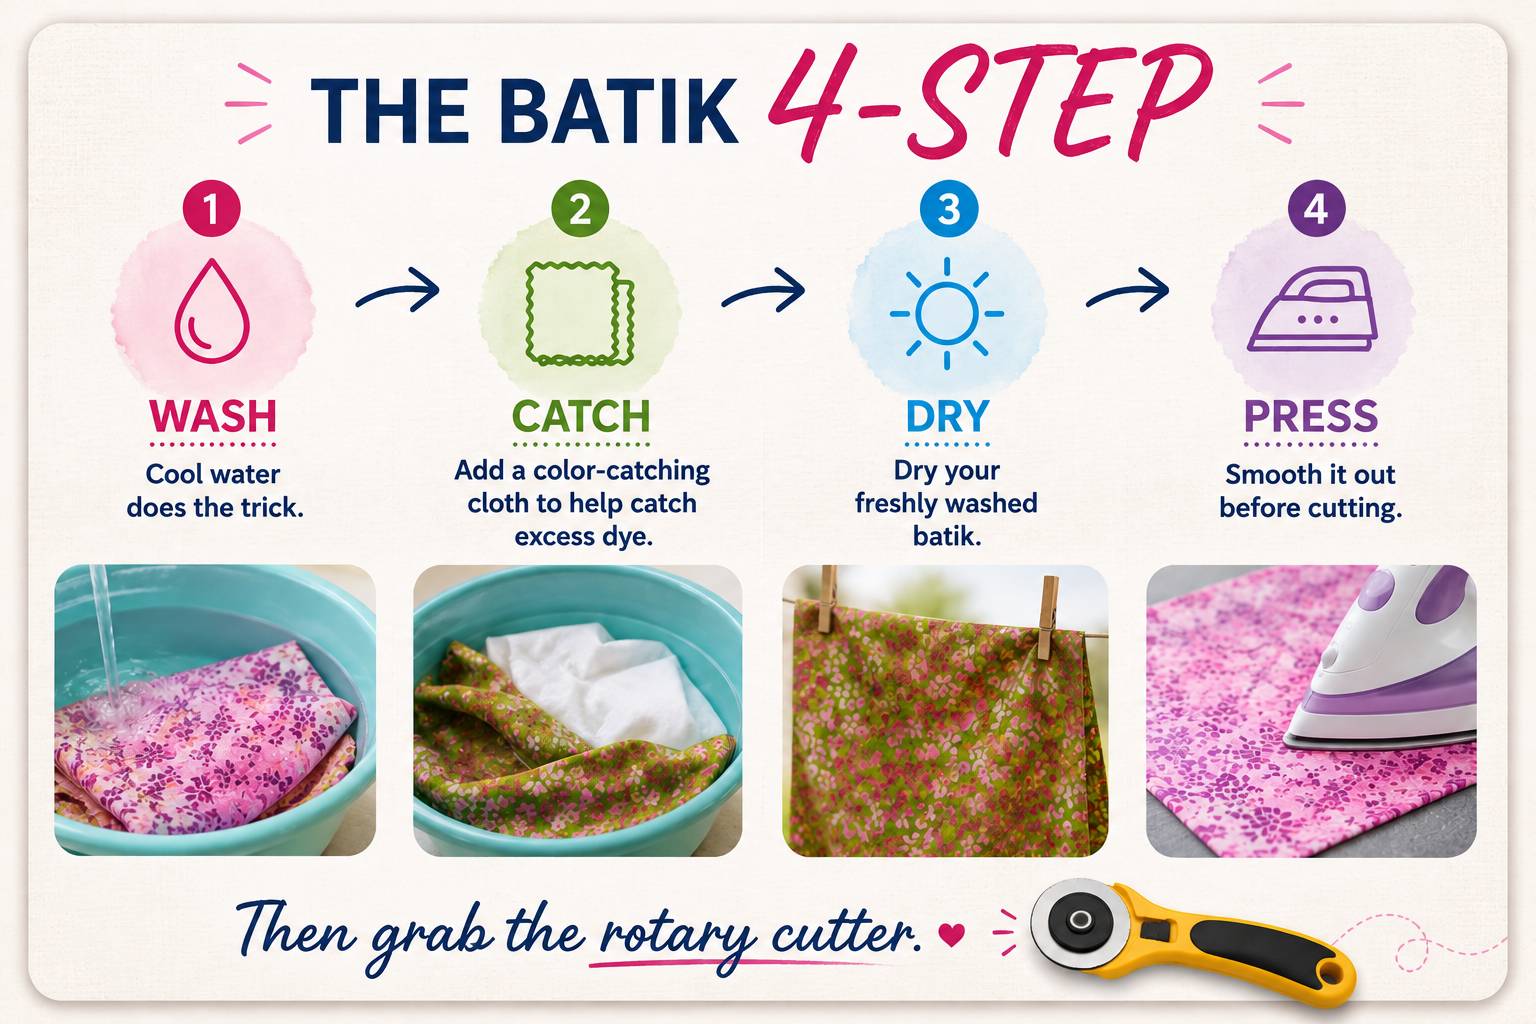
The Batik 4-Step
1. Wash. Use cool water and a gentle cycle (or a hand wash in the sink for smaller cuts). Cool water helps release loose surface dye without shocking the fabric.
2. Catch. Toss in a color-catching cloth. It grabs the excess dye floating in the water so it doesn't settle back onto your fabric — or onto anything else in the load. If the catcher comes out heavily saturated, run a second rinse with a fresh one.
3. Dry. Tumble dry on low or hang to dry. Pull the fabric out slightly damp if you can — it makes the next step easier.
4. Press. A good press with a hot, dry iron restores that crisp, flat surface batiks are known for and gets your yardage ready for accurate cutting. A shot of pressing spray can help everything lie perfectly flat.
What If You Skip Straight to Cutting?
It's tempting — we get it.
But pre-washing gives excess dye an opportunity to come out before the fabric becomes part of your quilt. Once those pieces are sewn in, any dye that releases in the quilt's first wash can migrate into neighboring fabrics — and light backgrounds next to saturated blues, purples, and reds are exactly where you'd notice it most.
There's a bonus, too: washing lets any shrinkage happen up front, while the fabric is still flat yardage instead of finished blocks.
So when that new batik arrives…
Resist the rotary cutter for just a little longer. 😉
Remember,
Beautiful quilts don't begin with the first cut — they begin with how you prepare your fabric.
Taking a little extra time to wash, dry, and press your batik before cutting can help remove excess dye and get your fabric ready for the project ahead. Whether you're working with fat quarters, yardage, or a batik wideback for your quilt back, the same four steps apply.
Your rotary cutter can wait a little longer. The quilt you're making is worth the extra care.
Happy Quilting!
From Corey.