Good morning, quilters!
It's easy to think of your cutting mat as simply the surface underneath your fabric. But there's a little more to it.
Many cutting mats are double-sided, and the markings or grid system may differ from one side to the other. That means the “right” side isn't necessarily one specific side — it's the side that makes the cut you're working on easiest to measure and see.
So… Which Side Should You Use?
Before you start cutting, take a second to look at both sides.
One side may have markings that are easier to follow for the shape, size, or measurement you're working with. Some mats pair a full measuring grid on one side with a cleaner, less-marked surface on the other — great when you're cutting with templates and don't want visual clutter competing with your lines.
Choose the side that gives you the clearest reference for the job at hand. Then let your quilting ruler guide the final measurement and cutting edge — the mat's grid is for positioning and squaring up, while the ruler owns the actual cut line.
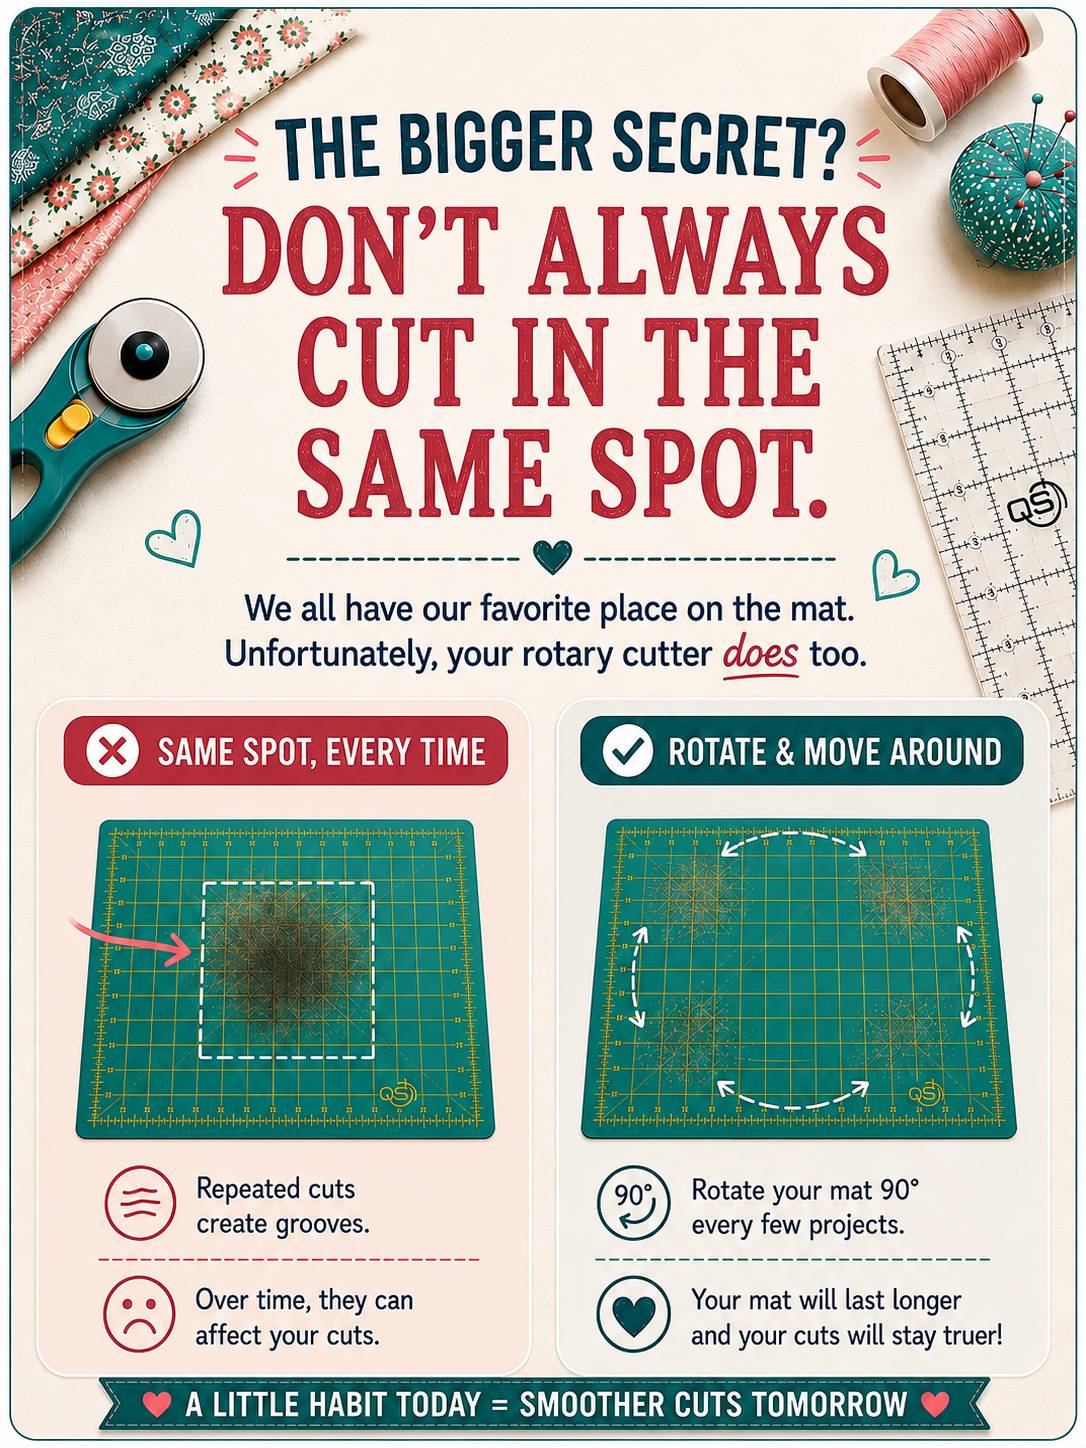
The Bigger Secret? Don't Always Cut in the Same Spot
Most of us stand in the same place at the cutting table and cut in the same comfortable zone, cut after cut. Over time, that carves repeated grooves into one small area of the mat while the rest stays pristine.
Spreading your cuts across the whole surface — and rotating or flipping the mat regularly — distributes the wear so the self-healing surface can keep doing its job everywhere, not just at the edges.
Linda's Quilting Tip
Your mat, ruler, and rotary cutter work as a team.
A smooth cutting surface gives your ruler and rotary blade a better foundation to do their jobs, so caring for the mat is part of caring for your entire cutting setup. A dull blade dragged through a grooved mat is how wobbly edges and inaccurate pieces happen — keep all three in good shape and they'll reward you with clean, precise cuts.
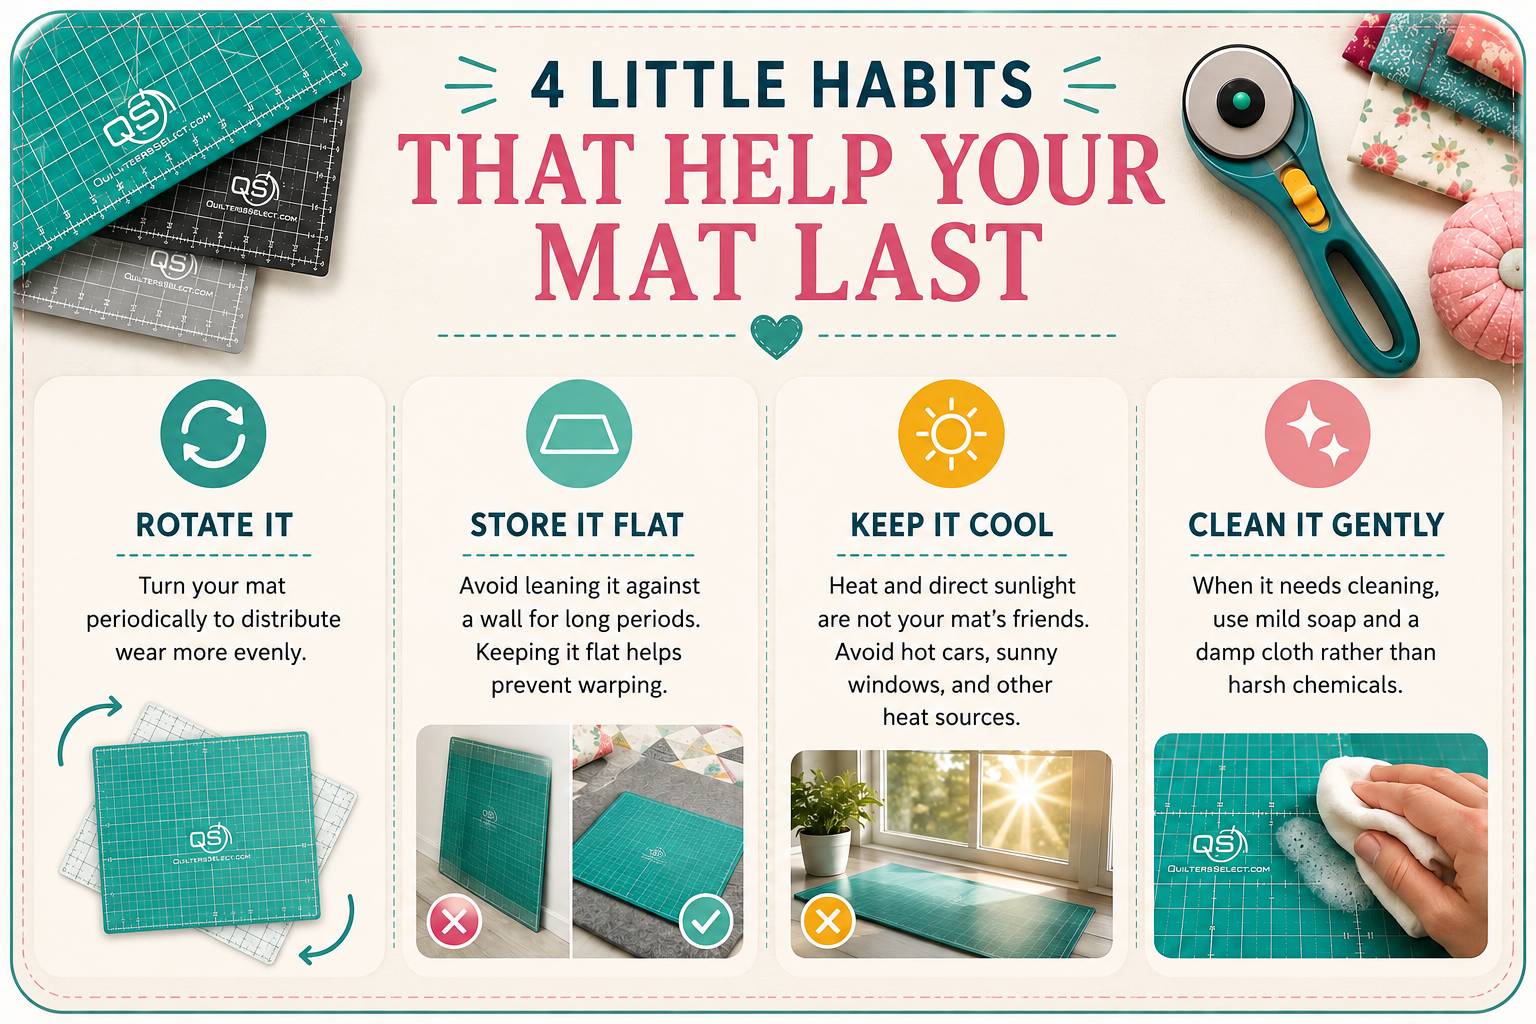
4 Little Habits That Help Your Mat Last
1. Rotate it. Turn and flip the mat regularly so wear spreads evenly across both sides.
2. Store it flat. Leaning a mat against a wall or leaving it rolled invites permanent warping. Flat storage keeps the surface true.
3. Keep it cool. Heat is a cutting mat's worst enemy. A hot car, a sunny window, or a warm iron nearby can warp a mat beyond saving.
4. Spread out your cuts. Use the whole surface instead of the same favorite corner.
When Is It Time for a New Mat?
A well-loved cutting mat is supposed to show some wear. But if deep grooves begin interfering with your blade path, the mat becomes warped, or damage starts making accurate cutting more difficult, it may be time to retire it.
Until then?
Rotate it. Store it flat. Keep it cool.
Happy Quilting!
From Corey.