
Hey everyone! Today you're going to learn how to build a QISS block sandwich — backing, fusible batting, and top pressed into one steady block that's ready to quilt. Here we go.
What is a QISS block sandwich?
It's three layers fused into one. Backing on the bottom. Double-sided fusible batting in the middle. Your block top on top.
Once you press it, those layers move as one piece. No pins. No spray. No shifting halfway through a design. That steady block is the whole starting point of QISS — Quilting Is Sew Simple, the quilt-as-you-go system Pauline Rogers created at Pauline's Quilters World.
Instead of wrestling a whole quilt through your home machine later, you quilt this one block now. Then the next one. The sandwich is what makes that possible.
What do you need before you start?
- Your block top and backing, cut to class size: Pauline's class prep cuts both at 12½ inches by 15½ inches.
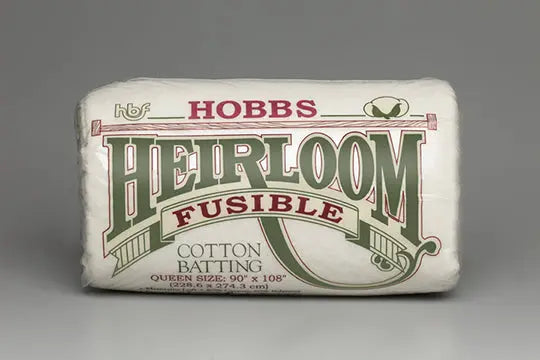
- Double-sided fusible batting: the Hobbs Heirloom 80/20 Fusible Batting Package, with fusing medium on both sides. We explained why that matters in Why Hobbs Double-Sided Fusible Batting Is the Heart of QISS.
- A hot, dry iron: dry means no steam for this press. Heat is what wakes up the fusing medium.
- A flat pressing surface: big enough that the whole block can lie flat, start to finish.
Cut your batting to match your layers. If a corner hangs over the edge, trim it now. Extra batting peeking out will happily stick to your ironing surface, and that's a mess nobody asked for.
How do you build the sandwich, step by step?
- Backing first, wrong side up. Lay it flat and smooth it with your hands. Wrinkles pressed in now are wrinkles you own.
- Batting in the middle. Center it over the backing. Either side can face up — the fusing medium is on both sides, remember.
- Top last, right side up. Line up the edges as best you can. Small adjustments now beat big fixes later.
- Press with a hot, dry iron. Move slow and steady across the whole block. Give the heat time to travel through all three layers so the top and the backing both take hold.
- Check the edges and corners. Lift gently at a corner. If a layer peels away easy, press that spot again. Just like that — another slow pass.
- Keep the block flat while it cools. Don't fold it, drape it, or stack other blocks on it yet. Flat is the rule until you're ready to quilt it.
Where do quilters go wrong with the press?
The hardest step is the pressing, and it's only hard because we rush it. A quick swipe with the iron warms the surface. It does not fuse three layers together.
Slow down here. Really. Move the iron in a slow, steady pass, section by section, until you've covered the whole block. That's the minute that saves you twenty minutes of fighting a shifting block at the machine.
Second mistake? Moving the block while it's still warm. A warm sandwich can slide out of square before the fuse sets. Let it sit flat. Make the next sandwich beside it if you need something to do — completely up to you.
And if a layer lets go while you're quilting later, stop and re-press it. No shame in that. We've all re-pressed a corner. It doesn't have to be perfect, and you're your own worst critic. Take your time. It's not a race.
What happens once the sandwich is fused?
Now the fun part. That flat, steady block goes under your open-toe appliqué foot with your feed dogs up, and you quilt the design right onto it — Controlled Quilting, guided by a template, no free-motion needed. Because the layers can't creep, the design you stitch on top lands where it should on the backing too.
Quilt one block. Then build the next sandwich exactly the same way. Same order, same slow press, same flat rest. Repeatable is how a pile of single blocks turns into a quilt that lines up when you join them.
If I can do this, y'all can do it. One sandwich at a time, folks.
Thanks for learning along with us. We'll see you next time. Bye.
Shop the Hobbs Heirloom 80/20 Fusible Batting Package at Linda's Electric Quilters.
Browse the whole line in our QISS — Quilting Is Sew Simple collection at Linda's Electric Quilters.


