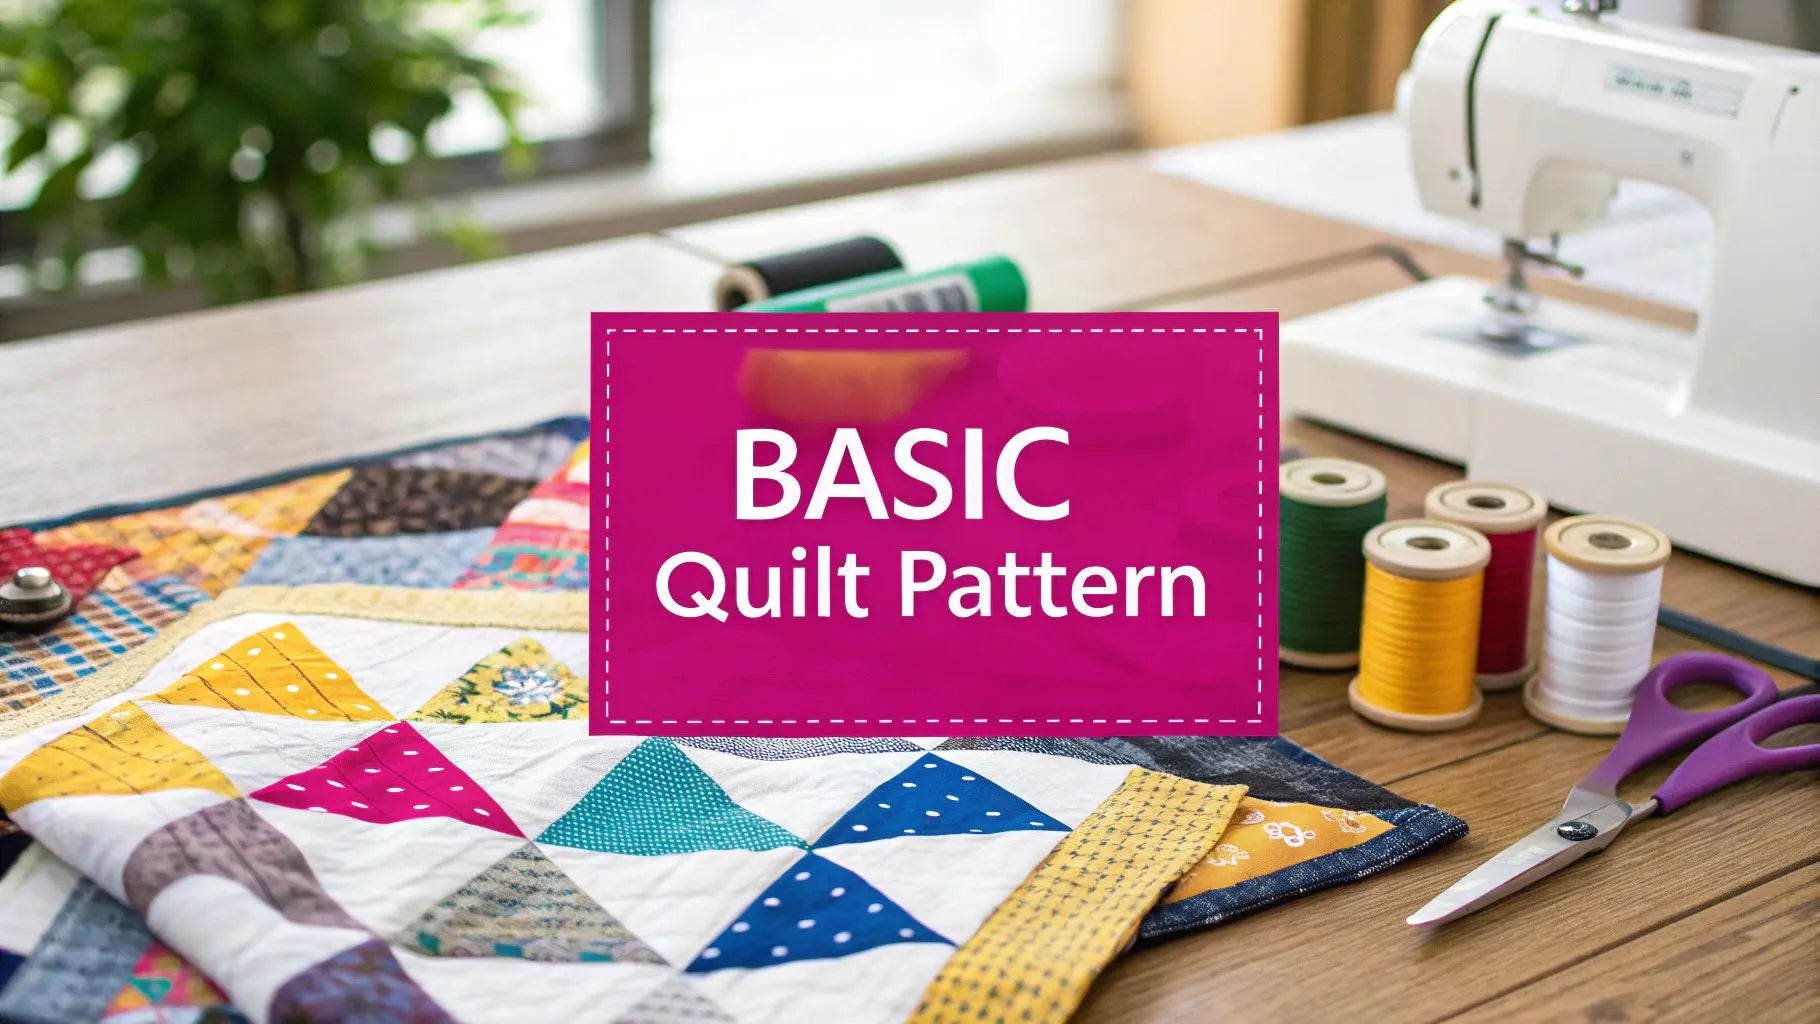
For anyone just starting out, a basic quilt pattern is your best friend. These are simple, repeatable designs built from easy-to-handle geometric shapes like squares and rectangles. It’s all about getting a win under your belt, and that’s why the Nine Patch block is one of our all-time favorite recommendations for a first project. It's a classic for a reason!
Starting Your Quilting Journey with Confidence
Jumping into your first quilt can feel a little intimidating, but trust me, starting with a straightforward pattern is the secret to success. You’re not just making a quilt; you’re learning the ropes. These simple designs are meant to be satisfying, teaching you the foundational skills without the headache of tricky techniques.
A "basic" pattern helps you really nail down the core skills every quilter leans on. Pretty soon, you’ll be a pro at:
- Cutting fabric squares with precision and consistency.
- Sewing that perfect quarter-inch seam allowance, the gold standard in quilting.
- Pressing your seams so your blocks lay beautifully flat and fit together like a puzzle.
Why the Nine Patch Is Ideal
The Nine Patch isn't just a simple block—it’s a little piece of quilting history. It’s one of the earliest pieced designs published in the US, first showing up way back in 1835. Pioneer women loved it because it was a brilliant way to use up every last scrap of precious fabric. You can actually learn more about its story through the Quilt Discovery Experience from the National Park Service.
Getting these simple steps right on a small scale builds incredible confidence. Every perfectly joined seam and flat block is a mini-celebration, proving you can absolutely create a beautiful handmade quilt.
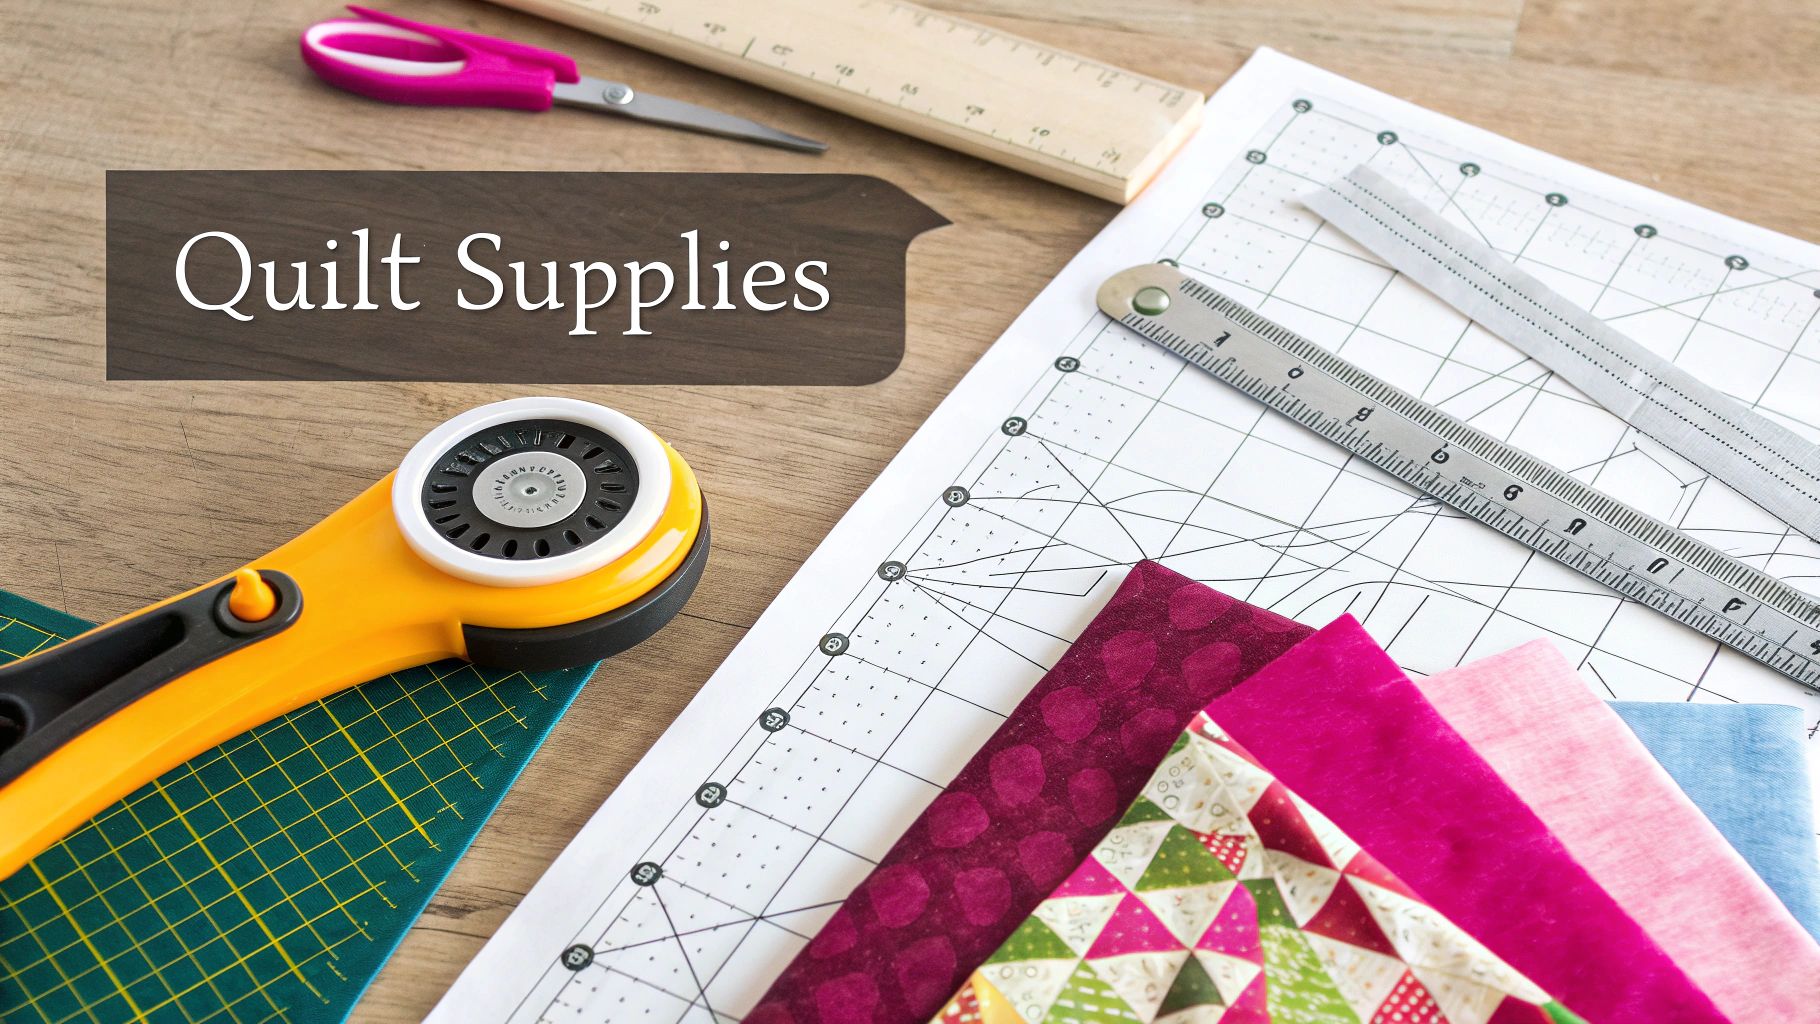
Before you can make that first cut, you'll need to gather a few essential supplies. Having the right tools makes all the difference, turning potential frustration into pure creative joy. We've put together a handy checklist of the basics you'll want on hand to complete your project.
Essential Quilting Supplies Checklist
| Item | Why You Need It | Where to Find It |
|---|---|---|
| Rotary Cutter & Mat | For cutting straight, accurate lines in your fabric quickly and safely. Far superior to scissors for quilting! | A sharp blade is a safe blade. Linda's carries a wide selection of ergonomic cutters and self-healing mats to protect your workspace. |
| Quilting Ruler | A clear acrylic ruler allows you to see your fabric as you measure and cut precise shapes. | Get at least one long ruler (like a 6" x 24") and a smaller square one (like a 6.5" x 6.5"). We can help you pick the perfect ones. |
| Quality Cotton Fabric | 100% cotton is the go-to for quilting. It's stable, easy to press, and wears beautifully over time. | Pre-washing can prevent shrinkage. Find a rainbow of high-quality cottons for your project right here at Linda's. |
| Sewing Machine | A reliable machine that can produce a consistent straight stitch is all you need to get started. | A quarter-inch presser foot is a game-changer for maintaining that perfect seam allowance. Check out our machine accessories! |
| Thread | A good quality, 50-weight cotton thread is perfect for piecing. It's strong but not too bulky. | Choose a neutral color like gray or beige to blend seamlessly. We carry top brands like Aurifil and Superior Threads. |
| Iron & Pressing Mat | Pressing seams is just as important as sewing them! A hot iron helps set your stitches and keeps blocks flat. | Press seams to one side (usually toward the darker fabric) to reduce bulk. Find wool pressing mats and mini-irons in our store. |
Here at Linda's, we have everything on this list and more to get your quilting journey started on the right foot, from the sharpest rotary cutters to a rainbow of beautiful cotton fabrics. You've got this!
Selecting Your Fabric and Essential Tools
Let’s be honest, picking out the fabric is one of the most exciting parts of any new quilt. It’s where the whole project starts to come alive. For anyone just starting out, our number one recommendation is always 100% cotton. It's just so easy to work with—it holds a press, doesn’t slip and slide around too much, and is incredibly forgiving when you’re learning the ropes.
This is your chance to let your personality shine! You could go for a simple, classic two-color design or, to make life a little easier, grab a pre-cut fabric bundle. These are a lifesaver for beginners. Packs like charm packs (5-inch squares) or jelly rolls (2.5-inch strips) have fabrics that are already perfectly coordinated, taking all the guesswork out of matching colors and patterns. Stop by Linda's to see our curated selection of pre-cuts to make your project a breeze.
Gathering Your Core Quilting Tools
Once you've got your beautiful fabric picked out, it's time to gather a few essential tools. These aren't just suggestions; they’re the key to making your quilting experience enjoyable and your results accurate. We've got all the high-quality supplies you could need right here at Linda's to successfully finish your project.
Here’s what you absolutely can’t do without:
- Rotary Cutter: Nothing beats a rotary cutter for getting those clean, precise cuts. It’s a world of difference compared to using scissors.
- Self-Healing Mat: This is the rotary cutter’s best friend. It protects your table and keeps that blade from getting dull too quickly.
- Clear Acrylic Ruler: This is non-negotiable for measuring and cutting exact shapes. Being able to see the fabric underneath is a game-changer.
- Quality Sewing Needles: Always, always start a new project with a fresh needle. It's a small thing that prevents a world of frustration with skipped stitches.
This spirit of making something beautiful and practical from what you have is woven into the history of quilting. Back in the Great Depression, quilters often worked with scraps from old clothes and feedsacks, turning everyday necessity into incredible artistry. We're talking about millions of families creating these treasured heirlooms from whatever materials they could find.
Pro Tip: We can't stress this enough—always pre-wash your fabrics before you make that first cut. This simple step preshrinks the cotton and gets rid of any excess dye, which saves you from dealing with puckering or color bleeding down the road.
Now that your materials are ready, keeping everything tidy will make the whole process smoother. After you've gathered your supplies, check out these great tips for organizing your craft supplies.
Alright, let's get to the fun part: turning these fabrics into perfect quilt blocks.
Creating Your First Perfect Quilt Block
Alright, this is where the fun really starts—turning those flat pieces of fabric into a gorgeous, dimensional quilt block. We're going to tackle a classic Nine Patch, the perfect basic quilt pattern to get your feet wet. It's a simple grid of nine squares, but trust me, getting this one right teaches you just about everything you need for more complex designs down the road.
The whole process breaks down into cutting your fabric into precise squares, sewing them into three separate rows, and then joining those rows to build the block. It sounds straightforward, and it is, but the secret to a quilt that looks truly professional is all in the details. A consistent 1/4-inch seam allowance is your golden rule; even a tiny deviation can throw off your whole block's size and make things not line up later.
This handy infographic gives you a peek at just a few of the many basic quilt block types you can create once you get the hang of the fundamentals.
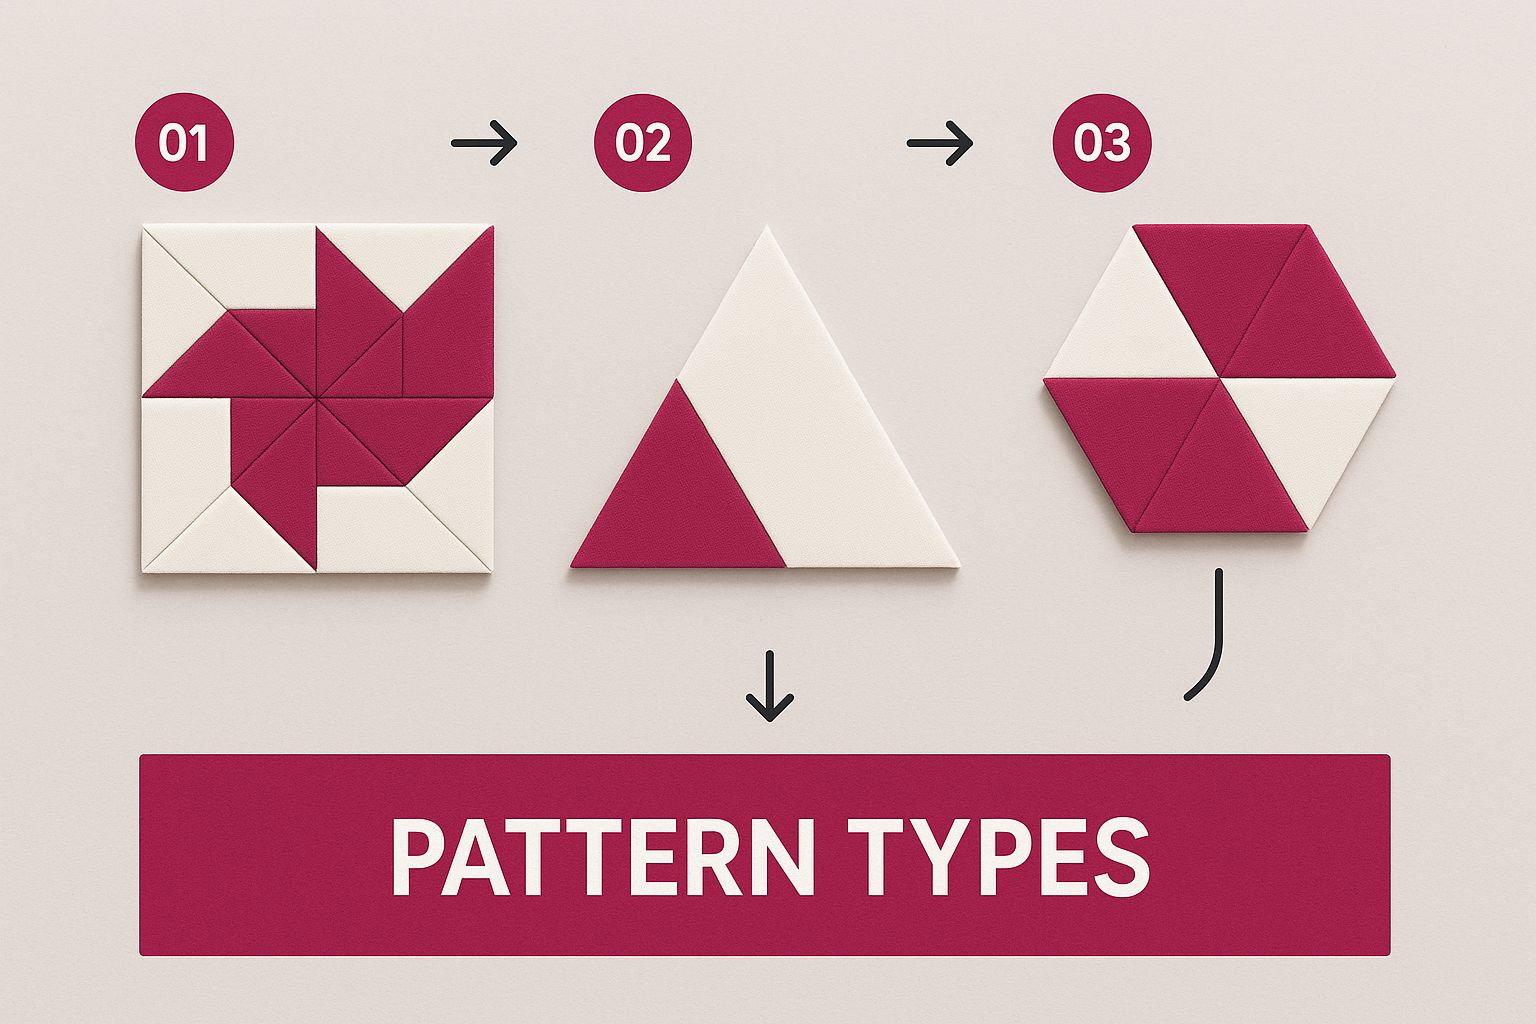
As you can see, simple squares and triangles are the foundation for countless amazing designs, from the most traditional to super modern.
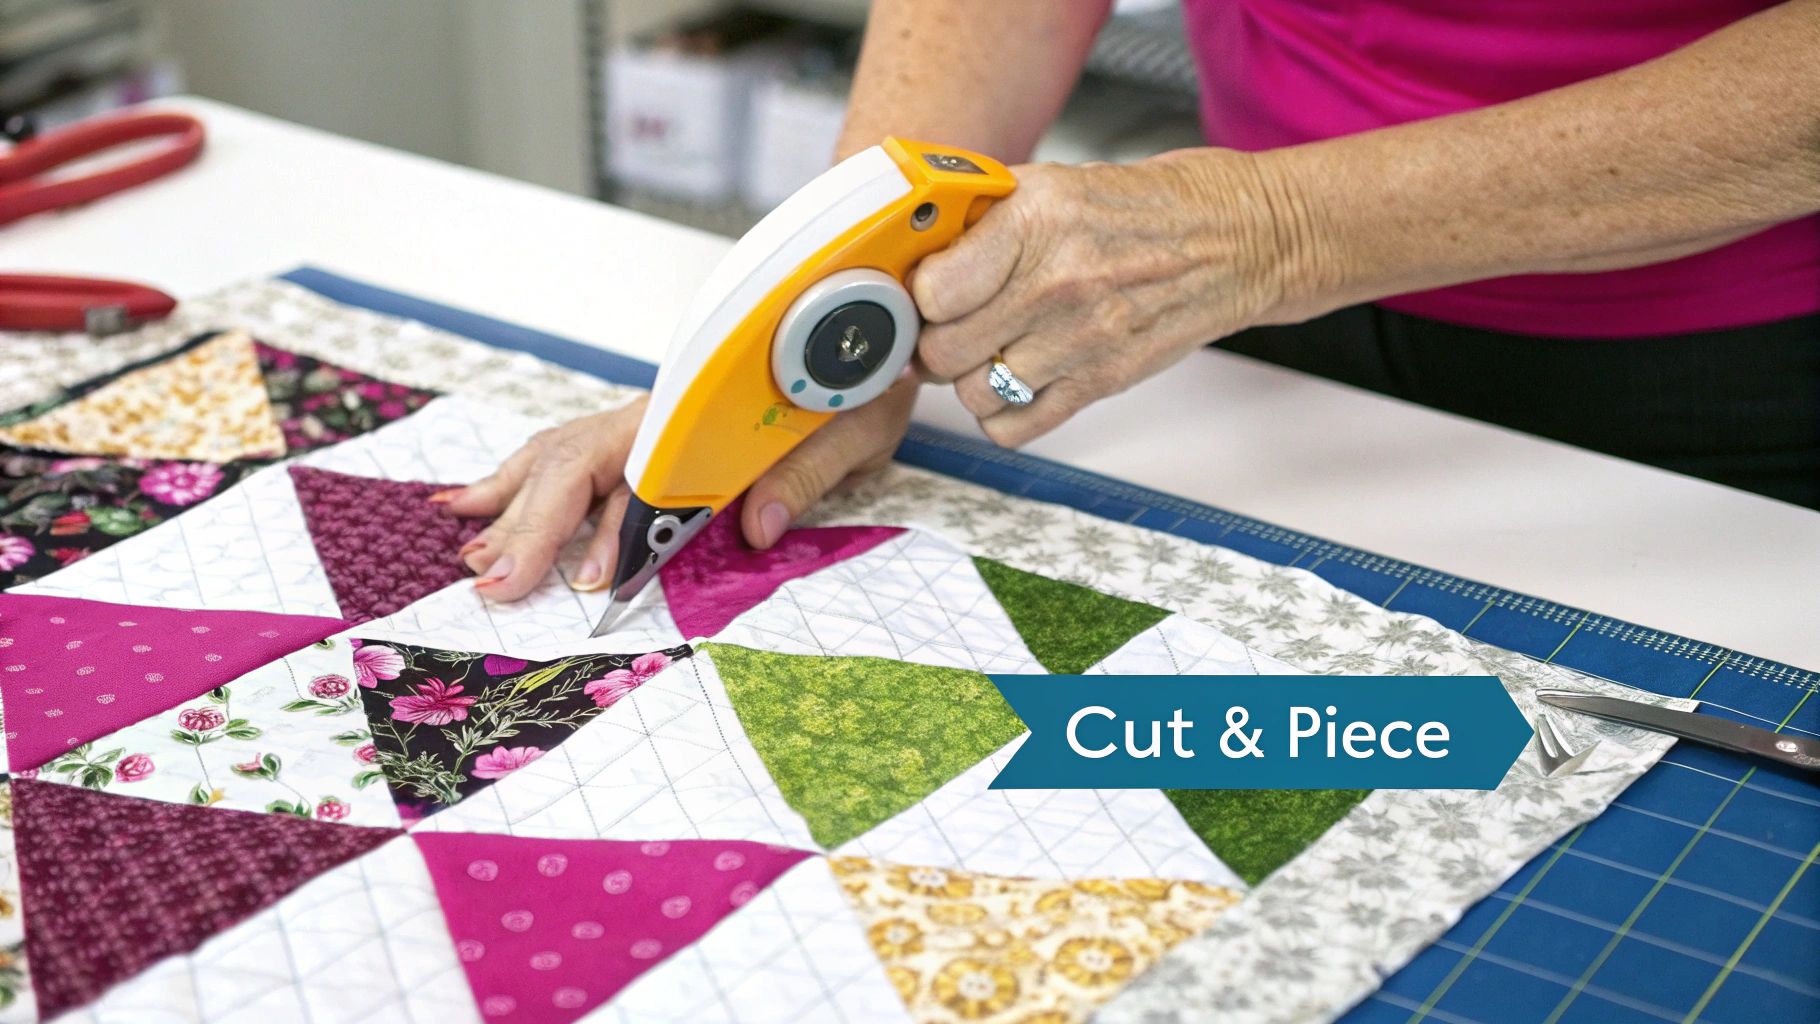
Precision Cutting and Sewing
First things first, let's cut those squares. For a standard Nine Patch block, you’ll need nine squares all the same size. A rotary cutter and acrylic ruler will be your absolute best friends here—they're the key to getting every cut perfectly straight and accurate. Here at Linda's, we have a huge selection of rulers and cutters that are perfect for achieving those crisp, clean edges needed to complete your project.
Once your squares are cut, lay them out in a 3x3 grid. This is your chance to play with the color and pattern arrangement until you love it. Now, you’ll sew the squares into three rows of three. Pin the first two squares in your top row together and sew them with that consistent quarter-inch seam. Add the third square to finish the row, and then just repeat for the other two rows. Easy peasy.
Pressing for Flat Seams
Don't skip this part! Pressing your seams is just as critical as sewing them. After you've stitched a row, take it over to your ironing board. The best way to do this is to press the seams to one side, alternating the direction for each row.
Here's how that looks:
- Row 1: Press seams to the right.
- Row 2: Press seams to the left.
- Row 3: Press seams to the right again.
This little trick is called "nesting seams." It allows your corners to lock together perfectly when you join the rows, which cuts down on bulk and helps your block lay beautifully flat. While the Nine Patch is a fantastic starting point, you'll see this principle in other patterns too, like the Log Cabin. The Log Cabin is one of the most significant basic quilt patterns in American history, often made with scraps by pioneers heading west. You can learn more about these timeless designs by checking out these popular American quilt patterns on stitchinheaven.com.
With your three rows all sewn and pressed, it’s time to join them. Pin the top row to the middle row, making sure to nest those seams where the corners meet. Sew them together, and then attach the bottom row the exact same way. Give it one last good press, and congratulations—you've just made your first perfect quilt block!
Assembling Your Quilt Top Layout
You’ve done the hard work, and your beautiful Nine Patch blocks are all finished. Now for the fun part! This is where you get to see all those individual pieces come together and your quilt top finally takes shape.
Clear some space on a clean floor or a large table—whatever you can use as a makeshift design wall. Lay out every single one of your blocks.
Now, just play. Move the blocks around, swap them out, and shift them until you land on a layout that feels balanced and just plain good. Don't rush this step. Step back and really look at how the colors and patterns are interacting before you sew another seam.
To Sash or Not To Sash?
Once you have a layout you love, you've got a decision to make. You can sew the blocks directly to one another for a seamless, continuous look. Or, you could add sashing. Sashing is simply strips of fabric that you sew between your blocks, which creates a kind of frame around each one.
We are big fans of sashing, especially for beginner quilts. Here's why:
- It gives your eyes a place to rest. If you've used a lot of busy prints, sashing can calm things down and make the whole design feel more organized.
- It’s another design element. Sashing is a great opportunity to introduce another color or a subtle pattern that ties everything together.
- It makes your quilt bigger! This is a super simple trick for increasing the final size of your quilt without having to make a bunch of extra blocks.
If you decide to go with sashing, Linda's has a wonderful selection of solid and low-volume print fabrics that are perfect for creating that clean separation between your blocks and finishing your project beautifully.
Nesting your seams is a game-changer for achieving that polished, professional look. When your corners match up perfectly, it shows the care and precision you’ve put into your work, elevating a simple design into a true keepsake.
With your layout decided, it’s time to sew your blocks into horizontal rows. After that, you'll join the rows together to complete the top. This is where all that careful pressing you did earlier really pays off.
Because you alternated the direction of your pressed seams, the junctions where your blocks meet will "nest" together beautifully. Pinning right at these intersections will help you get those crisp, perfect points that every quilter strives for. It's so satisfying when it all comes together.
Finishing Your Quilt Like a Seasoned Pro
Alright, this is where the magic really happens. Your beautifully pieced top is about to become an actual quilt—something you can really snuggle under. We're going to build what's lovingly known in the quilting world as a "quilt sandwich."
Find a big, clean space to work. The floor is usually your best friend here. Lay out your backing fabric first, making sure the wrong side is facing up, and smooth it out completely. Next, float your batting—the fluffy heart of the quilt—over the backing. Finally, place your masterpiece quilt top, right side up, over the whole stack.
Securing Your Layers for Quilting
Now, we need to make sure those three layers don't budge an inch while you're quilting. This step is called basting, and for a basic quilt pattern, nothing beats good old-fashioned pin basting. It's simple, effective, and gets the job done.
Grab some curved safety pins made just for quilters. You'll want to place a pin every 4-6 inches across the entire surface. This might seem tedious, but it's the key to preventing annoying puckers and tucks down the line.
The whole point of basting is to get all three layers to behave like one single piece of fabric. Trust me, spending a little extra time here will save you a world of headaches later and give you that smooth, professional finish you're after.
Once your quilt sandwich is securely pinned, it's time for the actual quilting! This is the stitching that holds everything together and adds that gorgeous texture. As a beginner, we always recommend simple straight-line quilting. It’s elegant and totally achievable. You can stitch "in the ditch" (right along your existing seam lines) or create a simple grid of lines across the quilt top.
Creating a Beautiful Binding
The final frame for your artwork is the binding. This is a simple strip of fabric that neatly covers the raw edges, giving your quilt a durable and polished look. You'll sew long strips of fabric to the front of your quilt, wrap them around to the back, and stitch them down. You can do this by hand for an invisible finish or by machine for speed.
Getting those sharp, mitered corners is a sign of a well-crafted quilt, and we promise, it's easier than it looks! A little practice and the right tools make all the difference.
To get that perfect finish, check out the fantastic selection of finishing products at Linda's. We have everything from high-quality cotton batting to all the essential binding tools you'll need to wrap up your project with confidence.
Common Questions for First-Time Quilters
Even the simplest basic quilt pattern can throw a few curveballs your way, especially when you're just starting out. Trust us, every single quilter has been in your shoes! Let's walk through some of the most common snags you might hit.
Are your seams looking a little... wobbly? If your lines aren't quite straight, the number one suspect is usually an inconsistent seam allowance. Investing in a quarter-inch presser foot is an absolute game-changer for accuracy. Also, try to resist the urge to pull or stretch the fabric as it goes through the machine. Just guide it gently and let the feed dogs do all the heavy lifting.
Another thing we get asked about all the time is thread. For piecing your quilt top, a 50-weight 100% cotton thread is the undisputed champion. It's got the strength to keep your seams together for years but is fine enough that it won't add any annoying bulk. A neutral color like cream, gray, or even a soft beige will be your best friend, blending in perfectly with almost any fabric choice. Linda's has an amazing color wall of thread to help you finish any project.
What If My Points Don't Match Perfectly?
Ah, the quest for perfect points! Getting those corners to meet up just right can feel like a puzzle at first. But we'll let you in on a little secret: nesting your seams is the key. This just means pressing the seams of adjoining blocks in opposite directions.
When you go to pin them, you'll feel the seams just lock right into place. It’s a super satisfying feeling! A little extra patience and a couple of well-placed pins at these intersections will make a world of difference.
The best advice we can give any beginner is to just be kind to yourself. Your first quilt is all about the joy of learning, not a test of perfection. Embrace the journey and remember that every single stitch is progress.
Ready to finish your project with confidence? Fantastic! For all the high-quality batting, thread, and tools you'll need to turn that quilt top into a finished masterpiece, come see us at Linda's Electric Quilters. You can find everything to bring your quilting vision to life at https://lindas.com.


