
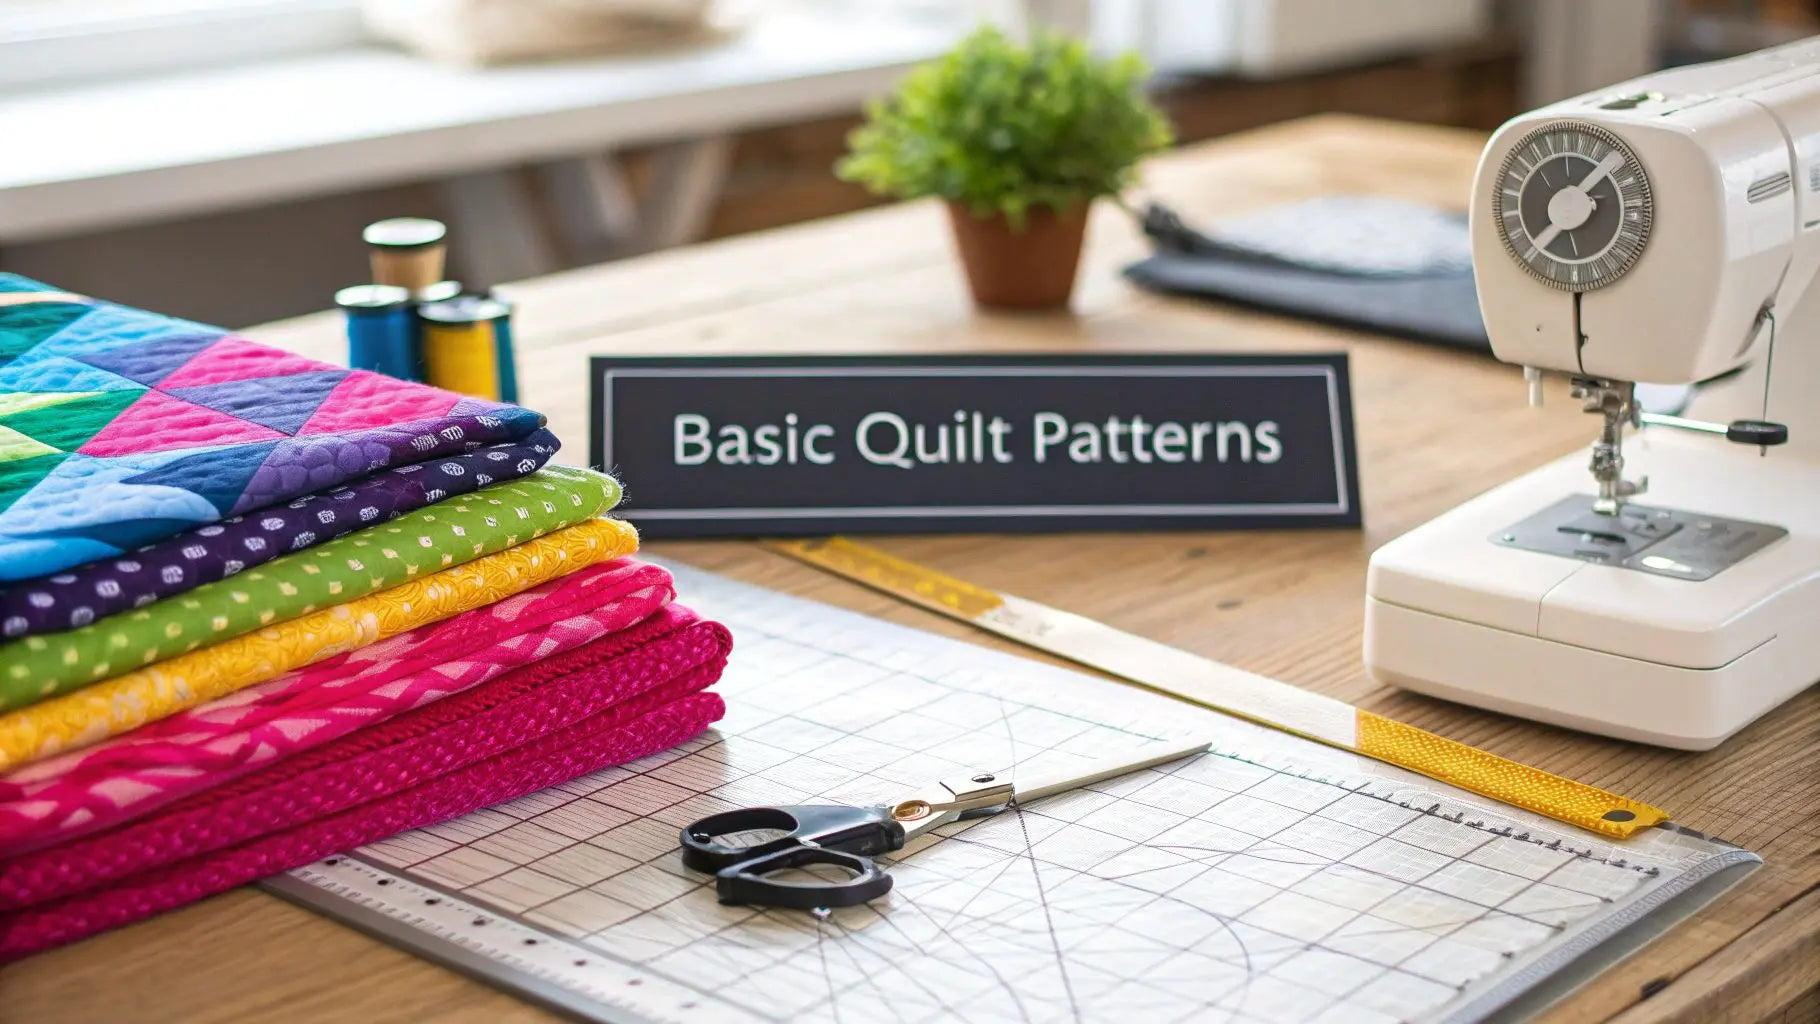
Welcome to the wonderful world of quilting! There's something truly special about taking simple stitches and beautiful fabrics and turning them into a cozy masterpiece. The secret to getting started without feeling overwhelmed is to begin with basic quilt patterns. This approach turns a seemingly complex craft into a joyful, rewarding process, letting you master the fundamentals one satisfying step at a time. This guide will walk you through several foundational patterns, providing the education you need to start your first project with confidence.
Why Start with Simple Quilt Patterns
Jumping headfirst into quilting can feel like you're trying to learn a whole new language. Basic patterns are your friendly guide, designed specifically to teach you the core skills—like accurate cutting, consistent seam allowances, and proper pressing—without any of the stress.
Think of each simple block as a mini-lesson that builds on the last. This way, you develop solid, good habits right from the very beginning. By focusing on these foundational techniques, you're building a strong skill set that will serve you well on every single quilt you make from here on out.
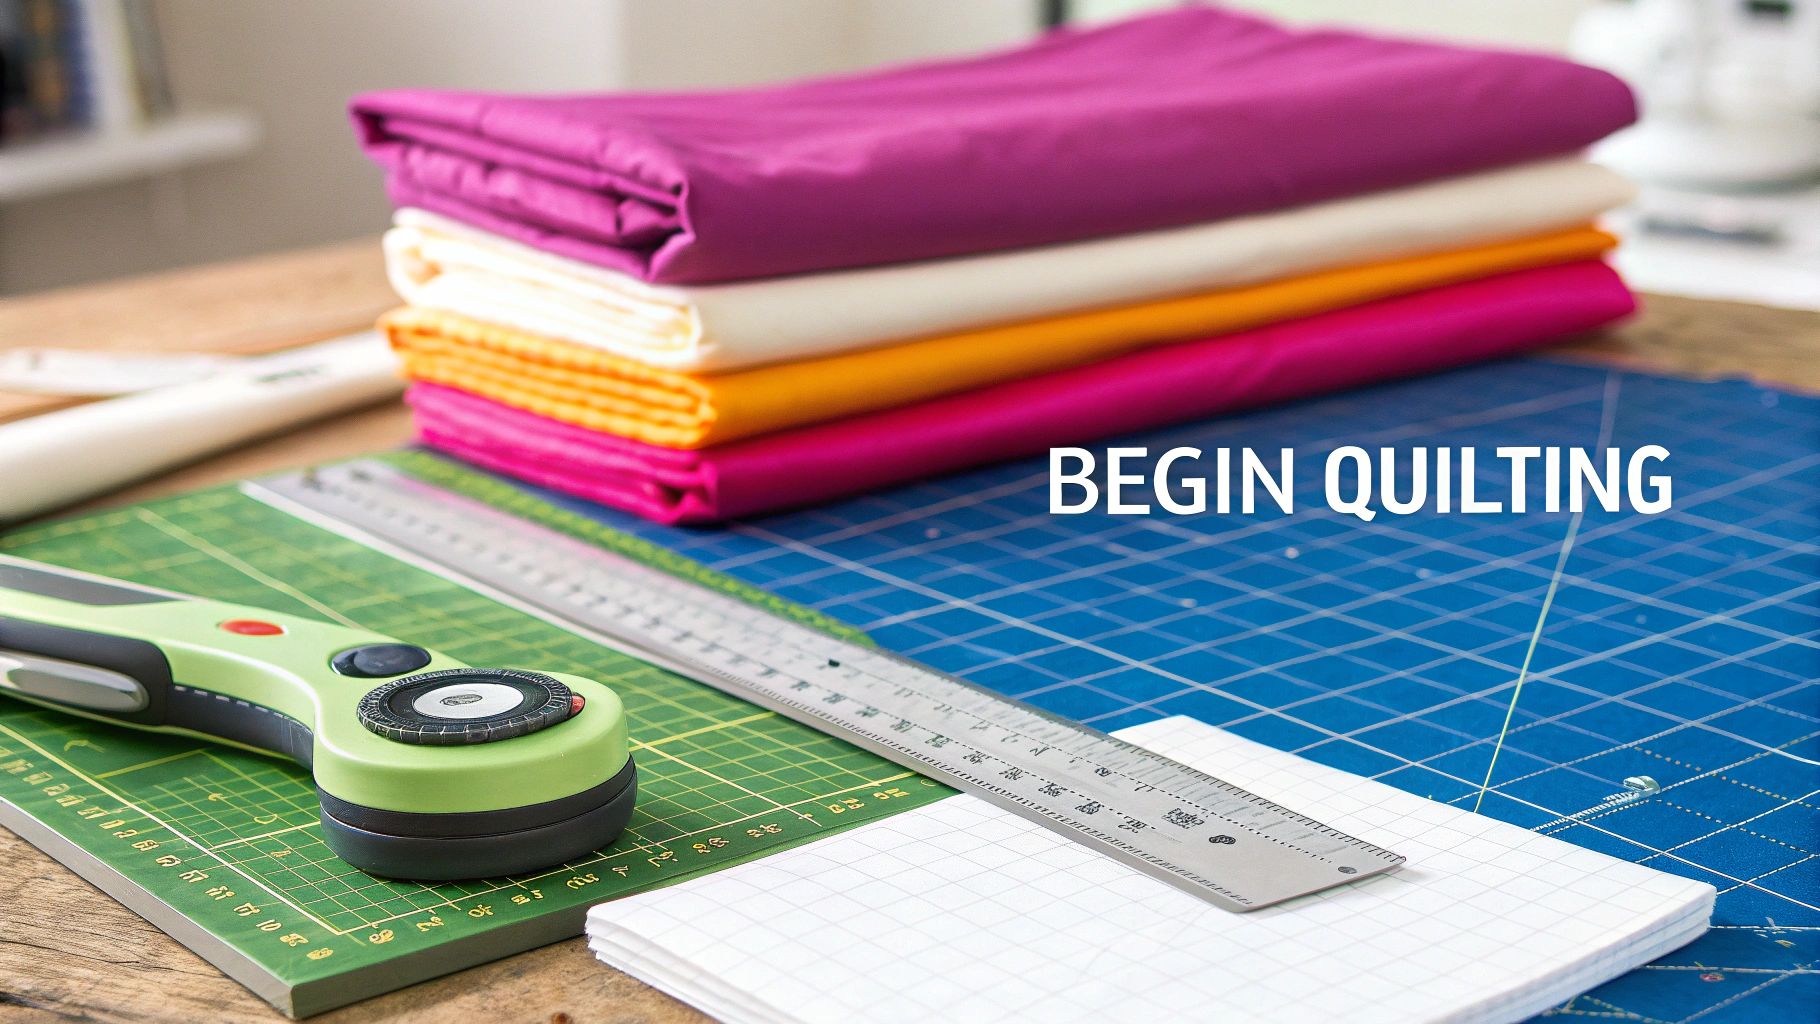
The Right Tools Make All the Difference
Let's be honest: having the proper equipment is non-negotiable for a smooth start. You don't need every fancy gadget out there, but investing in a few quality essentials will save you a world of frustration and give you a much better final product. At Linda's, we carry all the amazing products you need to finish your project right.
- Rotary Cutter and Mat: A sharp rotary cutter and a self-healing mat are your absolute best friends for cutting fabric quickly and accurately. This duo is so much safer and more precise than scissors for those long, straight lines.
- Acrylic Rulers: A long ruler (something like a 6" x 24") is perfect for cutting strips, while a good square ruler will help you trim your blocks down to the perfect size. Make sure you can read the markings clearly!
- Quality Fabric: Always, always start with 100% quilting cotton. It’s stable, a dream to work with, and holds a press beautifully. Getting into the habit of pre-washing your fabric is a great idea to prevent shrinkage or color bleeding down the road. Linda's has a stunning selection of quilting cottons to inspire you.
If there's one thing I tell every new quilter, it's this: your success is built on the accuracy of your very first cut. Take your time with this step. When your cutting is precise, the rest of the process just flows.
Join a Thriving Community of Crafters
When you pick up quilting, you're not just learning a new skill; you're joining an incredible, supportive community. This craft has such a rich history and an exciting future, with millions of quilters who are always eager to share their passion and knowledge. The quilting industry is a testament to this, projected to reach $5 billion by 2027. It just goes to show the enduring appeal of creating something with your own hands.
As you begin your journey, you might even want to discover other creative hobbies that spark that same creative fire. Here at Linda's, we’re ready to support you every step of the way with all the amazing products you need to finish any project you dream up.
And if you're looking for that perfect first project, check out our favorite quilt patterns for beginners to get started
Mastering the Classic Nine Patch Block
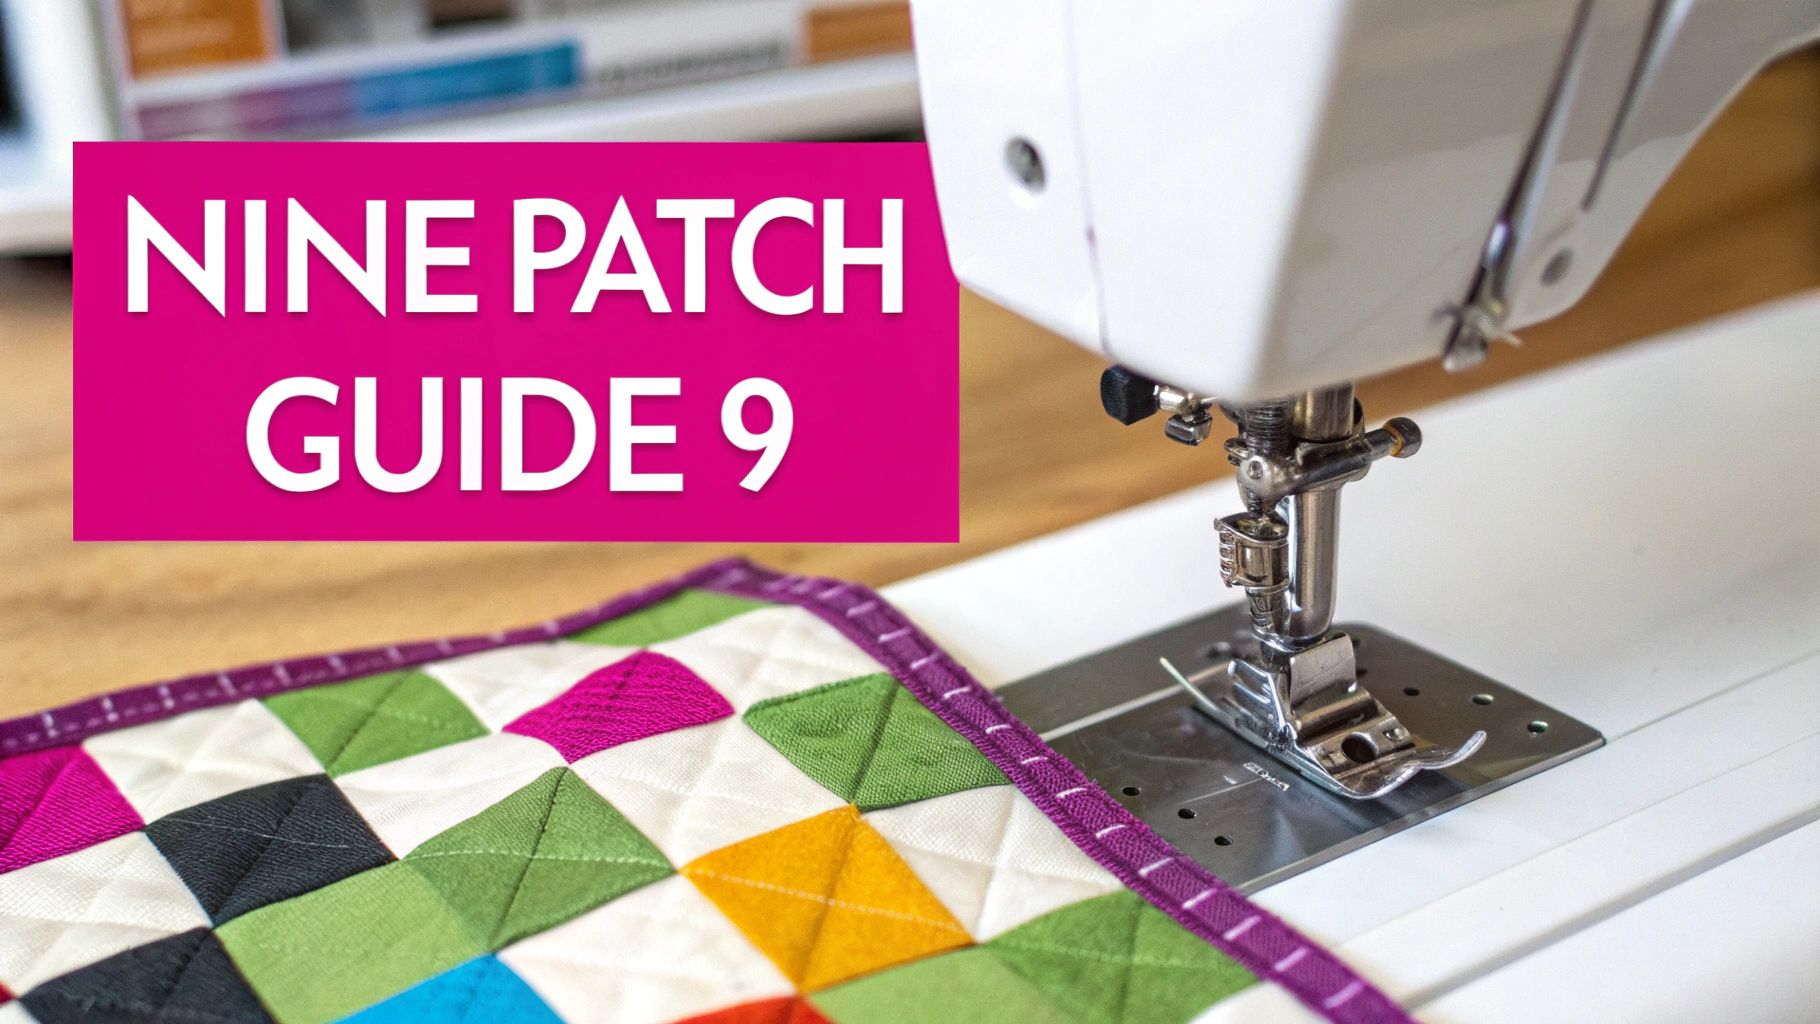
There’s a good reason the Nine Patch is one of the most fundamental and beloved basic quilt patterns out there. For so many of us, this was the block that started it all. It’s the perfect introduction to the core skills every quilter needs—accurate cutting and consistent sewing—without getting too overwhelming. Think of this simple grid of nine squares as the DNA for countless other, more elaborate quilt blocks you'll tackle down the road.
Its beauty lies in its simplicity. Just by arranging a few light and dark squares, you can create a design with instant charm and visual pop. Getting this block right builds the muscle memory you'll rely on for every future project.
Interestingly, while it's a foundational pattern, it’s not always the most popular. The Log Cabin pattern, for example, is often cited as America's most beloved traditional design, favored by 37% of quilters. The Nine Patch comes in at a respectable 9%. It’s always fascinating to see how different patterns stack up in the community.
Precision Cutting and Sewing
Your journey to a perfect Nine Patch starts on the cutting mat. For a standard 12-inch finished block, you'll need nine squares cut to 4.5 inches. That extra half-inch gives you the quarter-inch seam allowance on all four sides.
- Fabric A (Light): Cut five (5) 4.5" x 4.5" squares.
- Fabric B (Dark): Cut four (4) 4.5" x 4.5" squares.
Accuracy here is everything. A sharp rotary blade and a good acrylic ruler are your best friends for making sure every single square is identical. If you need a refresher on getting those clean, straight cuts, take a look at our guide to essential quilting ruler templates.
The next big skill to master is the scant quarter-inch seam. This just means sewing a single thread's width less than a true quarter inch. It might seem small, but this tiny adjustment accounts for the fabric that gets taken up in the fold when you press the seam, ensuring your finished block is the exact size it's supposed to be. A specialty quarter-inch presser foot makes this practically foolproof, and we can help you find the right one for your machine at Linda's.
Smart Assembly and Pressing
Ready for a game-changing tip? We’re going to use a technique called chain piecing to assemble this block. Instead of sewing two squares, cutting the thread, and starting over, you just feed each pair through your machine one after another without stopping. It saves a surprising amount of time and thread!
First, sew your squares into three simple rows:
- Row 1: Light - Dark - Light
- Row 2: Dark - Light - Dark
- Row 3: Light - Dark - Light
Now, pressing. This is just as important as sewing. For Rows 1 and 3, press the seams toward the outside (towards the darker squares). For Row 2, press the seams toward the inside (towards the center light square).
This technique is called "nesting seams," and it's pure magic. When you go to sew your rows together, the opposing seams will lock right into each other. This little trick is the key to getting those perfectly aligned corners for a sharp, professional finish.
Finally, sew the three rows together, making sure to nest those seams as you go. Give the whole block one final, gentle press. That's it! You’ve created a beautiful, classic Nine Patch block. Once you get the hang of it, you’ll be ready to turn a stack of these into a stunning quilt.
Comparing Popular Quilt Blocks for Beginners
If you're just starting out, it can be helpful to see how the Nine Patch stacks up against other beginner-friendly blocks. Each one teaches a slightly different skill, which is great for building a well-rounded foundation. Here's a quick look at some of my favorites for new quilters.
| Pattern Name | Primary Skill Learned | Best For | Complexity Level |
|---|---|---|---|
| Nine Patch | Accurate cutting, scant ¼" seam, nesting seams | First-time quilters, scrap-busting projects | ★☆☆☆☆ |
| Rail Fence | Strip piecing, consistent seam allowances | Quick baby quilts, using jelly rolls | ★☆☆☆☆ |
| Log Cabin | Building blocks from the center out, color value | Practicing light/dark contrast, classic quilts | ★★☆☆☆ |
| Churn Dash | Half-square triangles, combining simple units | Learning multiple components, traditional sampler quilts | ★★☆☆☆ |
Each of these patterns offers a fantastic starting point. The Nine Patch is arguably the simplest, making it the perfect block to build your confidence before moving on to designs that introduce new elements like half-square triangles or strip piecing.
Creating a Stunning Rail Fence Quilt
The Rail Fence is one of those classic patterns that just works. It's incredibly satisfying for new quilters because it proves that you don't need complex shapes to make something visually stunning. It all comes down to simple, straight lines.
This pattern is the perfect way to dip your toes into strip quilting. The technique is a huge time-saver: you sew long strips of fabric together first, then slice them up into blocks. It’s fast, it’s fun, and the results are always impressive.
The real magic of the Rail Fence is how versatile it is. You only need a few different fabrics—a classic combo is a light, a medium, and a dark—to create a ton of movement across your quilt top. Just by turning the same block different ways, you can get completely different looks, from traditional zigzags to something that feels really modern and graphic.
Cutting and Sewing Your Strips
If there’s one secret to a great-looking Rail Fence quilt, it’s consistency. Every single strip needs to be cut to the exact same width, and you have to stick to that perfect quarter-inch seam.
A super common mistake I see beginners make is accidentally stretching the fabric while sewing those long seams. It's so easy to do! Before you know it, you’ve got wavy, distorted blocks that don't want to lie flat.
To get around this, just handle your strips gently. Let the machine do the work—your job is just to guide the fabric, not push or pull it through. I also like to alternate the direction I sew each seam. If you sew the first seam from top to bottom, flip it around and sew the next one from bottom to top. This one little trick really helps prevent bowing and keeps your strip sets nice and straight.
My number one piece of advice for getting straight seams on long strips? Starch is your best friend. A quick spritz of starch before you cut makes your fabric crisp and stable, almost like paper. It’s so much less likely to stretch out of shape when you sew. We've got a great selection of pressing sprays at Linda's to get you started.
Throw-Sized Rail Fence Quilt Guide
Alright, let's walk through making a beautiful throw quilt that will finish up at around 54" x 63". For a quilt this size, we'll be making 42 blocks, and each one will finish at 9" x 9".
Fabric Requirements:
- Fabric A (Light): 1 yard
- Fabric B (Medium): 1 yard
- Fabric C (Dark): 1 yard
Cutting Instructions:
From each of your three fabrics (A, B, and C), you'll need to cut seven (7) strips that are 3.5" wide by the width of the fabric (WOF). This will give you a total of 21 strips to work with.
Assembly Steps:
- Make Your Strip Sets: Grab one strip of each fabric (A, B, and C) and sew them together along the long edges. Press your seams to one side—I usually press towards the darker fabric to keep things neat. Keep doing this until you have seven finished strip sets.
- Cut the Blocks: Now, take a strip set over to your cutting mat. The first thing you'll do is trim one end to get a clean, straight edge to start from. Then, start cutting the strip set into 3.5" wide segments. Each segment you cut is a finished Rail Fence block! You should easily get six blocks from each strip set, giving you your 42 blocks.
Once your blocks are cut, the real fun starts. Lay them out on a design wall (or just a clean spot on the floor!) and start playing. Rotate them, move them around, and see what kind of pattern you can create.
This pattern is also absolutely fantastic for using pre-cut fabric bundles. If you love working with them, you should check out these inspiring easy Jelly Roll quilt patterns for more great ideas.
Finally, sew your blocks into rows, and then sew the rows together. Just like that, you've pieced a gorgeous quilt top with one of the most foundational patterns in quilting.
Building Your Skills with the Churn Dash Block
So you've tackled simple squares and strips, and now you're ready for the next adventure in your basic quilt patterns journey. Let me introduce you to the Churn Dash block! This is a fantastic next step that introduces one of the most useful components in all of quilting: the half-square triangle, or HST. Master this, and a whole new world of design opens up.
At first glance, the Churn Dash might look complicated, but it's really just a clever mix of simple shapes—a square in the middle, four rectangles, and four HSTs. Don't let those triangles scare you! They are so much easier to make than you think, and they are the key to unlocking countless other beautiful quilt blocks.
Mastering the Half-Square Triangle
The secret to a sharp, crisp Churn Dash block? A perfect half-square triangle. This is where a little bit of precision goes a long, long way. When I see new quilters getting frustrated with points that just won't line up, it almost always comes down to two things: accurate trimming and smart pressing.
- Trimming is Critical: After you've sewn and pressed your HSTs, you absolutely must trim them to the correct unfinished size. Using a good quilting ruler to square them up ensures every single unit is identical. This is the magic step that makes your final block fit together like a dream.
- Press for Success: When you press your HST seams, try to press them open or consistently to the dark side. This simple habit cuts down on bulk where your points meet, making it so much easier to nest your seams and get that perfect finish.
The Churn Dash block is a true classic, dating all the way back to the pioneer days of the 1800s. It gets its name from its resemblance to a butter churn. For generations, quilters have loved this design not just for its charm, but because it's a brilliant way to use up every last precious scrap of fabric.
The infographic below shows the basic workflow for a strip-pieced quilt, a technique that often goes hand-in-hand with block-based piecing.
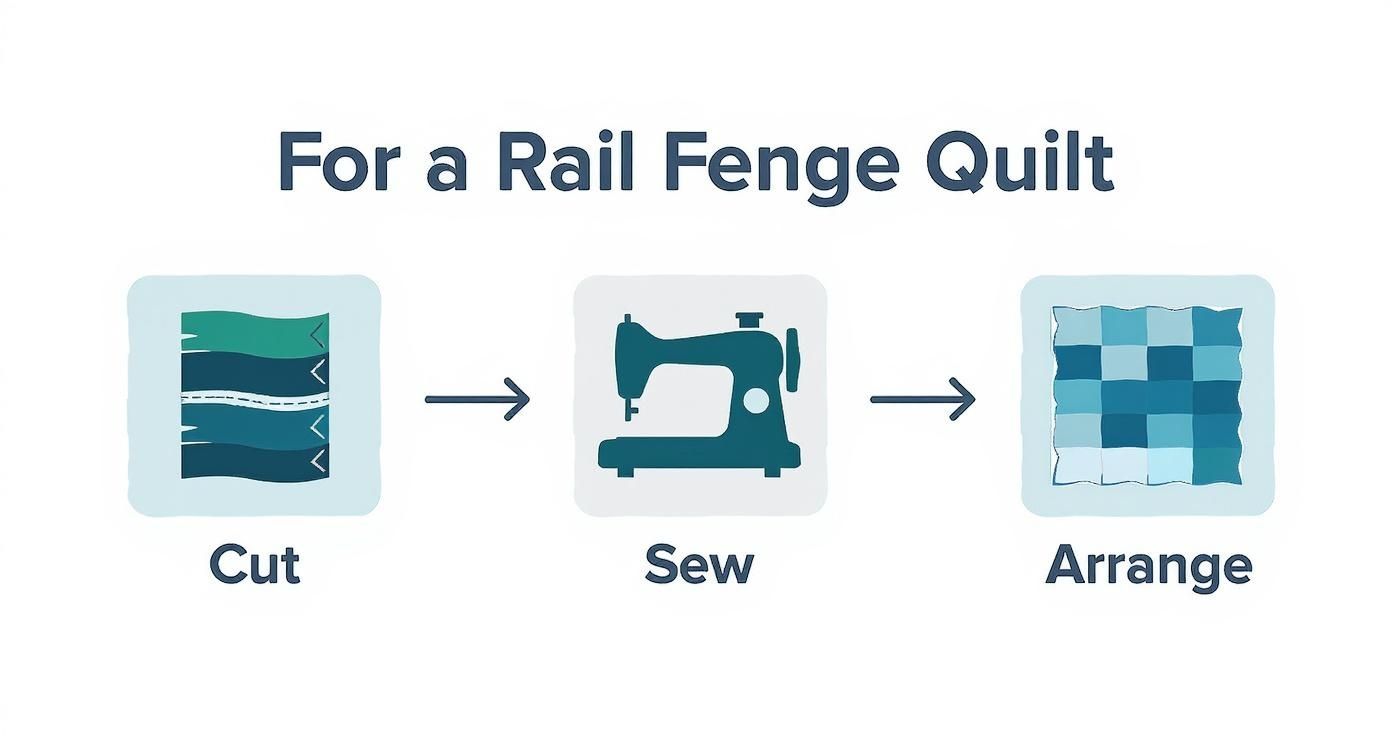
It’s a great reminder that even quilts that look intricate can be broken down into simple, manageable stages: cutting, sewing, and arranging.
Bringing the Block Together
Once your HSTs are made and trimmed down to size, putting the Churn Dash together will feel surprisingly familiar—it's very similar to making a Nine Patch block.
Just lay out your pieces in three rows, sew the units in each row together, and then join the rows. This is another great chance to practice nesting your seams, which really helps all those points meet with satisfying precision.
The Churn Dash is part of a rich history of American quilting, right alongside other legendary designs. Star patterns, for instance, are some of the most meaningful motifs in quilting history. The iconic Lone Star became incredibly popular in the late 1800s, thanks in part to the stunning star quilts crafted by the Lakota Sioux. You can discover more about these historic patterns on NPS.gov.
The Churn Dash is incredibly versatile, whether you're making a single block for a potholder or a whole quilt. Try it with two high-contrast colors for a bold, modern look, or dive into your scrap bin for a quilt that feels cozy and timeless. Be sure to explore the incredible selection of fabrics at Linda's to find the perfect inspiration for your next project!
How to Finish Your Quilt Like a Pro
You did it! That beautiful quilt top is all pieced together. Now for the part that I think is the most magical—transforming it from a flat top into a real, honest-to-goodness quilt. This is where quilting and binding come in, and it's what gives your project its final cozy, durable shape.
First up, you need to make what we call a "quilt sandwich." It's just three layers: your quilt top, the batting in the middle (that's the fluff), and your backing fabric. A key tip here is to cut your backing and batting about four to six inches larger on all sides than your quilt top. Trust me, this extra wiggle room is a lifesaver, keeping everything from shifting around while you quilt.
Assembling Your Quilt Sandwich
With everything cut, it's time to put it all together. You'll need a good bit of space for this, so clear a big patch of clean floor or push some tables together.
Start by laying your backing fabric down, wrong side up. Smooth it out completely until it's flat and taut. A lot of us use painter’s tape on the corners to hold it securely to the floor.
Next, layer the batting on top of the backing, smoothing out any wrinkles. Finally, place your quilt top, right side up, over the batting. And there you have it—your quilt sandwich! The next crucial job is to baste these layers together so they don't move an inch while you're quilting.
- Pin Basting: Grab some curved safety pins made for quilting. You’ll want to place one every 4-6 inches all over the quilt.
- Spray Basting: This is a temporary adhesive spray that holds it all together. If you go this route, work in small sections, spraying lightly and smoothing down the layers as you go.
The whole point of basting is to get those three layers to behave like a single piece of fabric. A quilt that's basted well is your best defense against dreaded puckers and tucks on the back.
Quilting and Binding
Once your sandwich is basted and secure, the real fun begins: the quilting! For the basic quilt patterns we've been covering, you can't go wrong with simple straight-line quilting on your home machine.
Pop on a walking foot—it's designed to help feed all three layers through your machine evenly. You can "stitch in the ditch" (which just means sewing right along your existing seam lines) or create a simple grid pattern across the whole quilt. It’s an easy way to get a classic, clean look.
The final victory lap is the binding. This is the strip of fabric that wraps around the raw edges of your quilt, giving it a polished and durable finish. Making and attaching binding is a skill all on its own, and there's nothing more satisfying than getting it just right. We have a full, detailed guide that walks you through every part of the process—check out our tutorial on how to bind a quilt by hand.
And if you'd rather have a flawless, professional finish without the fuss, our longarm quilting services at Linda’s Electric Quilters are always here to help. We’ve also got all the finishing tools, batting, and beautiful backing fabrics you'll need to complete your project with pride.
Common Questions About Basic Quilt Patterns
When you're just starting out with basic quilt patterns, it's totally normal to have a ton of questions. Trust me, we’ve all been there! Working through these little puzzles is part of the process, and getting a handle on the common sticking points will make your quilting so much more fun.
One of the biggest frustrations for new quilters is getting those block points to match up. When your corners are looking a little wonky, it almost always comes down to one of three culprits: your cutting, your seam allowance, or the way you’re pressing.
First, go back and check your cutting accuracy. Then, really focus on maintaining a consistent, scant 1/4 inch seam – a specialty presser foot can be a game-changer here. Finally, learn to love the "nesting seams" technique. This is where you press the seams of blocks that will be joined in opposite directions. When you put them together, they just lock into place like magic.
Fabric and Cutting Accuracy
The fabric you start with really does set the tone for your whole project. For anyone new to quilting, my advice is always the same: stick with 100% quilting cotton. It behaves beautifully, doesn’t stretch all over the place, and holds a crisp press, which you need for accurate piecing. Flannel is cozy and tempting, I know, but it can be a real pain to work with until you have a few quilts under your belt.
Getting your fabric cut accurately is the foundation of a great quilt. I can’t tell you how many times I’ve seen a quilter struggle, only to find out their rotary blade is as dull as a butter knife. A dull blade drags and pulls the fabric, distorting your cuts before you even get to the sewing machine.
- A sharp rotary blade is non-negotiable. It makes all the difference for clean, straight cuts.
- Always stand up when you cut. This lets you apply firm, even pressure along your ruler.
- Measure twice, cut once. It’s cliché for a reason. This simple habit will save you so much fabric and frustration.
Here's something to remember: every step in quilting builds on the one before it. If you take a few extra moments to make sure your cuts are perfect, the sewing and assembly will go a hundred times smoother. You'll end up with a quilt you're truly proud of.
Understanding Quilt Sizes and Seasons
Another question I hear all the time is, "What size should I make my quilt?" The answer really depends on what you plan to do with it! A baby quilt has very different requirements than a king-sized bed quilt, obviously. The key is to know standard mattress sizes and decide on the "drop"—that’s the part that hangs over the sides of the bed. For a deep dive, check out our complete guide to quilt batting sizes; it will help you plan your dimensions perfectly.
It's not just about the size, though. You also want to think about when the quilt will be used. A lightweight cotton quilt is perfect for summer, while a flannel-backed quilt is what you’ll want on a cold winter night. This fantastic guide on how to choose the perfect quilt for every season has some great pointers.
Here at Linda's Electric Quilters, we've got all the high-quality cotton fabrics, sharp rotary cutters, and other tools you need to get started on these basic patterns with total confidence. Explore our collection and find everything you need to finish your project today!


