
When it comes to finishing a quilt, mitered corners are truly the gold standard. This technique creates that perfect, sharp 45-degree angle, giving your quilt a crisp, flat edge that instantly looks professional. It's a small detail that speaks volumes about craftsmanship and care. At Linda's, we believe that a beautiful finish makes all the difference, and we're here to help you achieve it.
Why Mitered Corners Elevate Your Quilting
Before we jump into the how-to, let’s talk about why this technique is so loved in the quilting world. Choosing to miter your corners is more than just a finishing step—it's a choice that elevates the entire look and feel of your project. The clean, diagonal seam adds an elegance that simple folded corners just can't replicate.
But it’s not just about looks. This method has some serious practical advantages, with the biggest one being the reduction of bulk. Instead of piling multiple layers of fabric on top of each other, the mitered fold distributes everything evenly. The result is a tidy, flat corner that lies perfectly smooth.
The Aesthetic and Practical Advantages
This technique isn’t new; it became popular back when quilts needed to be as durable as they were beautiful. Quilters in the 19th and early 20th centuries figured out that mitering reduced the fabric layers at the corners from six or more down to just four. This simple change made the quilts much easier to handle and more comfortable to use. You can dive deeper into historical sewing techniques over at Fabrics-Store.com.
Less bulk means the quilt hangs or drapes better. If it’s a wall hanging, it will lie flat against the wall without any weird bumps. On a bed, the corners won't feel lumpy or stiff.
A well-executed mitered corner is a hallmark of quality. It shows attention to detail and a commitment to creating a durable, beautiful piece that will be cherished for years.
Gathering Your Essential Tools
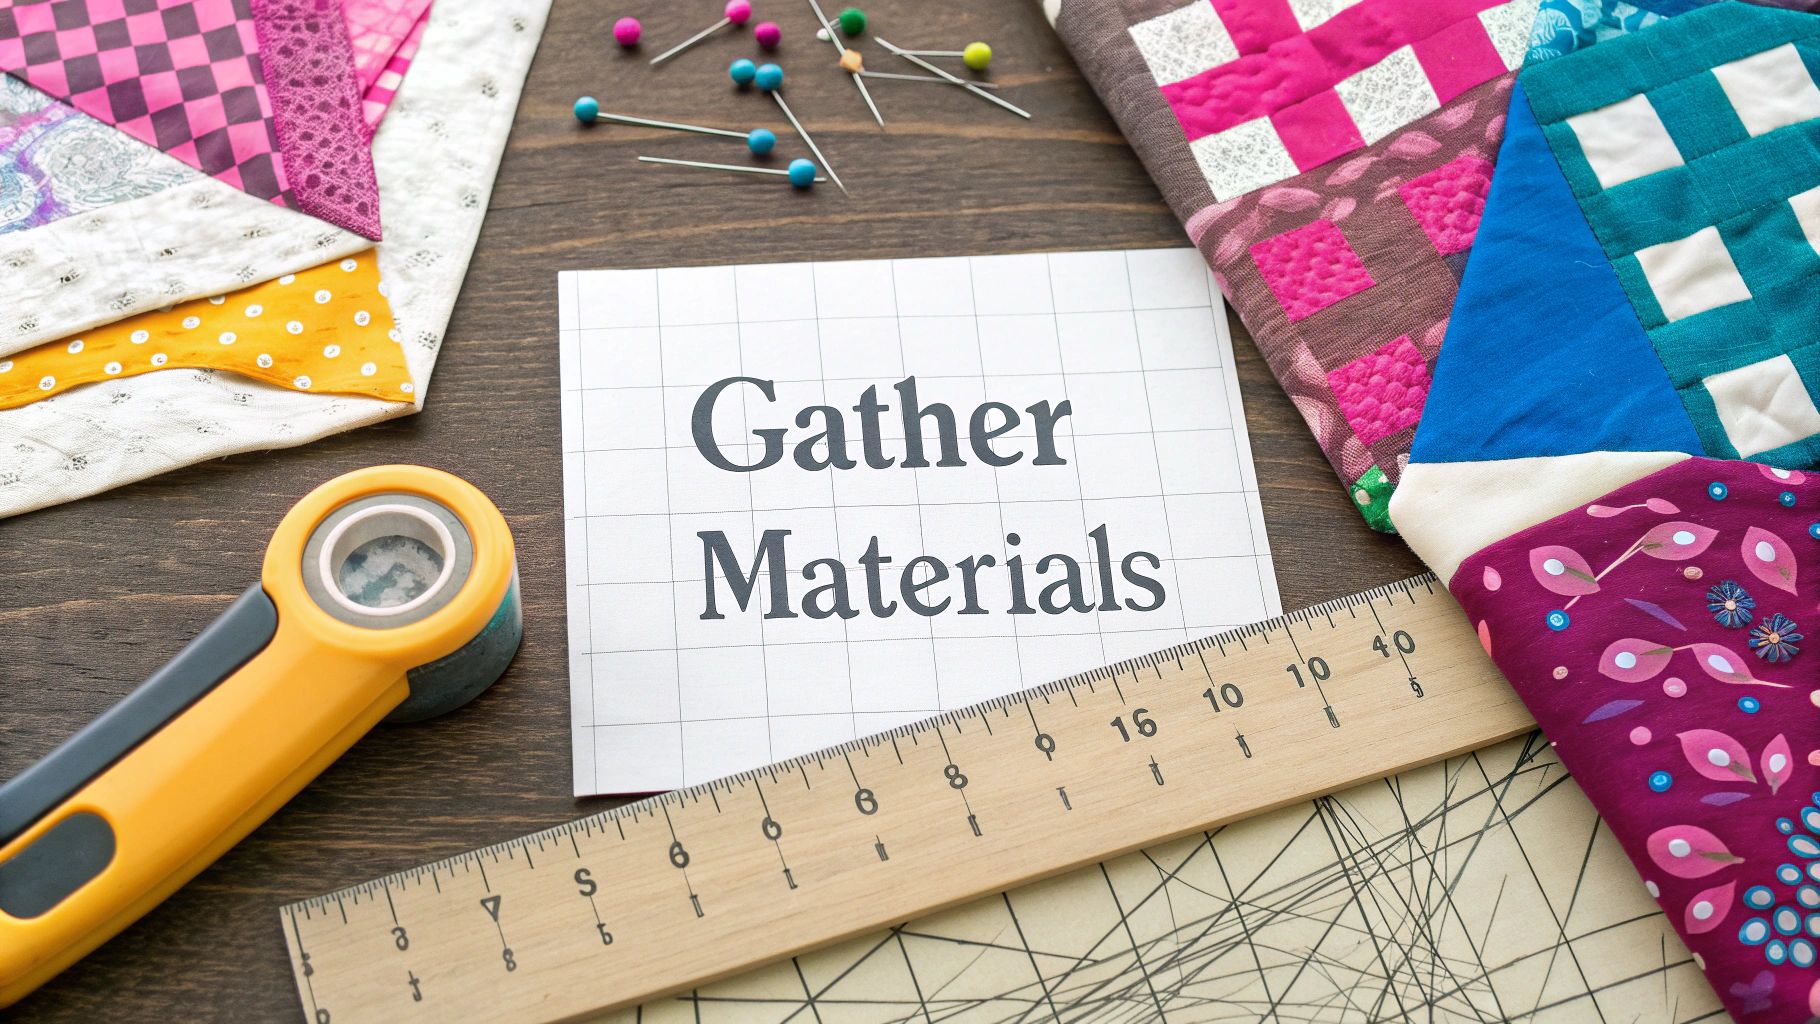
To get that flawless finish, you absolutely have to start with the right tools. Precision is everything here, and having good supplies on hand makes all the difference. Before we get into the process, let’s make sure your quilting toolkit is ready to go.
Here's what you'll need:
- A sharp rotary cutter and self-healing mat: Non-negotiable for cutting perfectly straight binding strips.
- A clear quilting ruler: Crucial for measuring accurately and marking your stop-and-start points.
- High-quality cotton fabric: This is the foundation of a great binding.
- Coordinating thread: Choose something durable that matches or complements your fabric.
Linda's has an amazing selection of all these quilting essentials. Starting your project with the best materials sets you up for success and helps you create those perfect, professional mitered corners you're aiming for. Shop our collection and find exactly what you need to finish your quilt with confidence.
Preparing Your Binding and Essential Tools
Let’s be honest, a beautiful quilt finish is all about the prep work. Before you even think about sitting down at your machine, getting your tools and binding fabric ready is the secret to those crisp, perfect mitered corners we all strive for. No stress, just success.
Think of your binding as the perfect frame for your quilted masterpiece. The fabric choice is the fun part, but how you prep it is what really makes or breaks the final look. A little precision now saves a ton of headaches later.
Calculating Your Binding Fabric Needs
First things first, let's figure out exactly how much fabric you'll need. Running out of binding mid-project is a quilter's nightmare! Thankfully, a simple bit of math will get you sorted.
-
Measure your quilt's perimeter: Just add up the lengths of all four sides. For a 60" x 70" quilt, that’s (60 + 60 + 70 + 70), giving you a perimeter of 260 inches.
-
Add a little extra: I always add an extra 12-15 inches to that total. This gives you a comfortable cushion for turning the corners and joining the ends together seamlessly. So, for our example quilt, we're now at 260 + 15 = 275 inches of binding.
-
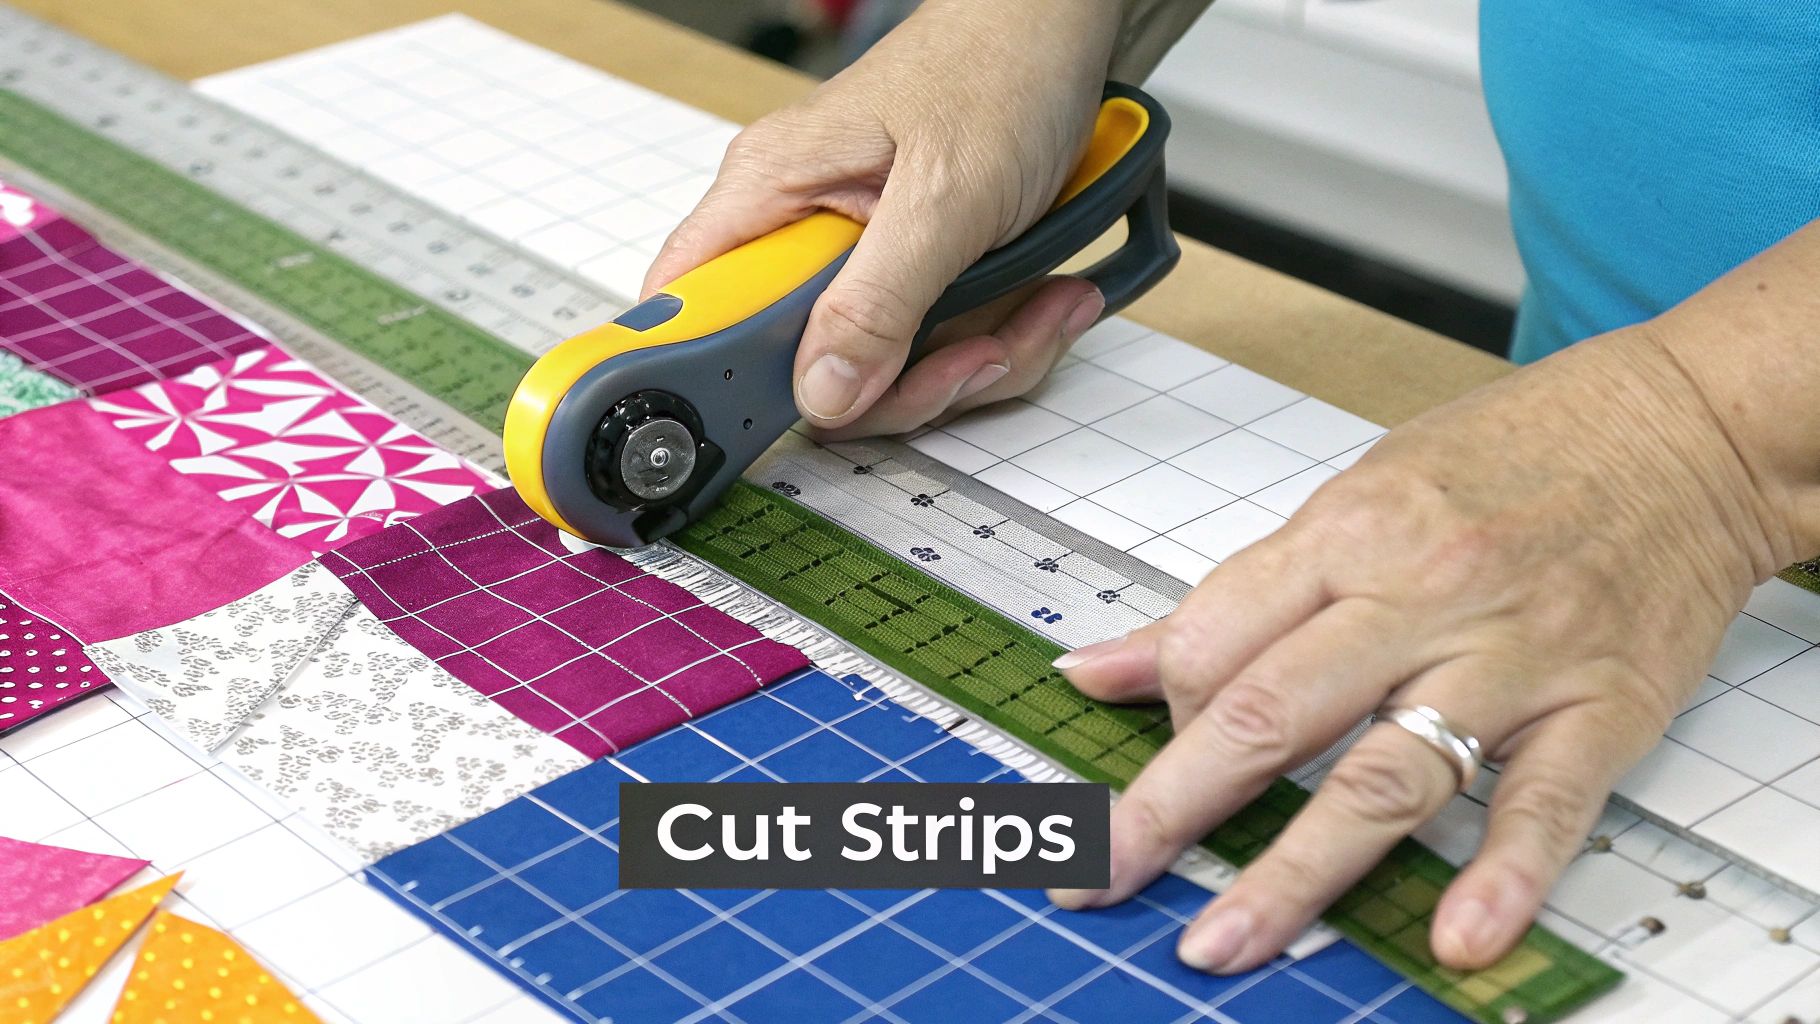
Figure out your strips: Now, divide that total length by the width of your fabric (WOF), which is typically about 42 inches. So, 275 ÷ 42 is roughly 6.55. You always round up to the next whole number, which means you’ll need to cut 7 strips from your fabric.
Most quilters, myself included, cut binding strips between 2.25 and 2.5 inches wide. If you're just starting out, I highly recommend going with 2.5-inch strips. That little bit of extra fabric is more forgiving and much easier to handle.
Before we move on, let's make sure you've got everything you need at arm's reach. Having the right tools isn't just a suggestion; it's what turns a frustrating task into a genuinely enjoyable part of the quilting process.
Your Checklist for Perfect Mitered Corners
| Tool or Material | What to Look For | Why It's a Game-Changer |
|---|---|---|
| Quilting Cotton | High-quality, 100% cotton with a straight grain. | It holds a press beautifully, doesn't stretch out of shape, and gives you that crisp edge you're looking for. |
| Rotary Cutter & Mat | A sharp 45mm or 60mm blade and a self-healing mat. | There's no substitute for precision. A sharp rotary cutter ensures your strips are perfectly straight and consistent. |
| Quilting Ruler | A long ruler (6" x 24") with clear markings, including a 45-degree line. | Essential for cutting accurate strips and marking those crucial diagonal seams for joining. |
| Good Quality Iron | An iron that gets hot enough and produces plenty of steam. | A good, hot press sets your seams and folds, making the binding behave exactly how you want it to. |
| Wonder Clips | Instead of pins, these little clips are a lifesaver. | They hold your binding securely to the quilt edge without piercing the fabric or getting in the way as you sew. |
Setting yourself up with these tools is like giving yourself a head start. It's the difference between fighting with your fabric and having it cooperate every step of the way.
Creating One Continuous Binding Strip
With your strips cut, the next job is to join them into one long, continuous piece. The pro move here is to use a diagonal seam. Why? Because it distributes the bulk of the seam allowance, so you won't get a lumpy, noticeable bump when you fold your binding over.
To do this, place two of your strips right sides together, forming a 90-degree angle. Grab your quilting ruler and draw a diagonal line from the top-left corner to the bottom-right where the fabrics overlap. Now, stitch right on top of that line.
This diagonal join is one of those little details that makes a massive difference in the finished product. A straight seam would create an obvious ridge, but this technique keeps everything smooth and professional.
Once you’ve stitched, trim the excess fabric about ¼ inch away from your seam. Keep going like this, adding strips end-to-end until you've got one long binding.
The final prep step is pressing. Press those diagonal seams open to make them lie as flat as possible. Then, fold your entire binding strip in half lengthwise (wrong sides together) and give it a good press. Now you’ve got a beautiful, ready-to-go binding for your quilt!
For all your quilting needs, from premium cotton fabrics to the sharpest tools on the market, check out the fantastic selection over at Linda's. Getting the right gear makes every part of quilting more fun.
Attaching the Binding to Your Quilt
Alright, your continuous binding strip is pressed and looking sharp. Now for the magic moment: attaching it to the quilt! This is where all your hard work—the beautiful top, the cozy batting, and the backing—officially comes together into a finished piece. The best advice I can give you here is to take a deep breath, go slow, and remember that a little precision now will pay off big time in the end.
Grab your folded binding and line up its raw edges with the raw edge of your quilt top. You’ll be sewing right through all the layers. One of the most common mistakes I see is starting right at a corner. Don't do it! You'll thank me later, as it makes joining the ends a real headache. Instead, find a nice, straight stretch about halfway down one side of your quilt to begin.
Setting Up for a Perfect Seam
Before you even think about putting the pedal to the metal, give yourself some room to work. Leave a generous 8- to 10-inch "tail" of binding unsewn where you start. This extra fabric is absolutely crucial for creating that clean, invisible diagonal join when you make your way all the way around the quilt.
To hold everything in place, I swear by Wonder Clips. They grip all the layers firmly without poking you or distorting the fabric like pins sometimes can, and they’re a breeze to pop off as you sew.
Your walking foot is non-negotiable for this step. Seriously, it's your best friend. It grabs both the top and bottom fabric at the same time, preventing that annoying shifting and stretching that leads to puckers. The goal is a perfectly straight, consistent seam allowance. Most quilters stick to a ¼-inch seam allowance, which is pretty much the gold standard, but a ⅜-inch seam works just as well if you like a slightly chunkier binding on the back.
If you take away one thing from this section, let it be this: the consistency of your seam allowance is everything. A nice, even seam is what allows the binding to fold over to the back neatly and perfectly cover your stitch line.
Navigating Toward the Corners
With everything clipped in place, start stitching down that first side, keeping your eye on that seam allowance. As you get close to the first corner, slow down. This isn't a race to the finish line.
To get that crisp, professional mitered corner, you have to stop sewing at a very specific point. Here’s how you nail it every time:
- Mark Your Stop Point: Use a fabric marker or just a pin to mark a spot that's the same distance from the corner as your seam allowance. So, if you're using a ¼-inch seam, you'll stop sewing exactly ¼ inch away from the raw edge of the next side.
- Lock It In: Once you hit that mark, backstitch just a couple of stitches. This little bit of reinforcement is super important because the corner takes some stress when you start folding.
- Cut and Reset: Snip your threads and pull the quilt away from the machine. You've now set the stage perfectly for that beautiful mitered fold.
This deliberate little pause is the foundation of a great mitered corner. It turns a step that can feel tricky into a simple, repeatable process. And if you're looking for the best tools to mark and measure with confidence, check out the fantastic quilting notions at Linda’s. A good ruler and marking pen really do make all the difference.
Mastering the Mitered Corner Fold
Alright, this is the moment of truth for any mitered binding. That sharp, 45-degree angle corner can look a little intimidating, but I promise it's just a simple, repeatable motion. Once you get the hang of it, you'll be knocking these out like a pro.
You've just sewn down your first side of binding, stopping exactly your seam allowance distance from the corner. Pull the quilt out from under the needle so you have room to work. This part is all about a clean, deliberate fold—no guesswork needed.
The Signature Fold Up and Fold Down Motion
The secret to a perfect miter lies in what we quilters call the "fold-up, fold-down" move. It’s pretty much exactly what it sounds like.
First, take the long tail of your binding and fold it straight up, away from the quilt. As you do this, you’ll create a perfect 45-degree angle right at the corner where you stopped sewing. You'll know you've got it right when the raw edge of your binding strip makes a perfectly straight line with the top edge of your quilt.
Got it? Good. Now, hold that fold in place with your thumb and fold the binding strip straight back down over itself. The folded edge you just made should now be perfectly aligned with the top edge of the quilt. The raw edge of the binding should now be sitting flush with the raw edge of the next side of the quilt you’re about to sew.
This little two-step creates a neat fabric triangle at the corner, almost like a little flag. That flag is the magic behind a crisp miter. Grab a Wonder Clip and secure it all in place. Now you're perfectly set up to tackle the next side.
Securing the Pivot and Moving On
With your corner neatly folded and clipped, pop the quilt back under your machine's presser foot. You'll want to line your needle up to start stitching right at the very edge of that new side, locking the fold in place from the get-go.
Start sewing the new side, making sure to backstitch for a couple of stitches just to make sure that corner is nice and secure. Then, just continue down the side, keeping that seam allowance consistent. You'll repeat this exact process—sew, stop, fold up, fold down—at every corner.
To really nail this, precision is key. Many quilters will mark a tiny dot 1/4 inch in from each corner's raw edges to give them a perfect stopping point. When you hit that dot, you stop, lift the presser foot, and get ready to fold. The experts over at Amy's Creative Side have a fantastic breakdown if you want to dive even deeper into the technique.
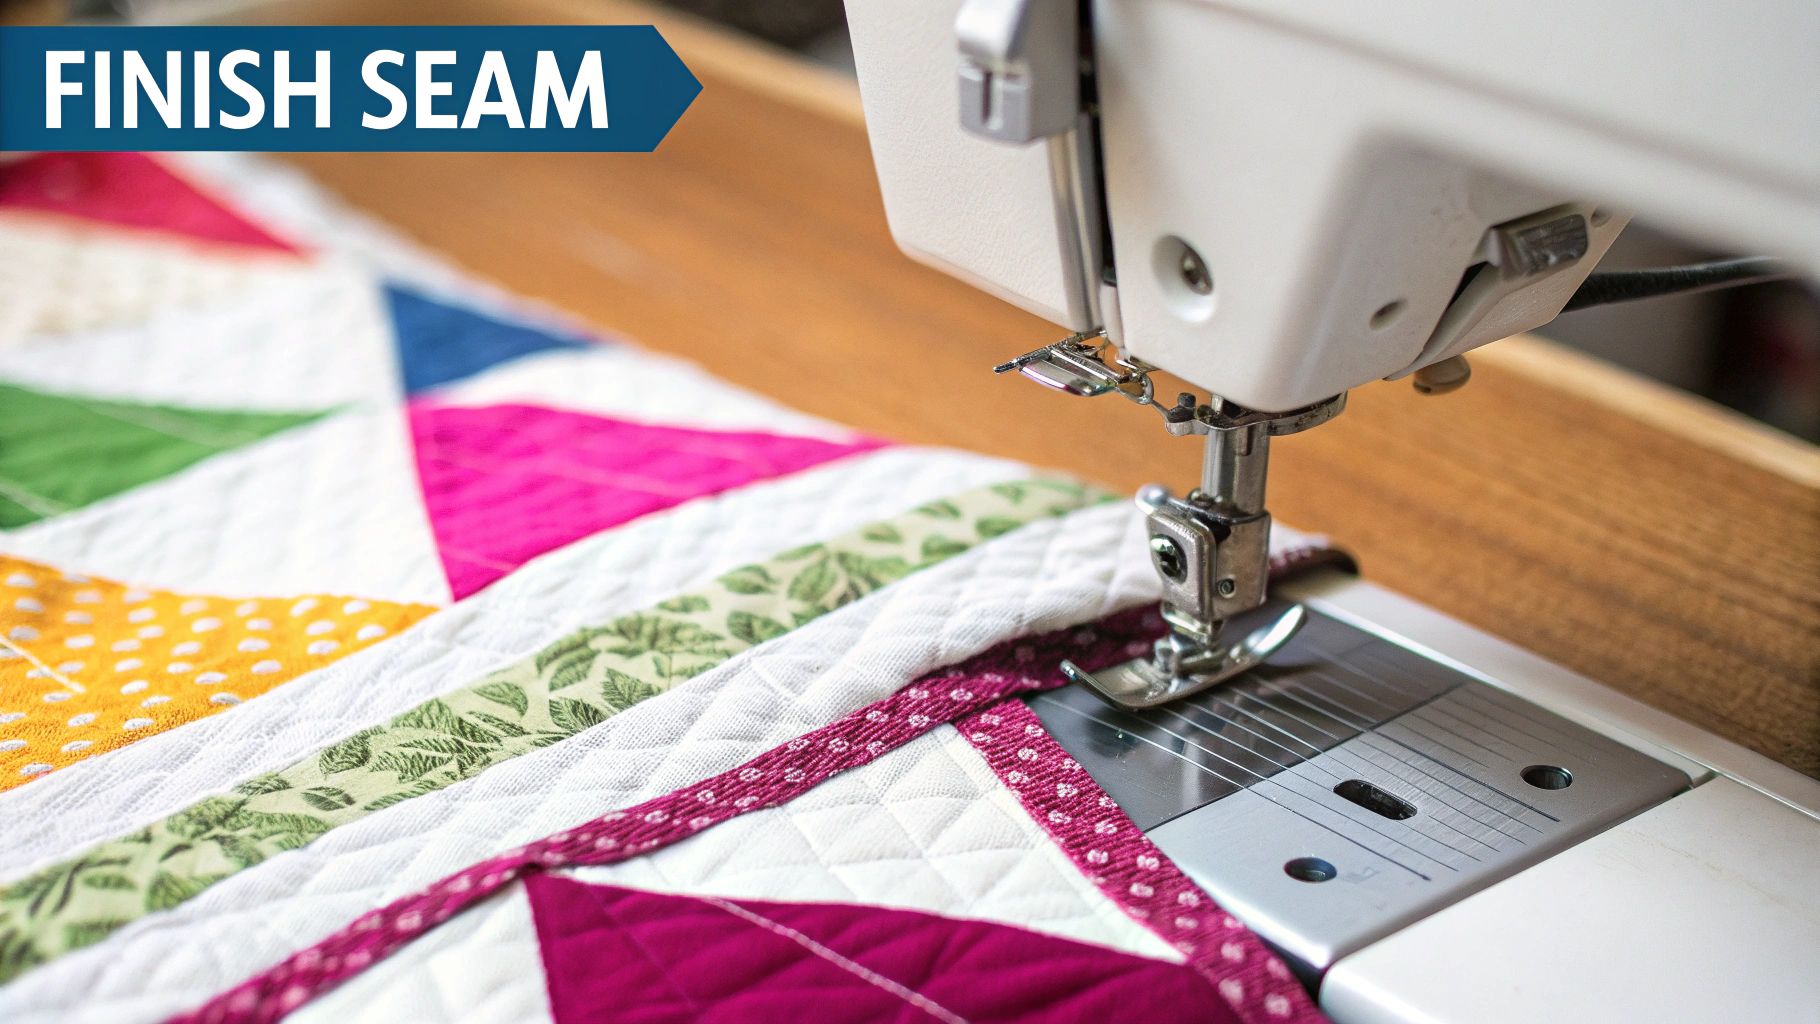
This image really helps visualize how to get your binding attached before you even start thinking about the corners.
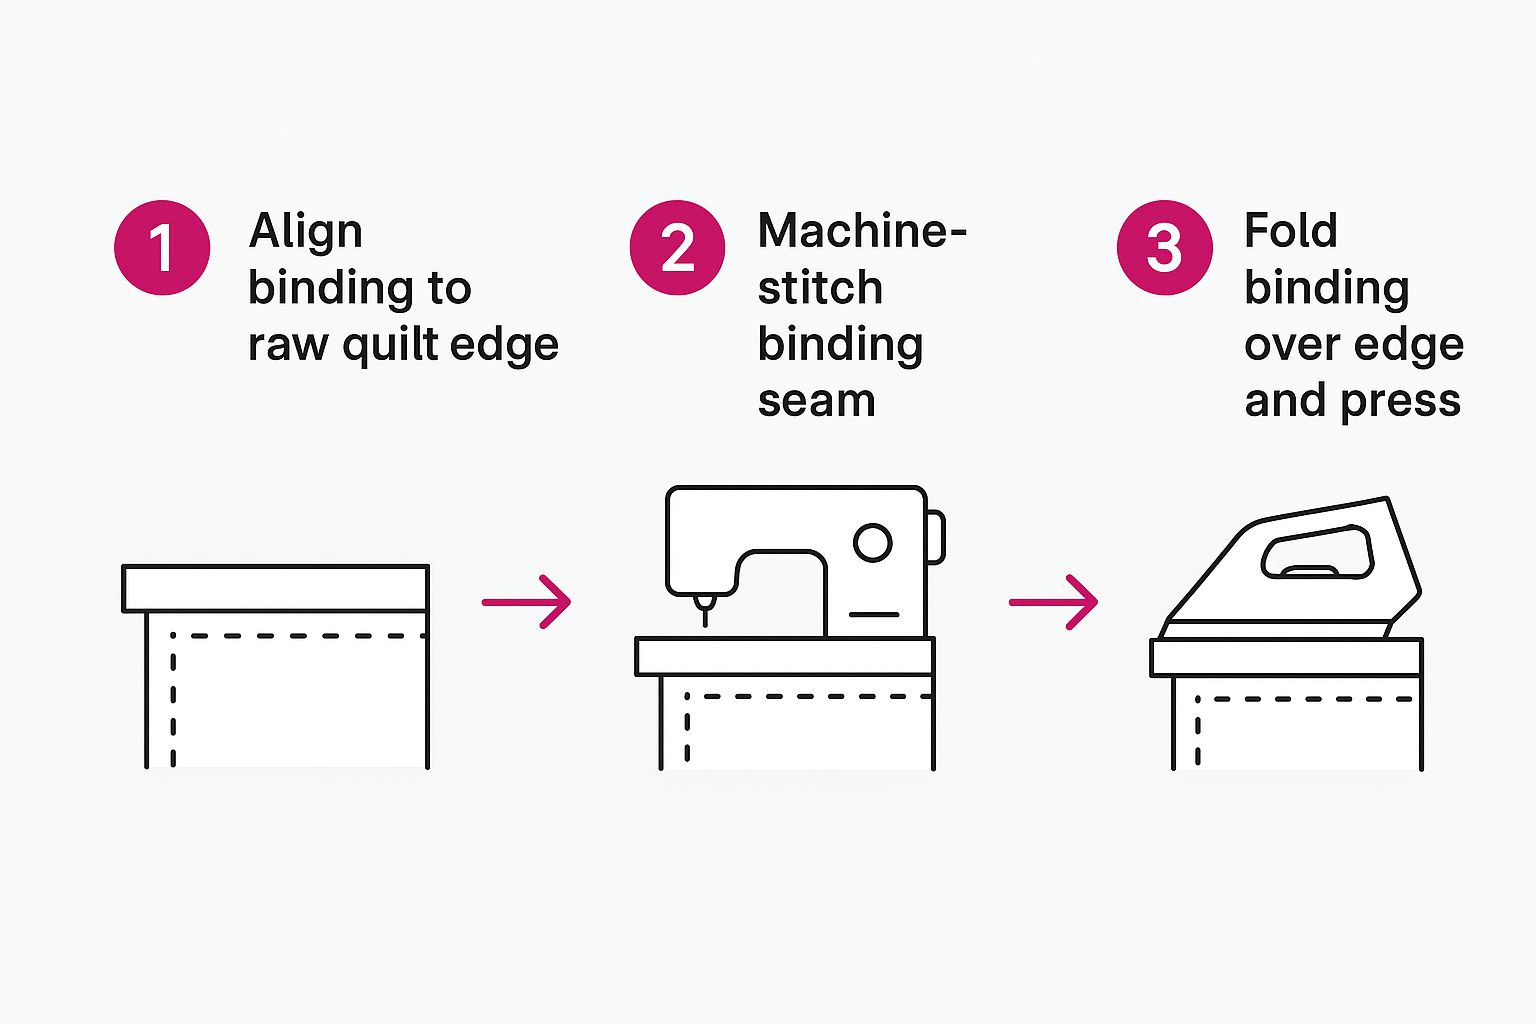
As you can see, getting the initial alignment and stitching right is the foundation for everything that comes next.
Breaking down the mitered corner into these distinct movements takes the mystery out of it. What seems complex becomes a simple, satisfying part of finishing your quilt. Each corner is a chance to show off your skills.
The goal here is consistency. You want each fold to be a mirror image of the last, so all four corners have that same clean, professional finish. And hey, if one doesn't look quite right, don't sweat it. That's what seam rippers are for! Taking an extra minute to get it right is always worth it. If you're in the market for a good seam ripper or other notions, you have to check out the amazing selection at Linda's.
Finishing Your Quilt for a Flawless Look
You’ve attached the binding and conquered the corners—now it’s time for the victory lap. This is where you bring it all home, creating that polished, durable edge that makes your entire quilt just sing. These last few steps are what separate a nice quilt from a truly professional, heirloom-quality piece.
First up is joining the beginning and ending tails of your binding strip. If you want a truly invisible finish, a diagonal seam is the only way to go. This clever technique distributes the seam's bulk, making the join virtually disappear once it's folded over. It’s one of those little details that elevates your work from handmade to impeccably crafted.
Creating an Invisible Join
To pull this off, overlap your two binding tails. You’ll want to trim them so they overlap by the exact width of your binding strip. So, if you used a 2.5-inch strip, make the overlap 2.5 inches. Simple as that.
Now, carefully unfold both tails and place them right sides together, creating a perfect right angle. Grab a quilting ruler and draw a diagonal line from corner to corner across that little overlapping square. Stitch directly on this line, then trim the excess fabric about ¼ inch away from your new seam. Press the seam open, and just like that, your binding is a perfect, continuous loop.
Securing the Binding for a Lasting Finish
With the ends magically joined, go ahead and stitch the remaining open section of binding to the quilt's edge. Once that's done, take your quilt to the ironing board and gently press the binding away from the quilt top, all the way around. This little press makes a huge difference, setting a crisp edge that makes it so much easier to wrap the binding smoothly to the back.
As you fold the binding over to the back of the quilt, your goal is to make sure it just barely covers the machine stitching line from the front. Getting that coverage even is the key to a neat finish. I always use Wonder Clips to hold everything securely in place, especially at the corners. To get that perfect miter on the back, fold one side over neatly, then fold the adjacent side over it to create a crisp, 45-degree line.
When it comes to the final stitching, you’ve got a few fantastic options:
- Hand-Sewn Blind Stitch: This is the traditional method. It’s completely invisible from the front and gives your quilt a beautiful, classic finish. It takes a little time, but the result is worth it.
- Machine Stitch in the Ditch: This is a much faster option. You’ll stitch from the front, right in the "ditch" where the binding meets the quilt body, catching the binding on the back.
- Topstitching: Another machine option where you sew close to the folded edge of the binding on the back. This creates a visible, sturdy stitch line on both the back and front.
There's a reason so many of us swear by this method. Data from quilting guilds shows that nearly 85% of quilters who sell their work prefer mitered corners because of their professional look and customer appeal. And while about 35% of beginners find mitering tricky at first, proficiency jumps to over 80% after just a couple of projects. You really do get the hang of it quickly!
Once your quilt is beautifully bound, it’s ready to be shown off. If you’re looking for your next creative spark, check out these more inspiring DIY home decor projects. And for all the best notions you'll need, from the perfect thread to sharp needles, browse the incredible selection over at Linda's.
Common Questions About Mitered Corner Binding
Even when you follow the steps perfectly, quilting has a way of throwing curveballs. When you're deep in the binding zone, little nagging questions always seem to surface. We've been there! Here are some quick answers to the most common snags quilters hit when tackling mitered corners.
Why Is My Fabric Bunching Up at the Corners?
Puckering corners are a classic frustration, but don’t worry, it’s almost always an easy fix. More often than not, this happens when you sew a little too far before turning the corner. You have to stop stitching at the exact seam allowance distance from the edge—if you're using a ¼ inch seam, you stop a perfect ¼ inch away.
The other main culprit is a less-than-perfect fold. That 45-degree angle is non-negotiable for a flat corner! If your fold isn’t sharp and precise, the fabric just doesn't have anywhere to go when it turns, creating those annoying little bunches. I always recommend grabbing a quilting ruler to check your angle before you even think about sewing the next side.
What Is the Best Way to Join the Binding Ends?
For a finish so clean it looks like magic, a diagonal seam is the way to go. It’s the professional’s secret to an invisible join.
To do this, just overlap your two binding tails. Trim the top tail so it overlaps the bottom one by the exact width of your binding strip. For example, if you're using 2.5-inch strips, your overlap should be 2.5 inches.
Now, unfold both tails and place them right sides together, forming a right angle. Draw a diagonal line from corner to corner and stitch right on that line. Trim the extra fabric ¼ inch from your new seam and press it open. This little bit of fabric origami makes the join melt away.
Mastering the diagonal join is a total game-changer. It gets rid of the bulk you'd get from a straight seam, making sure your binding lies perfectly flat all the way around your quilt.
Can I Use Different Widths for My Binding Strips?
Of course! While 2.5 inches is the go-to standard for a nice ¼-inch finished binding, you can absolutely play around with it.
Want a finer, more delicate edge? Try a 2.25-inch strip. Looking for something a bit bolder and more substantial? Go for a 2.75-inch strip.
The key isn't the specific width, but consistency. Pick a width, stick with it for the whole quilt, and don't forget to adjust your math when you're joining the ends. As long as it’s consistent, you’ll get that beautiful, even finish you're looking for.
No matter what width you settle on, the real secret to a stunning finish is starting with high-quality fabric. Check out the incredible selection of premium quilting cottons and notions at Linda's Electric Quilters to find the perfect materials for your next project. You can get everything you need to bring your quilt to life at https://lindas.com.


