
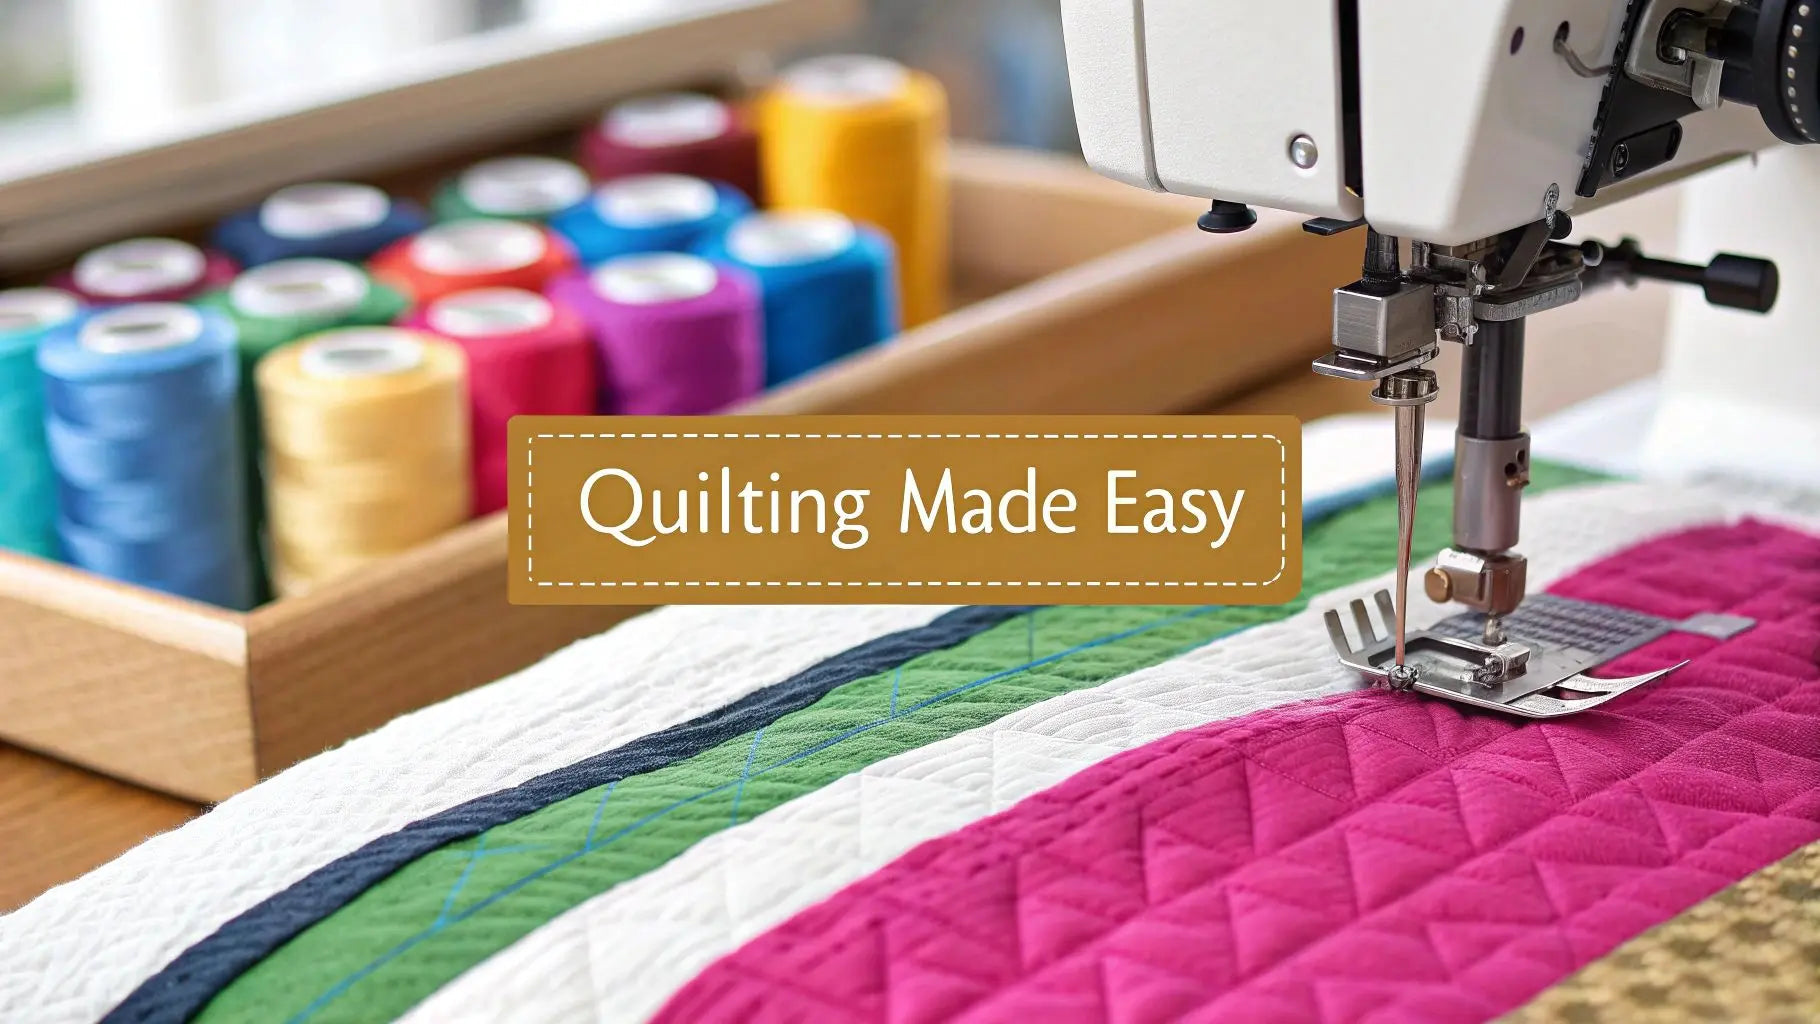
Absolutely. Quilting on an embroidery machine is more than just possible—it's a fantastic way to get perfectly uniform and intricate stitches with a level of precision that’s tough to match by hand. This technique really takes the guesswork out of quilting, letting the machine flawlessly stitch out everything from simple stippling to complex, custom motifs. This guide will walk you through your first project, showing you how to achieve professional results.
Why Your Embroidery Machine Is a Quilting Game-Changer
If you've ever found yourself dreaming of creating stunning, consistent quilting patterns without the physical effort of wrangling a huge quilt under a tiny needle, then you're in for a treat. Using an embroidery machine for quilting isn't just a clever hack; it's a powerful approach that blends modern technology with classic artistry. It opens up a whole world of creative possibilities that are often just out of reach with traditional methods.
Forget the steep learning curve and endless practice hours that come with free-motion quilting. When you use an embroidery machine, the entire process is digitized. This means you can create flawless geometric patterns, delicate feathering, and perfectly spaced stippling every single time. Your machine handles all the precision work, which frees you up to focus on what you love most—the creative side of your project.
Unlocking Perfect Precision and Consistency
The biggest win here is repeatable perfection. Once you load a design, your machine will stitch it out exactly as planned, hoop after hoop. It’s perfect for:
- Edge-to-Edge Designs: You can create those beautiful, seamless, all-over patterns that give quilts a professional, longarm-finished look.
- Custom Block Motifs: Drop unique, intricate designs right in the center of each quilt block for a truly bespoke finish.
- Complex Patterns: Easily tackle designs with dense stitching or sharp, geometric angles that would be a serious challenge to pull off manually.
This method completely eliminates the struggle of pushing a bulky quilt through a small machine throat. Instead, you just hoop one section, let the machine do its magic, and then re-hoop the next area. It’s that simple.
The real game-changer is being able to step away while the machine does the heavy lifting. You can confidently create elaborate quilting while you're prepping your next block or even just taking a well-deserved coffee break.
We're not the only ones who see the potential. The global embroidery machine market, valued at around USD 5.90 billion in 2025, is expected to hit USD 7.88 billion by 2034. This boom is largely driven by the growing love for personalized craft projects where quilting and embroidery beautifully intersect. You can read more about these market trends and what they mean for makers.
To give you a clearer picture, let's break down how this method stacks up against traditional free-motion quilting.
Embroidery Machine vs Traditional Quilting Methods
This table offers a quick look at the key advantages of using an embroidery machine for your quilting projects.
| Feature | Quilting on an Embroidery Machine | Traditional Free-Motion Quilting |
|---|---|---|
| Precision | Digitally perfect, stitches are flawless and repeatable. | Relies entirely on user skill; consistency can vary. |
| Complexity | Easily handles intricate and dense patterns with no extra effort. | Complex designs require advanced skill and intense concentration. |
| Physical Effort | Minimal. The machine moves, not the quilt. | High. Requires constant pushing and maneuvering of the quilt. |
| Speed | Consistent and automated, allowing for multitasking. | Dependent on the user's speed and can be slow for large projects. |
| Learning Curve | Low. Primarily involves learning software and hooping. | High. Requires significant practice to master stitch control. |
As you can see, using an embroidery machine can seriously streamline your quilting process, taking a lot of the physical strain and guesswork out of the equation.
Here at Linda's, we see this passion up close every day. We’ve hand-picked a selection of high-tech embroidery machines from the best brands, chosen specifically for their ability to handle quilting projects with ease. Stop by the shop, and we’ll show you how these amazing machines can take your craft from beautiful to absolutely breathtaking.
Stocking Your Toolkit for Quilting Success
Jumping into quilting on an embroidery machine is a blast, but having the right gear is what really turns the experience from potentially frustrating to incredibly rewarding. Your success isn't just about the machine itself; it's about having the specific tools on hand to manage the unique challenges of working with a quilt sandwich. A well-stocked toolkit is your best friend against common headaches like fabric shifting, thread breaks, and puckering.
Think of it this way: you wouldn't try to build a bookshelf with just a hammer. You need specialized supplies to make sure your quilted projects come out looking clean and professional. This means looking beyond your standard sewing notions and grabbing a few items designed for the weight and bulk of a quilt.
Hoops, Stabilizers, and Adhesives
First things first, you have to get that quilt sandwich perfectly flat and taut in the hoop. A standard hoop can sometimes struggle with that much thickness, which is where a magnetic hoop becomes an absolute game-changer. These hoops use powerful magnets to clamp the layers together without smooshing or distorting the fabric, making it so much easier to handle a bulky project.
Next up is stabilizer, which is completely non-negotiable for this kind of work. It gives your stitches the solid foundation they need to form perfectly, every single time.
- Sticky-Back Stabilizer: This stuff is fantastic for stopping layers from shifting around. You can stick your quilt sandwich right to it, which means no pins getting in the way of the embroidery foot.
- Wash-Away Stabilizer: This is your go-to when you don't want any stabilizer left behind. It dissolves completely in water after you're finished stitching.
- Tear-Away Stabilizer: This type gives you firm support while the machine is running and then, just as the name implies, you can gently tear it away from the seams when you're done.
For a little extra insurance, a temporary fabric adhesive like 505 Spray can be a lifesaver. Just a light mist helps baste the layers together, making absolutely sure nothing moves an inch during hooping or stitching.
Needles and Threads That Won't Quit
Using the right needle and thread is critical. Punching through a three-layer quilt sandwich puts a ton of stress on them, and your everyday supplies often just can't handle the job. A topstitch needle in a 90/14 size is an excellent choice. It has a larger eye and a super sharp point designed to pierce thick layers with ease, which really cuts down on thread friction and shredding.
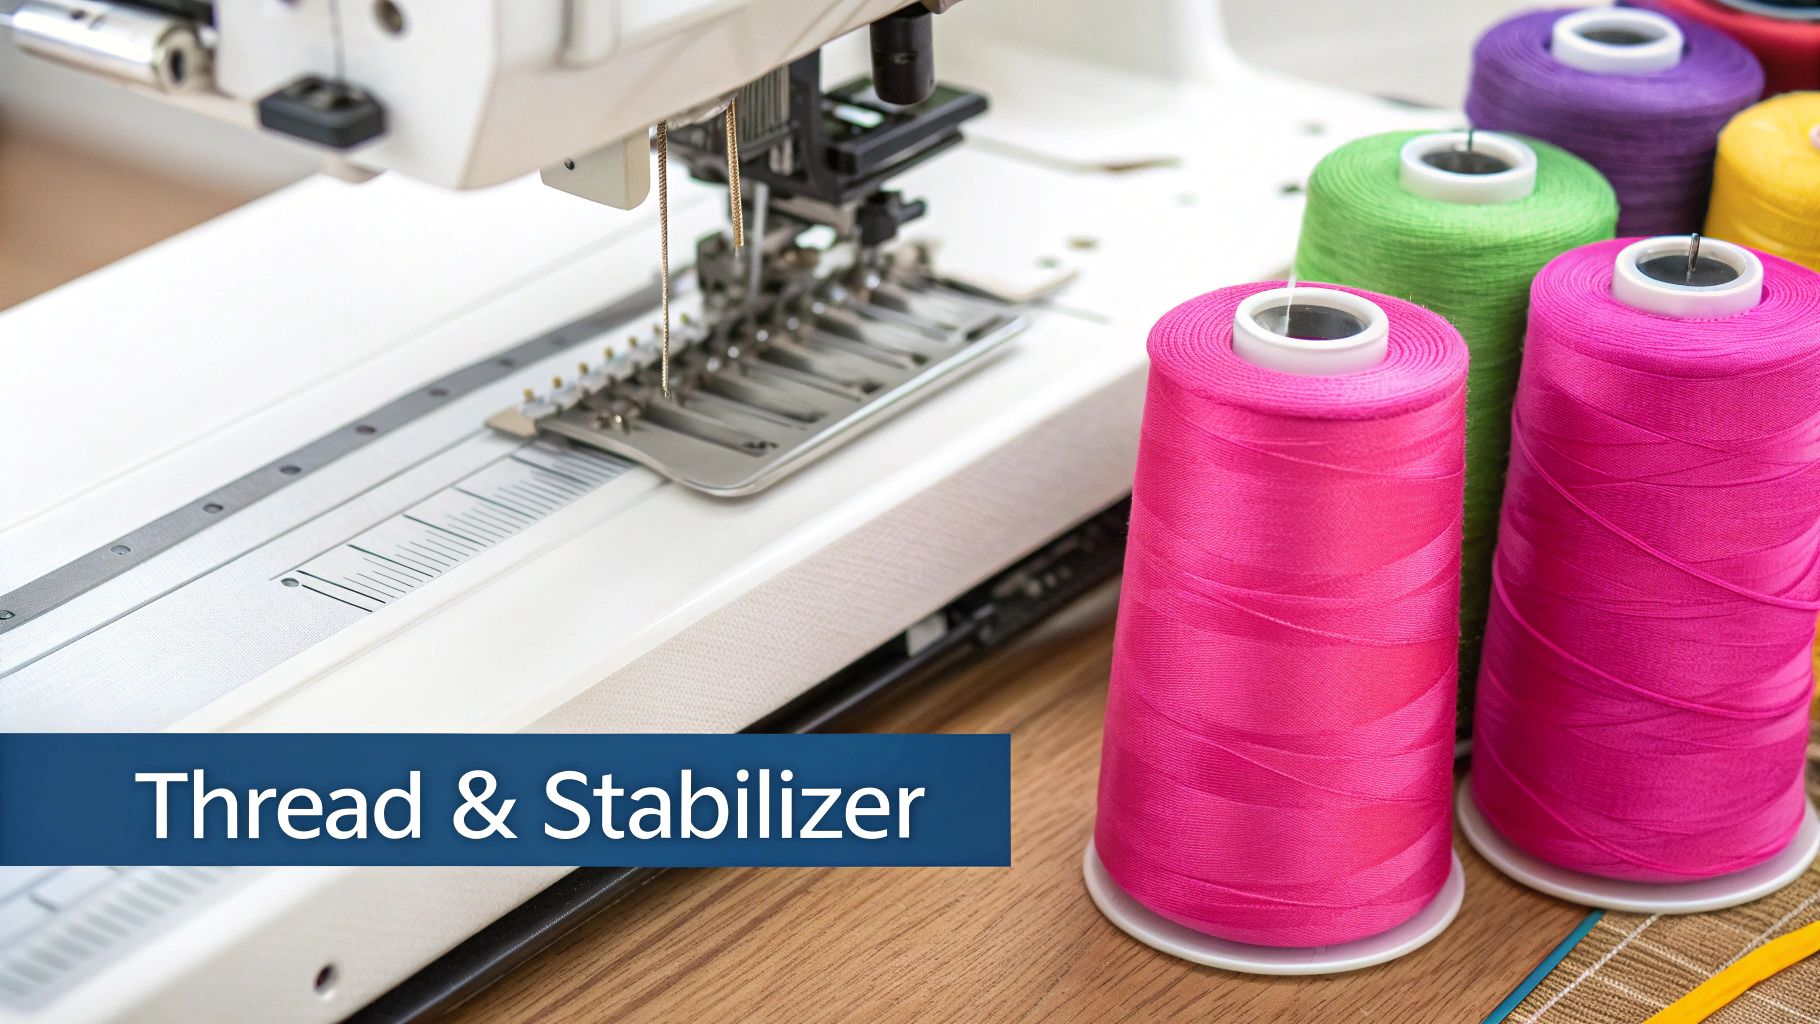
Your thread choice is just as important. High-speed embroidery can snap or fray a low-quality thread in a heartbeat.
Investing in a premium 40-weight polyester embroidery thread is one of the best decisions you can make. It has the strength to keep up with high speeds and gives your quilting designs that beautiful sheen that makes them pop.
Here at Linda’s, we swear by Isacord threads for their incredible strength and huge range of vibrant colors. When you pair them with a high-quality stabilizer from a trusted brand like OESD, you're setting yourself up for a smooth workflow and a gorgeous, professional finish. Stop by our shop or browse our online collection of threads and stabilizers to get everything you need for your next quilting project.
Building the Perfect Quilt Sandwich
Let's talk about the quilt sandwich. Getting this foundation right is more than half the battle, honestly. A tiny wrinkle or a loose spot at this stage can balloon into a major pucker or throw your whole design off-kilter later.
Before that first stitch ever happens, we need to get your project perfectly prepped.
This whole process is often called "basting," and it's all about layering your backing, batting, and quilt top so they're smooth, secure, and ready to move as a single unit under the needle.
Prepping Your Layers
First things first, treat each layer individually before you even think about putting them together. Give your quilt top and backing fabric a good press to get rid of every single crease.
For the backing, you'll want to make sure it’s at least four inches larger on all sides than your quilt top. This extra fabric is your safety net—it gives you plenty of room for hooping and stops the edges from getting sucked in.
Once everything is pressed, find a large, flat surface. The floor is usually your best bet. Lay your backing fabric down and use painter's tape to secure the edges. You want it taut, but don't stretch it out of shape. The goal is a perfectly smooth, drum-tight surface to build on.
Next, lay your batting on top of that secured backing, smoothing it out from the center to chase away any wrinkles. Then, carefully place your pressed quilt top right in the middle.
To Spray or To Pin? Securing the Sandwich
Okay, now we need to make sure these three layers don't go anywhere. You've got two main choices here, and quilters have strong opinions on both. It really comes down to your project and what you feel most comfortable with.
- Basting Spray: A temporary adhesive like 505 Spray is my go-to for quilting on an embroidery machine. It gives you a light, even bond across the whole quilt, which is a lifesaver for preventing those dreaded puckers inside the hoop. Just give the batting a light spray before you lay down the quilt top, smoothing from the center outwards.
- Safety Pins: This is the classic method. You use curved safety pins every four to five inches all over the quilt. It's incredibly secure, but you have to be strategic about where you place them. You don't want a pin getting in the way of your embroidery hoop or, worse, the presser foot.
If you're new to machine embroidery on quilts, I'd gently nudge you towards the basting spray. It just makes life easier by getting rid of the physical obstacle of pins. This means smoother hooping and zero risk of your needle hitting a pin.
How to Hoop Bulky Layers the Right Way
Hooping a thick quilt sandwich isn't like hooping a single piece of fabric. The big secret is to avoid stretching the fabric or squishing the batting too much, as either can completely distort your beautiful stitches.
Start by loosening your hoop screw way more than you normally would.
Gently press the inner ring of the hoop down into the outer ring. You want the fabric to be smooth, but not pulled tight like a drum. The layers should feel snug and secure, but the fabric itself needs to stay relaxed. If you have one, a magnetic hoop can be a game-changer here, as it clamps everything down evenly without compressing the batting.
With your quilt sandwich layered, secured, and hooped, you're finally ready for the fun part. You’ve laid the perfect groundwork for gorgeous, pucker-free embroidery.
And when you're ready to stock up, be sure to check out the amazing selection of batting, basting sprays, and other notions over at Linda's Electric Quilters to finish your project perfectly.
Setting Up Your Machine and Design
Alright, with your quilt sandwich all prepped and ready to go, it’s time for the fun part: picking a design and getting your machine dialed in. This is where your creative vision starts to become a reality, stitch by beautiful stitch. Taking a few minutes to get the pattern and machine settings right is the secret to getting that flawless, professional finish without the usual headaches.
The design you choose really sets the tone for the whole quilt. Are you aiming for an all-over texture that unifies the piecing, or do you want to show off specific blocks? It helps to know the two main families of digital quilting designs.
Differentiating Design Types
Not all quilting files are built the same. They typically fall into one of two camps, and each has its own job to do.
- Edge-to-Edge (E2E) Designs: These are your all-over patterns, creating a single, continuous texture across the entire quilt top. Think of those gorgeous, flowing pantographs with feathers and swirls or even a clean, modern grid. E2E designs are a quilter's best friend for taming a busy quilt top or when you want the quilting itself to be the main event.
- Block-Specific Designs: Just like the name says, these are individual motifs made to fit neatly inside a quilt block or a border. This is where you get into true custom quilting—placing a perfect medallion in the center of a star block or stitching an intricate little frame around certain pieces. It’s how you add that truly personal, bespoke touch to your work.
The real magic of quilting on an embroidery machine is how it gives you that longarm-quality look without needing a longarm. When you pick the right design, you're the one telling the story with texture and style, all with digital precision.
Configuring Your Machine for Quilting
Before you hit that "start" button, a couple of quick tweaks to your machine will make all the difference. Pushing a needle through three layers of fabric and batting is a totally different ballgame than standard, single-layer embroidery.
First things first: slow your stitch speed down. It's so tempting to let 'er rip at full speed, but trust me on this one. Dropping the speed to around 400-600 stitches per minute is much kinder to your needle and thread. This one simple change dramatically cuts down on the risk of thread shredding or needles snapping as they punch through that thick quilt sandwich.
Just as important is checking your thread tension. The extra bulk from the batting and backing can tug on the top thread, which sometimes causes the bobbin thread to pop up on top. Always run a little test on a scrap quilt sandwich first. If you see those little dots of bobbin thread peeking through, just loosen your upper tension a tiny bit until the stitches lock perfectly in the middle of the layers.
This little graphic breaks down the simple digital workflow for getting a design from your computer to your machine.
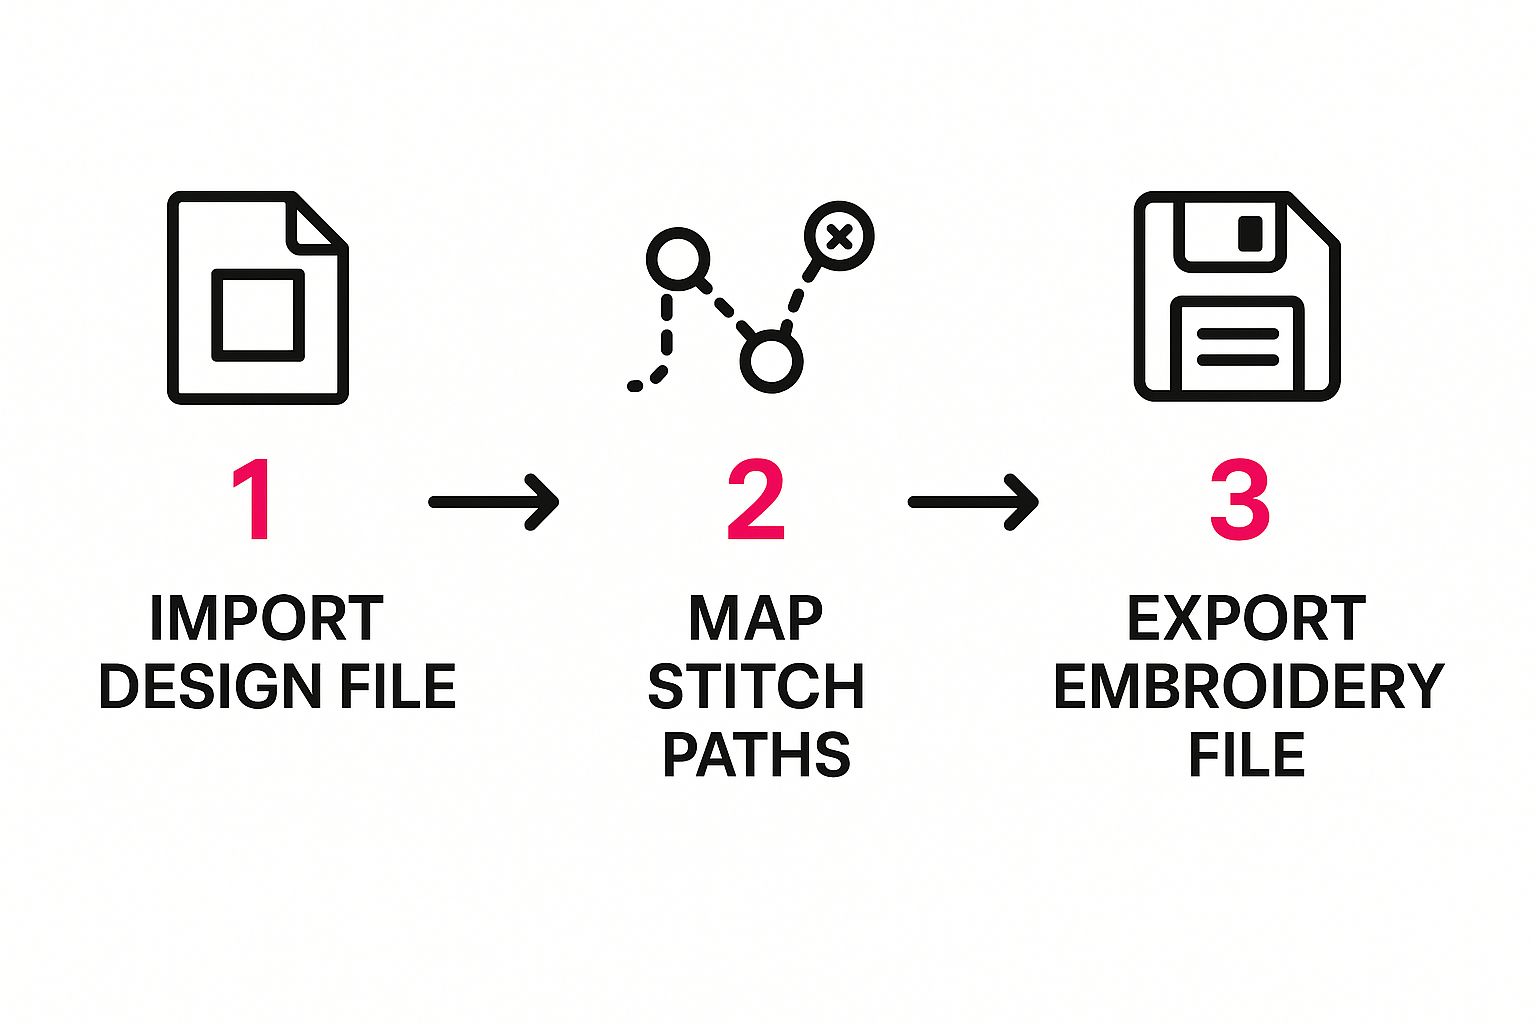
As you can see, the process is pretty straightforward. You're just importing the design, positioning it where you want it, and then exporting the final file in a format your machine can read. This digital prep is every bit as important as the physical setup.
It's no surprise that this technique is getting more and more popular. The sewing and embroidery machine market was valued at about USD 6.07 billion in 2025 and is expected to keep growing, thanks in large part to the boom in personalized textile arts like this. You can explore more insights on the growth of the embroidery machine market to see what's driving all the innovation.
Once your design is loaded, take your time using your machine’s software to scale and position it just right. Getting the pattern to fit perfectly in your hooped area is key. When you're ready to find that perfect pattern, you’ll find an incredible collection of OESD digital quilting designs right here at Linda's to bring your project to life.
Bringing Your Quilted Design to Life
Alright, your quilt sandwich is hooped, the design is loaded, and you're ready to go. This is where the real fun starts. We'll walk through this stitch-out as if we're making a quilted panel for a tote bag—a perfect little project to get the feel for it. All that careful prep is about to pay off as you watch those layers become one beautiful piece.
The very first thing your machine will do—or should do—is run a basting stitch. It’s just a big running stitch that outlines your design area inside the hoop. Think of it as your final insurance policy. It locks everything together right where the action is, which is your best defense against pesky shifting and puckering.
Once that basting box is in, you can hit the start button with confidence. Your job now is pretty simple: be the supervisor. Hang out near the machine, listen for its happy hum, and keep an eye on your thread spool and bobbin.
Handling Mid-Project Hiccups
Even the most perfectly planned project can have a little drama. Your thread might snap, or the bobbin decides to run out right in the middle of a beautiful swirl. Don't sweat it. These are minor bumps in the road, not project-ruining disasters.
If the top thread breaks, just re-thread your machine. Before you press go, use your machine's controls to back up about 10 to 15 stitches from where it broke. This little overlap will lock everything in place, and you'll never even know it happened.
Running out of bobbin thread is a similar story. When the machine beeps, pop the hoop off, swap in a fresh bobbin, and put the hoop back on. Just like with a thread break, back up a few stitches to create a secure overlap, and you're back in business. Your alignment will be perfectly fine.
Mastering Re-Hooping for Continuous Designs
When you're tackling something big like a bed quilt or a long table runner, you'll likely be using an edge-to-edge design. This means re-hooping is part of the plan. The goal is to make the pattern look seamless, like it was stitched on a massive longarm machine. It all comes down to alignment.
The secret to flawless continuous quilting lies in the alignment markers built into quilting designs. These small stitches act as your guideposts, showing you exactly where to line up the next section.
Here’s how to approach re-hooping without losing your mind:
- Stitch the First Section: Go ahead and let the machine stitch the first full hooping. It will include little alignment markers for where the next section should begin.
- Unhoop and Reposition: Carefully take the hoop off. Now, slide your quilt over so the area for the next section is in the hoop. You’ll want to make sure the alignment stitches from the first section are visible inside your hoop.
- Use Your Machine’s Camera or Grid: This is where a machine with a positioning feature is worth its weight in gold. Use the camera or grid to line your needle up perfectly with the starting marker from the last section.
- Stitch and Repeat: Once you’re aligned, run another basting stitch to lock it all down and start the next design section. The patterns will connect beautifully, giving you that incredible all-over texture.
This methodical process turns a potentially tricky task into a simple, repeatable step. Before you know it, you'll have a beautifully quilted piece ready for its final touches. To get your tote bag or quilt project finished perfectly, explore the gorgeous fabrics and high-quality notions at Linda's Electric Quilters.
Troubleshooting and Putting the Finishing Touches on Your Quilt
A strong finish makes all the difference when you're quilting with an embroidery machine. Once that final stitch is locked in, the journey isn’t quite over. These last few steps are what transform your beautifully stitched layers into a polished, durable quilt that’s ready for display or snuggling. It's also the stage where you might spot a few little things that need a quick fix.
First things first, gently get that stabilizer off the back of your quilt. If you used a tear-away type, hold the stitches down with one hand while carefully tearing away the excess material with the other. For wash-away stabilizers, a simple soak in lukewarm water does the trick, dissolving it completely and leaving your stitches wonderfully soft and flexible.
Next up is the binding—the final frame for your artwork. A well-made binding doesn't just protect the quilt's raw edges; it gives it a professional, complete look. Preparing and attaching your binding is such a satisfying final step before you can finally step back and admire your handiwork.
Solving Common Roadblocks
Even with the most careful preparation, you might run into a few hiccups along the way. Don't sweat it—most issues are surprisingly easy to solve and are fantastic learning opportunities. Learning how to turn those little frustrations into fixes is all part of mastering the craft.
Here are a few common problems I see all the time and how to solve them:
- Fabric Puckering: This is a classic. It often happens when the quilt sandwich isn't basted well enough or if the fabric got stretched during hooping. Using a good temporary adhesive spray and a magnetic hoop can be a game-changer for future projects. For puckers that are already there, a good steam press can sometimes relax the fibers enough to smooth them out.
- Thread Nests: Ah, the dreaded bird's nest of thread on the back. This is almost always a sign of incorrect threading. Take a deep breath, and re-thread your machine right from the very beginning, making sure the presser foot is up. This solves the problem 90% of the time.
- Skipped Stitches: The most common culprit here is a dull or incorrect needle. You're asking a lot of that tiny piece of metal! Swap it out for a fresh 90/14 topstitch needle to make sure it can cleanly punch through all three layers without a fight.
Remember, every single quilter faces these challenges. The key is to patiently diagnose the problem instead of getting discouraged. A simple adjustment is often all that's needed to get back to beautiful stitching.
This craft is seeing some incredible growth. The quilting machine market was valued at around USD 850 million in 2023, which is just amazing. This boom shows a real global passion for quilting, including the beautiful results we can get with our embroidery machines. You can explore more on the quilting machine market trends to see just how much this hobby is thriving.
For some hands-on guidance to really perfect your skills, think about booking a one-on-one class here at Linda's. We'll help you troubleshoot in person and master the art of finishing.
Answering Your Top Machine Quilting Questions
When you first start quilting with your embroidery machine, a few questions always seem to pop up. It's totally normal! Let's get them answered so you can skip the guesswork and get straight to stitching with confidence.
What’s the Best Batting to Use?
Hands down, a low-loft batting is your best friend for this technique. I always reach for materials like cotton, bamboo, or a smooth polyester blend—anything that isn't super thick and fluffy. These slide into a hoop beautifully without distorting your quilt sandwich.
You want to avoid those high-loft, puffy battings. They’re wonderfully cozy for other projects, but in an embroidery hoop, their bulk can get in the way of the presser foot, which can really mess with your stitch quality.
The goal is to pick a batting that adds that lovely quilted dimension without putting up a fight when you hoop it. A thinner, denser batting gives the needle a clear path to work its magic.
Can I Just Use Any Embroidery Design?
You could, but you'll be much happier with the results if you use designs made specifically for quilting. These files are digitized completely differently than a standard appliqué or fill-stitch design. They're built with lighter running stitches that are meant to glide over a three-layer quilt sandwich.
To get that professional, soft finish, search for designs using these terms:
- Quilting Designs: This is the most common catch-all term.
- Stippling or Meander: Perfect for that classic, all-over textured look.
- Edge-to-Edge (E2E): These are fantastic continuous line patterns that give you seamless coverage.
Using the right type of design keeps your quilt soft and drapey. If you use a regular embroidery file, you risk creating stiff, dense patches that just don't feel like a quilt should.
Do I Really Need a Special Needle?
Yes, absolutely. This is one of those small details that makes a huge difference and will save you a ton of frustration. A standard universal needle is going to struggle with three layers.
You’ll want to grab a topstitch or embroidery needle, and I’d recommend a larger size like 90/14. These needles are perfect for the job. They have a larger eye that helps prevent your thread from shredding under stress and a super sharp point designed to pierce cleanly through the fabric, batting, and backing. And remember, a fresh needle is always a good idea!
Ready to put these tips into practice? Linda's Electric Quilters has all the supplies you need to nail your next project. From the perfect low-loft batting to specialty needles and threads, we've got you covered. Explore our huge selection and find everything you need to bring your quilt to life. Hop over to https://lindas.com and get started


