
DIY Greeting Cards for Any Occasion
DIY Greeting Cards for Any Occasion: Introduction:
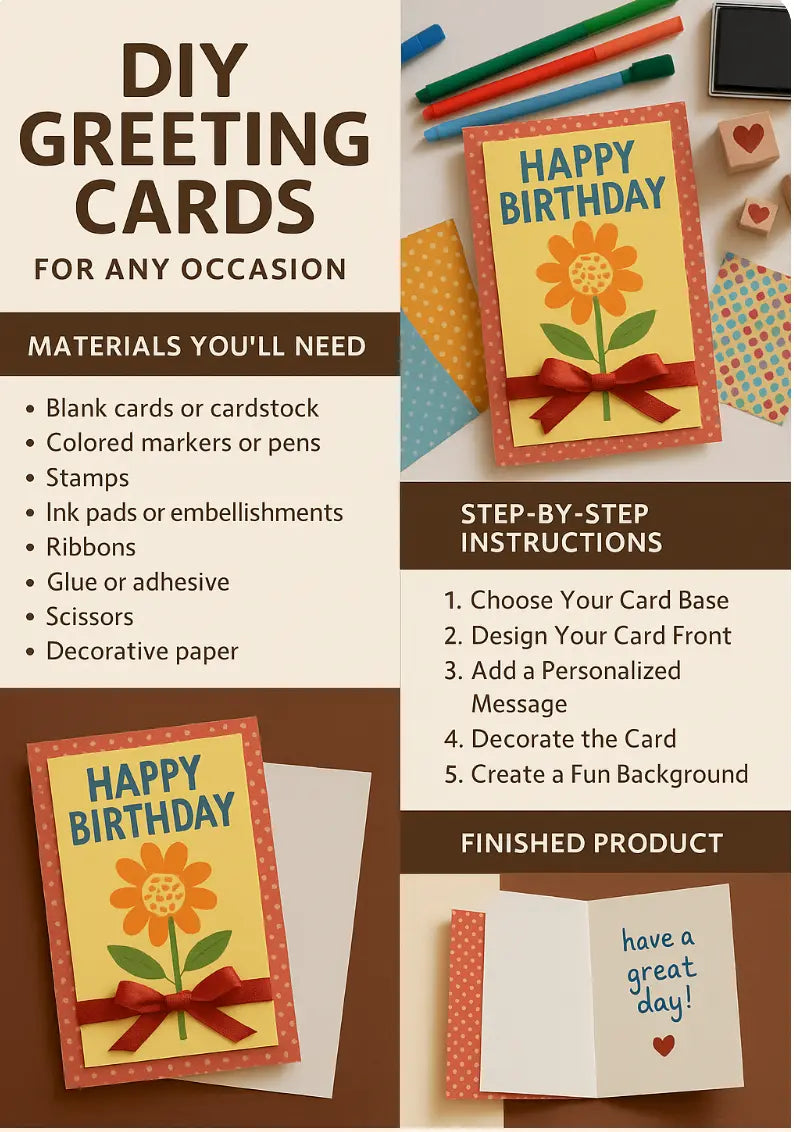
Welcome to Day 5! Today, we're going to make DIY greeting cards. Whether you need a card for a birthday, holiday, or just because, this is a fun, creative way to make your own custom cards that will stand out. You'll learn how to design, decorate, and personalize greeting cards for any occasion.
Materials You’ll Need:
-
Blank cards or cardstock (preferably 5x7 inches)
-
Colored markers or pens
-
Stamps (for added decoration)
-
Ink pads
-
Stickers or embellishments (optional)
-
Ribbons (optional)
-
Glue or adhesive
-
Scissors
-
Decorative paper or scrapbooking paper
-
Die-cut shapes or punches (optional)
Step-by-Step Instructions:
-
Choose Your Card Base:
Start with a blank card or a piece of cardstock. Fold the cardstock in half to create the card base. If you're using larger paper, you can cut it to your desired size, typically 5x7 inches. -
Design Your Card Front:
Think about the occasion you're making the card for. If it's a birthday, you might want bright, fun colors and party-related designs. For a more formal occasion, like a wedding, opt for elegant colors and simple designs. -
Add a Personalized Message:
Write a message or greeting on the front of the card. You can use markers, stamps, or die-cut letters for a more professional look. A sweet or funny message will make your card more special! -
Decorate the Card:
Add stickers, embellishments, or other decorative touches. You can use ribbons, buttons, or even little drawings to make the card more unique. Get creative and try different textures or layering effects. -
Create a Fun Background:
Use patterned paper or a stamp to create a beautiful background for your card. Layer it on top of the base card for added depth and interest. -
Finish with a Personal Touch:
Once your card design is complete, let the ink dry completely before handling. You can add a personal note inside or on the back of the card.
Finished Product:
You now have a one-of-a-kind greeting card that is perfect for any occasion. Whether it's for a birthday, thank you note, or a congratulatory message, your personalized card will stand out and make the recipient feel special.
Tips for Success:
-
Experiment with different color schemes to match the occasion.
-
If you’re using stamps, make sure to use an ink pad that won’t smudge.
-
Get creative with the inside of the card as well! You can write a personal note, include a poem, or simply add a heartfelt message.


