
If you're just starting your quilting journey, the idea of a big project can feel a little intimidating. But it doesn't have to be. The absolute best place to start is with the classic Nine Patch, a simple and beautiful block made from just nine squares of fabric. It’s the perfect way to build your skills, gain confidence, and create something wonderful.
Your First Steps into Quilting an Easy Block
Starting with a straightforward project is the secret to building confidence right from the get-go. That's why we're focusing on the Nine Patch. It’s the ideal first block because it’s where you’ll learn the most important quilting skills: how to cut accurately, sew a consistent seam, and press everything just right for a crisp, flat finish.
Think of this guide as your personal workshop. We're going to get hands-on and show you how to pick fabrics that play well together, make those first precise cuts with your rotary cutter, and stitch seams that you'll be proud of. Every stitch you make builds the foundation for a lifelong love of quilting, and Linda's is here to support you on every step of your creative journey.
The Timeless Charm of the Nine Patch
The Nine Patch is one of the most beloved and easy quilt block patterns for a reason. It’s simply nine equally-sized squares arranged in a 3x3 grid. This pattern has some serious history—it was a go-to for quilters on the American prairie in the 19th century who needed to use every last scrap of fabric. In fact, it was often the first block children learned to sew. The National Park Service has some great information on this piece of quilting heritage.
The real magic of the Nine Patch is its simplicity. It’s proof that you don't need complex patterns or tricky techniques to make a stunning quilt block. It’s all about the interplay of color, contrast, and clean lines.
Your path to creating a gorgeous quilt starts right here, and having the right supplies makes all the difference. To help you get started on the right foot, we’ve put together beginner kits at Linda's that have everything you need—from beautiful, coordinating fabrics to the essential threads—so you can start your quilting adventure with total confidence.
Getting Your Supplies Ready
Let’s be honest, having the right tools for the job can make or break a project. A frustrating afternoon can quickly turn into a flawless finish when you’re properly equipped. Before we even think about cutting into that gorgeous fabric, let's get your workspace set up with a few essentials for this easy quilt block pattern.
At a bare minimum, you'll need a sharp rotary cutter, a good self-healing mat, and a clear acrylic ruler. I can't stress this enough—this trio is the secret sauce for cutting perfectly straight, accurate pieces. It’s what gives a quilt block that clean, professional look. Unlike scissors, which can pull and distort your fabric, a rotary cutter just glides right through, giving you identical pieces every single time. Having professional-grade tools from Linda's ensures your project starts on a foundation of precision.
Picking Out Your Fabrics
Okay, this is where the real fun begins! For your first block, I always recommend sticking with a high-quality, 100% quilting cotton. It behaves beautifully, presses like a dream, and won't give you a headache at the sewing machine. Cheaper cottons might seem tempting, but they can feel flimsy and sometimes shrink or bleed in the wash. Trust me, investing in good fabric from the get-go will save you a world of trouble later on.
Now, let's talk color. This is your chance to let your personality shine! You can go for a bold, high-contrast look or something softer and more harmonious. A super simple trick I love is to pick a "focus fabric"—a print that just speaks to you—and then pull coordinating solids or blenders right from the colors in that print. It’s a foolproof way to get a cohesive palette.
My best advice? Don’t get stuck overthinking your color choices. I’ve seen some of the most beautiful quilts come from the most unexpected combinations. Just trust your gut and have fun with it!
To make your life even easier, we've curated some incredible beginner quilting kits right here at Linda’s. They take all the guesswork out of the equation by bundling perfectly coordinated premium fabrics with the essential notions you'll need. Instead of spending ages trying to match everything up, you can grab a kit and feel confident you have what it takes to create something amazing.
Here’s a quick rundown of the must-haves for getting started.
Essential Supplies for Your First Quilt Block
This checklist covers the absolute essentials for creating a beautiful, easy quilt block.
| Tool or Material | Why You Need It | Find It at Linda's (CTA) |
|---|---|---|
| Rotary Cutter | For making clean, precise cuts through fabric with ease. | Shop Rotary Cutters |
| Self-Healing Mat | Protects your table and provides a grid for accurate cutting. | Browse Cutting Mats |
| Acrylic Ruler | Ensures straight lines and perfectly measured squares. | Find Your Ruler |
| Quilting Cotton | High-quality, stable fabric that's easy for beginners to work with. | Explore Our Cottons |
| Thread | A good quality, 50-weight cotton thread is perfect for piecing. | See Our Thread Selection |
Having these items on hand will set you up for success and a truly enjoyable quilting experience.
You can check out the beginner kits available at Lindas.com and get a perfectly curated bundle delivered straight to your door.
Cutting and Piecing the Nine Patch Block
Alright, this is where the fun really starts. We're about to take that lovely stack of fabric and turn it into a real quilt block. For this walkthrough, we’ll be making the classic Nine Patch—it’s an iconic block and an absolutely perfect starting point for building your skills. Precision is key, but don't worry, it's easier than you think.
First up, let's get our squares cut. Imagine we’re aiming for a 9-inch finished block. To get there, you'll need to cut nine 3.5-inch squares. That extra half-inch is for our seam allowances, giving us a clean quarter-inch on all four sides of every little square.
The Foundation: A Quarter-Inch Seam
If there's one skill to master in quilting, it's the quarter-inch seam. Getting this consistent is the secret to making sure all your pieces fit together like a puzzle, which results in a perfectly square, flat block.
Most sewing machines have a special quarter-inch foot that makes this a breeze. If not, you can always use the markings on your machine's needle plate as a guide. Trust me, taking a moment to get this right from the very beginning will save you a world of headaches down the road.
This infographic shows the go-to tools that I can't live without for a smooth and accurate cutting process.
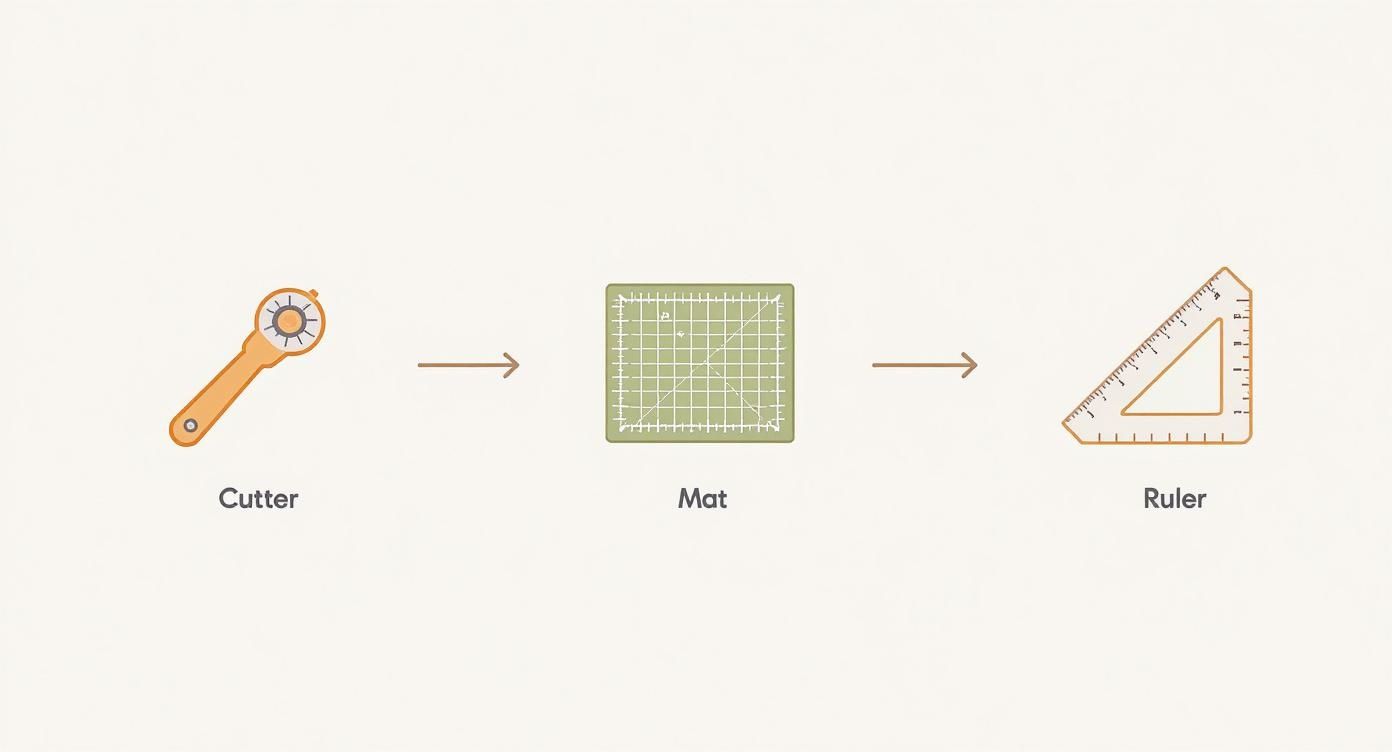
You can see how the rotary cutter, mat, and ruler all work together. It’s a simple system that guarantees every single cut is spot-on.
Once your nine squares are ready, lay them out in your 3x3 grid to see how they'll look. Now, we'll piece them together, one row at a time. Grab the first two squares of the top row, place them right-sides together, and stitch along one edge with that perfect quarter-inch seam. Then, open them up and add the third square to finish the row.
Do the same thing for the middle and bottom rows. You should now have three beautiful little strips, each made of three squares.
The secret to those perfectly matched corners isn't some quilting magic—it's a little trick called 'nesting' your seams. This one technique is a complete game-changer for reducing bulk and getting your points to line up beautifully.
Nesting Seams for Perfect Points
Before we join the rows, it's time to press the seams. For now, just press the seams of your top and bottom rows in the same direction (say, to the right). Then, take your middle row and press its seams in the opposite direction (to the left).
Now for the magic. When you place the top row onto the middle row (right-sides together), you’ll feel the seam allowances "lock" into each other. It’s a little snuggle that tells you they are perfectly aligned. This physical lock keeps the fabric from shifting and is your best bet for getting those corners to match flawlessly. Pin at these intersections, sew the rows together, and then do the same with the last row.
Just like that, you've created a gorgeous, polished Nine Patch block!
And hey, if you find you're missing any of these crucial tools, like a quality rotary cutter or the perfect thread, check out the amazing selection at Lindas.com. We’ve got everything you need to finish your project with total confidence.
How to Press Seams for a Flawless Finish

You’ve pieced your rows together, but the real magic happens at the ironing board. Honestly, this is the step that takes a block from looking homemade to looking professionally finished. It’s what makes everything lie perfectly flat and crisp, allowing your simple quilt block pattern to really shine.
First things first, we need to talk about pressing versus ironing. I see so many new quilters make this mistake! Ironing is that back-and-forth scrubbing motion you use on a wrinkled shirt. Do that to your patchwork, and you'll stretch your fabric and pull your seams all out of whack.
Pressing is different. It’s a simple up-and-down motion. You just set the iron down, let the heat do its job (maybe with a little steam), and then lift it straight up. No stretching, no distortion.
Pressing for Perfect Points
The direction you press your seams is a game-changer, especially for getting those points to match up perfectly. As we talked about with nesting seams, you want to press the seam allowances of your rows in opposite directions.
For our Nine Patch block, it’s super simple. Just follow this little rule:
- Top and Bottom Rows: Press the seams toward the darker fabric. If your colors are similar in value, no worries—just press them both to the right.
- Middle Row: Now, press these seams in the opposite direction. If you went right before, press these to the left.
This clever trick creates little grooves where your seams will nestle into each other when you join the rows. The result? Perfectly aligned corners and a block that looks sharp and clean.
A well-pressed block isn't just about looks—it's the foundation of a great quilt. It makes the final quilting process so much smoother by getting rid of bulky seams and keeping everything accurate.
Once your rows are joined to form the block, give it one last, gentle press from the front. A good quality iron really makes a difference here. If you want to dive deeper, a lot of the same principles from pressing techniques for garments apply beautifully to getting flawless quilt seams.
And if you want to get that perfect press every single time, check out the fantastic irons and pressing mats we have over at Lindas.com. The right tools make all the difference
Exploring Other Easy Beginner Quilt Blocks
So you've conquered the Nine Patch block—what's next? Think of every new block you learn as another tool you're adding to your quilting belt. Trying out a few different designs is the perfect way to build your skills without any pressure. Just have fun with it!
A lot of quilters do this by making a sampler quilt, which is exactly what it sounds like: a quilt that shows off a bunch of different block patterns all in one project. This tradition actually goes way back to the early 1800s, when stitchers used them to practice and show off their growing talents. It's a fantastic tradition to be a part of.
Three More Blocks to Try
Ready to dive in? Here are a few classic blocks that build on what you already know:
- The Four Patch: It doesn’t get much simpler than this. The Four Patch is just four squares sewn together, making it a fantastic way to nail your seam nesting technique and bust through some of your smaller fabric scraps.
- The Rail Fence: This block has such a cool, graphic look. You just sew long strips of fabric together and then slice them into squares. It’s an awesome introduction to strip piecing and creates a really modern, dynamic vibe.
- Half-Square Triangles (HSTs): These are the building blocks of so many quilt designs! You sew two squares together, cut them on the diagonal, and suddenly you have two identical triangle-based blocks. The design possibilities are practically endless.
Once you get a few of these under your belt, you’ll start seeing how they can all work together in a bigger project. Before you know it, you'll be designing your own version of a large, comfortable blanket.
To get started on your next block, explore the beautiful pre-cut fabric bundles at Linda's. They take all the guesswork out of matching colors so you can jump right into the fun part—the sewing
Common Questions We Hear From New Quilters
Every quilter starts somewhere, and we've all asked these questions! When you're just getting your feet wet with an easy quilt block, a bit of friendly advice can be the one thing that keeps you from getting frustrated and helps you fall in love with the process.
"Why Isn't My Quilt Block Square?"
This is hands-down the most common hurdle for new quilters, and I can almost guarantee it's one of two culprits: inaccurate cutting or a wobbly quarter-inch seam allowance.
Before you even think about sewing, slow down and double-check your cuts with a good, clear ruler. When you get to your machine, using a quarter-inch foot is a total game-changer for getting those perfectly straight, consistent seams. Trust me on this one.
"What's the Best Fabric for a Beginner?"
My advice? Always, always start with 100% quilting cotton. It behaves beautifully—it's stable, cuts like a dream, and presses crisply without stretching all over the place.
Save the slippery rayons or anything with a bit of stretch for later. Starting with high-quality cotton from Linda's collection is the best way to set yourself up for a fun, frustration-free first project.
Choosing the right fabric is your first step to success. A good quality cotton is forgiving and will make the entire process more enjoyable, allowing you to focus on learning the techniques.
"How Do I Pick Colors That Actually Look Good Together?"
Here’s a fantastic little trick I still use all the time: find a "focus fabric." This is a print with multiple colors that you just absolutely adore.
Once you have it, the hard work is done! Just pull coordinating solids or blenders right from that print's color palette. It’s a completely foolproof way to get a gorgeous-looking quilt every single time. Linda's makes this even easier by offering curated fabric bundles that are guaranteed to look amazing.
Feeling that creative spark and ready to dive into your next project? Linda's Electric Quilters has everything you need, from perfectly coordinated fabric bundles to the essential tools that guarantee a beautiful finish. Explore our amazing collection and get started today at https://lindas.com.


