
Embroidery machine quilting is a game-changing technique that merges the precision of your embroidery machine with the timeless art of quilting. This method allows you to stitch complex, gorgeous patterns with incredible consistency, transforming your trusty machine into a serious quilting powerhouse. This isn't just about adding a few decorative stitches; we're talking full-on, intricate, edge-to-edge quilting designs. It’s the secret to achieving that professional, longarm look right in your own sewing room.
A New Chapter in Your Quilting Journey
Welcome to the sweet spot where detailed embroidery and traditional quilting come together. Think of this guide as your personal workshop, a project-based walkthrough designed to take you beyond the basics and help you create beautifully textured quilts. We’ll guide you from a pieced top to a finished masterpiece, all with the machine you already own.
We're going to break it all down, step-by-step, into clear actions that build both your skills and your confidence. No confusing jargon, just practical advice to complete your next project successfully.
Quilting is a craft that just keeps growing. The industry is booming, with an estimated annualized revenue of $4.5 billion for 2025. It’s drawing in new makers all the time—in fact, 18% of quilters in 2025 are new to the craft! It's an exciting community to be a part of.
What You Will Learn
This guide is your roadmap to a beautifully finished quilt. You’ll learn how to prep your project perfectly, choose designs that make your piecing shine, and dial in your machine settings for flawless results. By the time we're done, you won't just know how to quilt with your machine; you'll understand why each step is critical to your project's success.
Our goal is to give you the tools and knowledge to bring any quilting idea to life. We’ll cover everything from start to finish:
- Getting your quilt sandwich prepped and hooped just right.
- Picking digital designs that actually complement your quilt top.
- Setting up your machine for a perfect, hassle-free stitch-out.
- Finishing your quilt with a clean, professional look.
Mastering embroidery machine quilting gives you a whole new level of creative freedom. You can add texture and custom designs that are tough to nail with free-motion, especially if you're still getting the hang of it.
If you're just getting started on your quilting adventure, you might want to check out some of the easiest quilt patterns for beginners. They make a fantastic foundation for practicing these new quilting skills.
Let's get this creative journey started and turn those beautiful quilt tops into finished works of art.
Equipping Your Studio for Success
Let’s talk tools. Having the right gear is more than half the battle to getting a flawless finish. Beyond the machine itself, your choices in needles, threads, and stabilizers are what truly make or break your quilting. These aren't just little extras; they're the core components that lead to clean, professional-looking results every single time.
It’s easy to just grab a list of supplies, but understanding the 'why' behind each one is critical. This knowledge transforms you from a follower of instructions to a confident creator, ready to tackle any project.
Choosing Your Core Materials
The entire foundation of successful embroidery machine quilting really comes down to three things: stabilizer, needles, and thread. Each one has a specific job to do, from supporting your fabric to laying down that perfect stitch. When you get these right, you sidestep all those common headaches like fabric puckering, thread shredding, and wonky tension.
Think of them as a team. If one member isn't pulling its weight, the whole project can fall apart before you've even finished your first block.
Stabilizers: The Unsung Hero
First things first: stabilizer is non-negotiable. It gives your quilt sandwich the structure it needs to withstand the push and pull of dense embroidery stitches. There are two main players you’ll want to have on hand for your quilting projects:
- Tear-Away Stabilizer: This is my go-to for most quilting projects. It gives you all the support you need while the machine is stitching, but then it's easy to remove. The result? Your quilt stays soft and cuddly. It’s absolutely perfect for those medium-density, edge-to-edge designs.
- Cut-Away Stabilizer: Now, if you're working with a really dense design or a more delicate fabric, a soft cut-away is your best friend. It provides permanent support by staying behind the stitches, which prevents any stretching or distortion over time, especially through washings.
The whole point of stabilizer is to make your fabric act like a crisp piece of paper—totally stable and smooth. Always pick your stabilizer based on your design’s stitch count and the weight of your fabric.
Needles and Threads: The Dynamic Duo
You wouldn't believe how many issues can be traced back to a dull or incorrect needle. It's the number one cause of shredded thread and skipped stitches. When you're quilting through multiple layers, you need a needle that’s both sharp and strong. Titanium-coated embroidery needles are a fantastic investment. They stay sharp so much longer and have a special coating that cuts down on friction.
Then there's the thread. For quilting projects, polyester thread wins for durability. It's strong, it's colorfast, and it has a beautiful subtle sheen that holds up to frequent washing—perfect for quilts that are meant to be loved and used. Rayon is gorgeous with its high-sheen finish, but it's just a bit less sturdy. For almost all my quilting, a 40-weight polyester embroidery thread is the reliable workhorse I count on.
Your Quilting Project Toolkit
To help you pull everything together for your next project, I've created a cheat sheet comparing the essential materials you'll need. Finding the right combination from the start will make your embroidery machine quilting journey so much smoother.
| Material | Recommended Type | Why It Matters | Linda's Top Pick (CTA) |
|---|---|---|---|
| Stabilizer | Medium-Weight Tear-Away | Provides excellent stability for most quilting designs without adding permanent bulk, ensuring the quilt remains soft. | Shop our selection of premium stabilizers at Linda's to find the perfect match for your project. |
| Needles | Titanium-Coated 80/12 | The coating reduces friction and heat, preventing thread breaks and shredding while staying sharp longer through thick layers. | Get your embroidery needles at Linda's and stitch with confidence. |
| Thread | 40-Wt Polyester Embroidery | It’s strong, colorfast, and durable enough to withstand frequent washing, making it ideal for functional quilts. | Explore a rainbow of polyester threads at Linda's today. |
| Adhesive | Temporary Spray Adhesive | Secures the quilt sandwich layers (backing, batting, top) to prevent shifting during hooping and stitching. | Find the best basting sprays at Linda's to ensure a pucker-free finish. |
While these are the absolute essentials, don't forget other key players like a good fabric marking pen and the right batting. Getting your toolkit just right is the first step to a successful quilting project.
And if you're still in the process of choosing a machine, be sure to check out our guide on deciding on a sewing machine and our recommendations.
Mastering Your Machine and Quilt Prep
Before you thread a needle, let's talk setup. A flawless foundation is everything when it comes to embroidery machine quilting. Getting your machine and quilt sandwich prepped correctly is what separates a beautiful, professional-looking quilt from a puckered, frustrating mess.
The methodical work you put in now pays off big time when you see the final result.
First things first, get your machine's embroidery unit attached and grab the largest hoop you own. Why the biggest? A larger hoop lets you quilt bigger sections at once, which drastically cuts down on how often you have to re-hoop the quilt. This is a massive time-saver, especially on larger projects.
Creating the Perfect Quilt Sandwich
You've probably heard the term "quilt sandwich," and it’s just what it sounds like: the three layers you'll stitch through. You have your backing fabric, the batting in the middle, and your lovely pieced quilt top. The goal is to get these layers perfectly smooth and stuck together so nothing shifts while the machine is working.
One of the easiest ways to do this is with a temporary spray adhesive.
Lay your backing fabric on a big, flat surface (the floor works great!), wrong side facing up. Smooth out every single wrinkle. Next, lay your batting on top, and finally, place your quilt top over that, right side up. Working in sections, carefully peel back the top two layers, spray a light, even coat of basting spray, and smooth them back down. This temporary bond is your secret weapon against shifting fabric.
This handy guide breaks down the essential elements for a stable setup before you start stitching.
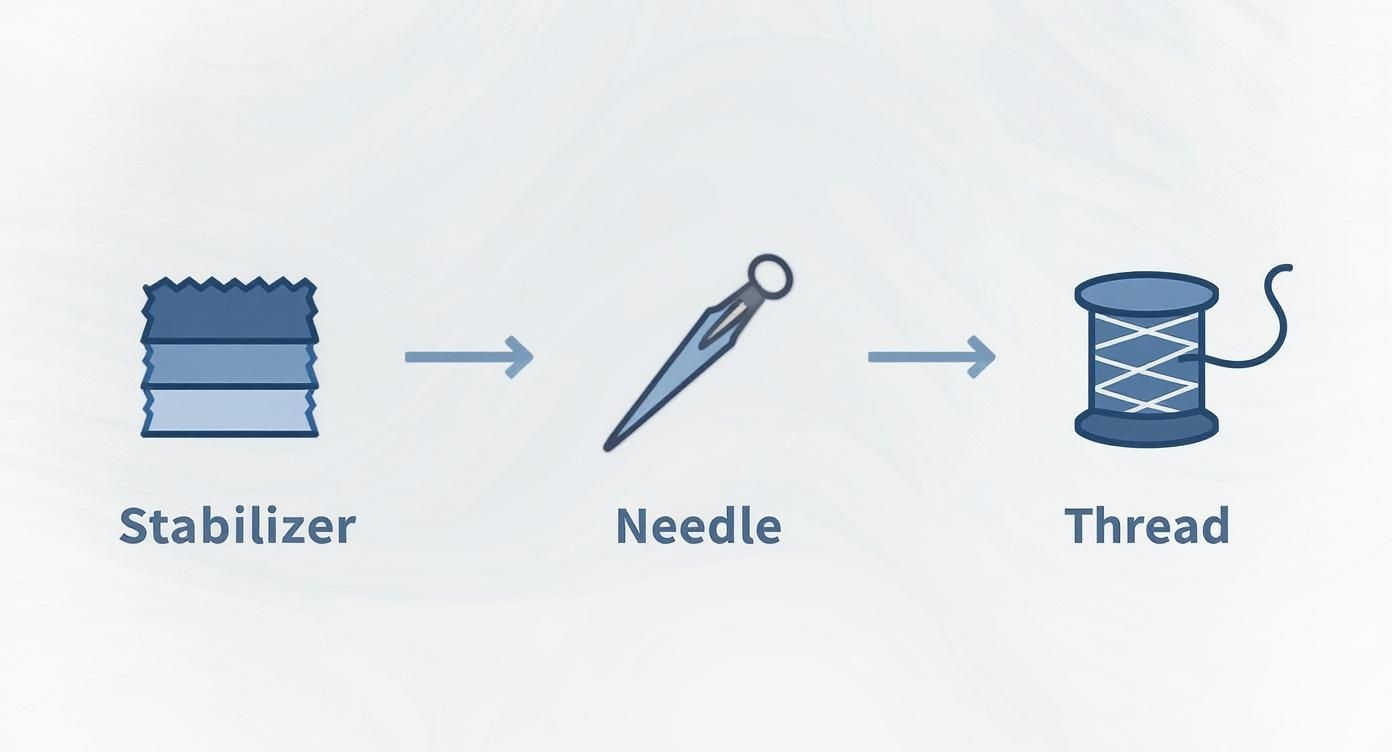
As you can see, everything from the stabilizer to the needle and thread works together. Each choice builds on the last to make sure your project is a success.
Hooping Without Distortion
Hooping can feel like the most nerve-wracking part of this whole process. The key is to get your quilt sandwich taut—like a drum—but not stretched. If you pull the fabric too tight and distort it, you're pretty much guaranteeing puckers when you take the quilt out of the hoop.
Lay your stabilizer and quilt sandwich over the bottom hoop ring, then gently press the top ring into place. Slowly work your way around the hoop, smoothing the fabric as you go to get even tension.
If you constantly struggle with traditional hooping, a magnetic hoop can be a total game-changer. They use powerful magnets to clamp the layers together, which makes positioning your quilt a breeze without wrestling with screws. You can find a great selection of magnetic hoops and other quilting notions at Linda's that really simplify your setup.
Remember, the goal is tautness, not tightness. Think of it like stretching a canvas for a painting. You need a firm, stable surface that lets the needle do its magic without any drag or distortion.
For some projects with delicate fabrics, you might want an extra layer of support to prevent stretching. You can learn more about how to use fusible interfacing to give you that added stability.
One last tip: be mindful of the quilt's bulk around your machine. Keep it rolled or folded neatly so the embroidery arm can move freely without getting snagged.
Selecting and Placing Quilting Designs
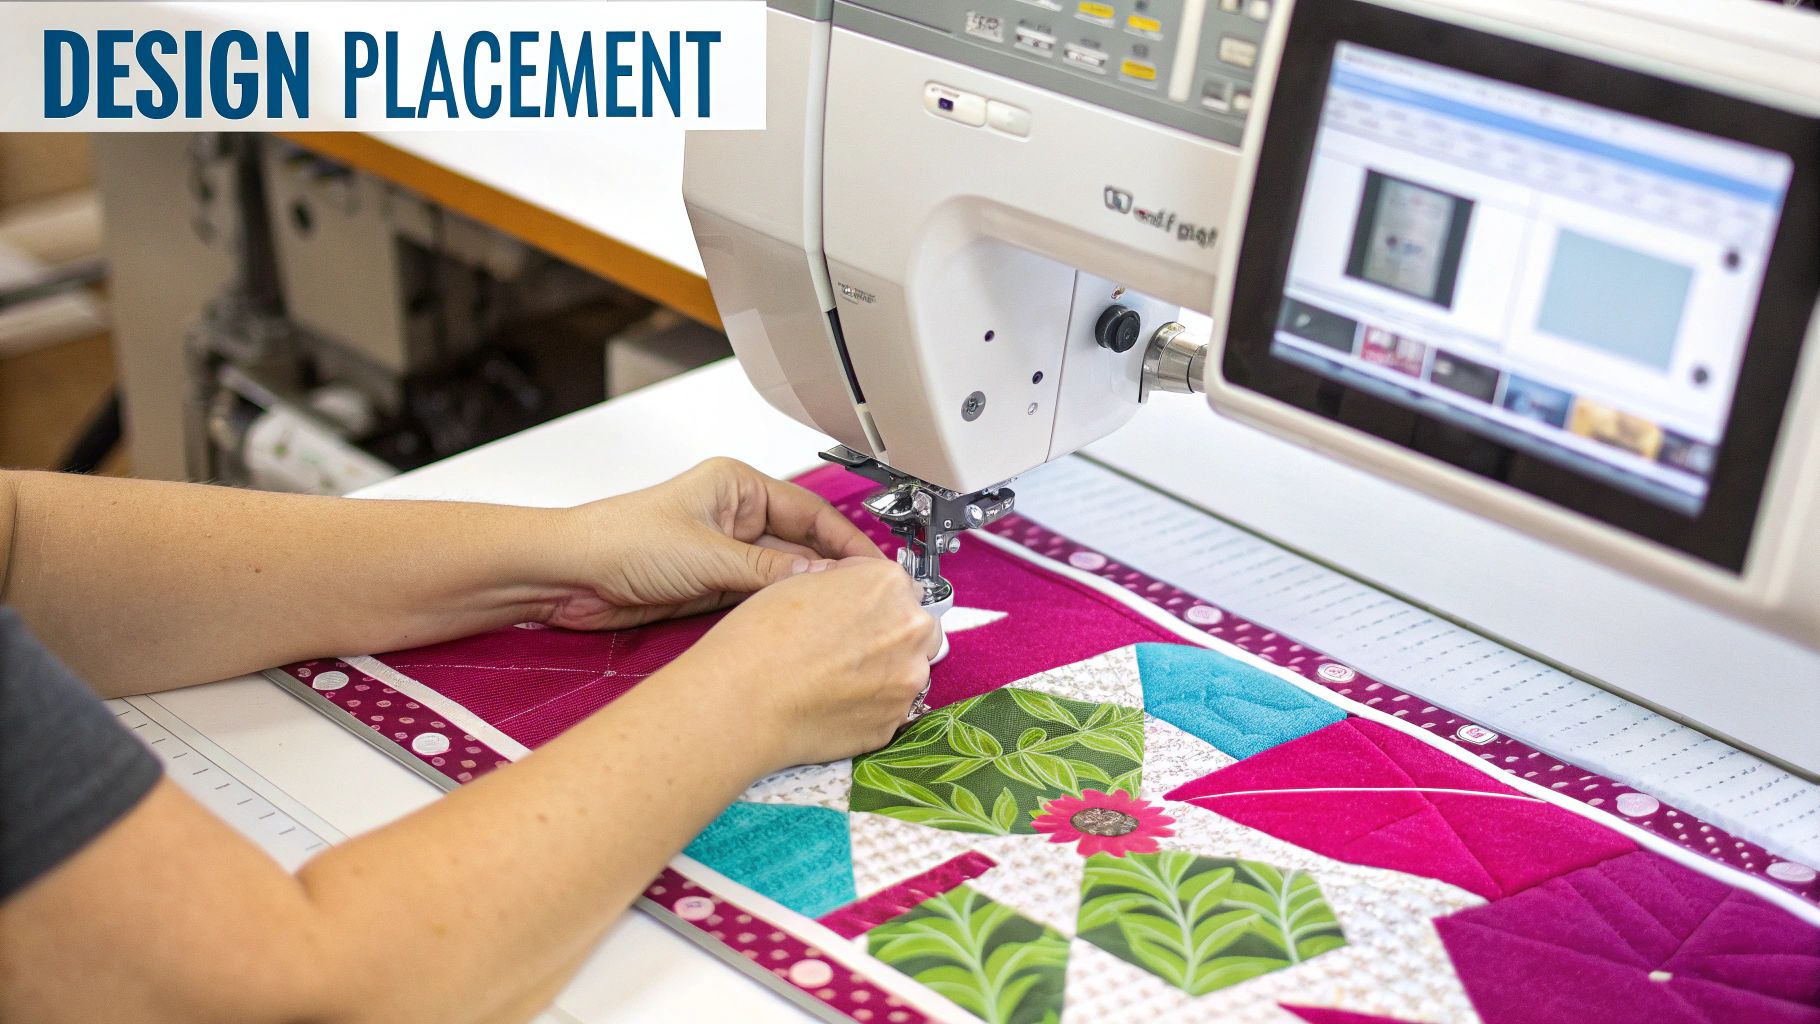
This is where your project's personality comes to life. The designs you pick are what will elevate your quilt from a lovely pieced top into a true work of art, full of texture and character. The world of digital quilting patterns is huge, offering everything from beautiful edge-to-edge styles that give you that longarm look to specific motifs perfect for individual blocks.
Choosing the right design is all about feel. What’s the vibe of your quilt top? A crisp, modern quilt with bold geometric shapes might be perfect with some simple, clean straight lines. On the other hand, a classic floral quilt just begs for elegant feathers or flowing swirls to complement its style.
Finding and Vetting Digital Designs
You can find high-quality digital designs from countless online artists and marketplaces. The most important thing to check before you fall in love with a pattern is its file format. Is it compatible with your machine? Look for formats like .PES, .JEF, or .DST. Most designers are great about listing this, but it’s always smart to double-check before you click “buy.”
Once you’ve got your designs downloaded, your machine's software (or a separate program) becomes your playground. This is where you get to lay everything out, resize motifs if needed, and map out your entire quilting strategy before the needle ever touches the fabric. Spending time in this planning phase is one of the biggest secrets to successful embroidery machine quilting.
The quilting world is booming, and that's great news for us. The global quilting machine market was valued at around $850 million in 2023 and is expected to grow by 4.7% annually, hitting over $1.3 billion by 2033. All that growth means more innovation, better machines, and way more incredible design options for us to play with. You can discover more insights about the quilting machine market and see how it's shaping our craft.
Planning Your Layout for a Seamless Finish
For that polished, continuous look, getting the alignment just right is everything. Luckily, many quilting designs are made to be "endless" or "continuous," which means they include special alignment stitches or reference points that make it easy to connect one hooping to the next perfectly.
Here's a workflow that I’ve found works wonders for getting a great layout:
- Start From the Middle. Always. Begin quilting in the center of your quilt and work your way out toward the edges. This little trick pushes any extra fabric outwards, which dramatically reduces the chances of getting those dreaded puckers or pleats.
- Lean on Your Machine's Grid. Most embroidery machines have a grid or positioning tools built right in. Use them! They are fantastic for centering a design perfectly in a block or for lining up the start of a new section with the end of the last one.
- Print It Out. If your software has the option, print a paper template of your design. Having a physical guide you can lay right on your quilt top is a game-changer for visualizing placement before you commit to hooping.
Don't be afraid to mix and match designs to add depth and interest. Imagine using a dense, detailed pattern on your main blocks, then switching to a simpler, coordinating design for the sashing and borders. That contrast really makes your piecing pop.
The secret to a high-end finish lies in the connections. Take your time to align each hooping. A few extra minutes spent on placement makes the difference between a homemade project and a professional-quality quilt.
If you also enjoy free-motion quilting or want to add some custom straight lines, learning to use physical guides is a fantastic skill to have in your back pocket. You can explore how these tools can bring another layer of creativity to your projects. At Linda's, we have a great selection of rulers and templates to get you started. How you place your designs is how you make the quilt uniquely yours.
Stitching It Out and Adding the Finishing Touches
Alright, your quilt is prepped, the design is loaded, and it's time for the magic to happen. Hitting that start button is always a thrill. This is where all that careful planning pays off as you watch your project come together.
But stitching out an embroidery design on a big quilt isn't a "set it and forget it" kind of deal. You'll want to stay close. Keep an ear out for any changes in the machine's hum—that's often your first clue that something's up, like a thread break or a dull needle. Also, make sure the quilt has plenty of room to move around without bumping into anything.
Quick Fixes on the Fly
Even the most seasoned quilters run into little snags. Knowing how to troubleshoot them keeps a small hiccup from turning into a big headache.
- Thread Breaks: The most common culprit. Don't panic! Just re-thread your machine, use the controls to back up a few stitches, and get going again. It's also a good idea to quickly check that the thread isn't caught on the spool.
- Skipped Stitches: Seeing little gaps in your design? Nine times out of ten, it’s the needle. A needle can get dull or bent faster than you think. Swap it out for a fresh, sharp embroidery needle and see if that does the trick.
- Tension Troubles: If you're seeing little dots of bobbin thread on the top, or loopy messes on the back, your tension is off. Just pause the machine and make a small adjustment to the top tension. A tiny tweak can make all the difference.
It’s amazing how much easier this all is with modern machines. The blending of high-tech quilting and embroidery has completely changed the game for textile arts. It’s a huge industry, with the global market for these machines valued at $6,074.9 million in 2025 and still growing. You can actually read more about the industrial sewing machine market to see just how much innovation is happening.
Nailing the Professional Finish
Once that last stitch is in place, it's the final steps that truly make your quilt shine. Take a moment to admire your work, then carefully unhoop your project.
First things first, let's get rid of that stabilizer. If you used a tear-away, be gentle. I like to tear it away in small sections, close to the stitch line, to avoid accidentally pulling or distorting the embroidery.
Squaring up your quilt is the single most important step for a polished result. A perfectly straight edge is the foundation for a flawless binding application. Don't rush this part—it's worth the extra time.
Lay your quilt out on a large cutting mat. Grab a long quilting ruler and a sharp rotary cutter, and trim away the extra batting and backing. Your goal here is to create perfectly clean edges and true 90-degree corners.
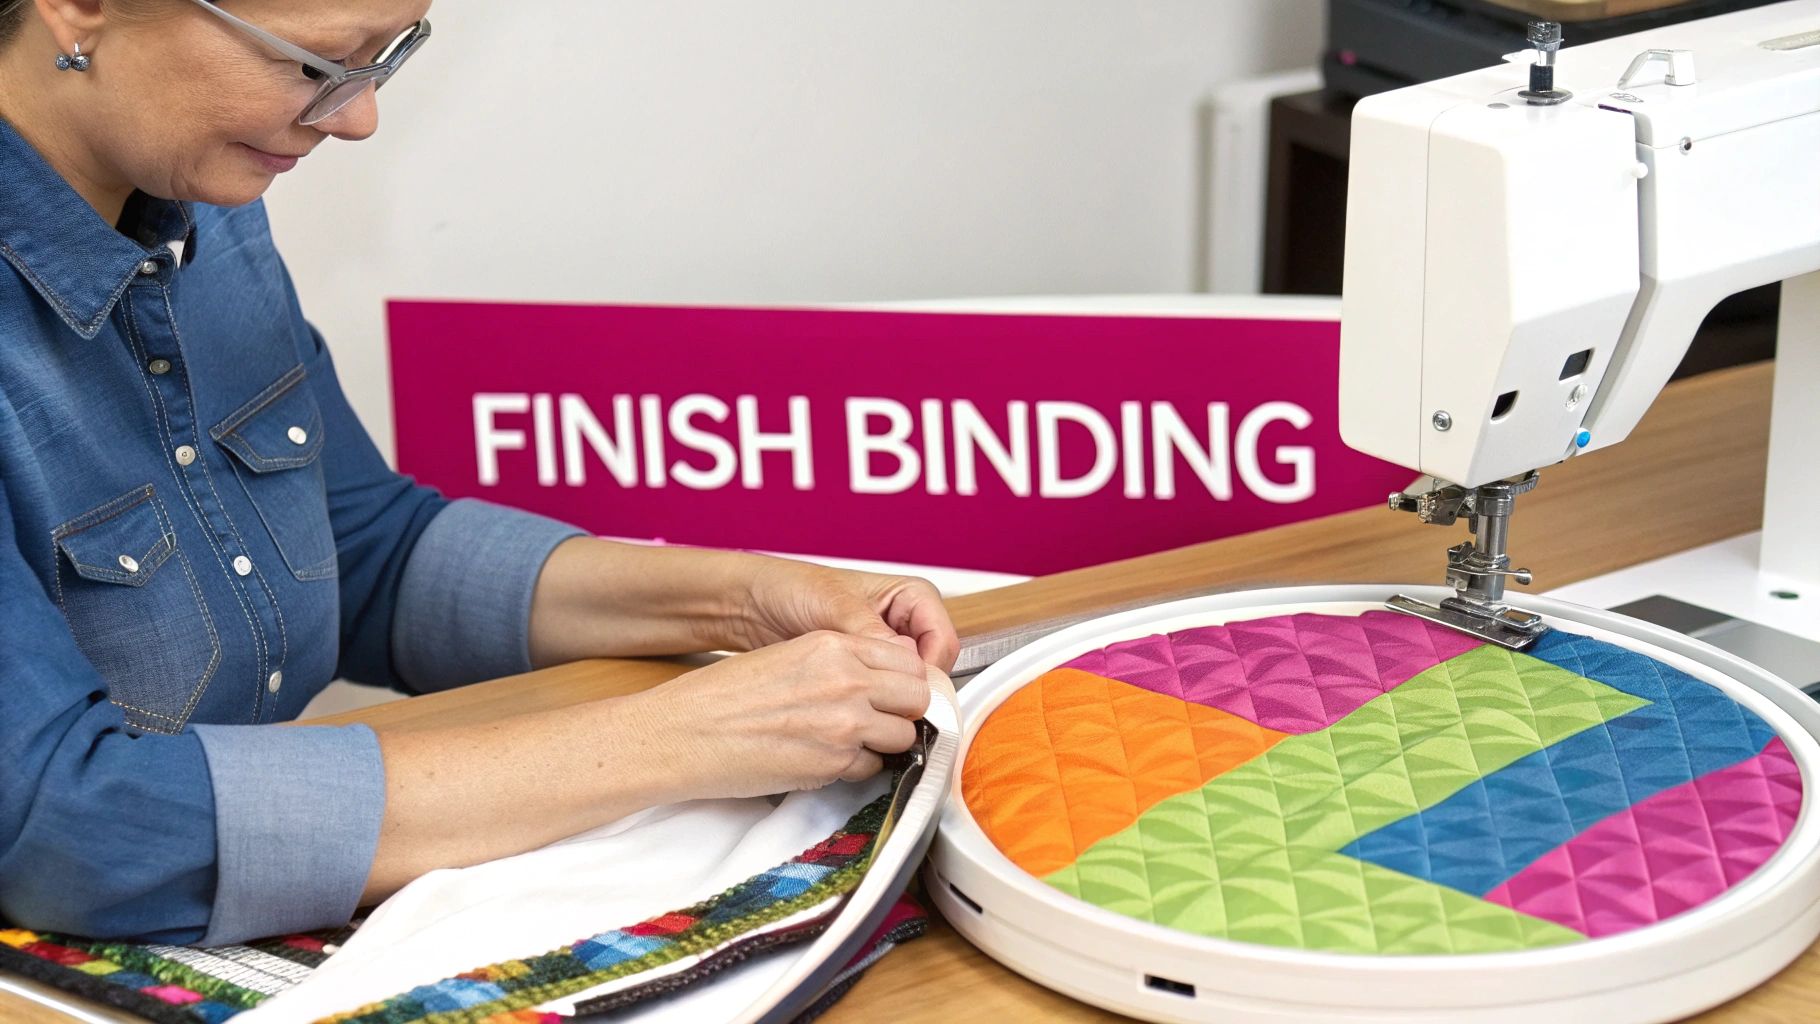
Finally, the binding! This is the frame for your artwork, the final touch that encases all the raw edges and gives the quilt a durable, beautiful border. Whether you attach it entirely by machine or prefer the quiet satisfaction of hand-stitching the back, a neat binding is the hallmark of a well-made quilt.
You've put so much love into this project. Give it the grand finale it deserves! You can find all the binding tools and notions you need at Linda's to help you complete your masterpiece.
Common Questions About Machine Quilting
Diving into **embroidery machine quilting** is exciting, but it's totally normal for a few questions to pop up along the way. Think of us as your quilting guide—we've heard them all!Let's walk through some of the most common ones we get asked. Getting these answers sorted out will help you feel much more confident as you get started.
Can Any Embroidery Machine Be Used for Quilting?
The short answer is most modern embroidery machines can handle quilting, but they definitely aren't all created equal for this specific job. The single most important feature to look for is the machine's throat space—that's the open area to the right of your needle.
A generous throat space is a game-changer. It gives you the room you need to maneuver the bulk of a quilt without feeling like you're wrestling an octopus.
You'll also want to make sure your machine can handle a larger hoop, something like an 8x12 inch or even bigger. A large hoop lets you quilt bigger sections in one go, which drastically cuts down on the time you spend re-hooping your project. You can get by with smaller hoops, but be prepared for a lot more time and meticulous alignment work.
What Is the Best Stabilizer for This Technique?
For the lion's share of your machine quilting projects, a good medium-weight tear-away stabilizer is going to be your best friend. It provides just the right amount of support to keep your quilt sandwich stable while stitching, but then it tears away cleanly and easily.
This is key because it leaves your finished quilt feeling soft and drapey, not stiff and crunchy.
Now, if you're working on a design with really dense, heavy stitching or using particularly delicate fabrics, you might want to switch to a soft cut-away stabilizer. This type stays in the quilt and offers permanent support, preventing those beautiful stitches from getting distorted over time. At Linda’s, we carry both types to ensure you have the right foundation for any project.
Our Pro Tip: Always, always, always stitch a test swatch first. Grab a scrap piece of your quilt sandwich, use your chosen stabilizer, and stitch out a small part of your design. This little preview shows you exactly how everything will play together before you commit to your actual quilt.
How Do I Prevent Puckering in My Quilting?
Oh, the dreaded pucker. It's frustrating, but it's almost always preventable. The first place to start is with your quilt sandwich. Make sure it's smooth and flat, with no wrinkles. A light misting of temporary spray adhesive is a lifesaver here.
Next, pay close attention to how you're hooping. You want the layers to be taut, but never stretched tight like a drum. If you stretch the fabric in the hoop, it will just spring back and pucker once you take it out.
Finally, give your machine settings a quick check. A fresh, sharp embroidery needle is non-negotiable, and so is the right tension. If you're seeing little dots of bobbin thread on the top of your quilt or loopy stitches on the back, your tension is likely off. For a deeper dive, check out our guide on how to change bobbin tension.
Your quilting journey should be a fun and rewarding one, and having the right supplies makes all the difference. At Linda's Electric Quilters, we have everything you need, from vibrant threads and durable batting to the perfect notions for finishing your project. Explore our massive selection and find the high-quality materials to bring your creative vision to life.
Shop for all your quilting essentials at Linda's Electric Quilters today!


