

You've finished a tidy monogram on your favorite T-shirt, lifted it from the hoop, and found a ring of ripples around the design. Or perhaps the stitches look smooth, but the embroidered area feels like a stiff patch. With knits, the right embroidery stabilizer needs to control movement without taking all the softness out of the garment. Start by matching support to stretch, stitch density, and desired drape, then test the combination on a scrap before you embroider the shirt.
Why Knits Need a Different Stabilizer Approach
A T-shirt can look flat in the hoop and wavy as soon as you remove it. That's not mysterious. Knit fabric is made to stretch and recover, while embroidery stitches hold fibers in place. As the needle repeatedly penetrates the loops, the fabric can shift or bunch. The result may be puckering, rippling, gaps between stitches, or an embroidered area that feels less flexible than the rest of the garment.
A woven cotton and a jersey knit can't be treated as interchangeable. A woven fabric generally moves less under the needle. A knit can stretch in different directions, and the amount of stretch varies by fabric. A 2025 study measured stretch of 90% in a polyester-Lycra knit containing 82% polyester and 18% Lycra, and 65% in a knit containing 88% polyester and 12% Lycra. The researchers applied controlled 20% strain over a 100 mm gauge length during testing (study of polyester-Lycra knitted fabrics). Those results are a reminder that “knit” describes many different fabric behaviors, not one predictable level of stretch.
The backing's job is to limit movement while the machine stitches. On an elastic garment, support may also need to remain after stitching so the design can move with the fabric during wear and laundering. But too much support can make a soft shirt feel bulky or stiff.
Practical rule: Choose the lightest stabilizer that controls the fabric and design, then check how the finished sample feels in your hand.
Treat the choice as a balance, not a rule that every knit needs the heaviest backing available. A light script monogram on jersey has different needs from a dense fill on sweatshirt fleece. A design near a cuff or neckline may also be harder to hoop than one placed on a flat chest panel. Testing helps you see whether you need more support, a different stabilizer, or gentler handling.
The Main Stabilizer Types and What Each One Actually Does
Walk into a well-stocked embroidery shop around McKinney and the stabilizer wall can feel like a foreign language. Dozens of white rolls and packaged sheets, all nearly identical at a glance. The sorting gets easier once you stop asking which one is best and start asking three questions about your project: How much does the fabric stretch? How much drape do you want to keep? How dense is the design? Every type on that wall exists because it answers those questions in a different way.
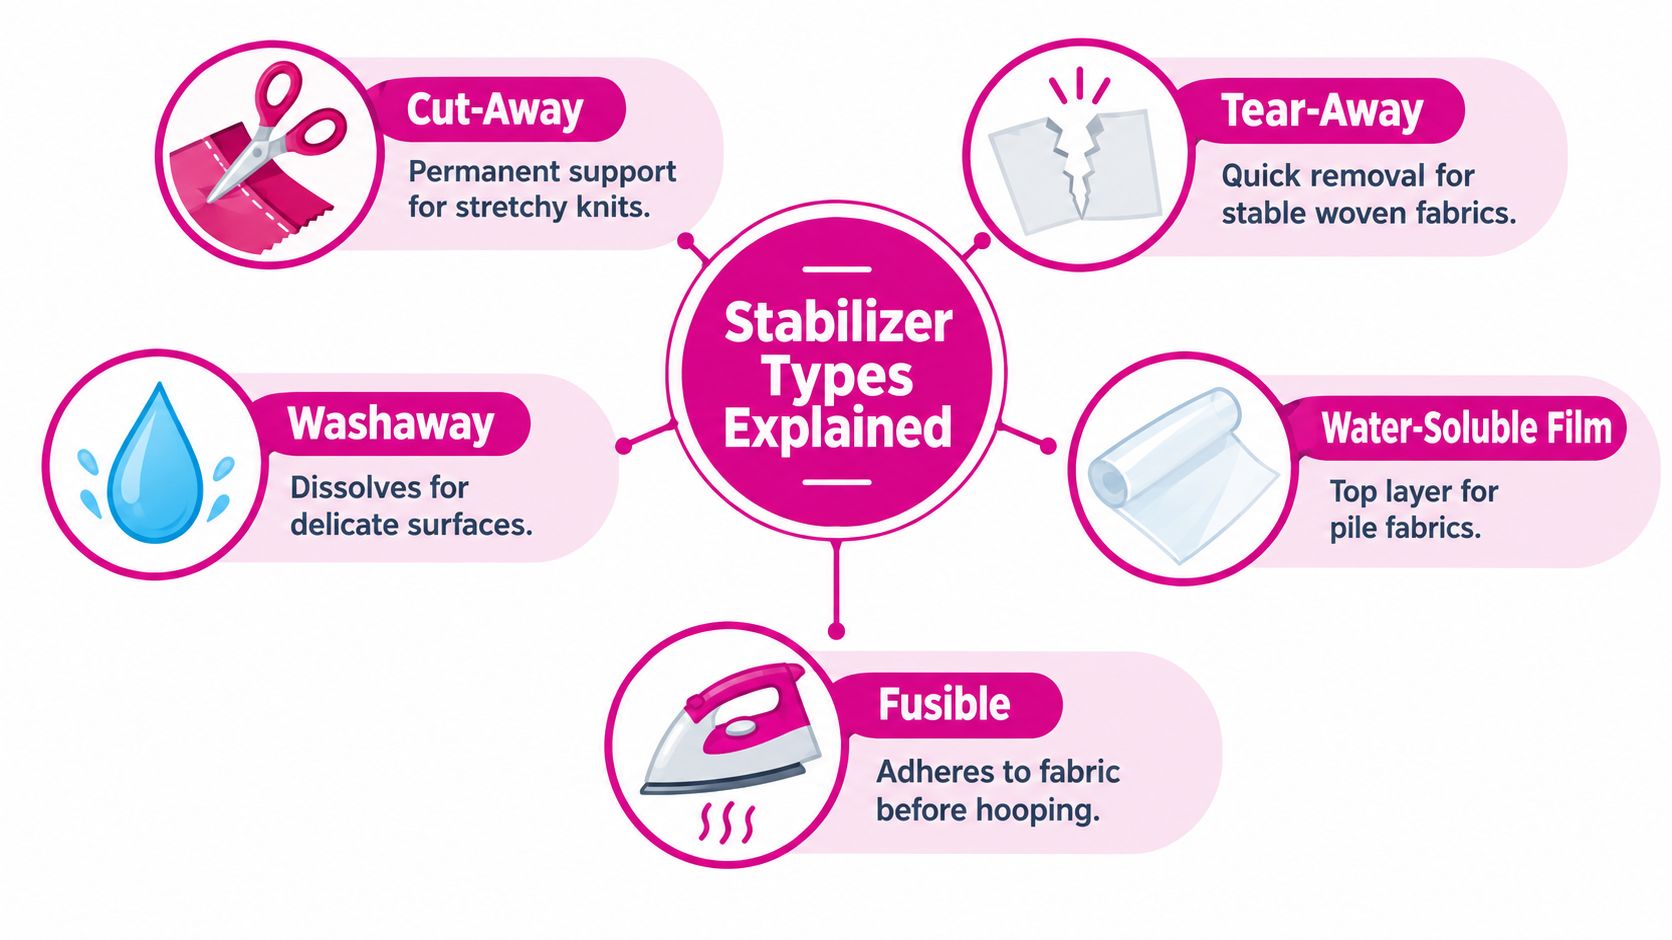
Permanent support and quick removal
Cut-away stays behind the embroidery after you trim the excess. Because it never leaves the garment, it keeps supporting the stitches through wear and washing, which is why it's the usual starting point for knits. Drape is the trade-off to watch. A firm cut-away on a soft tee can leave a stiff, visible outline around the design, so lightweight knits often do better with a soft mesh cut-away that provides lasting backing with far less bulk. When the fabric stretches hard or the design fills densely, reach for a heavier weight or a second layer rather than abandoning the type altogether.
Tear-away does its job during stitching, then rips free. That suits a stable knit with a light, open design, and it can serve as a helper layer during a scrap test. On a garment with real stretch, the embroidery loses its support the moment you tear the backing out, so treat tear-away as scaffolding that comes down once the stitching is done.
Washaway and water-soluble products dissolve in water, so nothing remains to stiffen the fabric or shadow through a thin knit. They're the answer when leftover backing would be unwanted, as in freestanding lace or delicate work. A water-soluble film also earns its keep as a topping on textured surfaces like fleece or velour, holding stitches above the pile so they don't sink. Topping sits on top of the fabric; the backing underneath still does the structural work.
Adhesive support for tricky surfaces
Fusible mesh irons onto the wrong side of the fabric and behaves like a second skin, calming knits that curl, slip, or stretch out of shape while you hoop. Sticky or adhesive-backed stabilizer works from the other direction. You hoop the stabilizer, then press the garment onto it, which gets finished pieces like onesies or collars positioned when the garment itself won't fit in a hoop. Either way, judge the product by the support it gives the design; the attachment method is secondary.
Every one of these categories is newer than it seems.
Purpose-made nonwoven backings began replacing improvised materials in the late 1970s, and one early embroidery product was a 1.5-ounce cut-away made by International Paper, using silicone to assist needle glide; it was initially suited to medium- and low-stitch-count applications (history of embroidery stabilizers). Later types arrived to solve specific complaints: lasting support, reduced show-through, clean removal.
A quick sanity-check before you commit: stitch the design on a scrap of the actual garment, then hold it at arm's length. Does the fabric ripple around the embroidery? Did the design stay flat? Does the shirt still drape like a shirt? Those three answers map straight back to stretch, stitch density, and drape, and they tell you whether to change the weight, change the type, or change both.
Measuring Stretch and Choosing Stabilizer Weight
Two knits can hang on the rack looking identical and behave completely differently under a needle. One stretches gently and snaps back. The other stretches in every direction and stays stretched. A ruler and a scrap from the actual garment tell you which one you have before you commit to a backing, and the scrap matters, because fabric off the bolt rarely matches the garment in your hand.
Run a simple stretch test
- Mark a four-inch section of fabric in the direction you want to test.
- Hold one end steady and stretch the other gently, without forcing the fabric.
- Measure the extended length. If the section reaches 4.8 inches, that represents 20% stretch. If it reaches 5.6 inches, that represents 40% stretch.
- Record the result and repeat across the direction the garment stretches most during wear.
That number is one axis of the decision, not the whole answer.
Stabilizer weight works like a dial pulled by three forces at once: how far the fabric stretches, how much it needs to drape after stitching, and how dense the design is. A small, open motif on a stretchy knit may need less support than a tightly filled logo on a stable one. Recovery counts too. A fabric that stretches far but rebounds quickly behaves kindlier than one that bags out and stays bagged.
| Fabric stretch | Suggested stabilizer | Best for |
|---|---|---|
| Lower stretch, stable knit | Lightweight cut-away or a tested tear-away layer used as supplemental support | Light designs on firmer knits |
| Moderate stretch | Medium cut-away; consider fusible mesh if the fabric shifts | Piqué, interlock, or similar garments |
| High stretch | Soft cut-away or layered lighter support, tested on a scrap | Elastic garments and designs that need lasting support |
| Any stretch with a dense design | Increase support carefully and test the finished hand | Filled logos, compact lettering, or dense stitch areas |
Two lighter layers often beat one very heavy backing, because layers let you adjust support in small steps. For knits that stretch well into the high range, layering is one option worth testing before you reach for the heaviest product on the shelf. Whichever route you choose, check the stitched area by hand afterward: the backing should hold the fabric steady without turning that patch of shirt into cardboard.
Polyester-Lycra fabrics can stretch substantially. The study cited earlier measured 65% to 90% stretch across its two tested fabrics, which shows how wide the range inside the word "knit" really is. That spread is exactly why measuring your actual fabric beats choosing by garment label. Run the test, weigh the design's density against the fabric's drape, and let the scrap make the call.
Cut-Away Versus Tear-Away Versus Washaway Compared
If you're standing in front of the stabilizer aisle deciding which package to take home, start with one question: Does the garment need support after the embroidery leaves the hoop? For a stretchy knit, the answer is usually yes. That makes cut-away the most dependable place to begin.
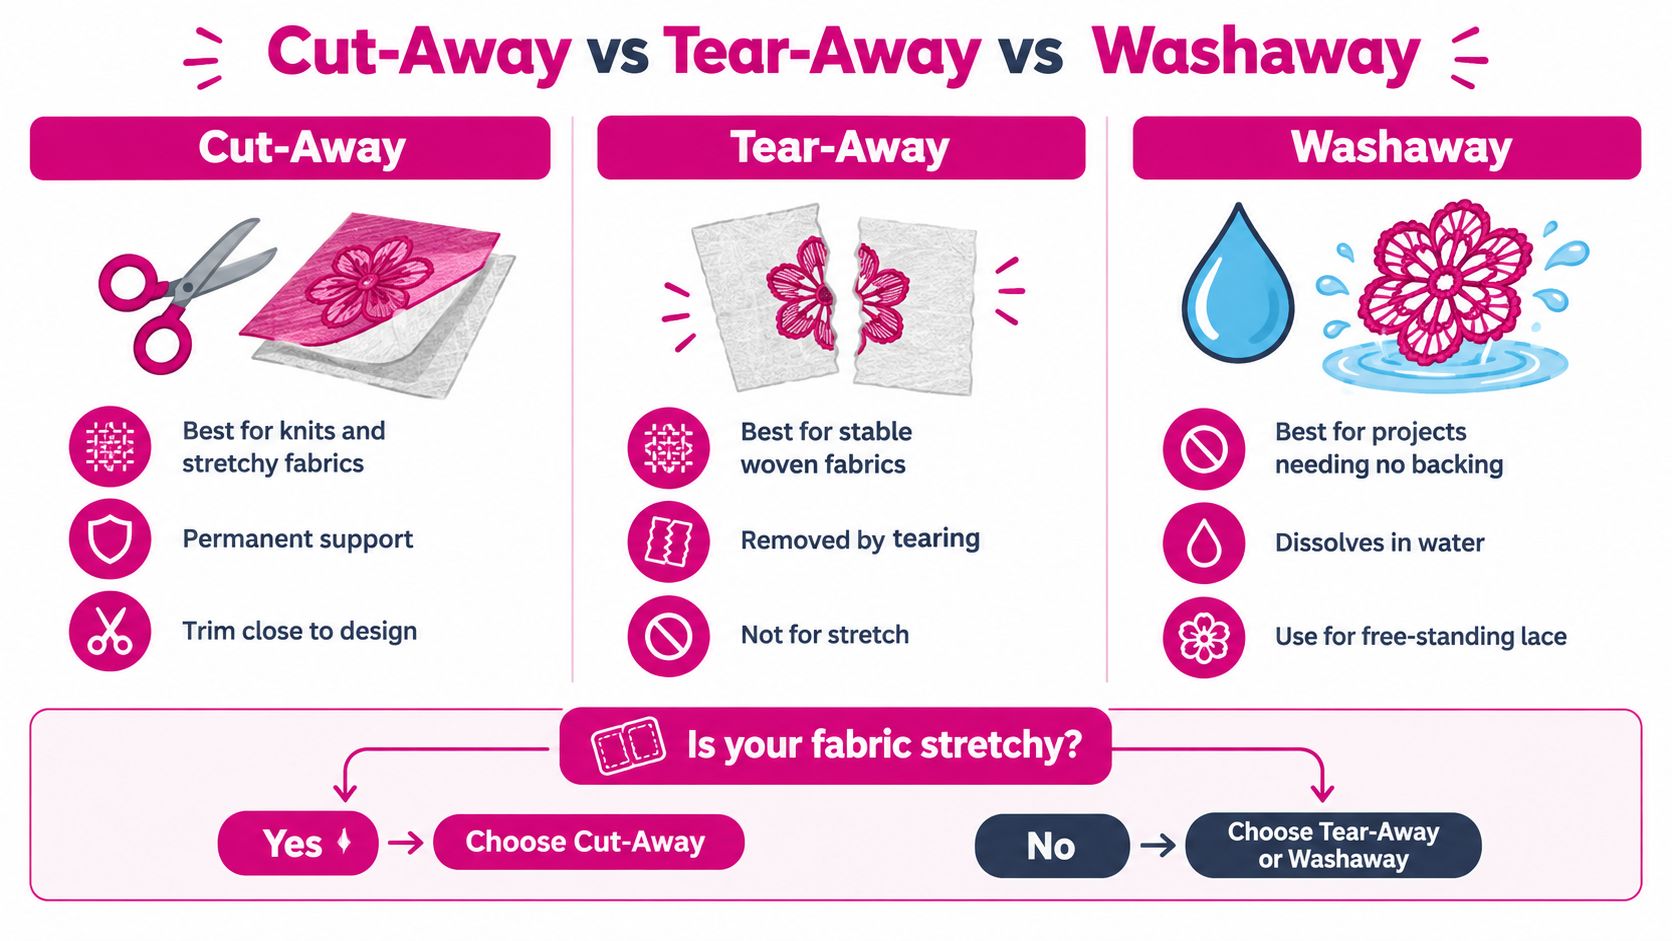
| Type | Support after stitching | Comfort and visibility | Best fit |
|---|---|---|---|
| Cut-away | Remains under the embroidery after trimming | Can feel bulky if too heavy; mesh versions can be less noticeable | Stretchy garments and designs that need lasting support |
| Tear-away | Removed after stitching, so it doesn't support the garment during wear | Easy to remove, but removal may disturb delicate stitches | Stable fabrics or carefully tested supplemental support |
| Washaway | Dissolves, leaving no backing behind | Disappears after washing, but doesn't provide ongoing garment support | Freestanding lace and projects that need no permanent backing |
| Fusible mesh | Depends on its backing construction; the fusible bond helps hold fabric in place | Can improve control on a shifting knit | Knits that are difficult to manage in the hoop |
| Sticky backing | Depends on product type and design; the adhesive secures fabric during stitching | Avoids hooping the garment directly | Finished or hard-to-hoop garments |
A polo shirt or baby onesie needs backing that can support the embroidery during use, so start with a soft cut-away and test for comfort. A sweatshirt may hide a stronger backing more easily, but its surface can also let stitches sink, making a topping useful. For freestanding lace, washaway stabilizer serves a different purpose because the design isn't relying on the garment fabric for support.
Tear-away can be tempting because it disappears quickly from the back of the work. The trade-off is that a stretchy knit can continue moving around the fixed stitches after the temporary support is gone. Use tear-away on a knit only when a test shows it works for that particular fabric and design, or as a supplemental layer alongside backing that remains.
Pros and cons at a glance
- Cut-away: Lasting support for elastic fabrics; trim it neatly to manage bulk.
- Tear-away: Convenient removal; not a dependable sole backing for highly elastic garments.
- Washaway: Leaves no stabilizer behind; doesn't support garment embroidery after dissolving.
- Fusible mesh: Helps manage shifting; test the fused hand and fabric response.
- Sticky backing: Useful when direct hooping is difficult; choose the backing for the design and garment, not convenience alone.
No one option wins every category. The right choice protects stitch quality while preserving the feel and purpose of the finished piece.
Hooping Technique, Needles, and Thread for Knits
Say you picked the right backing, matched it to the fabric's stretch, and still get ripples when you unhoop. When that happens, the knit usually went into the hoop stretched. Even a small tug while you tighten the screw becomes released tension once the hoop comes off, and the stitches get blamed for a setup problem.
The goal is flat, not tight. A knit should rest in the hoop at the same width and length it holds on the hanger. If the fabric grain visibly pulls outward toward the ring, it went in stretched.
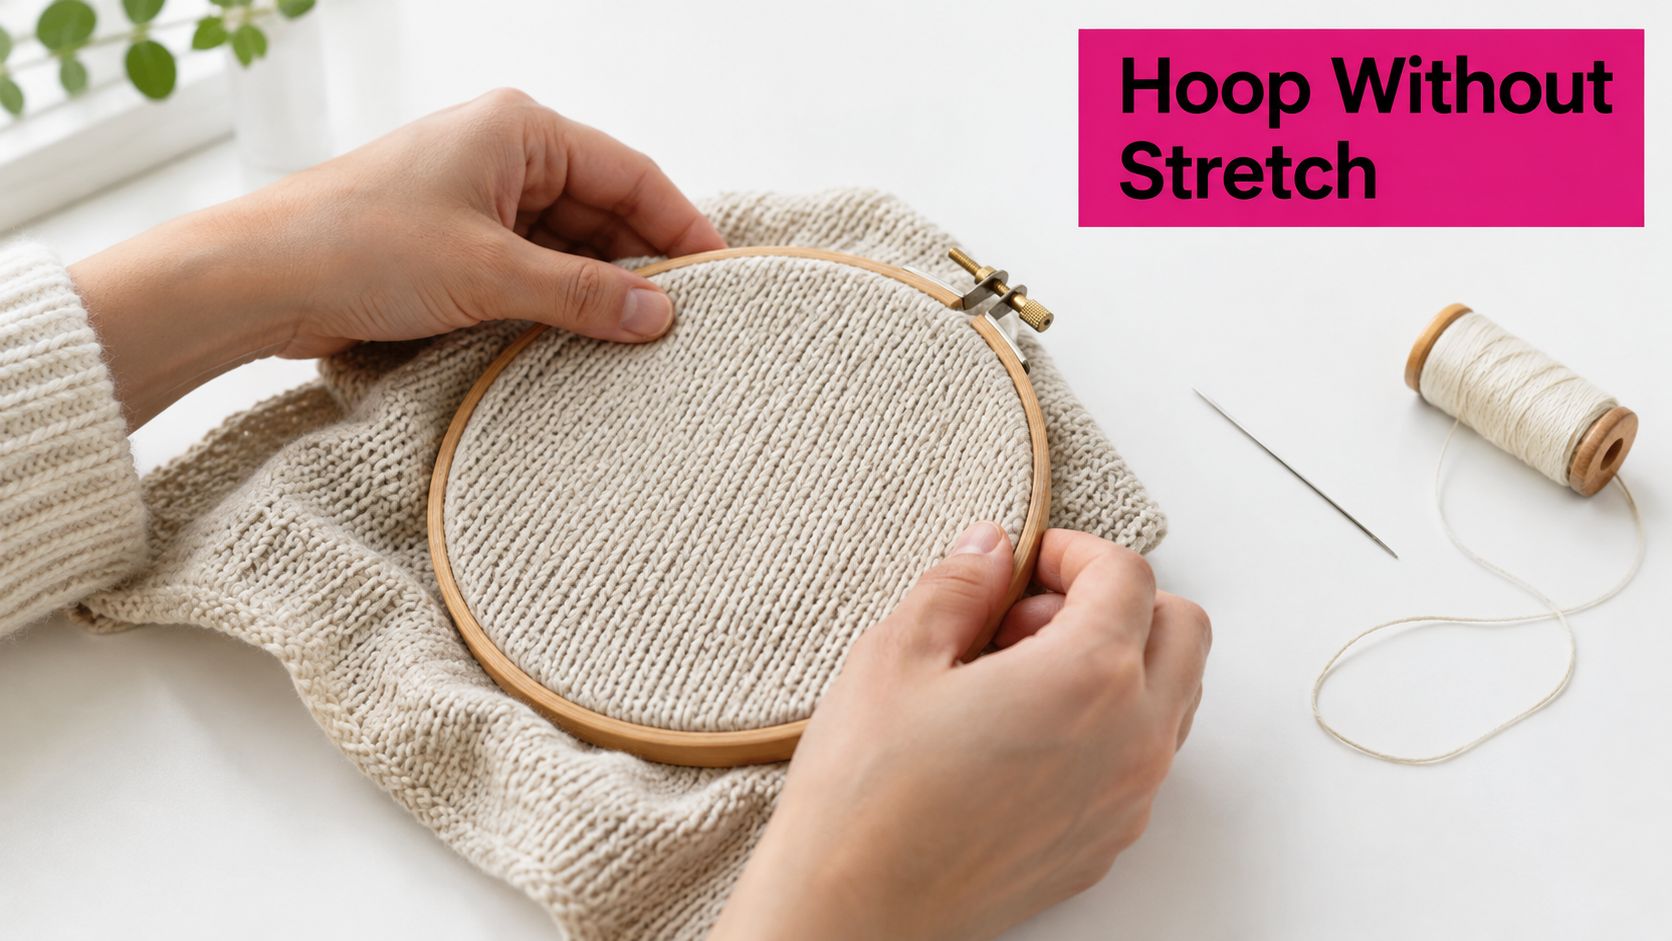
Lay the stabilizer down first, letting it extend past the hoop's edges so the ring captures it firmly. Then position the garment over it without pulling. Hooping guidance from Janome makes the same two points: provide support that lasts beyond the stitching itself, and keep the fabric unstretched during setup (Janome's embroidery hooping guidance).
Build a steady stitch foundation
When a design runs dense, around 12,000 stitches per square inch or more, one technical guide recommends testing a two-layer sandwich: 45-gsm tear-away beneath the fabric and 100-gsm cut-away above it (that guide is linked in the starter-projects section). Treat it as one configuration worth running on a scrap, not a universal recipe. Your fabric's stretch, the garment's drape, and the design's density all shift the answer, which is exactly why a test matrix beats any single rule of thumb.
Needles deserve a minute of attention too. A ballpoint or stretch needle slips between the knit's loops instead of piercing them, so reach for one if a sharp needle leaves holes or snags threads. Start fresh. Skipped stitches or a faint popping sound usually mean the needle is dull or the wrong point for the fabric.
Choose thread suited to how the garment will be worn and washed, and follow the pairing guidance from your thread and machine manufacturers. If the embroidery pulls the fabric inward, look at stitch density and underlay before touching tension. Tension adjustments alone rarely fix a pull problem.
Underlay gives the top stitches a foundation and limits how much they drag the knit out of shape. Dense satin fills and small lettering expose weak underlay fast. Run the design on a garment scrap and check whether the letters stay crisp or the fabric ripples around them.
A short video helps you see how fabric and hoop interact during setup:
On textured knits like sweatshirt fleece, a light water-soluble topping keeps stitches from sinking into the nap. The backing underneath manages fabric movement, and the topping manages the surface the needle meets. One handles stability, the other handles texture. For fuzzy surfaces where lettering tends to disappear, that thin extra layer makes a readable difference.
Troubleshooting Puckering, Gapping, and Stiff Embroidery
When a knit design puckers, adding heavier stabilizer seems like the obvious fix. Sometimes it helps. But if the garment was stretched in the hoop, or the design is too dense for the fabric, more backing may make the embroidery stiffer without correcting the cause.
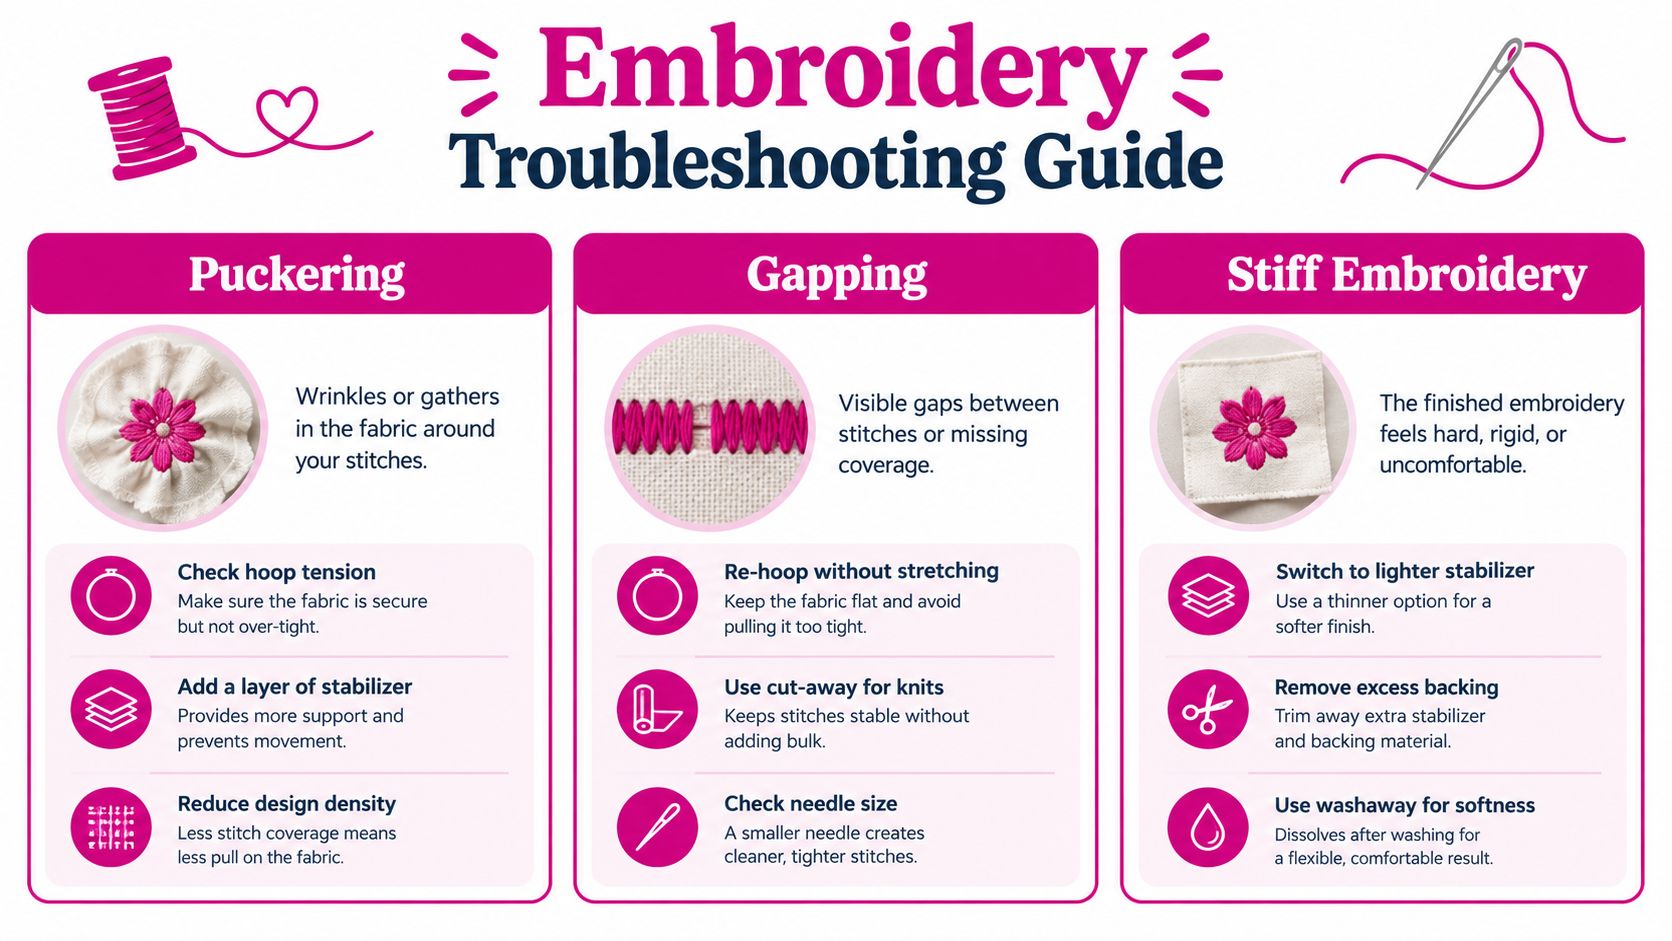
Look at when and where the problem appears. Puckering as soon as you remove the hoop can point to fabric that was stretched during hooping. Ripples that show up after washing may indicate that the garment needs more lasting support. Gaps between letters can point to inadequate stabilization or underlay, while a scratchy, board-like patch may mean the backing is too heavy for the fabric.
These are clues, not automatic diagnoses. Knit distortion can come from the interaction of stretch recovery and stitch pull, with weak or mismatched backing, stretched hooping, excessive density, and inadequate underlay all contributing (embroidery puckering troubleshooting).
Change one variable at a time
Test the same design on a scrap from the garment, hooping it flat without stretching. Compare a cut-away option with a layered tear-away arrangement only if the fabric and project make that a useful test. Then change one variable at a time: stabilizer, needle, design density, underlay, machine speed, or tension.
A simple record helps you see patterns:
- Puckering after hoop removal: Check whether the knit was stretched during hooping.
- Distortion after washing or wearing: Test lasting cut-away support.
- Gaps in lettering or fills: Review support and underlay before increasing tension.
- Stiffness or poor drape: Try a lighter backing or a layered combination rather than one heavy piece.
- Uneven results across the design: Check for fabric movement and consider whether density is too high for that knit.
Don't change every setting at once. If you swap the backing, needle, tension, and speed together, you won't know what improved the sew-out. Compare the sample while it's hooped, after removing it, and after laundering if the garment is meant to be washed. A smooth result in the hoop isn't the only measure of success. The embroidered section should also sit comfortably and move reasonably with the rest of the garment.
Your Test Matrix and Three Starter Projects
Say you stitch a small monogram on a favorite tee, pop it out of the hoop, and find ripples radiating from the letters. Every fix at that point means unpicking stitches from a garment you care about. A handful of scraps from the same fabric would have caught the puckering first, with nothing at stake but a little stabilizer and thread.
Try four combinations on scraps
Cut four similar scraps and hoop each one relaxed. A knit hooped under tension lies flat in the hoop and puckers the moment it releases, which can fool you into blaming the backing for a hooping mistake.
- Scrap one: Thin no-show mesh cut-away.
- Scrap two: Two layers of medium tear-away, included as a comparison point.
- Scrap three: One medium cut-away.
- Scrap four: Fusible mesh.
Stitch the same small design on all four samples. When each one comes out of the hoop, score it on the three questions that decide every knit project: does it lie flat, do the stitches read cleanly, and does the embroidered patch still drape like the surrounding fabric?
A scrap can pass two of those checks and still ruin the garment.
If the piece will be laundered, run the winning scrap through a wash before you commit. Some backings hold up beautifully in the hoop and relax their grip in the rinse, so the second look matters.
Put the results to work
Three starter projects cover the range, and each sits at a different point on the stretch, drape, and density matrix.
Lightweight jersey T-shirt: Start with no-show poly-mesh cut-away and a 75/11 ballpoint needle. A small monogram is all the test needs. The result should stay flat after unhooping and feel soft enough to wear against skin.
Mid-weight sweatshirt with a dense chest design: Test the two-layer sandwich described in the hooping section, and add a water-soluble topping if the fleece fuzz swallows the stitches. The design should sit above the pile, with backing that supports it without stiffening the chest.
Four-way-stretch performance polo: Reach for a no-show mesh engineered to stretch. The technical guide cited in the hooping section reports that a 48%-elongation no-show mesh performed best on four-way-stretch scuba in its test, producing zero puckering at 15,000 stitches per minute. One test on one fabric can't promise the same outcome on every polo and machine, so let the mesh earn its place on your scrap list.
Linda's Electric Quilters carries cut-away, tear-away, wash-away, and fusible stabilizers, so you can pick up several backing types for a scrap run in one visit. Let the sew-out make the final call: the right backing keeps the design flat while the garment keeps its drape and comfort.
For your next knit project, pull a fabric scrap, your candidate stabilizers, and a small test design before the garment goes anywhere near the hoop. Browse the embroidery supplies and educational resources at Linda's Electric Quilters, then choose the backing that supports your stitches while the knit still moves like itself.


