

You're standing at the cutting table with a freshly sewn seam allowance in one hand and those odd toothed shears in the other, wondering if a quick pink will keep this edge from turning to fuzz in the wash. That's the exact question zig zag scissors for fabric can answer, and also where they get oversold. They limit fraying on stable wovens. They don't seal a seam.
What Zig Zag Scissors for Fabric Actually Do
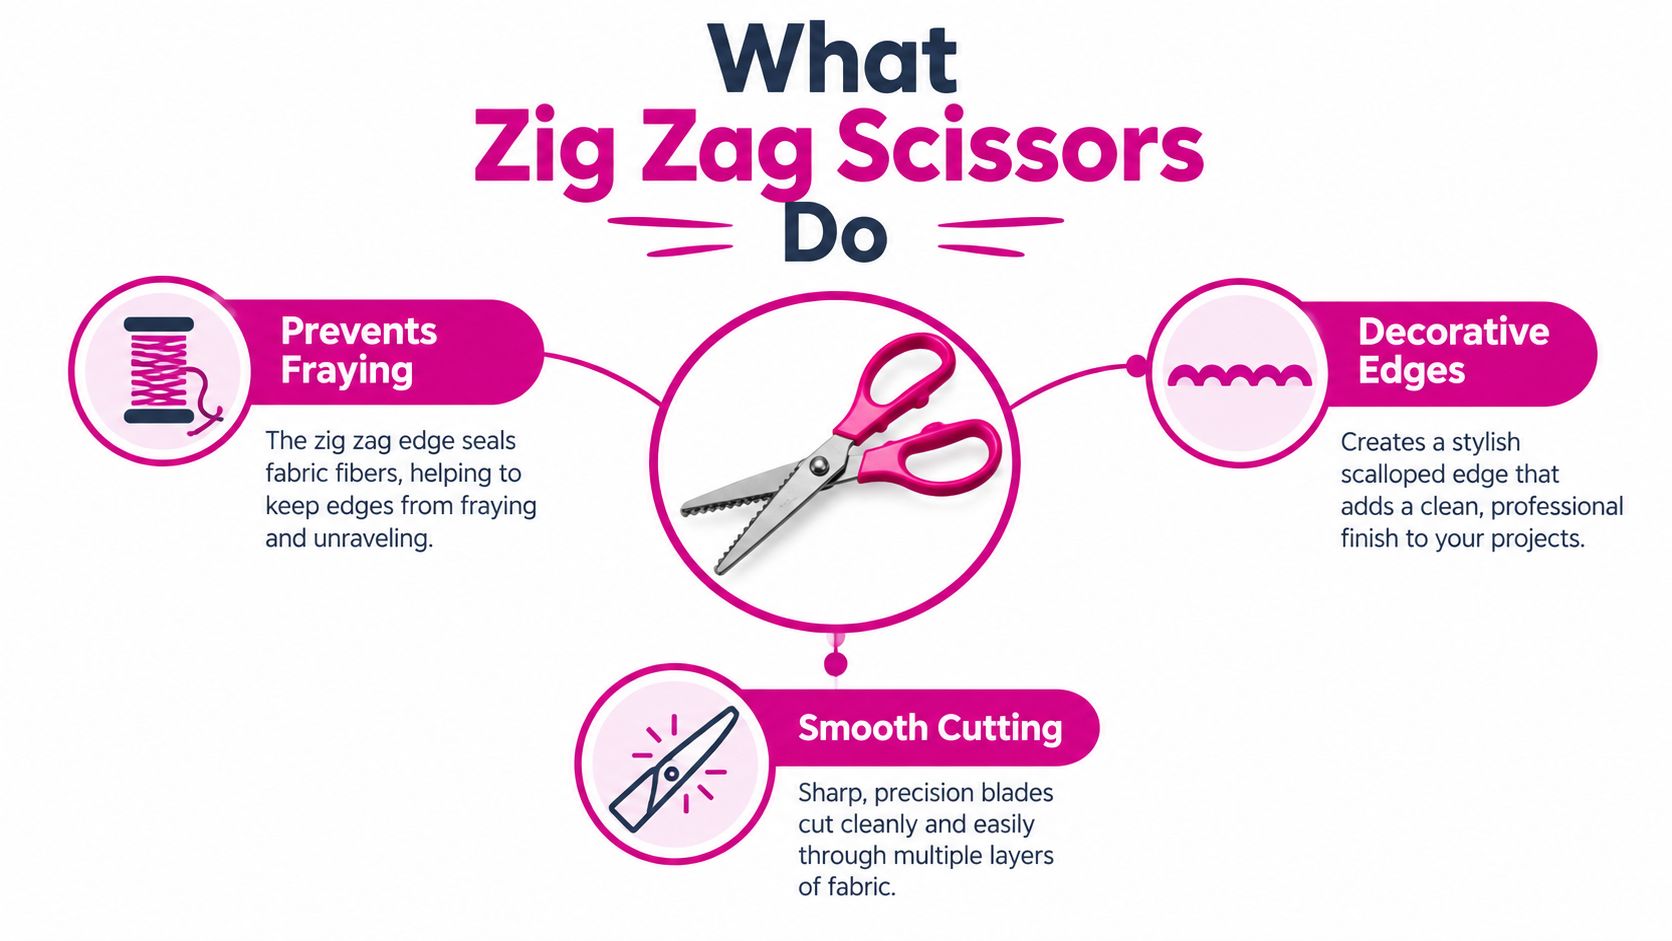
Our team in McKinney, Texas, tested this on an Innova longarm workroom table and at domestic machines, trimming quilting cotton, linen, and flannel after piecing. The answer stayed consistent. A pair of zig zag scissors for fabric, commonly called pinking shears, uses saw-toothed blades to cut a repeating triangular edge instead of a straight line.
That shape shortens the length of loose warp and weft yarns that can pull free from any one point. It doesn't eliminate unraveling. It limits how far unraveling travels. For enclosed quilt seam allowances, appliqué shapes, and low-stress garment allowances, that's often enough secondary defense.
The Short Answer for Your Project
- Use them on stable wovens: Quilting cotton, batik, and linen hold a clean point and benefit most.
- Don't trust them alone on high-wear seams: A seam that takes abrasion, tensioning, or frequent washing still needs stitching, serging, or binding.
- Skip them on most knits: Jersey and sweater knit don't unravel like wovens, and teeth can snag loops instead of helping.
Think about hand, loft, and edge exposure before you cut. A pinked edge inside a quilt sandwich lives a quiet life. A pinked edge inside a tote bag that gets dragged across a car floor doesn't. Same tool, different job.
Pro-Tip: Pink after you sew, not before, when you're trimming a seam allowance. You keep your measured allowance accurate during stitching, then remove bulk and limit fray in one pass.
If you're building your notions pouch, treat pinking shears as a finishing tool, not your main cutting tool. Your rotary cutter and dressmaker shears still cut yardage and blocks. The zigzag pair earns its spot when you need a ravel-resistant edge without adding thread bulk, bobbin changes, or another pass under the presser foot.
From Pinking Iron to Mass-Production Shears
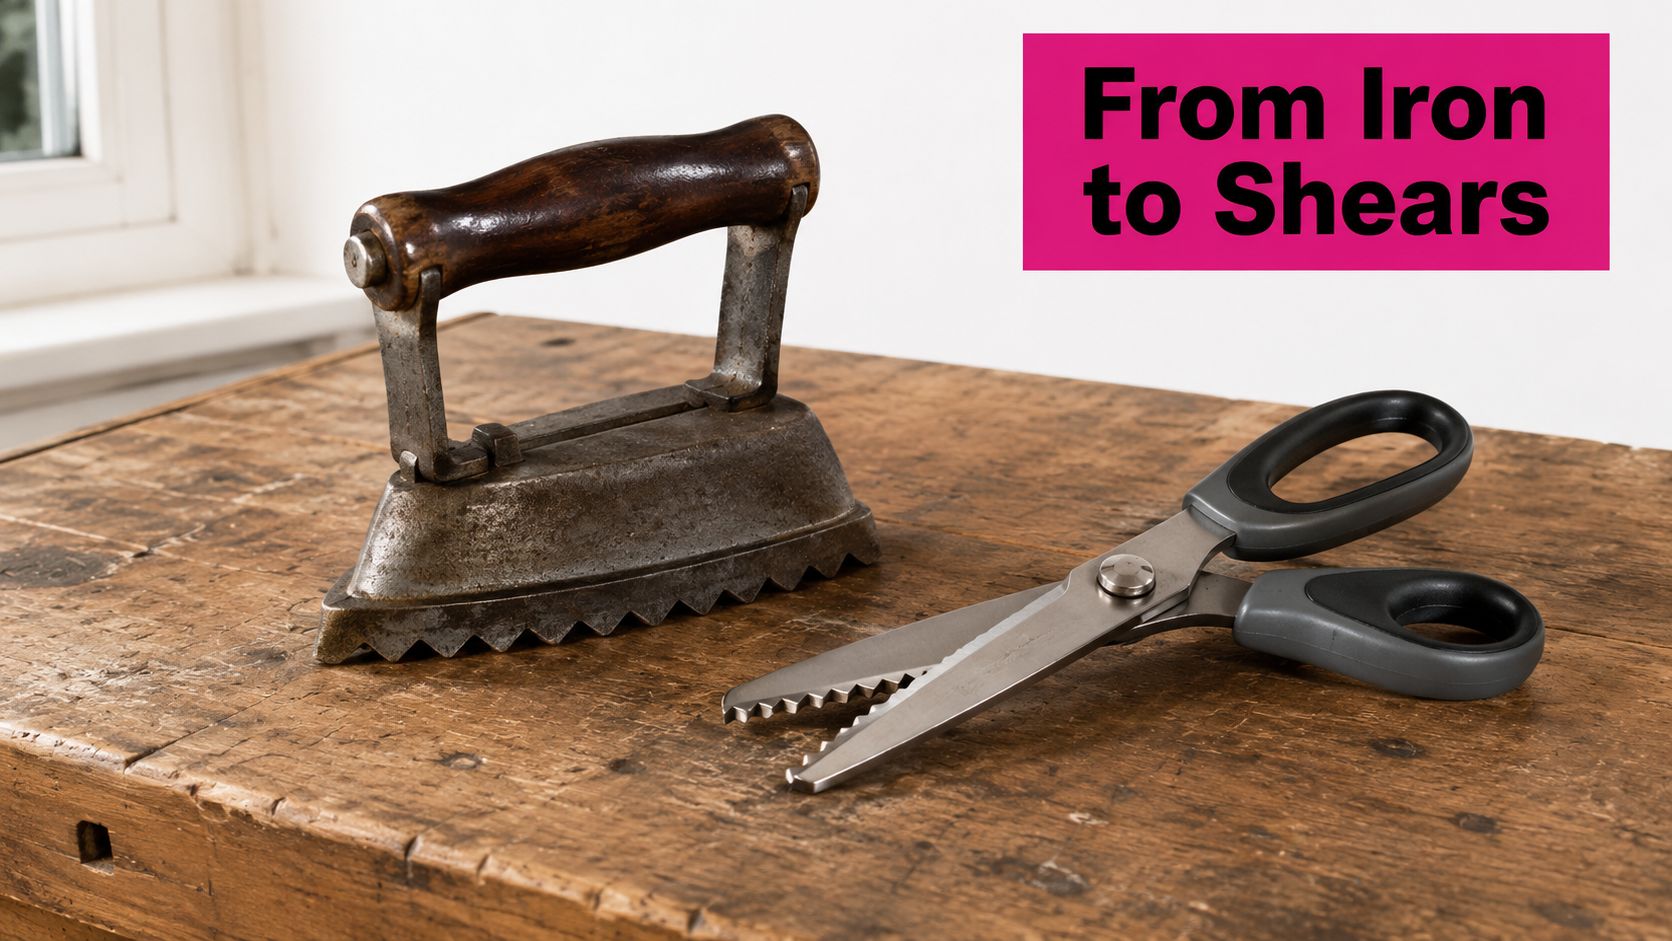
Before handled shears existed, makers used a pinking iron, a toothed punch struck with a mallet to create a decorative or functional edge in cloth. Eliza P. Welch patented an improved handled pinking iron in 1874, as traced in the documented history of pinking shears spanning more than 130 years. That step moved pinking from a workshop punch toward a hand tool you could control at a table.
Louise Austin of Whatcom, Washington, received U.S. Patent No. 489,406 on January 3, 1893, for the best-known early pinking shear design, according to that same historical record. The defining idea hasn't changed. Two saw-toothed blades meet and leave a repeating zigzag rather than a straight cut. Historical clothing evidence also places pinked seam edges widely in ready-to-wear and home sewing before the 1970s, so this wasn't a novelty trim. It was a mainstream seam finish.
When the Tool Went Mass Market
Brooklyn inventor Samuel Briskman developed the familiar modern form in 1931, and his first three patents were issued in 1934, as detailed in the J. Wiss and Sons account of Briskman pinking shears. J. Wiss & Sons manufactured the shears while Briskman's company operated in Manhattan. On August 4, 1949, the 4,000,000th pinking shear was made, per that same company history.
Four million units tells you something about the Great Depression era too. Home sewing and garment repair saved money, and factory production provided jobs. A tool that finished a seam without extra equipment had real household value.
A later refinement matters every time you squeeze a modern pair. In 1952, Benjamin Luscalzo received a patent for an adjustment system that maintained blade tension and alignment. Teeth have to mesh consistently. If they don't, you get uneven points, snagged yarns, and faster wear. That alignment problem still separates a good pair from a frustrating one today.
How the Triangular Teeth Limit Fraying
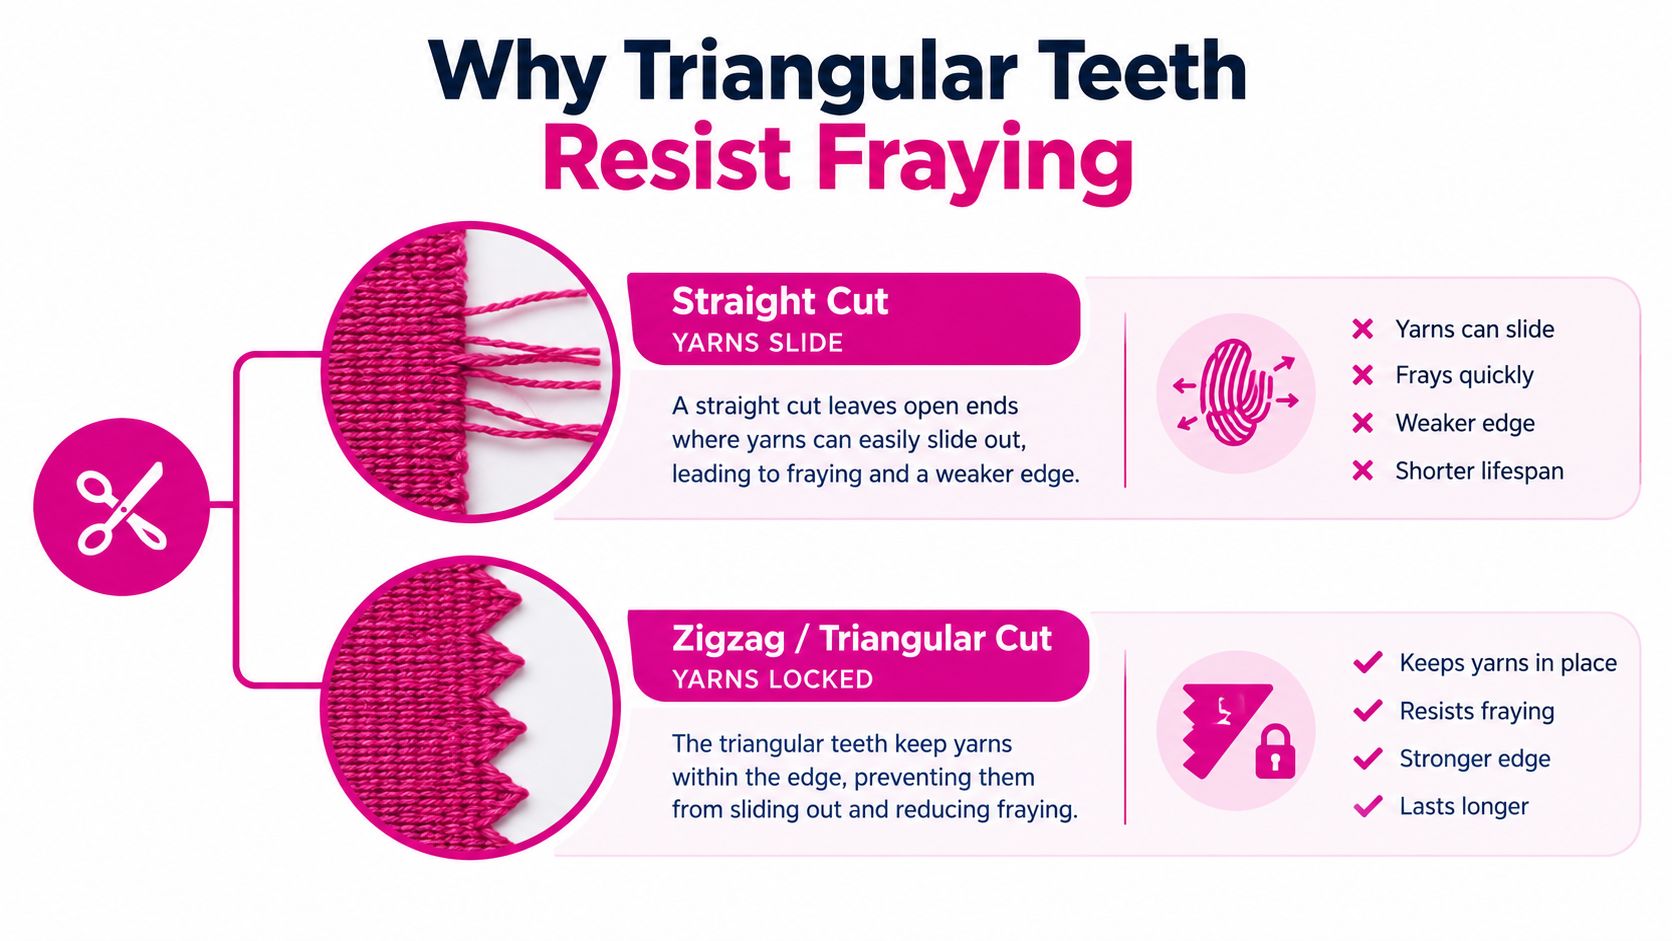
Cut woven fabric straight along the grain and you expose one continuous line of warp or weft yarns. Those yarns can slide and pull out along that line. Cut the same fabric on the bias, diagonally across the grain, and no single yarn runs the full length of the edge. That's why bias edges resist fraying better.
Pinking shears borrow that principle in miniature. Each tooth makes a short angled segment, so the finished edge is a series of brief bias-like cuts. The explanation of bias-cut geometry at about 45 degrees to warp or weft describes why no single yarn runs continuously along such an edge. Shorter exposed yarn lengths mean shorter threads when something does loosen.
Tooth Spacing and Depth
Commercial specifications commonly identify tooth spacing around 5 mm, while broader guidance places practical serration spacing roughly in the 3 to 7 mm range, as summarized in the pinking shears specifications and fabric guidance. For quilting cotton, a consistent pattern matters more than a deep one. Uneven teeth create local thread pulls and make your seam allowance width wander.
Depth matters for a different reason. One sewing reference reports the pinking pattern is less than 1/8 inch deep, as noted in the history and use guide for pinking shears. That keeps points and valleys inside a typical seam allowance instead of reaching your stitch line.
Pinking shortens the path a loose thread can travel. It does not lock, wrap, or seal the yarns in place.
Hold onto that distinction. If a seam will face substantial abrasion or repeated laundering, you need thread doing structural work. The zigzag cut alone can't provide that.
Matching Zigzag Scissors to Common Fabrics
This decision takes thirty seconds once you know your fabric structure. Tightly woven cloth holds points well. Loose weaves, slippery yarns, and looped knits respond poorly, and no amount of careful cutting fixes the wrong finish choice.
Best Edge Finish by Fabric Type
| Fabric | Pinking Shears | Zigzag Stitch | Serged Edge | Bound Seam |
|---|---|---|---|---|
| Quilting cotton | Good for enclosed allowances | Good | Excellent | Excellent, adds bulk |
| Batik | Good, tight weave holds points | Good | Excellent | Good for exposed seams |
| Linen | Fair, test loose weaves first | Good | Excellent | Excellent |
| Flannel | Fair for low-wear items | Good | Excellent | Good, watch loft and bulk |
| Rayon | Poor, yarns slip easily | Fair with stabilizer care | Good | Excellent, French seam also works |
| Wool | Good on stable woven wool | Good | Good | Excellent for garments |
| Fleece | Poor, teeth can snag | Fair | Good | Good |
| Knit jersey | Not needed | Good for seam support | Excellent | Only where design requires it |
Quilting cotton and batik are your best cases. The weave is stable, the points stay crisp, and the allowance usually ends up enclosed between layers with batting loft protecting it. Rayon is the trap. It looks cooperative on the table, then its yarns slip after washing because the hand is fluid and the yarns have little grip on each other.
Flannel sits in the middle. It frays generously, and pinking slows that down on a wall hanging or a lightly used throw. On pajama pants washed weekly, choose a serged or zigzagged edge instead. Fleece and knit jersey don't unravel in the woven sense, so you're adding snag risk for no benefit.
- Choose pinking when: The allowance is enclosed, low friction, and made from a stable woven.
- Choose stitching or serging when: The item will be washed often, handled roughly, or worn against skin and movement.
- Choose binding or a French seam when: The edge shows, the fabric slips, or you want the cleanest interior finish.
If you're unsure, the wash-and-rub test in the next section settles it with a scrap instead of a finished quilt.
Cutting Technique That Produces Clean Points
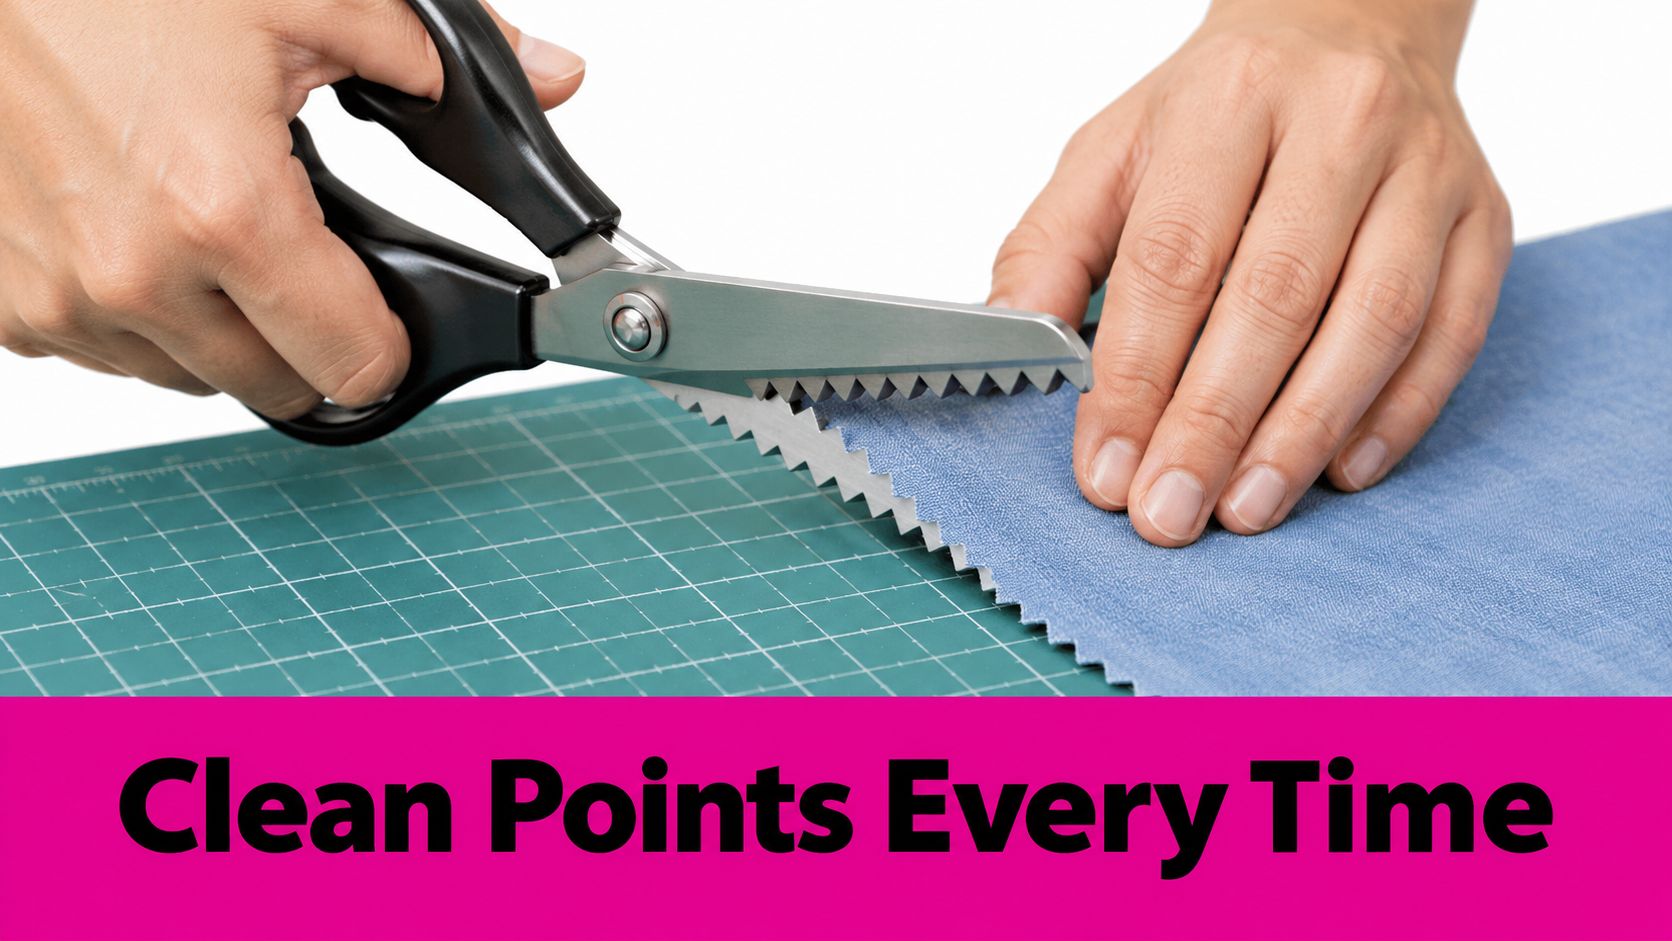
Technique decides whether you get crisp points or a chewed edge. Start with the fabric flat and fully supported on the table. Dangling yardage pulls the weave out of square while you cut, and your points come out uneven before the blades even close.
The Full-Stroke Motion
- Set the blades perpendicular: Keep them upright against the fabric, not tilted sideways.
- Close through the full stroke: Finish each squeeze completely before reopening and advancing.
- Realign in the last valley: Place the open blades so the next tooth continues the pattern instead of starting a new one.
- Move the fabric, not your wrist angle: Rotating the work keeps your cutting line visible and your stroke consistent.
Partial strokes compress layers and create stepped, misaligned zigzags. You'll see it as a double point or a flat spot in the rhythm. Slow down at curves and take shorter advances without shortening the blade closure.
Watch the full-stroke motion and hand placement in this short tutorial clip before you practice on a scrap.
Run a Wash-and-Rub Test First
Sew two scraps with your planned seam allowance. Pink one allowance and leave the other straight. Wash, dry, and rub both edges firmly with your thumb. If threads on the pinked sample pull past a single tooth or the points collapse, that fabric needs a stitched finish.
Practical rule: Cut on a self-healing mat or a protected table surface. It saves your blade tips from hard surfaces and keeps shared studio tables free of nicks.
Choosing the Right Size and Blade Style
Ignore handle color. Four criteria predict whether a pair will still cut cleanly after a year of quilt allowances, and none of them is a marketing claim about sharpness.
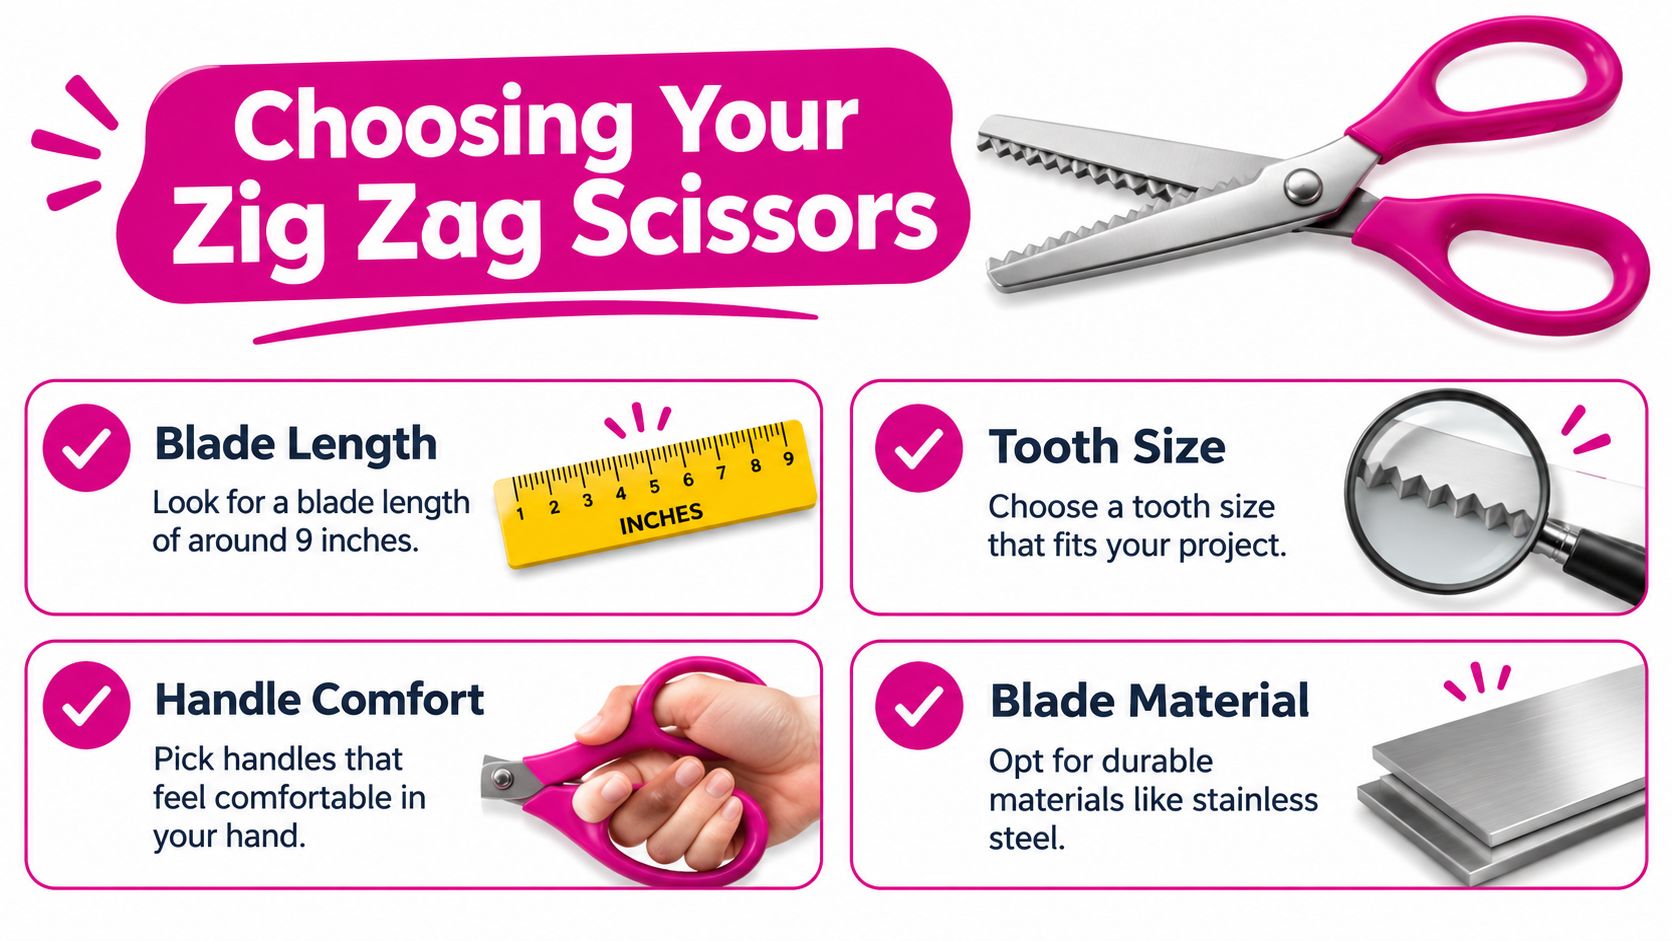
Four Checks Before You Buy
- Blade length: Heavy-duty models are often approximately 9 inches long and use offset handles, as described in the industrial safety scissors and shears specifications. That offset keeps your hand above the work when cutting flat on a table.
- Tooth spacing: Match it to fabric weight. Finer teeth suit lightweight cottons, while wider spacing handles heavier wovens without crushing the points.
- Blade material: Corrosion-resistant stainless steel helps in humid storage, but hardness, grinding accuracy, and pivot stability decide whether teeth stay crisp.
- Tip shape: Rounded or blunt tips reduce snagging and injury risk in a shared classroom or retreat space.
Pivot stability deserves its own squeeze test in the aisle. Open and close the shears slowly. The blades should meet with even contact from pivot to tip, with no wobble and no gritty rubbing. Misaligned blades leave uncut bridges between teeth and force you to squeeze harder, which shows up later as hand fatigue.
Ask about professional resharpening support before you pay. A serrated edge can't be restored on a flat sharpener without altering tooth geometry, so a manufacturer or local service that regrinds pinking teeth correctly adds real lifespan. Linda's Electric Quilters stocks notions and cutting tools alongside fabric and batting, so you can compare handle fit with actual quilting cotton in hand rather than guessing from a package photo.
For makers with arthritis or reduced grip strength, also look at the Slice Self-Opening Scissors in the notions aisle. They're a straight-edge tool, not a pinking shear, but the self-opening squeeze design lowers muscle effort for everyday trimming beside your zigzag pair.
Care and Maintenance That Extends Blade Life
Pinking shears wear out from neglect and misuse far more often than from cutting cotton. A short routine after each project protects the teeth, the pivot, and the alignment you paid for.
A Routine That Takes Two Minutes
- Reserve them for textiles: Paper, template plastic, batting scrim, and packaging dull and chip fine teeth quickly. Keep a labeled cheap pair for everything else.
- Clear the pivot: Brush lint and thread bits out of the screw area after each session. Packed lint changes blade tensioning and makes the action feel stiff.
- Wipe and dry: Fingerprints and humidity sit in the tooth valleys. A dry soft cloth along both blades prevents corrosion spots.
- Oil sparingly: Place a small drop of suitable pivot oil at the screw, work the blades open and closed, then wipe away the excess so it doesn't mark fabric.
Don't run a serrated blade through a flat scissor sharpener. The grinding angle flattens tooth profiles unevenly, and once that geometry changes, the ravel-resistant effect drops and can't be tuned back with oil or adjustment. Professional resharpening that respects each tooth is the correct fix.
Storage matters as much as cleaning. A dry pouch or blade sheath keeps teeth from knocking against rotary blades, pins, and seam rippers in a notions drawer. It also protects your fingers when you reach in while watching your bobbin casing instead of your hand.
Store pinking shears closed, dry, and sheathed. Most mystery dull spots we see at the counter are drawer damage, not fabric damage.
If the action feels loose, check the pivot screw before assuming the edge is gone. Small alignment corrections restore clean meshing. If teeth are visibly chipped or the tips push fabric instead of cutting it, that's resharpening or replacement territory.
Cutting Loss, Hand Fatigue, and High-Volume Use
Here's the trade-off nobody mentions on the package. Every pinked edge removes tiny triangles of fabric. On one seam allowance, that's nothing. Across a production run of sample blocks, tote linings, or class kits, those offcuts are unusable for other pieces, and they add up.
Cutting waste is a measurable problem beyond the home studio. A 2025 textile study reports approximately 15% cutting loss in a cutting section, with pre-consumer cutting waste often dominating textile waste streams, as documented in the 2025 textile cutting loss study. Your studio isn't a factory floor, but the math habit transfers. Measure your actual zigzag width and account for it in your allowance instead of discovering later that a valley sits too close to the stitch line.
Test Before a Long Session
- Compare layer counts: Cut one layer, then two, then your maximum stack. Note where points stop forming cleanly.
- Log repeat accuracy: Make 10 to 20 repeated cuts on scraps and check whether stepped points creep in as your hand tires.
- Record discomfort: Note where your thumb or wrist aches and whether an offset handle or more frequent breaks solve it.
- Weigh the saved step: Pinking can remove a separate overcasting pass on low-wear projects, which may justify the small fabric loss.
Rotary cutting plus a quick zigzag stitch often wins for high-volume work. You cut multiple layers accurately, then finish edges at the machine where thread does the structural work. Pinking wins when you're trimming a handful of enclosed allowances and don't want to change machine settings, swap a bobbin, or add stitch bulk inside a block.
Hand fatigue follows blade alignment more than brand. A well-aligned pair closes with steady, moderate force. A rubbing, wobbling pair makes you compensate with grip strength on every stroke. That's the pair that leaves your hand cramping halfway through a stack of class samples.
Questions We Hear at the Counter
Will pinking keep my seams from fraying after repeated washing? Not by itself on high-wear items. It shortens loose threads, but agitation and abrasion keep working the edge, so add a zigzag stitch, overcast, or serged finish for frequently laundered pieces.
Are zig zag scissors for fabric safe on knits? They're usually unnecessary and can snag loops in jersey, sweater knit, or fleece. Test on a scrap first, and expect a serged or stitched finish to serve knits better.
Can pinking shears replace a serger? No. A serger wraps the edge in thread and trims at the same time, reinforcing the seam. Pinking only reshapes the cut edge.
How do I keep my hand from cramping during long sessions? Choose offset handles, keep the pivot clean and oiled, cut fewer layers, and take breaks before accuracy slips. If grip strength is limited, pair your shears with self-opening scissors for straight trims.
Do zigzag scissors waste more fabric than rotary cutting? Slightly, because the teeth remove triangular offcuts along every edge. On small projects the loss is minor, but high-volume makers should measure tooth depth against their allowance.
Browse the scissors and notions category for your next pair, read our related tutorial on finishing quilt seams before your next wash day, and stock up on batting while you're planning the project these edges will live inside.
Ready to finish the project waiting on your table with edges that behave in the wash? Shop pinking shears, cutting tools, fabric, and batting shipped from McKinney, Texas, and get friendly, straight-talking help choosing the right pair at Linda's Electric Quilters.


