

The popular advice says a dull rotary cutter needs a sharpener. On a quilting mat, that's often the wrong first move. For most quilters, replacing a worn blade is safer and more reliable; sharpening makes sense only when the blade is sound, the method preserves its geometry, and the result passes a fabric test. A sharpener for rotary cutter blades can't repair chips or make an uneven edge precise again.
Should You Sharpen a Rotary Blade or Replace It
Treat sharpening as one option, not the default. A thin circular blade is hard to hold securely, and removing too much metal can change its diameter and shorten its service life. The edge also needs a consistent bevel on both sides. Change that geometry, and the blade may drag or leave jagged cuts even if it feels sharp to a fingertip.
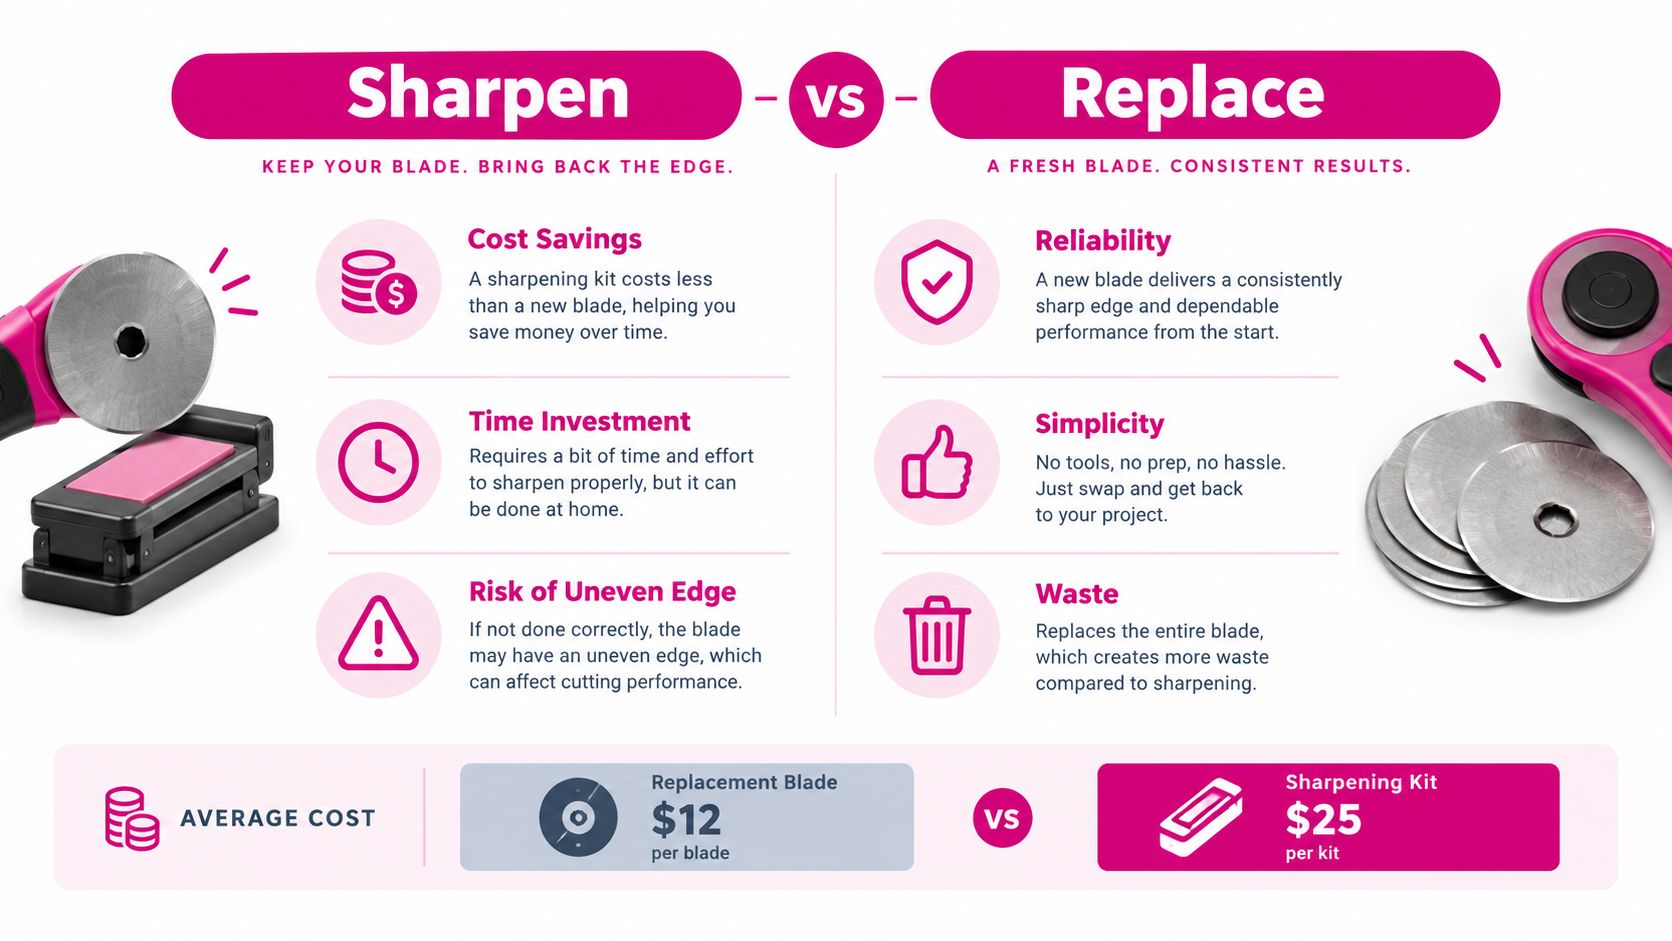
There's another reason to pause before buying a sharpener. A comparison of rotary cutter guidance notes that manufacturers generally recommend replacing dull blades because sharpening can compromise precision on tungsten-steel edges, and that sharpening may affect warranties. Check the terms for your blade and cutter before attempting any edge work.
A practical decision has three outcomes: sharpen, replace, or retire the blade for safe disposal. Light honing may help a sound blade with a minor burr. A blade with visible damage, repeated snags, or inconsistent cuts belongs in the replacement pile, not on a stone.
Pro tip: Don't judge an edge by shine or touch. A blade can look polished and still have a bevel that makes it pull fabric off line.
For occasional quilting, replacement is usually the simplest path when cuts start skipping. A professional may have a reason to test a suitable blade with a controlled sharpening method, but that's not the same as treating sharpening as a guaranteed money-saver. The test cut, not the promise of the tool, decides whether the blade earns another turn on the mat.
Reading the Edge Before You Touch a Stone
Make the decision with a repeatable inspection, not a guess. Retract or lock the cutter first, then remove lint and adhesive residue from the blade and housing. Fusible web and sticky buildup can interfere with a cut, so clean the tool before you blame the edge.
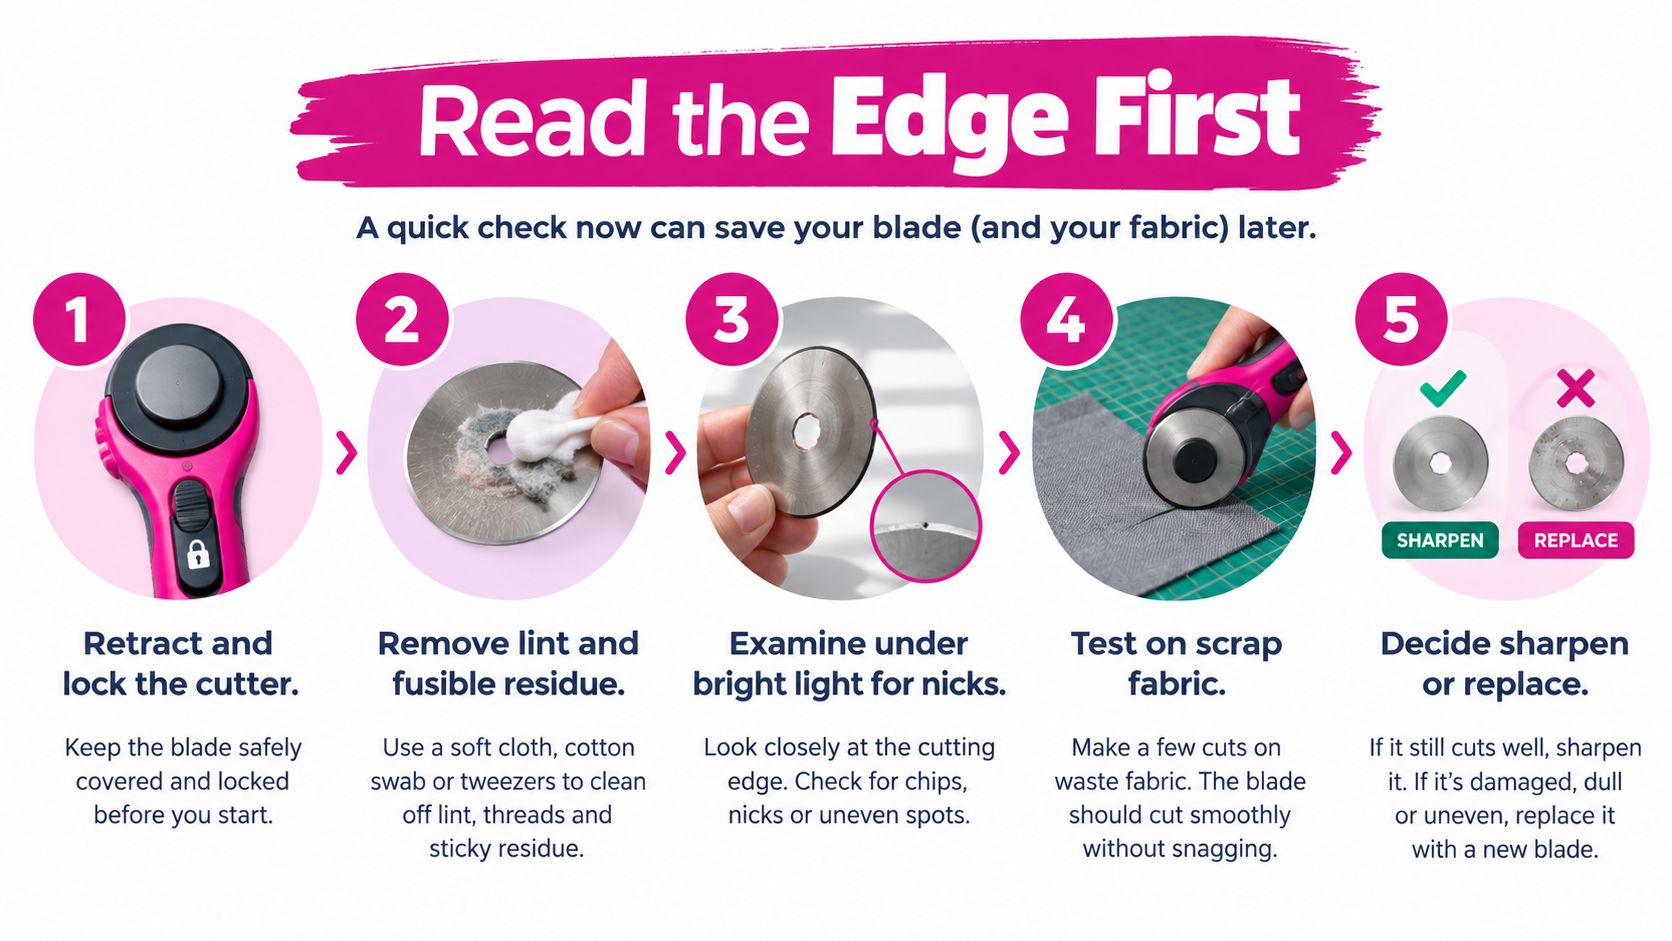
Inspect the edge under bright light, using magnification if you have it. Look for chips, flat spots, and corrosion. A damaged disc shouldn't be treated as a routine honing job. If you can see an obvious nick or crack, set the blade aside for replacement.
Use a test cut that matches your work
Cut through the same fabric stack you use in production, on a suitable mat. Watch for skipped fibers, snagging, and breaks in the cut. Notice how much pressure you need. A single layer of scrap won't tell you much if your usual work involves several layers.
The rotary blade performance guidance recommends cleaning and inspecting the cutter before a standardized test cut, then replacing a blade if improvement lasts only briefly, if it binds, or if it needs noticeably more force. These are useful rejection signs, not a universal blade-life formula.
Blade wear varies with fabric count, hand pressure, mat condition, fusible adhesive, and contamination. Rather than trust unsupported “cuts per blade” claims, keep a simple shop record:
- Blade identity: Mark or otherwise track which blade you're testing.
- Work material: Note the fabric type and stack used.
- Use history: Record projects and the defects you notice.
- Decision: Mark whether the blade passed, needed maintenance, or was replaced.
That record helps you set a replacement threshold for your own work. If a blade cuts well only after you press harder, don't compensate by adding more force. That makes the cutter harder to control and can increase slip risk.
Sharpening Tools Worth Owning for Rotary Blades
The right sharpener depends on the blade's condition, your comfort handling it, and whether the tool can maintain the existing bevel. A dedicated sharpener gives you a guide, but a guide only helps if the blade fits and you follow its operating instructions. A fine abrasive stone gives more direct control, which also means more room to change the angle by mistake.
| Method | Best For | Bevel Control | Safety | Cost Per Blade |
|---|---|---|---|---|
| Dedicated rotary sharpener | A sound blade that fits the sharpener's guide | Higher when the guide matches the blade and is used correctly | Keeps the process guided, but the disc still needs careful handling | Depends on the sharpener and its abrasive |
| Fine abrasive stone or diamond pad | A user who can hold the blade securely and follow its existing bevel | Depends on hand control; uneven strokes can alter the edge | Requires close control of a bare disc and abrasive | Depends on the abrasive and blade condition |
| Light honing or burr removal | A blade that's nearly sound and needs only minor edge maintenance | Preserves the edge if strokes follow the existing bevel | Limited abrasion, but safe handling still matters | Uses little abrasive, but won't fix a damaged blade |
A guided sharpener can suit a quilter who wants a repeatable angle, provided it supports the blade diameter and cutter design. A fine stone may suit someone experienced with controlled, symmetric honing. Neither method turns a chipped edge into a sound one.
Check the guide, not just the product label
A rotary sharpener instruction guide specifies that the blade stays vertical at a 90-degree angle as it passes through the guide, while the cutter approaches the sharpener at roughly 45 degrees. For a 60 mm blade, the approach angle may need to be smaller so the lower part of the disc contacts the stone correctly.
The instructions also matter on the track: the blade enters from one end, not from the middle, and it should visibly rotate as it travels through the slot. If the blade isn't turning, or the disc tilts into the abrasive, stop and reset rather than forcing it through. A tool that fits a 45 mm blade may not suit a 60 mm blade, so confirm compatibility instead of assuming one sharpener handles every disc.
Sharpening a Rotary Cutter Blade the Right Way
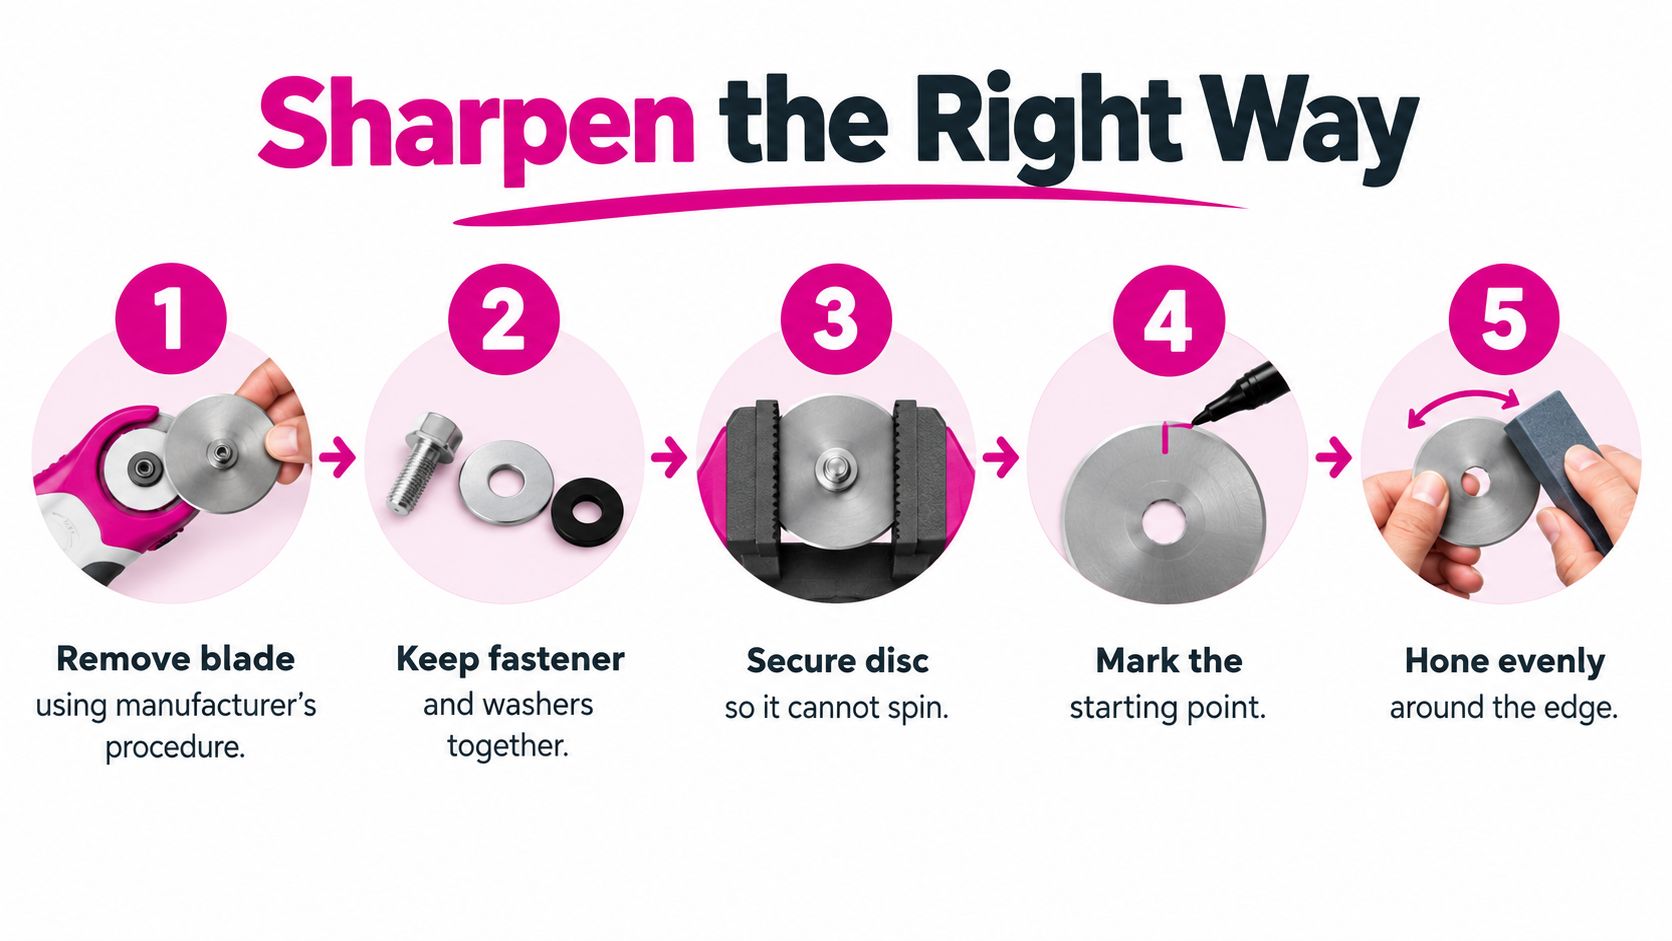
For most quilters, replacing a worn blade is the better choice. Sharpening makes sense only when the edge is still sound and you can keep its original geometry. If the blade qualifies, control the disc before bringing it to an abrasive. Remove it according to the cutter maker's procedure, keep the fastener and washers together, and secure the blade so it cannot spin freely. Avoid handling the sharp edge with bare hands.
With freehand work, follow the existing bevel rather than creating a new one. Mark a uniform setback from the edge to monitor how evenly you remove material. Use a fine file or abrasive with light, controlled strokes on both sides. The cutter blade design guide emphasizes symmetry, a consistent bevel, progressive honing, and burr control.
With a guided sharpener, keep the blade vertical through the guide and hold the cutter at the approach angle specified in its instructions. Start at the track's end and watch for the disc to rotate as it moves. Check the contact pattern after a pass: an even, continuous mark around the edge indicates more consistent material removal than a bright patch confined to one area. Uneven pressure or a disc that slides without turning can leave an irregular edge.
Use coarser then finer abrasive only when the tool and blade call for progressive honing. Keep the blade oriented consistently, then finish with a light stroke to remove the burr. Wipe away residue before reinstalling the disc.
Test the result on scrap fabric, never on a quilt block. The blade should cut through cleanly without skipped fibers or extra pressure. Stop if the cut is jagged or the blade drags. More passes will not correct a changed bevel, and an edge that feels keen can still cut poorly.
Safety Habits That Protect Fingers and Fabrics
A safe sharpening routine starts before the abrasive touches the blade. Lock or retract the cutter, then remove the blade using the manufacturer's method. Keep the fastener and washers together on your work surface, and handle the disc without touching its edge. The rotary cutter safety guidance advises keeping blades securely fastened and free of nicks and cracks, and warns that damaged blades can skip, snag, or cut inaccurately.
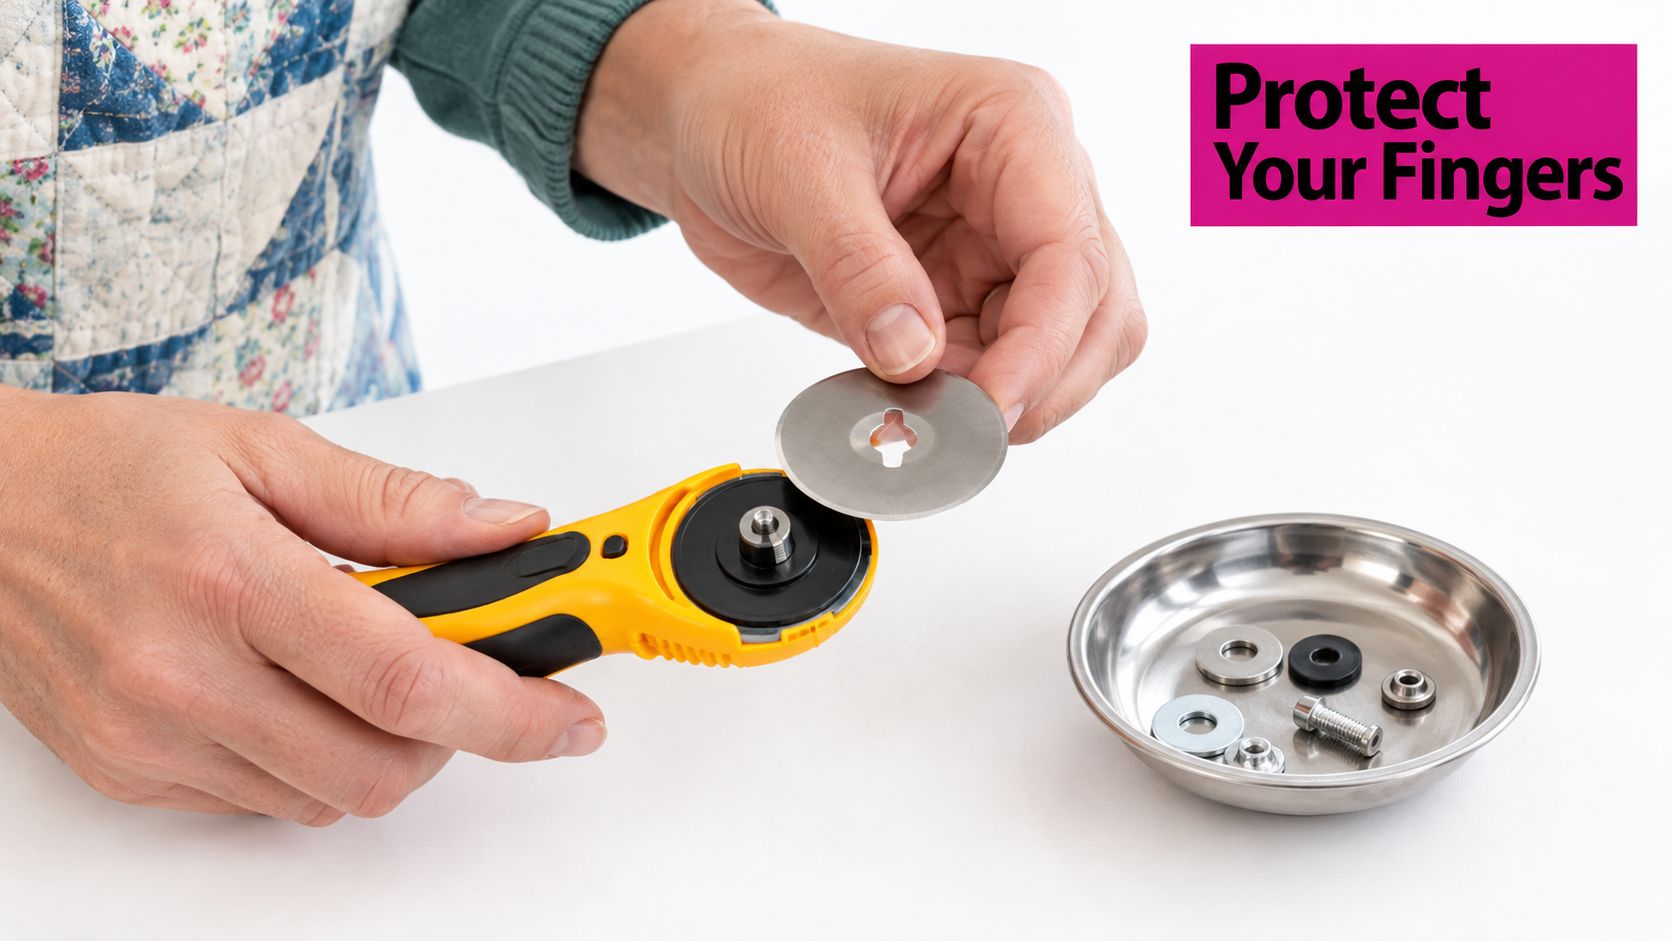
Keep the disc stable while working, and move your hands away from the sharp portion. When you finish, wipe away abrasive residue and any metal debris. Reinstall the blade securely according to the cutter maker's instructions, then test it with a controlled cut on scrap fabric before it goes back into your project workflow.
Protect the project as well as your hands
A dull blade can tempt you to press harder. That extra force makes the cutter more difficult to control, increasing the chance it slips off the mat. A fresh-looking edge can cause its own problem if the bevel is uneven: the blade may snag and pull the fabric out of alignment, ruining an otherwise accurate cut.
A blade doesn't go back into a project because it feels sharp. It goes back only after a controlled scrap test shows a clean, continuous cut.
Keep cracked or chipped blades out of the sharpening pile. Don't try to rescue a visibly damaged disc. Put it aside for safe disposal, and don't return it to a shared tool bin where another quilter might mistake it for a usable blade.
Sharpening Versus Replacement and End-of-Life Care
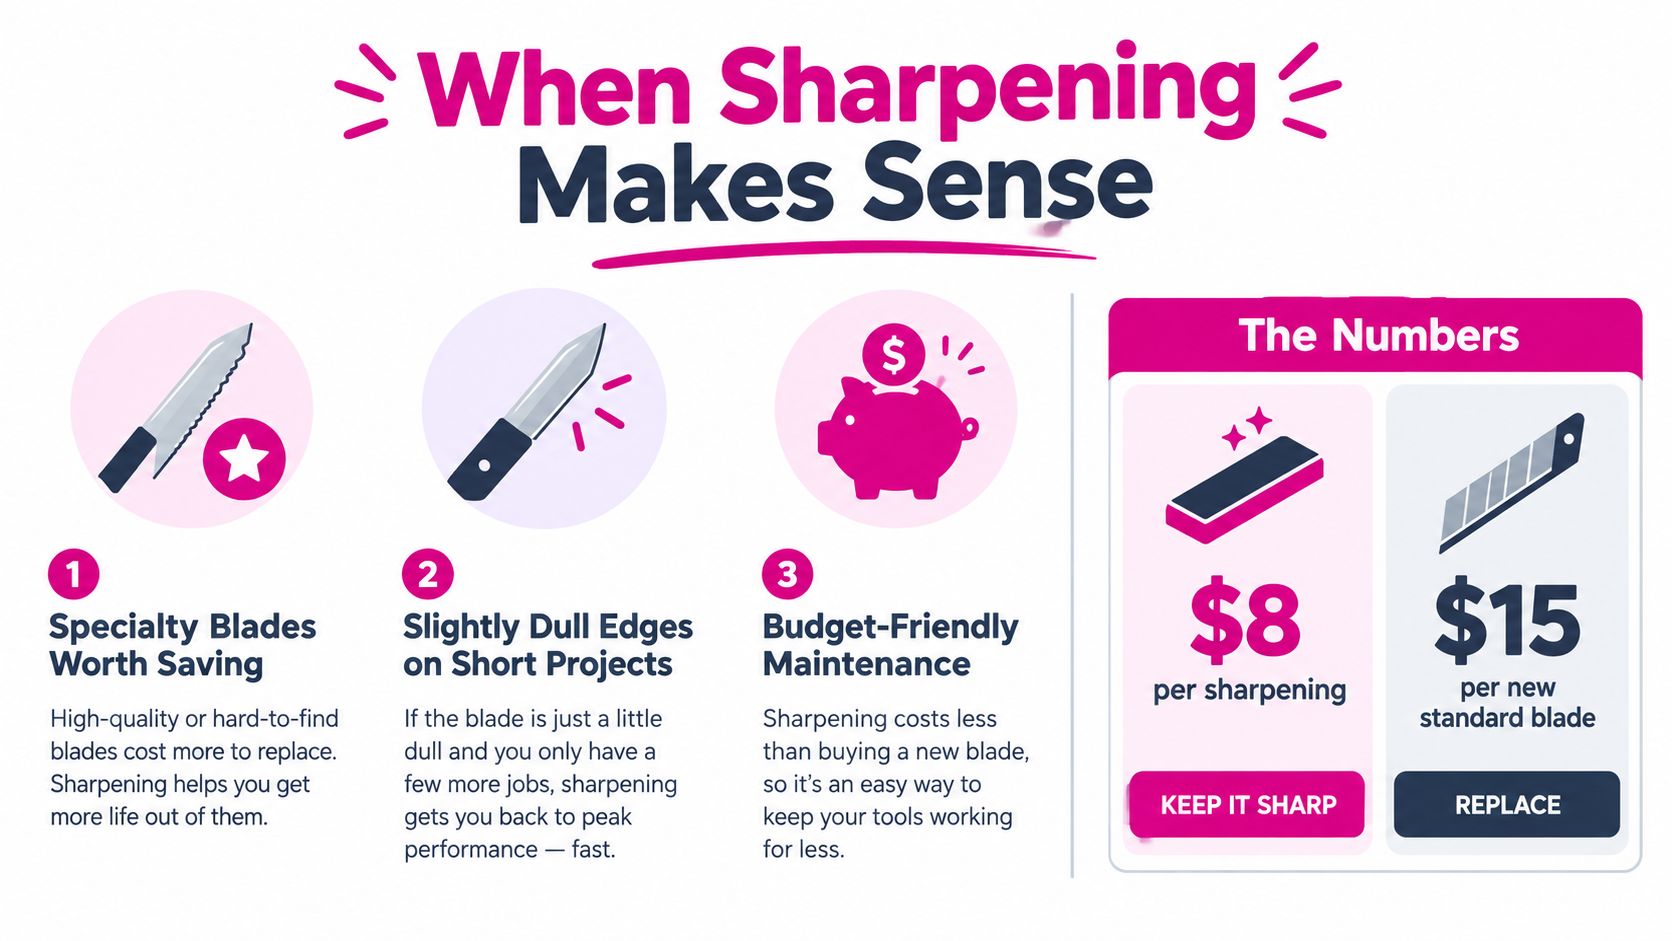
Sharpening is worth considering when a specialty blade has unusual value or when a sound blade has become slightly dull and a controlled maintenance attempt is appropriate. Replacement is the clearer choice for a cracked, chipped, or persistently inconsistent blade, or when sharpening might compromise a warranty. For a high-volume shop, repeatability matters as much as the cost of the abrasive. For occasional quilting, the time and handling risk of sharpening can outweigh the benefit.
Think of end-of-life care as a choice among sharpen, recycle, or replace. Quarantine blades with cracks or chips, and never grind a visibly damaged disc. Collect metal debris rather than leaving it on your mat or work surface.
A rotary cutter disposal guide recommends using a puncture-resistant container and checking local household sharps or scrap-metal rules. Disposal options differ by location, so don't assume there's a universal recycling route. Seal and label a suitable container, then verify what your municipality accepts before you dispose of spent blades.
Sharpening isn't automatically the greener choice. It can add handling hazards and metal debris, and an unsuccessful attempt may still end with replacement. Make the decision based on the blade's condition and whether the finished edge cuts cleanly, not on the assumption that reconditioning always saves money or waste.
Buying and Maintaining a Sharpener That Lasts
A sharpener earns its place only if it fits the blades you use and keeps the edge properly supported. Before buying, test that the guide holds the blade vertical without wobble and that the abrasive contacts the full bevel, not just the edge midpoint. A guide that slips or touches only part of the bevel can leave a blade cutting unevenly.
Check compatibility with your cutter and blade diameter, including whether you use 45 mm or 60 mm discs. Follow the maker's guidance for the approach angle rather than assuming one setting suits every size. If the abrasive surface is replaceable, confirm that replacements are available and made for that sharpener. Keep the surface clean of lint and metal residue, and check it and the guide for wear before use. Replace worn abrasive parts instead of pressing harder to compensate.
A sharpener cannot correct a worn mat or an uncomfortable cutter. Check the mat's cutting surface and choose a cutter you can control comfortably. Store spare blades safely, and retire any blade that fails a test cut rather than risking a project.
Linda's Electric Quilters offers 60 mm rotary replacement blades described as compatible only with specific equipment. Confirm the listed compatibility before buying. Rotate blades between projects and keep a simple record of their performance so you can spot declining cuts before one damages a block.
Pro tip: Keep a sharpener only for blades that pass inspection. Replace blades that still cut poorly after sharpening rather than repeatedly trying to revive them.
For your next quilt, Linda's Electric Quilters also carries blade tins for safer disposal. Visit Linda's Electric Quilters to check product compatibility and browse quilting supplies.


