
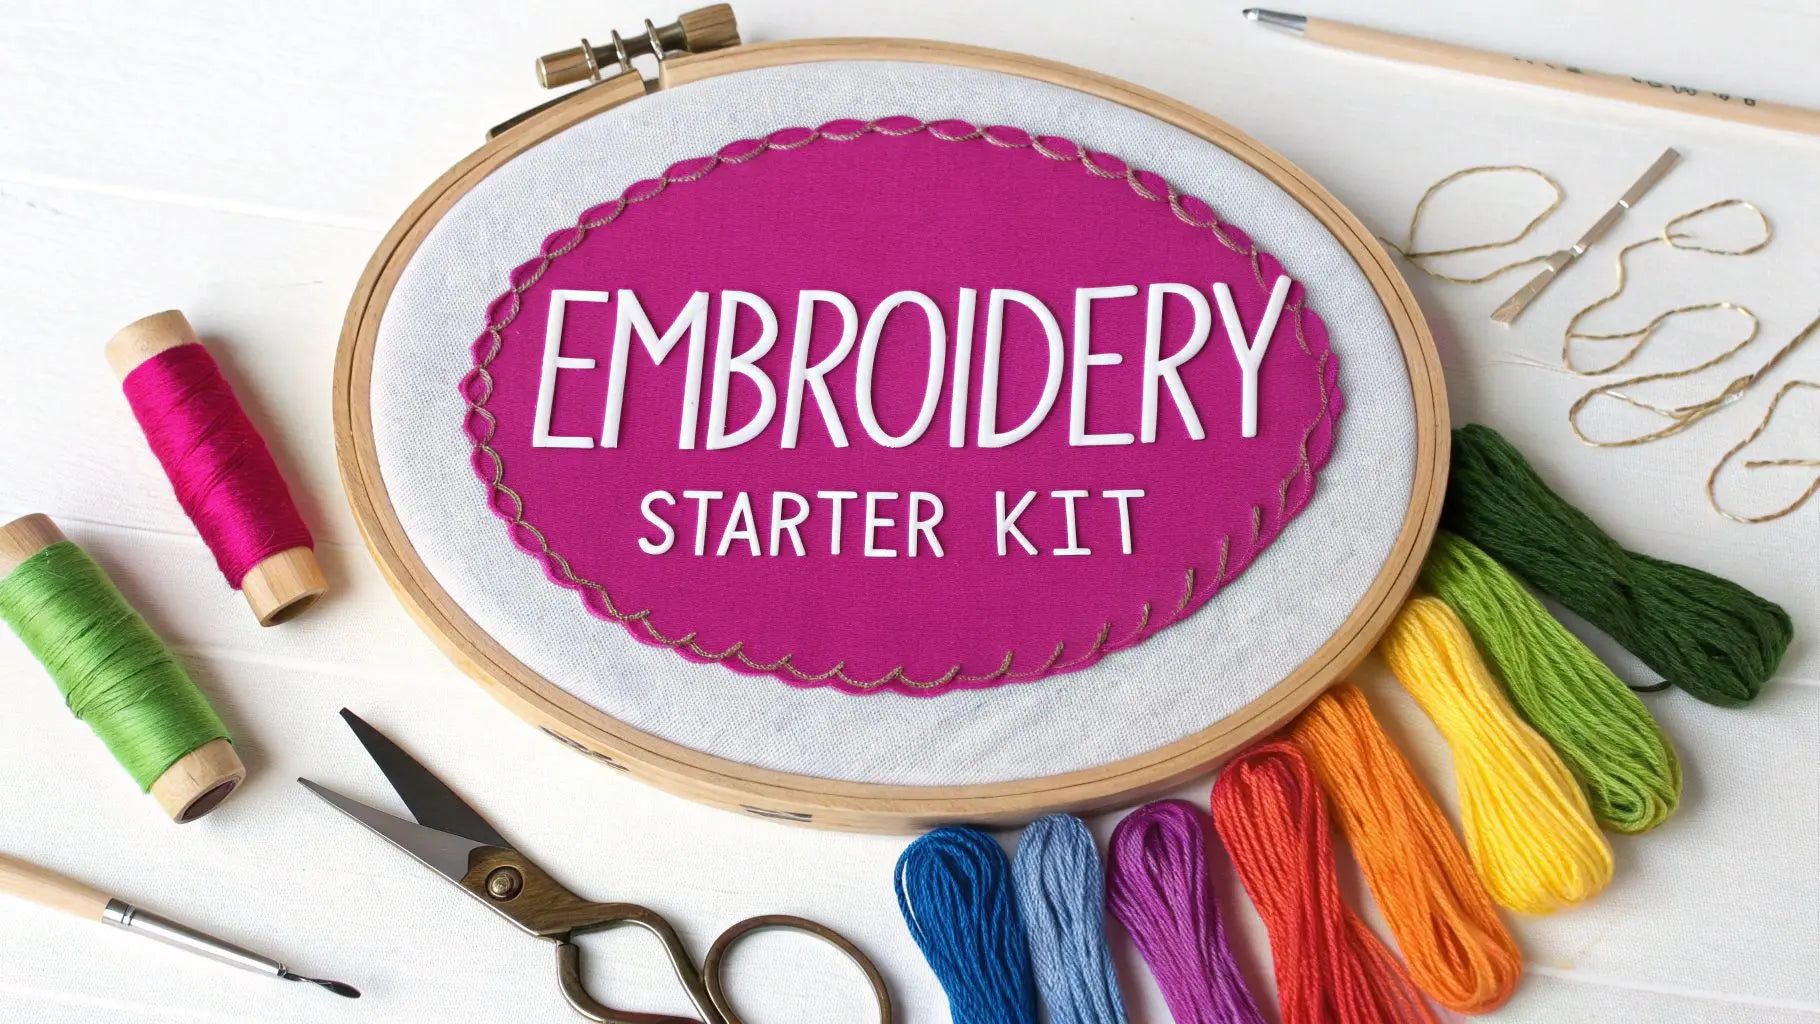
Welcome to the wonderfully creative world of embroidery! If you’ve ever admired a beautifully stitched piece and thought, “I wish I could do that,” you absolutely can. Getting started is so much easier than you might think, and this guide is here to help you build the perfect beginner's toolkit.
You only need a few key things to begin creating beautiful art: a piece of fabric, an embroidery hoop, some needles, and colorful floss. That’s it. This guide is here to walk you through those first steps, explain what each tool does, and show you how to start your first project with confidence. We'll show you how to select the amazing products at Linda's to finish your project with professional results.
Your Embroidery Journey Starts Here
Think of embroidery as painting with thread. It's an incredibly relaxing and rewarding way to make everything from detailed wall art to one-of-a-kind clothing. I want this guide to be your friendly starting point—a clear roadmap that gets you excited and ready to make your very first stitch.
Let's break down your new creative toolkit. It's pretty simple:
- Fabric: This is your canvas. Choosing the right material is the first step toward a project you'll love.
- Embroidery Hoop: This is your easel. It holds your canvas perfectly taut, making it much easier to create neat, even stitches.
- Needles and Floss: These are your brushes and paints. They’re what bring all the color, texture, and life to your design.
We'll go through each of these essentials together, explaining what they do and why they matter. Forget feeling overwhelmed by a craft store aisle full of options; our goal is to build your confidence from the ground up so you can start creating.
Embroidery isn’t just a craft; it’s a form of mindfulness. The simple, rhythmic motion of stitching allows you to slow down, focus, and create something beautiful with your own two hands. It's incredibly calming and so satisfying.
Setting Yourself Up for Success
The real beauty of embroidery is its simplicity. Unlike hobbies that demand a huge initial investment or a dedicated workshop, you can start stitching with just a handful of affordable tools. You don’t need years of practice to make something you’re genuinely proud of.
My goal here is to get you stitching as quickly as possible. Once you understand the role each basic supply plays, you can put together your first kit with total confidence. With high-quality tools from Linda's, you’ll have everything you need to start a project today and bring your ideas to life.
Let’s get started on this exciting journey together.
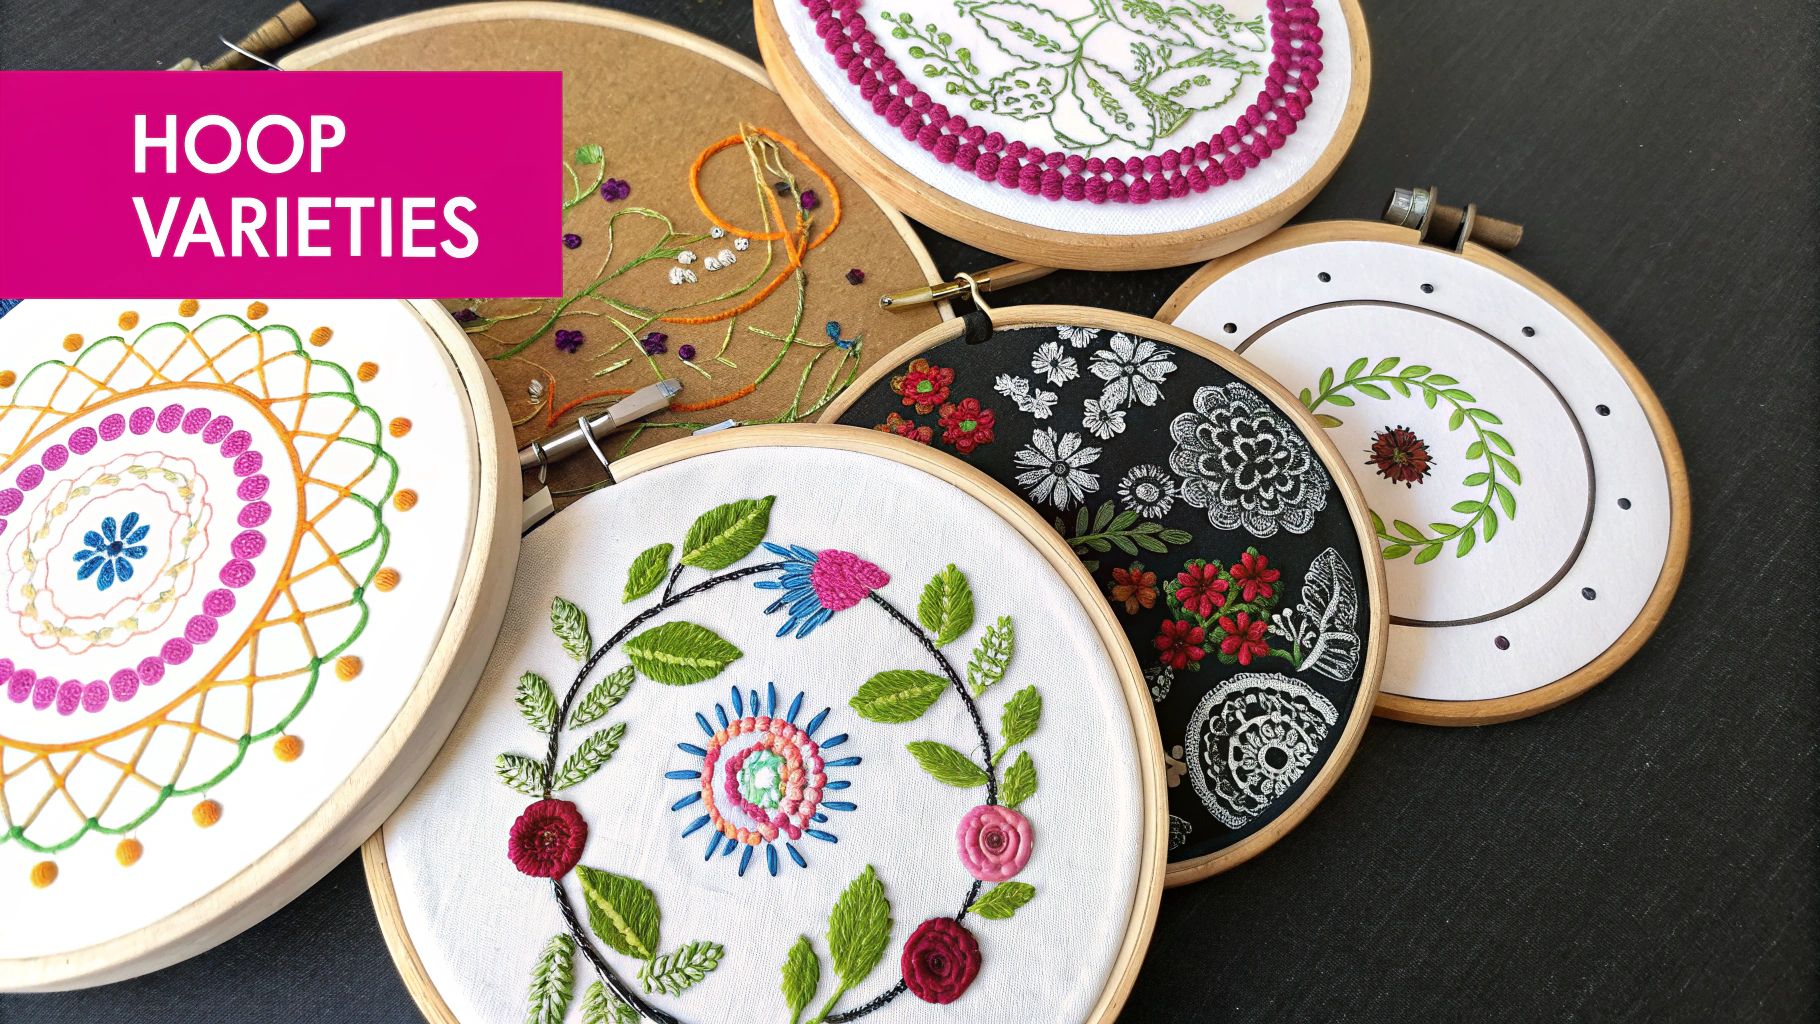
Choosing Your Fabric and Hoops
Think of your fabric as the canvas for your art and the hoop as the easel that holds it perfectly still. These two pieces are the absolute foundation of your project. Honestly, choosing the right ones from the get-go makes the whole creative process so much more fun and less frustrating. Starting with good materials is the first real step toward creating stitches you can be proud of.
So, What Fabric Should I Use?
For anyone just starting out, your new best friends are natural, non-stretch woven fabrics. I'm talking about materials like 100% cotton, linen, or a good cotton-linen blend. These fabrics give you a stable, predictable surface to work on. They have a nice, visible weave that lets your needle glide through smoothly without you having to fight it.
This little graphic lays out the must-have tools for your first project perfectly. See? It's not as complicated as you might think!
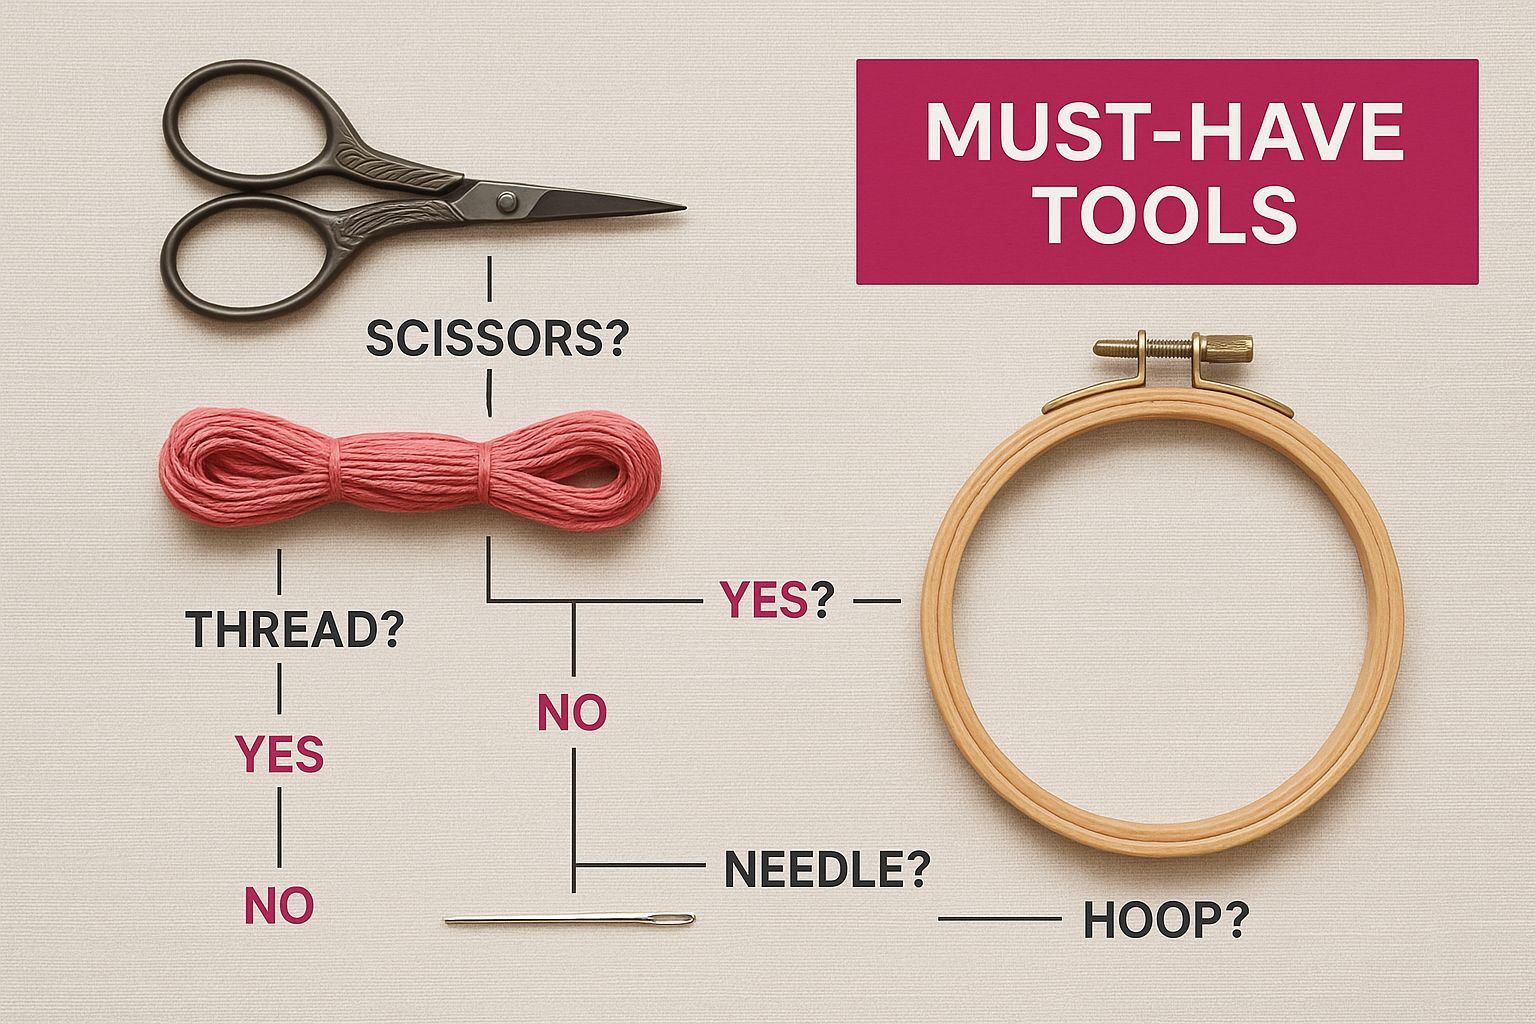
As you can see, the essential toolkit is pretty simple, which is one of the reasons this craft is so wonderfully accessible.
To make things even clearer, here’s a quick rundown of the best fabrics to start with. This little table should help you pick the perfect canvas for your first masterpiece.
Beginner-Friendly Embroidery Fabric Comparison
| Fabric Type | Best For | Pros for Beginners | Cons for Beginners |
|---|---|---|---|
| 100% Cotton | First-time projects, learning basic stitches, clear patterns | Inexpensive, widely available, holds stitches well, easy to hoop. | Can wrinkle easily; lower quality cotton can be thin. |
| Linen | Projects with a rustic, natural look, simple line art | Strong, durable, has a beautiful texture that adds character. | Can be more expensive, wrinkles easily, weave can be uneven. |
| Cotton-Linen Blend | The best of both worlds—great for most beginner projects | Combines the softness of cotton with the strength of linen, less prone to wrinkling than pure linen. | Can be slightly more expensive than 100% cotton. |
| Evenweave Fabric | Counted-thread techniques like cross-stitch (a good next step!) | The uniform weave makes it easy to create perfectly even stitches. | The grid can be distracting for free-form embroidery. |
Ultimately, you can’t go wrong with a simple, high-quality cotton fabric for your first few tries. It's forgiving, affordable, and lets you focus on your stitching technique.
Finding the Right Embroidery Hoop
Once you've got your fabric, you need a hoop to hold it in place. Hoops come in a few different materials, but you'll mostly see wood and plastic. Wooden hoops are classic and just look lovely, but don't discount plastic! A high-quality plastic hoop often has a little lip or groove that grips the fabric like nothing else.
Your personal preference matters, but the single most important quality in any hoop is its ability to hold your fabric drum-tight. Loose, saggy fabric is a beginner’s worst enemy. It causes puckered stitches and makes getting your tension right nearly impossible.
The real secret to neat, professional-looking embroidery isn’t some complicated, secret stitch—it’s perfect fabric tension. If you can bounce a coin off your hooped fabric, you've nailed it. This solid foundation stops puckering before it starts and makes every single stitch easier to form.
How to Prepare Your Fabric and Hoop
Getting your fabric secured properly is a skill you'll use forever. Here’s how to get that perfect tension every time:
- Separate the Hoops: Loosen the screw on the outer hoop and take the two rings apart.
- Position Your Fabric: Lay your fabric smoothly over the inner ring. Make sure there are no wrinkles.
- Place the Outer Hoop: Press the outer hoop down over the inner one, sandwiching the fabric between them.
- Tighten and Adjust: Start tightening the screw while gently pulling the fabric edges evenly all around the hoop. Keep adjusting until the fabric is taut and smooth, and then give the screw a final tighten.
Mastering this simple technique is one of the most important first steps you can take. For a fantastic selection of beginner-friendly fabrics and sturdy hoops that will set you up for success, check out the amazing collection at Linda's. Trust me, starting with quality materials makes all the difference.
A Guide to Needles and Embroidery Floss
Alright, your fabric is stretched taut in its hoop, and now it's time for the good stuff—the needles and thread that will actually bring your design to life. These are the tools that create the magic. Getting to know them is the secret to making stitches you’ll be proud of.

Decoding Embroidery Needles
First, let's talk needles. Embroidery needles (sometimes called crewel needles) are a bit different from your standard sewing needle. They have a longer eye, which is a lifesaver when you're trying to thread chunky embroidery floss.
They come in different sizes, and the numbering can feel a little backward at first.
The rule is simple: the higher the number, the smaller and finer the needle. So, a size 9 needle is much skinnier than a size 3.
If you're just starting out and working on basic cotton or linen, a size 7 or 8 is the perfect all-rounder. It’s sturdy enough to feel comfortable in your hand but fine enough that it won’t leave big, obvious holes in your fabric. Grabbing a variety pack with sizes 5-10 is a smart move; it lets you experiment to find what feels right for different projects.
Exploring the World of Embroidery Floss
Think of embroidery floss as your paint. The most common kind, and the best for beginners, is six-strand cotton floss. Each colorful little bundle (called a skein) is made of six individual threads gently twisted together. This is where you get all your creative control.
You can separate these strands to completely change the look and thickness of your stitches.
- 1-2 Strands: Perfect for delicate details, tiny lettering, and super fine lines.
- 3 Strands: A fantastic, all-purpose thickness for most outlines and general stitching.
- 4-6 Strands: Ideal for filling in shapes with bold color (like satin stitch) or creating chunky, textured elements that really pop.
This versatility is a huge part of what makes hand embroidery so special. The craft is having a major moment, with the global hand embroidery market expected to reach $1.5 billion by 2025. A new wave of crafters is drawn to making unique, personalized pieces, and innovations like eco-friendly threads are helping this traditional art form feel fresh and modern.
Practical Floss and Threading Tips
To save yourself a world of frustration, cut your floss to a manageable length before you start stitching. A good rule of thumb is about 18 inches, or roughly the distance from your fingertips to your elbow. Anything longer is just asking for a tangled, knotty mess as you pull it through the fabric over and over.
When you're ready to separate the strands, just pinch the end of the floss and gently pull one strand out at a time. If you try to pull out two or three at once, they'll usually twist into a knot.
Got your strands? Time to thread the needle. If you find yourself squinting at that tiny eye, a simple needle threader is an absolute game-changer. And if you want to dive deeper into the technical side of things, check out our guide on understanding thread weight vs tex.
You can find a beautiful rainbow of floss colors and the perfect needles for any project at Linda's—get everything you need to start stitching today.
Transferring and Finishing Your Design
Once you have a design you love, the next big question is: how do you get it from paper onto your fabric? This is where a few simple transfer tools become your best friends. Think of it as creating the perfect coloring book outline right on your canvas, giving you clear, confident lines to follow with your needle and thread.
There are a few easy, beginner-friendly ways to do this, and the best one really just depends on your fabric's color and thickness.
Methods for Transferring Your Pattern
For light-colored fabrics, the simplest technique is beautifully old-school and totally free. Just tape your pattern to a bright window, lay your fabric over it, and trace the lines that shine through with a sharp pencil. It’s surprisingly effective.
But for more precision, or when you're working on darker fabrics where tracing won't work, you’ll want to grab a specialized tool. Here are a few of the most popular options that I always recommend:
- Water-Soluble Pens: These are fantastic. They draw a clear blue or purple line that vanishes completely with just a dab of water after you've finished stitching. No fuss, no mess.
- Heat-Erasable Pens: Just like the water-soluble kind, these pens leave a crisp line that disappears like magic with a bit of heat from an iron or even a hairdryer.
- Iron-On Transfers: This can be a pre-printed pattern or a special pencil you use to create your own. You just transfer the design with a hot iron, giving you a durable pattern that won't rub off while you work.
The whole point of any transfer method is to create lines that are dark enough for you to see easily, but fine enough that your stitches will cover them completely. A good, clean transfer is the foundation for a neat, professional-looking piece.
The Final Touch: Finishing Tools
After you’ve placed your very last stitch, there's one final, incredibly satisfying step: finishing. This is where a small but mighty tool comes into play—a good pair of embroidery scissors.
These aren't your average kitchen scissors. They're small, razor-sharp, and designed for precision. A dedicated pair of embroidery scissors lets you snip your thread tails super close to the fabric on the back of your work. This is what stops stray threads from peeking through to the front and keeps the back of your project tidy. It’s this clean finish that elevates a project from looking homemade to beautifully handmade.
From tracing your initial design to making that final, clean snip, these supporting tools are what carry your project from start to finish. Having the right transfer pen and a sharp pair of scissors ensures that all the care you put into every stitch is reflected in the polished final result. Find the perfect finishing tools for your first project in the curated selection at Linda's.
Assembling Your First Embroidery Kit
Alright, you've got the lowdown on the key players—fabric, hoops, needles, and floss. Now for the fun part: bringing them all together. Think of this as gathering your ingredients before you start cooking. It’s that exciting moment when the idea of embroidery becomes a real, tangible thing you can hold in your hands.
This is where your creative journey truly kicks off, moving from thinking about a project to actually making something beautiful.
We're not trying to buy out the entire craft store here. The goal is to build a simple, foundational toolkit that will see you through your first few projects with ease. Just the essentials, done right.
Your Essential Beginner Checklist
Here is your "recipe" for that first project. Getting these specific items means you’ll have everything you need to start stitching with confidence, without any last-minute trips to the store. This little checklist makes finding the right embroidery supplies for beginners a total breeze.
- A 6-inch Embroidery Hoop: This is the Goldilocks size—just right. It’s big enough for most beginner patterns but still comfortable to hold.
- A Square of Light-Colored Cotton Fabric: Grab a piece that’s about 10 inches by 10 inches. This gives you plenty of extra fabric to grip securely in the hoop.
- An Embroidery Needle Variety Pack (Sizes 5-10): Starting with a pack is the smartest way to go. It lets you test-drive a few sizes to find what feels best in your hand.
- Five to Six Skeins of Six-Strand Cotton Floss: Keep it simple! Choose a small palette of a few colors that look nice together. That's all you need for your first design.
- A Water-Soluble Transfer Pen: This little tool is a beginner's best friend. You can trace your design directly onto the fabric, and the lines will wash away completely when you're done. Magic.
- A Small, Sharp Pair of Embroidery Scissors: These are for making those clean, precise snips that give your finished work a polished, professional look.
To Kit or Not to Kit
So, how should you gather all this stuff? You really have two main paths: you can buy each item one by one, or you can grab a pre-made beginner's kit. Honestly, there’s no wrong answer here—it just comes down to what feels right for you.
Building your own kit lets you hand-pick every single component, from the exact feel of the fabric to your absolute favorite floss colors. On the other hand, a curated kit takes out all the guesswork, giving you perfectly matched supplies so you can dive right into stitching.
Sourcing your own supplies can be a really satisfying part of the creative process. It helps you connect with your tools and understand why each one matters. If you love exploring different materials, you can learn more about fabric choices in our guide on tips and tools for soft quilts.
Then again, a high-quality beginner's kit is a fantastic, no-fuss option. The global embroidery market was valued at a whopping $2.57 billion in 2021 and is only getting bigger, which means there’s a huge demand for this wonderful craft. That growth has led to some incredible, top-notch kits designed specifically for people just like you.
Whether you decide to build your own toolkit piece by piece or pick up a beautifully packaged kit, Linda's has all the high-quality supplies you need to bring your creative vision to life.
Helpful Supplies for Your Next Project
So, you’ve tied off that final stitch and are admiring your first creation. Awesome! Now you're probably wondering, "What’s next?" As you get deeper into your new hobby, you’ll discover a whole world of optional tools that aren’t strictly necessary but make the stitching process way smoother, more organized, and just plain more enjoyable.
Think of these as upgrades to your starter toolkit. They’re the little extras designed to solve the small annoyances every stitcher runs into. Once you have them, you'll wonder how you ever managed without.
Upgrading Your Stitching Experience
Let's dive into a few popular tools that can elevate your craft from a simple pastime to a seamless creative flow. These are the kinds of embroidery supplies for beginners you'll appreciate more and more with each project you start.
- Needle Minders: These are tiny, decorative magnets that you pop right onto your fabric. They give you a safe, secure spot to rest your needle, saving it from getting lost in the couch cushions or rolling onto the floor for the hundredth time.
- Thimbles: If you're stitching for hours, a thimble is a real lifesaver. It protects your fingertip as you push the needle through the fabric, preventing soreness and calluses. Your fingers will thank you.
- Floss Organizers: A growing collection of colorful floss can quickly turn into a tangled mess. Simple tools like plastic bobbins or organizer boxes keep your threads neat, tidy, and ready to go for your next project.
These tools aren't about spending more money; they're about investing in a more pleasant and efficient creative process. By removing minor frustrations, you can focus entirely on the joy of stitching.
While we're falling in love with hand embroidery, the technology for machine embroidery is also racing ahead. The global embroidery machine market was valued at a whopping $5.71 billion in 2024 and is expected to keep growing. A lot of that growth is thanks to new AI-powered machines that can automatically adjust things like stitch density and thread tension. You can read more about these market trends and innovations at Precedence Research.
Whether you’re keeping it simple by hand or dreaming about future tech, adding a few of these helpful supplies can make a huge difference. To find the perfect needle minder or floss organizer for your growing collection, explore the amazing products at Linda’s and get ready for your next beautiful project.
Common Questions About Embroidery Supplies
As you start gathering your first set of embroidery tools, it’s totally normal for questions to pop up. Don't worry, every single stitcher has been there! Getting a few straightforward answers can really boost your confidence and make that first project feel way less intimidating.
Key Questions for New Stitchers
One of the first things people ask is, "What’s the most important supply to invest in?" Honestly, if I had to pick just one, it's a good-quality embroidery hoop. A sturdy hoop that grips your fabric nice and tight is the secret sauce to preventing puckered stitches. It makes the entire process so much more enjoyable.
Another popular one is, "Which needle size is best?" For most beginner projects, where you're using 2-3 strands of cotton floss on basic cotton fabric, a size 7 or 8 embroidery needle is your best friend. Grabbing a variety pack is a great way to start, as it lets you experiment a bit.
A quick heads-up: it's not a good idea to use regular sewing thread for hand embroidery. Embroidery floss is specially designed with six strands you can separate, and it has a beautiful sheen that gives your work that classic, textured look. Sewing thread is just too thin and won't give you the coverage or visual pop you're going for.
Finally, so many new stitchers wonder, "How do I care for my finished project?" Always treat your work gently. Hand wash it in cool water with a mild soap, then roll it in a clean towel to squeeze out the extra water. Lay it flat to air dry. If you need to iron it, flip it over and press it from the back on a low setting, with your piece face-down on a fluffy towel to protect those lovely stitches.
If you enjoy working with different kinds of textiles, our ultimate quilting guide has even more tips on fabric care and choosing the right tools for the job.
Ready to start your stitching adventure with confidence? At Linda's, we have all the high-quality, beginner-friendly embroidery supplies you need to bring your creative vision to life. Explore our collection at https://lindas.com and find everything you need for that first project today.


