
So, you're ready to dive into the vibrant world of quilting! Getting started is simpler than you might think. To successfully finish your first quilting project, you only need a handful of core quilting supplies for beginners: a rotary cutter, a self-healing mat, a clear acrylic ruler, some quality fabric, thread, and of course, a reliable sewing machine. These are the tools that will bring your creative ideas to life.
Your First Stitch: What Quilting is Really All About
Jumping into quilting can feel like learning a new language. But at its heart, it's the art of stitching layers of fabric together to create a beautiful and functional item. Think of it less as a complex craft and more like building with fabric. You'll cut shapes, sew them together to create a design (that’s your quilt top), and then stitch that top to batting and a backing fabric.
This process transforms simple cloth into a functional piece of art, a cozy blanket, or a cherished heirloom. It’s one of the most satisfying hobbies out there, with endless room for creativity.
From Intimidation to Inspiration
Many beginners see intricate, prize-winning quilts and feel a wave of intimidation. They imagine endless hours and impossible precision. But here's the secret: every single expert quilter started with one stitch, one block, and a whole lot of learning.
We're here to help you get past that initial hesitation and turn it into pure inspiration. The goal of this guide is to break this amazing craft down into manageable, confidence-building steps. You'll soon discover the joy of picking out your first fabrics and the absolute thrill of seeing your first quilt block come together perfectly.
The secret to starting is realizing that quilting isn't about immediate perfection. It's about the joy of creating, learning with each seam, and watching a beautiful project emerge from your own two hands.
As you start your journey, it helps to see what’s possible. Looking at different quilted bedding options can spark incredible ideas and really fuel your motivation to learn the basics.
Your first project doesn't have to be a king-sized masterpiece. A small table runner or a simple baby quilt are perfect starting points. Ready to begin this exciting adventure?
Explore Linda's beginner-friendly quilting kits—they've been carefully curated to give you everything you need for success on your very first project.
The Essential Quilting Toolkit for Beginners
Before you bring that beautiful quilt idea to life, you need to assemble your core team of tools. Think of these quilting supplies for beginners not as just a shopping list, but as your partners in creativity.
While some of your general sewing supplies will come in handy, quilting demands a special kind of precision. A few specific tools make achieving that accuracy so much easier.
Investing in the right foundational toolkit is the single best thing you can do to set yourself up for a smooth, enjoyable first project. Why? Because accurate cutting and measuring are the absolute bedrock of any quilt. These tools are designed specifically for that job, saving you from early frustration and helping you build great habits right from the start.
The Precision Cutting Trio
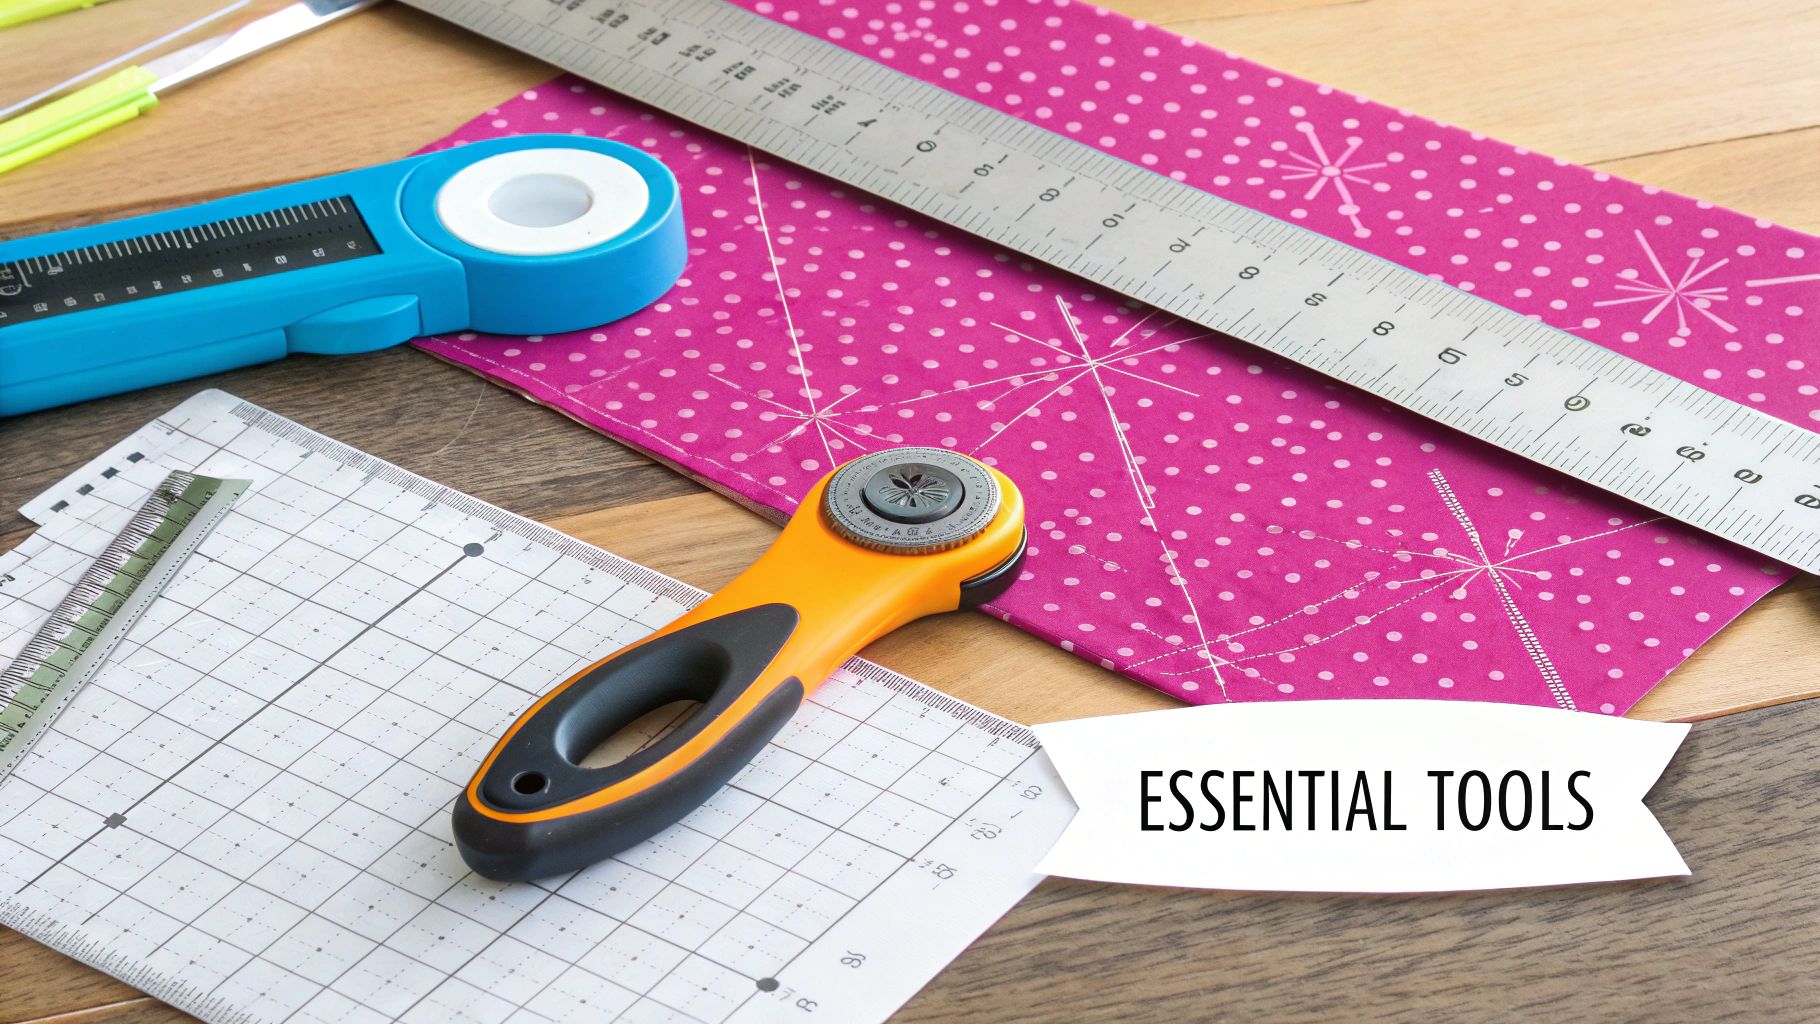
Ask any seasoned quilter, and they'll tell you the most critical set of tools is the cutting trio: a rotary cutter, a self-healing mat, and a clear acrylic ruler. These three work together like a well-oiled machine to give you perfectly straight, accurate cuts every single time—something that's nearly impossible to do with scissors alone.
- Rotary Cutter: This is a pizza cutter for fabric, and it's a total game-changer. Its rolling blade slices through multiple layers of fabric with speed and incredible accuracy. A 45mm blade is the most versatile size and a perfect starting point for any new quilter.
- Self-Healing Cutting Mat: This mat is the rotary cutter's best friend. It protects your work surface and the blade itself. When you cut on it, the blade sinks slightly into the surface, which then "heals" itself. A 24" x 36" mat is a fantastic size that gives you plenty of room to work.
- Clear Acrylic Ruler: A long, clear ruler is what guides your rotary cutter for those perfectly straight lines. You can see the fabric right through it, and the grid lines ensure your measurements are exact. A 6" x 24" ruler is the undisputed workhorse of the quilting world and will handle most of the cuts you need to make.
For a beginner, getting comfortable with the rotary cutter, mat, and ruler system is everything. This trio is the secret to getting clean, precise fabric pieces that are essential for making sure your quilt blocks fit together perfectly later on.
Essential Quilting Tool Checklist for Beginners
To help you get started, here's a quick-reference guide to the non-negotiable tools for any new quilter. This table breaks down what each tool does and why it's so vital for your first project.
| Tool | Primary Function | Why It's Essential for Beginners |
|---|---|---|
| Rotary Cutter (45mm) | Slicing fabric with a rolling blade. | Delivers fast, straight, and accurate cuts through multiple layers, which is crucial for uniform block sizes. |
| Self-Healing Mat (24"x36") | Protecting your work surface and blade. | Provides a safe, gridded surface for cutting and extends the life of your rotary blade. |
| Acrylic Ruler (6"x24") | Guiding the rotary cutter for precise cuts. | Its clear markings ensure you're cutting fabric to the exact dimensions needed for your pattern. |
| Quality Cotton Thread | Piecing fabric blocks together. | Strong thread prevents snapping and ensures your seams hold up through washing and use. |
| Pins or Sewing Clips | Holding fabric pieces together for sewing. | Keeps your carefully cut pieces from shifting, ensuring accurate seams and perfectly aligned points. |
| Seam Ripper | Removing stitches when mistakes happen. | Because everyone makes mistakes! A good seam ripper is an indispensable tool for easy fixes. |
Having these items on hand before you start will make the entire process more fun and much less stressful.
Essential Notions and Fabric
Beyond the cutting trio, a few other items are non-negotiable for piecing your quilt top. You’ll absolutely need high-quality thread that won't snap mid-seam and plenty of sharp pins or clips to hold your fabric pieces securely while you sew.
Of course, choosing the right fabric is a huge part of the fun! The quilting fabric world is buzzing right now, and the market is expected to grow from $5 billion in 2025 to a potential $8 billion by 2033. This boom is happening because so many people are getting back into DIY crafting and looking for beautiful, sustainable materials like cotton for their projects.
For a much deeper dive into all the specific tools you'll need as you grow, check out our complete guide on The Ultimate Quilting Guide for Tools, Techniques, and Fabrics.
Ready to build your toolkit? Linda's has everything you need to start your quilting journey with confidence, from precision cutters to vibrant fabric bundles. Shop now to complete your project.
Choosing Your Fabric and Thread with Confidence
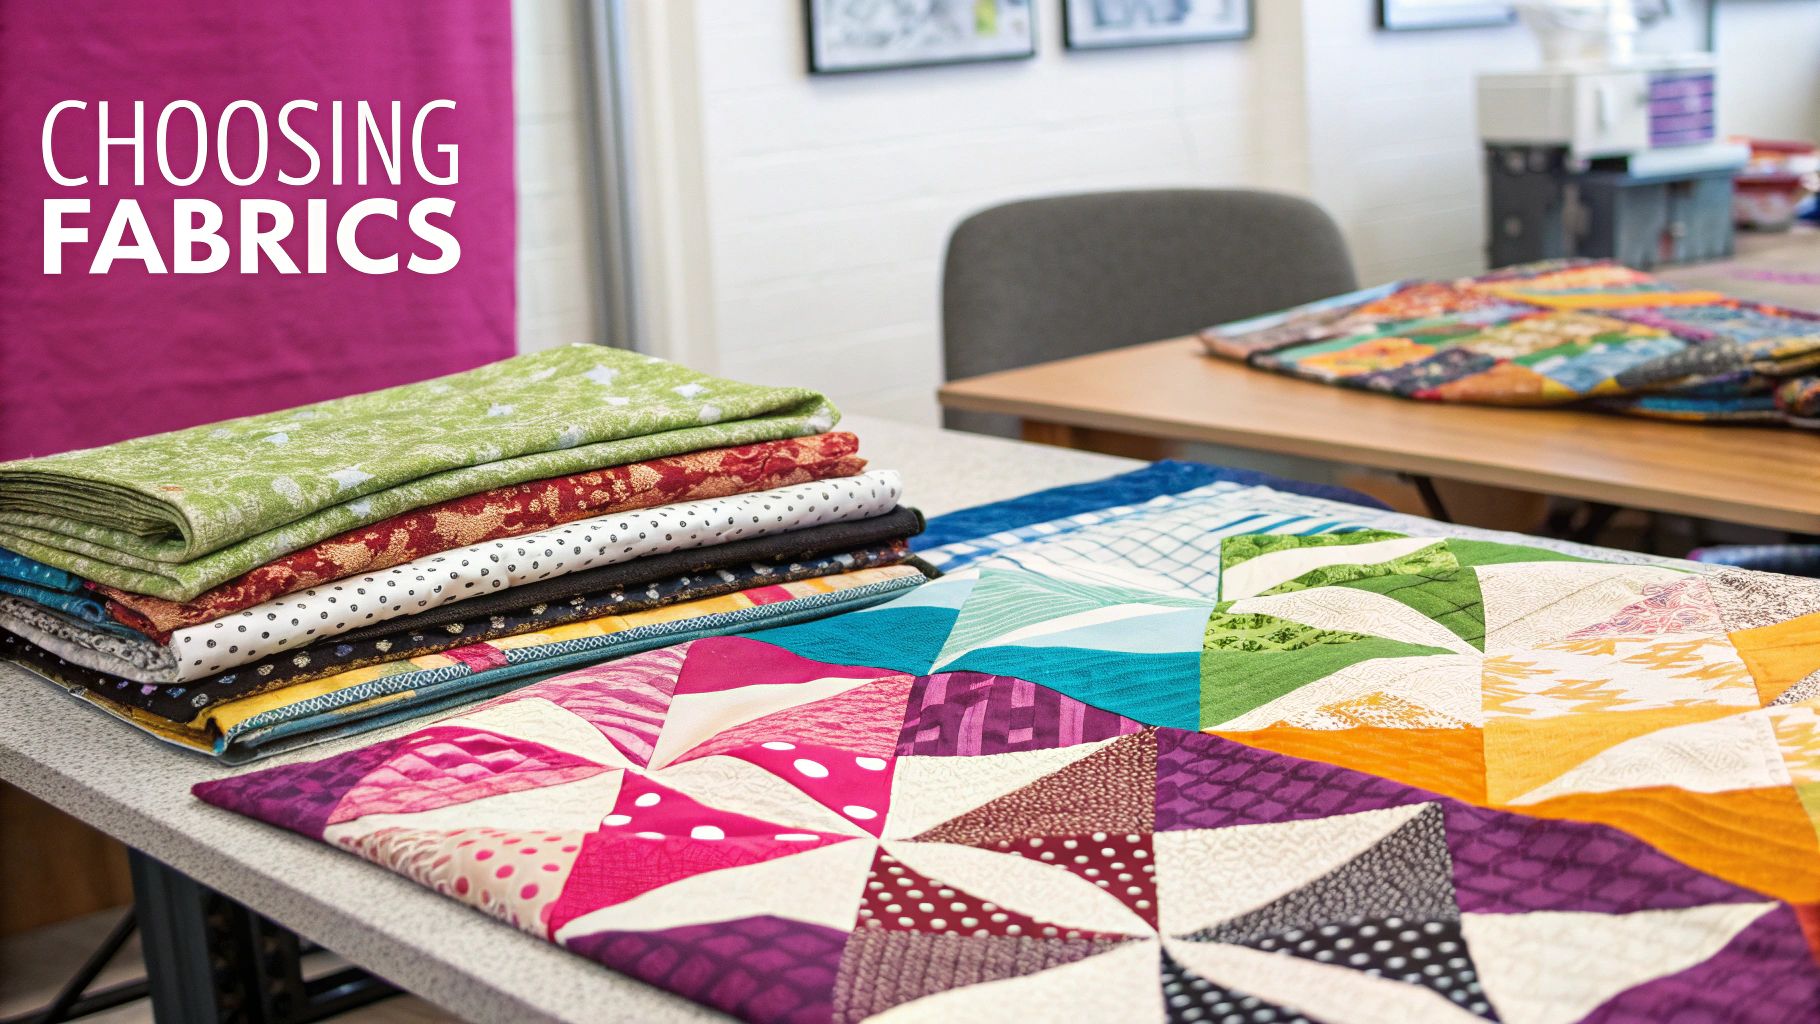
Alright, you've got your tools. Now for the fun part—the part that truly makes a quilt yours. It's time to choose your fabric and thread. This is where the color, personality, and soul of your project come to life.
For your first few quilts, the answer is simple: stick with 100% quilting cotton. It's the gold standard for a reason. This fabric behaves beautifully—it's stable, presses like a dream, and is tough enough to handle years of snuggles and washes.
A Little Fabric Know-How
Before you even think about cutting, it helps to understand a bit about the fabric itself. Fabric has a "grain," which is the direction of the woven threads. When you cut along the lengthwise or crosswise grain, your pieces stay in shape and resist stretching. That stability is the secret to getting all your quilt blocks to line up perfectly.
Next, you'll need to decide how to buy your fabric. You've got two main choices:
- Yardage: This is fabric cut right off the big bolt. It’s your go-to for backgrounds, borders, or the backing of your quilt—anywhere you need one large, continuous piece.
- Precuts: These are curated bundles of coordinating fabrics already cut into standard quilting sizes. I highly recommend these for beginners. They save cutting time and completely remove the stress of matching colors.
Precuts take all the guesswork out of building a gorgeous color palette. Starting with a bundle lets you dive right into sewing, feeling confident that your finished quilt will look cohesive and professionally designed.
Decoding Precuts and Picking Thread
You'll see precuts mentioned all over beginner-friendly patterns, which makes them an amazing starting point. They come in a few standard shapes and sizes that are good to know.
Popular Precut Types:
- Charm Packs: Bundles of 5-inch squares.
- Layer Cakes: Bundles of 10-inch squares.
- Jelly Rolls: Fun bundles of 2.5-inch strips that run the full width of the fabric.
- Fat Quarters: A quarter-yard of fabric cut into a wider, more usable rectangle (usually 18" x 22"), giving you more flexibility than a long, skinny quarter-yard cut.
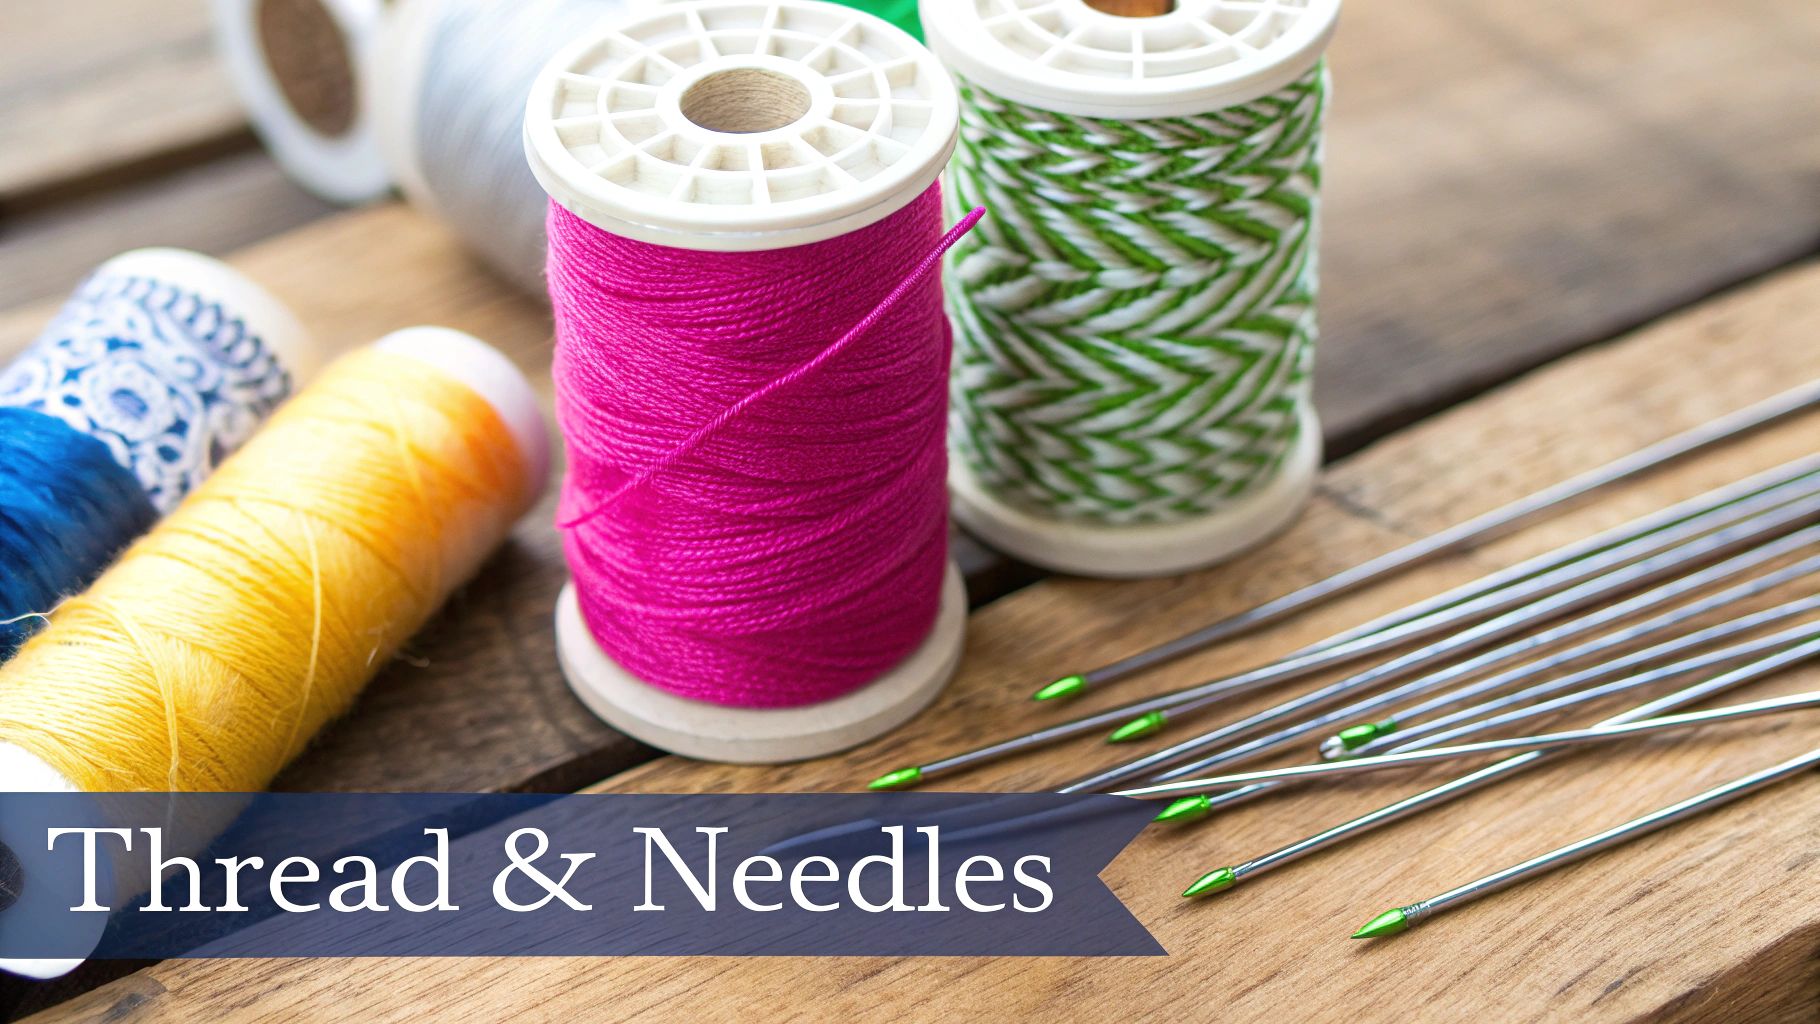
Just as critical as your fabric is the thread holding it all together. For putting your quilt top together (called "piecing"), a high-quality 50-weight cotton thread is your best bet. It’s strong enough to last but fine enough that it won’t create bulky seams.
When you're starting out, grab a spool of neutral thread in gray, beige, or off-white. A good neutral blends into almost any fabric, meaning you can use that one spool for your entire quilt top without constantly rethreading your machine. Want to dive deeper into material choices? Check out our complete guide on the best fabrics for quilting.
Setting Up Your Sewing Machine for Quilting
Your sewing machine is the heart of your quilting studio, and with just a few small tweaks, you can turn it into a quilting powerhouse. You absolutely don't need a fancy, top-of-the-line model to get started. A good, reliable machine that can sew a clean, straight stitch has everything it takes to create gorgeous quilts.
Think of it like a quick pre-flight check. Before starting any new project, pop in a new needle. A fresh, sharp needle is your first line of defense against skipped stitches and puckered fabric. For piecing standard quilting cotton, an 80/12 universal needle is your go-to. This one simple habit makes a world of difference.
While you’re at it, give your machine a quick dusting. Lint and thread bits build up in the bobbin area, and that buildup can lead to tension headaches and messy stitches. A quick sweep with a small brush keeps everything running smoothly.
Game-Changing Machine Accessories
Now, let's talk about two accessories that are completely non-negotiable quilting supplies for beginners. These inexpensive presser feet are designed to solve the biggest frustrations new quilters face.
- The Quarter-Inch Foot: This is your secret weapon for piecing. Nearly every quilt pattern is built on a precise quarter-inch seam allowance, and this little foot has a built-in guide that makes sewing a perfect seam almost automatic. It's a total game-changer for accuracy.
- The Walking Foot: Sometimes called an even-feed foot, this is your best friend for the final quilting stage. It has its own set of feed dogs on top that work in sync with your machine’s feed dogs below, pulling all three layers of your quilt—top, batting, and backing—through at the exact same speed. This prevents shifting and puckering, leaving you with beautifully smooth quilting lines.
A walking foot is like having an extra set of hands guiding your quilt sandwich. It ensures every layer moves together in perfect harmony, eliminating frustrating bunching and giving you that professional, polished finish.
The quilting world is bigger than ever, with the four seasons quilt market alone projected to hit nearly $4.8 billion by 2025. It's a testament to how many people are discovering the joy of this craft—and that journey is so much more fun with the right tools. You can read more about the booming global quilt market here.
Picking the right machine can feel like a huge decision, but we've got you covered. For a deep dive, check out our guide on the Top 10 Best Sewing Machines for Quilting in 2024. When you're ready to get started, Linda's has all the essential feet and needles to get your machine ready for quilting.
Making Your First Quilt Block Step by Step
You’ve gathered all your essential quilting supplies for beginners, picked out some beautiful fabrics, and threaded up your sewing machine. Now for the exciting part—making your very first quilt block. This is where the magic happens, transforming simple squares of fabric into a piece of art.
We're going to create a classic Nine Patch block. It's the perfect first project for any quilter because it's straightforward, looks fantastic, and teaches you the fundamental piecing skills you'll lean on for every quilt you make from here on out. Let's build that confidence and prove you're ready to quilt.
Preparing and Cutting Your Fabric
First, let's get that fabric ready. Give it a quick press with a hot, dry iron to get rid of any creases from the bolt. A smooth surface is key for accurate cuts. For our Nine Patch block, you'll want two contrasting fabrics—one darker and one lighter—to make the pattern pop.
Grab your rotary cutter, self-healing mat, and acrylic ruler. Take your time here, because accuracy is what makes a block fit together perfectly.
- From your darker fabric: Cut five (5) squares, each measuring 3.5 inches x 3.5 inches.
- From your lighter fabric: Cut four (4) squares, also measuring 3.5 inches x 3.5 inches.
You should have nine squares ready to go. Arrange them on your cutting mat in a 3x3 grid, just like a tic-tac-toe board, alternating between the light and dark fabrics. This is your roadmap for sewing.
Assembling the Block Rows
With your squares cut and arranged, it's time to head to the sewing machine. The plan is to sew the squares into three separate rows first. Make sure you're using your quarter-inch presser foot to keep that perfect quarter-inch seam allowance on every seam.
Start with the top row. Place the first two squares right sides together, making sure the raw edges line up, and sew along one side. Now, open those two pieces up and place the third square of that row right sides together with the second square, and stitch it into place. Do the exact same thing for the middle and bottom rows. You'll end up with three neat rows.
The secret to sharp, professional-looking quilt blocks is all in the pressing. Pressing your seams correctly reduces bulk and helps your points match up perfectly when you join the rows.
Before you sew the rows together, you need to press your seams. For the top and bottom rows, press the seams toward the darker fabric squares. For the middle row, do the opposite: press the seams toward the lighter fabric squares. This little trick is called "nesting," and it will help your seams lock together perfectly in the next step.
Finishing Your First Quilt Block
You're in the home stretch! Place the top row and middle row right sides together. Because you pressed the seams in opposite directions, you should feel them "nest" or lock snugly into each other. Pin them right at these intersections to keep them from shifting. Now, sew the rows together with that same quarter-inch seam.
Next, attach the bottom row to the middle row in the same way, nesting the seams and pinning carefully before you sew. Once it's all stitched, give your finished block one final, gentle press. And that's it—congratulations! You’ve just made a perfect Nine Patch quilt block.
Feeling proud of what you just made? You should be! Every single supply you need for a project just like this one, from the perfect cotton fabrics to the essential cutting tools, is waiting for you. Get everything you need to finish your project at Linda's and keep that creative momentum going.
Got Questions? We’ve Got Answers.
As you start pulling together your first quilting tools, it's normal for questions to bubble up. Getting past these puzzles is how you build confidence, so let's jump into the big ones that trip up most new quilters.
Can I Just Use Scissors Instead of a Rotary Cutter?
You can, but it’s like trying to slice a tomato with a butter knife. It might work, but it’s not going to be clean, easy, or accurate. The rotary cutter, ruler, and self-healing mat are a team—they work together to give you the speed and precision that quilting needs.
Every great quilt starts with precise cuts. If your pieces are even a tiny bit off, they won’t line up, and that’s where frustration kicks in. Trust us, investing in this basic cutting system from day one will save you headaches and help your very first project look more professional.
What’s the Best Sewing Machine for a Beginner?
Good news: you do not need a flashy, thousand-dollar machine to start quilting. Any reliable sewing machine that can produce a nice, even straight stitch is all you need. The single most important feature is its ability to sew a perfect quarter-inch seam. This is often easiest to achieve with a special quarter-inch presser foot, which is an inexpensive add-on.
Honestly, the best machine is one you feel comfortable using. Get to know a simple, straightforward model and master the basics before you even think about all the bells and whistles.
Your sewing machine is a tool, not a barrier. As long as it can sew a straight line, you have everything you need to begin your quilting adventure.
How Much Fabric Do I Need for My First Quilt?
The answer always depends on your pattern and the size of the quilt you want to make. Our best advice for your first project? Pick a pattern designed specifically for precut fabric bundles like charm packs (5-inch squares) or jelly rolls (2.5-inch strips).
Precuts are a beginner's best friend. They take all the guesswork out of calculating yardage, and the fabrics are already beautifully coordinated for you. A beginner-friendly pattern will tell you exactly which precuts to buy, making your first trip to the fabric store a breeze.
What Are the Most Common Mistakes Beginners Make?
Almost every beginner stumbles in the same three places: inaccurate cutting, inconsistent seam allowances, and improper pressing. If your cuts are wonky, your pieces won't fit together. If your seam allowance isn't a consistent quarter-inch, your finished blocks will be the wrong size.
Finally, pressing matters! If you don't press your seams correctly (usually pressed to one side), your points and corners won't match up neatly. Getting a handle on these three fundamental skills will make a massive difference in how your first quilt turns out and set you up for success down the road.
Feeling more prepared? You should be! You have the know-how and the tool list to start making something beautiful right now. From beginner-friendly fabric bundles to all the essential notions and cutting tools, Linda's Electric Quilters has everything you need to get that first quilt from an idea to a reality.
Start your quilting journey and find all your essential supplies at Lindas.com today!


