
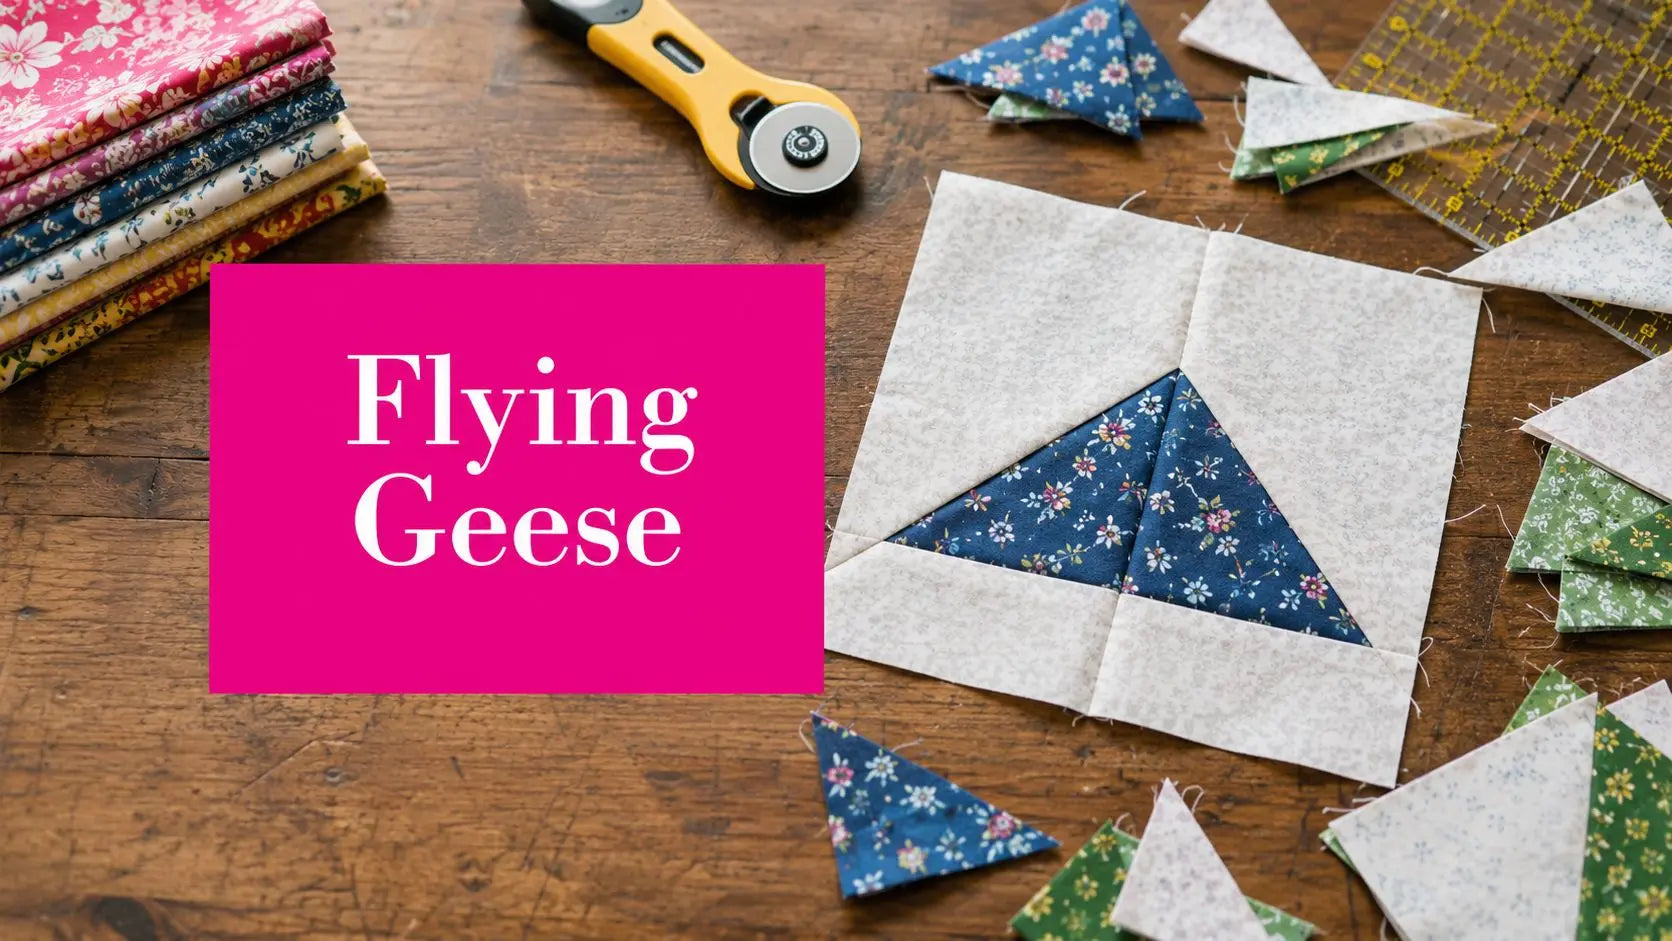
You've cut a neat row of triangles, pressed the seams, and loaded the quilt onto the frame. Then the points disappear under the walking foot, the geese stop lining up, and the whole layout looks slightly wavy. This flying geese quilt block tutorial focuses on preventing that problem before it reaches the longarm.
The key is to match the method to the project. Use four-at-a-time construction for speed and low waste, stitch-and-flip when you need a single unit or an unusual size, and foundation paper piecing when point precision matters most. Flying geese units follow a stable 2:1 finished width-to-height ratio, so accurate cutting, sewing, pressing, and trimming all begin with the same geometry. Quiltler's flying geese block reference documents that repeatable proportion and its related cutting examples.
The 2 to 1 Geometry Rule Behind Every Flying Geese Unit
A finished flying goose is typically twice as wide as it is tall. A unit measuring 2 inches by 4 inches, 3 inches by 6 inches, or 4 inches by 8 inches keeps the same visual structure because the point and wing proportions remain stable. That relationship controls the rectangle, the wing squares, the seam allowance, and the final trim line.
Start by identifying the three fabric roles. The long central piece is the goose fabric, which forms the triangle pointing upward. The two smaller pieces are the sky or wing fabric, which create the side triangles. If you're planning a directional print, label the sky pieces before cutting so the design doesn't turn unexpectedly during assembly.
Reuse the ratio before you reach the cutting mat
For a finished unit, write the height first and the width second. A finished 3-inch by 6-inch goose must remain six inches wide after the seams are assembled. The cutting dimensions need to be oversized so the bias edges can be sewn and the unit can be squared without cutting into the point.
That extra fabric is not decoration. It gives you room to correct a seam that wanders slightly, press the unit flat, and position the ruler so the point has a safe seam allowance above it. Tutorials commonly use oversized cutting formulas because the final unfinished unit must include the seam allowance that disappears during joining.

For a practical reference, a 2-inch by 4-inch finished unit can be made with a 5 1/4-inch large square and four 2 7/8-inch small squares, producing four geese. A 4-inch by 8-inch unit uses a 9 1/4-inch large square and four 4 7/8-inch small squares. Those exact examples are recorded in Quiltler's cutting guidance.
Pro-Tip: Mark the finished point location on a sample unit before cutting a whole batch. If the point doesn't sit the same distance from both side edges, stop and correct the ruler placement before sewing more pieces.
Once you understand the ratio, every size becomes a scaling exercise rather than a new puzzle. A small unit for a star block and a large unit for a border should look related because their proportions stay constant. For a decorative border outside a quilted project, the 1-inch Faux Velvet and Rhinestone Trim – 10 Yard Roll offers a one-inch-wide velvet-backed embellishment with centered rhinestones, but it should be added after the pieced structure is stable.
Three Popular Methods Compared Side by Side
The best flying geese method depends on what you're protecting. A scrappy sampler may value variety and small fabric pieces. A longarm client's quilt may need matching unfinished units and points that stay intact through pressing, joining, loading, and quilting.
| Method | Speed | Fabric Waste | Point Accuracy | Best For |
|---|---|---|---|---|
| Four-at-a-time no-waste | Fast for batches | Low | Good after careful trimming | Repeated units and efficient cutting |
| Stitch-and-flip | Moderate for individual units | More offcuts | Good with controlled pressing and trimming | Odd sizes, directional prints, or replacements |
| Strip-pieced | Very fast for many identical units | Depends on strip layout | Consistent when strips stay straight | Long borders and large repeated layouts |
The four-at-a-time method makes four geese from one large square and four small squares. It's a strong choice when you're cutting a coordinated batch and want to reduce scrap. Its weakness is cumulative drift. If the diagonal seams or trimming are inconsistent, all four units can carry the same error.
Stitch-and-flip gives you more control over each individual goose. It suits a single replacement unit, a directional fabric, or a size that doesn't fit a standard batch. The cutaway triangles can become useful scraps for other piecing rather than being discarded.
Strip piecing works well when you need a long run of identical units. It moves quickly at the machine, but the strips must remain straight and the seam allowance must stay consistent from beginning to end. For a dark solid sky where every pale point is visible, I'd choose the method that gives the most control, then consider foundation paper piecing when exact point placement is the priority. The technical comparison between traditional and paper-pieced accuracy is also discussed by quilters in this method discussion.
If your quilt is part of a small craft collection or a product line, consistent construction matters before photography and listing. A practical guide to how to sell crafts online can help with the business side, while your piecing method protects the quality of the finished item.
No Waste Four at a Time Method Step by Step
The no-waste method starts with one large square for the goose fabric and four smaller squares for the sky. Choose the size from your finished dimensions, then cut accurately. A rotary cutter with a sharp blade and a stable ruler will prevent the small measurement errors that become visible when four units are joined.

Turn the small squares wrong side up and mark a diagonal from corner to corner with a chalk pencil or hera tool. Place two squares on opposite corners of the large square, right sides together. Pin outside the sewing path, or use a fabric glue pen if pins distort the layers.
Make the first two diagonal passes
Sew a scant 1/4-inch seam on both sides of the marked diagonal. The two passes create a narrow stitching channel around the cutting line. Cut directly on the marked diagonal, then open and press the resulting triangles toward the darker fabric if that direction keeps the seam flatter and prevents shadowing.
Trim the seam allowance without cutting into the point. The goal is a clean edge that still leaves enough fabric to protect the tip during later assembly. Repeat the same two-pass process on the remaining exposed corners using the two unused sky squares.
The full sequence is documented in this no-waste flying geese tutorial, including the opposite-corner placement and second sewing pass.
A visual walkthrough can help you see how the layers move after each cut.
After the second pass, cut along both marked center diagonals to release four units. Press each goose open, then trim it to the required unfinished size. Rotate each unit so the point faces upward before arranging the layout. That simple orientation check prevents accidentally sewing a row with one goose facing the wrong direction.
The critical trim rule is easy to remember. Preserve 1/4 inch between the goose point and the unfinished block edge. For example, trimming a unit to 2 1/2 inches by 4 1/2 inches produces a finished 2-inch by 4-inch block after assembly, as shown in Christa Quilts' trimming explanation.
Stitch and Flip Method for Single Units
Stitch and flip is the method I reach for when I need one goose, a replacement unit, or a directional print that shouldn't be forced into a four-at-a-time layout. It uses a rectangle and two squares, so you can work from smaller scraps that aren't large enough for the no-waste method.
Cut the goose rectangle to the finished height plus the seam allowance needed for the unfinished unit. The sky squares should be oversized enough to cover each corner after sewing. For a standard finished 2-inch by 4-inch unit, the commonly used unfinished rectangle is 2 1/2 inches by 4 1/2 inches, with two 2 1/2-inch squares, as described in String & Story's regular piecing instructions.
Control the point at each corner
Draw one diagonal on the back of each sky square. Place the first square right sides together on one end of the rectangle, with the line running from the appropriate corner toward the center point. Sew on the line, or just to the outside edge of it, then check the seam before trimming.
Cut away the excess corner while preserving the seam allowance. Press the sky triangle into position, then place the second square on the opposite end. Its marked line should meet the first triangle at the top center, not stop short of it.

Press toward the dark sky fabric when that direction reduces bulk and keeps the point crisp. Remove dog ears before joining units, but don't trim so aggressively that the point loses its protective seam allowance. This method produces more offcuts than the no-waste approach, yet those triangles can be saved for half-square triangles, corner units, or crumb piecing.
For foundation paper piecing, use a short stitch length so the paper tears away cleanly. The foundation stabilizes the fabric and limits distortion at the tip, which makes it a sensible choice for a border where every point must match. It does add paper removal and a little more preparation, so I reserve it for layouts where precision outweighs convenience.
Longarm Friendly Construction Tips
A flying goose that looks acceptable on the design wall can still cause trouble under a longarm needle. Loading introduces handling, and quilting tension can reveal a seam that wasn't pressed flat. In McKinney, where I work with quilts that move from piecing table to frame, I want the units stable before the backing is squared and the batting loft is positioned.
Pre-wash the goose and sky fabrics together if you pre-wash at all. Matching the fabric treatment helps the pieces respond similarly during later laundering. Light starch on the sky triangles can stabilize bias edges, but avoid saturating the fabric because heavy stiffness can change how the seam feeds.
Keep the seam profile flat
Clip into curves at the goose neck only when the pattern requires it, and never clip through the seam allowance. The neck is where several seams meet, so careless clipping can weaken the area that holds the point in place.
Chain-piece in consistent batches. Feed each unit through without pulling the fabric, keep the seam guide fixed, and pause to check the first few units before continuing. Press seams toward the darker fabric when that prevents the goose fabric from showing through the quilt top.
- Trim consistently: Keep the unfinished unit at the same measurement throughout the batch.
- Check the diagonal: Align the ruler's 45-degree line with the goose seam before trimming.
- Protect the tip: Leave the required seam allowance above the point rather than trimming right to the fabric tip.
- Avoid backtracking: Repeated needle perforations over the point can weaken the triangle tip.
A Bloc-Loc ruler can help seat the seam accurately while trimming. A regular square ruler with a clear 45-degree line works well too, provided you hold the unit flat and don't rotate the ruler while cutting. The objective is a unit that lies flat, matches its neighbors, and doesn't need to be stretched into place during quilting.
Before investing in specialty tools, compare the ruler, pressing, batting, and thread supplies that fit your workflow through the Linda's Electric Quilters batting category. The right loft changes how seams feel under the needle, especially when the quilt top contains several layered points.
Troubleshooting Common Flying Geese Mistakes
Most flying geese problems have a visible cause. Chopped points, skewed units, mismatched sizes, and bubbled bias seams usually come from a small change in marking, seam allowance, pressing, or trimming. Diagnose the unit before unpicking an entire row.
| Symptom | Likely Cause | Fix |
|---|---|---|
| Chopped point | Seam allowance is too scant, or trimming reaches into the tip | Test the seam on a scrap, then re-sew or trim with more space above the point |
| Skewed unit | The ruler rotated during squaring | Align the 45-degree line with the diagonal seam |
| Mismatched sizes | Units weren't measured before joining | Trim floaters to match the smallest neighboring unit |
| Bubbled bias seam | Fabric was tugged or handled before stabilization | Stay-stitch long edges, press carefully, and avoid pulling the unit |
Decide whether to trim or resew
A point that's slightly off but still has the required seam allowance can often be corrected by careful trimming. If the point already touches the edge, trimming won't restore it. Resew the unit if the seam is visibly outside the intended diagonal or if the point can't retain the seam allowance needed for joining.
For skewed units, don't rotate the ruler to make the edges appear square. Keep the ruler's 45-degree line on the diagonal seam and rotate the fabric beneath it. This preserves the geometry instead of disguising a lean with a crooked trim.
Size mismatches should be found before rows are joined. Measure the unfinished dimensions and trim the larger units to the smallest reliable neighbor. Don't pull a short unit to meet a longer one, because that creates fullness that may become a bubble beneath the quilting.
Bias edges need gentle handling. Stay-stitch the long edges before moving a delicate batch, press without steam first, then press flat once the seams settle. If the fabric waves after pressing, let it cool completely before measuring again. A little patience at the cutting table is easier than correcting a stretched point under the longarm.
Linda's Electric Quilters offers fabrics, batting, threads, notions, and educational quilting resources for makers preparing projects like this. Visit Linda's Electric Quilters to choose the supplies and tools that will help you trim, stabilize, and finish your flying geese quilt with confidence.


