
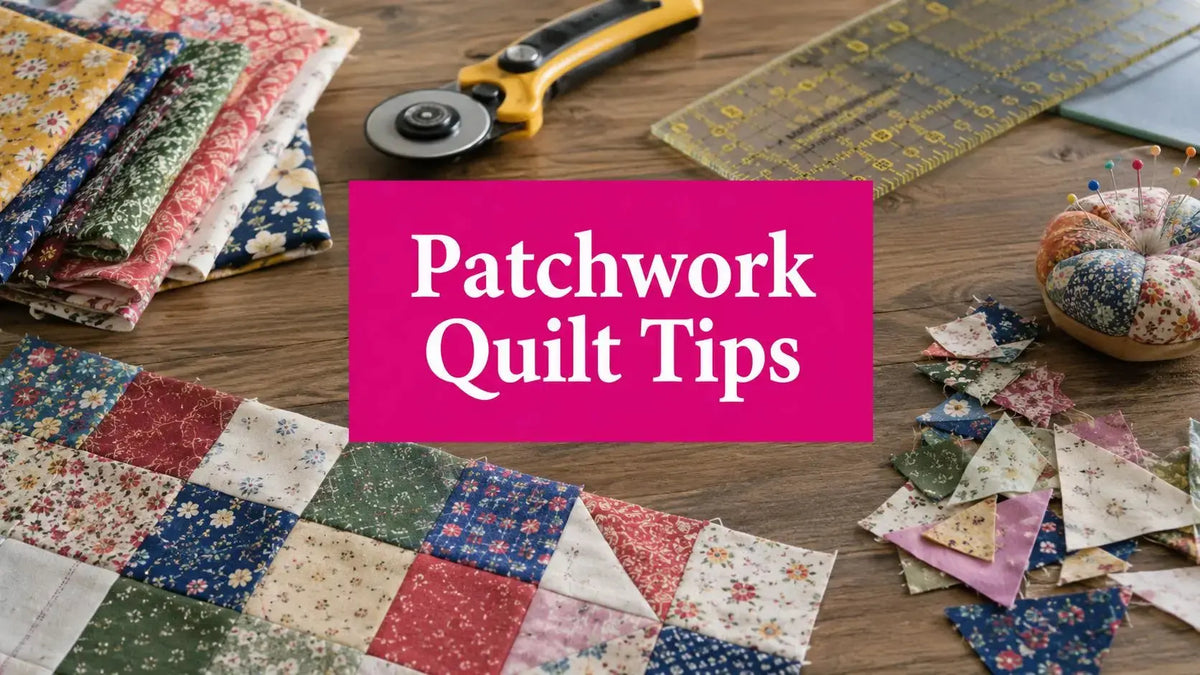
You're probably standing at the cutting mat with a stack of fabric, a rotary cutter, and one nagging question, how do I make a patchwork quilt without wasting material. Start with the standard three-layer quilt sandwich, keep a true 1/4-inch seam allowance, and plan your batting, backing, and thread before you cut the first square. That order protects your fabric, keeps the top square, and saves you from the kind of little errors that snowball into a wonky first quilt.
Understanding the Three-Layer Quilt Sandwich
A patchwork quilt starts with a pieced top, a batting middle, and a backing layer. Britannica describes that build as layers stitched together sandwich-style, with batting made from cotton, polyester, wool, or flannel, then basted or pinned before quilting begins. In workshop language, the top carries the design, the batting sets the loft and warmth, and the backing gives the quilt its foundation and wear surface. Britannica's quilting overview
For a first quilt, accuracy starts before the needle ever hits the fabric. A 1/4-inch seam allowance keeps the patchwork top stable because small cutting or sewing errors grow row after row. If you guess at seam width and hope the binding will hide it later, the quilt usually tells on you. The corners stop matching, the blocks drift, and your fabric budget gets spent on correction instead of construction.
The role of each layer
The top is where the color work lives, but the batting controls how the quilt feels in your hands. A batting with more loft gives a puffier result, while a flatter batting lies closer to the surface and shows quilting lines more clearly. The backing matters too, because it has to hold tension during quilting and stand up to repeated washing without getting finicky.
Practical rule: buy your batting before you cut the top, because the batting choice affects drape, warmth, and how much structure the finished quilt will have.
At Linda's Electric Quilters in McKinney, Texas, that kind of planning is easier because the shop keeps quilting supplies in one place, so you can choose fabric, batting, thread, and notions together instead of making separate trips. If you want to build the project cleanly from the start, check the Batting category and match it to the quilt's purpose, not just the fabric print. For a related fabric comparison, Joey'z tips for pillow fabrics shows the same habit of choosing materials by use, not just by looks.
A simple supply checklist
Before you cut anything, gather the basics and check them against the quilt's size on paper:
- Quilt fabric: enough for the top, plus a little extra for trimming errors.
- Batting: choose the loft and fiber that fit the quilt's final use.
- Backing fabric: plan for a piece larger than the top so quilting has room.
- Thread: choose a cone that runs cleanly and keeps lint low.
- Pins or basting spray: whichever method you are comfortable managing.
- Rotary cutter and ruler: accuracy here protects your fabric budget.
Thread choice matters too, because the stitch line has to hold through washing and handling. If you are comparing thread options, the 008 Sand Dollar Signature Cotton Thread is a cotton choice with 3-ply construction, Tex 40 weight, and 3,000 yards on the cone, so it works for general quilting and machine sewing. A thread that runs cleanly and keeps lint low is easier on your machine and your patience, which matters when you are trying to protect both the quilt top and the time you have already put into it.
Choosing Batting and Thread That Survive the Wash
A first quilt often fails in the laundry, not at the sewing machine. The fix starts with matching batting and thread to the way the quilt will be used, because warmth, drape, shrinkage, and hand all show up after the first wash, not while the quilt is still in pieces.
Batting options compared
| Batting Type | Loft | Shrinkage | Best Use |
|---|---|---|---|
| Cotton | Moderate | More likely to shrink than synthetics | Heirloom quilts, breathable bed quilts |
| Polyester | Variable, often fuller | Lower shrink tendency | Kid quilts, everyday use, lighter care needs |
| Wool | Higher loft | Can change the hand after washing | Warm quilts, texture-focused projects |
| Flannel | Low to moderate | Can soften and relax with washing | Casual quilts, softer drape, easy-going finishes |
Use the table as a decision tool, not a style chart. If the quilt will get heavy use and frequent washing, think about how the batting will behave after it's been cleaned, dried, and folded a dozen times. A pretty top doesn't matter much if the layers shift or the quilt feels stiff after laundering.
Thread choice matters more than beginners think
Thread needs to match the project's purpose and the machine you're using. The 008 Sand Dollar Signature Cotton Thread is a 3-ply, long-staple cotton thread with mercerization and finishing that support strength, luster, and low lint. That kind of thread makes sense when you want a cotton-on-cotton build that behaves well on longarm and home machines.
If you're choosing materials for another fabric-heavy project, Joey'z has a useful note on fabric for pillow projects that shows how fabric behavior changes with use, and the same idea applies here. For quilt-making, the right thread should support the fabric instead of fighting it.
Make the material match the life of the quilt. A gift quilt, a toddler quilt, and a bed quilt all need different batting behavior, even when the patchwork pattern looks the same.
A related tutorial on longarm loading can help once the top is finished, but the smarter move is to choose the batting and thread first. That way the entire quilt system works together instead of feeling like separate purchases stitched into one project. If you're building a first quilt for everyday washing, keep Linda's batting bundles in mind before you cut.
Cutting and Piecing Blocks With a Quarter-Inch Seam
Fast methods aren't always simpler. A lot of beginner mistakes come from rushing the cutting stage, then trying to “fix it in the seam,” and patchwork never rewards that habit. If the cuts are off, the rows drift, the corners miss, and the quilt top stops lying square long before binding enters the picture.
Start with clean fabric and a clear grid
Pre-wash and press your fabric if you want the most predictable behavior, especially when you're mixing prints with different finishes. Then cut your patches with a rotary cutter and ruler, keeping the blade square to the mat so every strip starts true. A simple layout, like 7 rows with 6 squares per row, gives you a useful benchmark because it makes row alignment and seam nesting easier to see.
For safety and consistency, cut strips first, then subcut patches from those strips. That gives you repeatable shapes instead of one-off pieces that drift as you move through the stack. It also protects your fabric budget, because clean strip work usually wastes less than constantly correcting skewed squares.
Sew blocks, then rows, then sections
The most reliable workflow is block first, then row, then joined sections. Pin at seam intersections, sew that exact 1/4-inch seam allowance, and press odd rows to one side and even rows to the other so the seams nest when the rows join. That nesting matters because it reduces bulk at the intersections and keeps the top flatter.
Pro tip: press the seams flat after each join, then check the block before moving on. A flat seam is easier to align, and it keeps the quilt top from building stubborn ridges.
If you want a cleaner cut line, Linda's Creative Grids rulers are a solid choice for measuring and squaring patches before assembly. Once the blocks are joined, trim the dog ears before you set the rows together, because leftover corners add bulk right where you need the cleanest seam. That's the difference between a top that behaves and one that fights you at every intersection.
A quick sewing check helps too. If the first block drifts, stop and correct the seam guide before you make ten more mistakes in the same direction. A first quilt is easier to rescue in the first row than in the final one.
Building the Quilt Sandwich and Basting the Layers
Once the top is square, stop thinking like a piecer and start thinking like a handler. The next job is to turn three separate layers into one controlled quilt sandwich, and that means giving yourself enough backing, enough room, and enough time to smooth the stack properly.

Build the stack from the floor up
Cut the backing several inches larger on every side, commonly about 4 inches extra per edge, so quilting doesn't pull the layers out of alignment. Lay the backing flat on a clean floor or table, place the batting on top, and then center the quilt top over both layers. Smooth from the center outward with your hands or a long acrylic ruler so wrinkles move to the edges instead of getting trapped in the middle.
That outward smoothing is the habit that prevents the most grief later. If you smooth from the edges inward, you can trap ripples under the top and chase them for the rest of the project. If you smooth carefully from the center outward, the quilt sandwich settles much more evenly.
Choose a basting method that fits your setup
Pin basting with curved safety pins works well when you want control and already have the pins on hand. Spray basting is faster on a smooth, clean workspace and can be useful for smaller quilts. Thread-basting still has a place for tops that will be handled carefully before quilting, especially when you want extra security for intricate work.
If you want another fabric-side perspective on wrapping and surface behavior, design personalized photo blankets offers a useful contrast in how finished textile layers need different handling depending on use. Quilts are more structured, but the same basic rule still applies, the layers need to stay put before the machine touches them.
Practical rule: the center-outward smooth is more important than the basting tool. Pins, spray, or thread can all work if the sandwich is flat before you start.
Linda's basting spray and batting bundles make sense here if you want to keep the project moving without extra store runs. Once the sandwich is anchored, it's ready for quilting without the fear that a hidden wrinkle will show up halfway through the final pass.
Quilting Options From Walking Foot to Longarm Service
The basted sandwich is the point where the quilt stops being a top and starts becoming a finished object. Your next choice is whether to stitch it on a domestic machine, free-motion it, or hand it off to a longarm service. Each option has a different feel, and the right one depends on the quilt size, design, and how much machine time you want to spend.

Compare the three common paths
Straight-line quilting with a walking foot keeps the layers moving evenly and works well when you want a controlled, tidy finish. Free-motion quilting gives you more design freedom, but it asks more of your hands and your tension setup. Longarm quilting is the easiest path when the top is oversized, the quilting design is intricate, or you'd rather spend your time piecing than wrestling a thick sandwich under a domestic machine.
If you're using Linda's longarm service in McKinney, Texas, that can save you from the physical grind of pushing a full quilt through a small throat space. It's especially useful when the top is already pieced carefully and you want the stitching to stay consistent across the whole surface.
Don't skip the test sandwich
Test thread tension and stitch length on a scrap sandwich before you start on your quilt. That small practice pass tells you whether the stitches are balanced, whether the top thread is pulling, and whether the backing is showing through in a way you don't want. One quick test can save a finished quilt from a lot of unpicking.
A related tutorial on loading a quilt on a frame is worth viewing if you're leaning toward longarm work, because the loading order affects how flat the sandwich stays during stitching. The same logic applies to domestic quilting, too, because the machine can only sew as cleanly as the layers are prepared.
Try this first: quilt a short practice line on the actual thread, batting, and backing combo you plan to use. The machine tells the truth before the quilt does.
If you're shopping for thread that handles machine work cleanly, the cotton cone mentioned earlier is a practical fit for many quilting setups. That kind of choice matters most once the quilt is under the presser foot and every stitch starts showing.
Binding the Edges With Precise Dimensions
Binding is where a first quilt either looks finished or looks rushed. The fix is simple, use exact measurements and keep the folds clean so the edge sits flat instead of rolling into ripples. Once the quilting is done, this is the stage where precision pays back every careful cut you made earlier.

Cut, fold, and join with exact measurements
Cut four strips about 12 cm wide, each the length of the quilt side plus an additional 25 mm. Fold the long edges inward by 6 mm, then fold the strip in half lengthwise before you attach it around the quilt perimeter. That sequence gives you a tidy binding that covers the raw edge without swallowing too much of the quilt top.
At the corners, fold a clean 45-degree miter so the binding turns without bunching. When the ends meet, let them overlap by 1/2 inch before joining them, because that small overlap keeps the final seam from pulling open or leaving a gap.
Choose machine finish or hand finish
Machine binding is faster and often strong enough for utility quilts. Hand-stitching the back gives a cleaner finish on gifts, show pieces, or quilts where the edge needs to disappear into the rest of the work. A walking foot helps either way, because it feeds the layers more evenly and keeps the binding flatter as it goes on.
If you want the edge to behave, clips matter almost as much as the binding strip itself. Skipped clips let the fabric stretch at the bias, and stretched edges ripple after the final turn. That's the kind of mistake that looks small on the table and obvious on the bed.
Linda's binding clips and pre-cut strips are useful here if you want to finish without cutting your own binding from scratch. You've already done the hardest part by keeping the top square and the sandwich flat, so don't let the edge be the place where precision disappears.
Troubleshooting the First-Quilt Problems Everyone Hits
Most first-quilt problems come from a short list of habits, not from bad luck. A top that comes out wonky usually points back to a seam allowance that wandered. Fabric that shifts during quilting usually means the sandwich wasn't basted securely or smoothed from the center outward. Binding that ripples often means the bias edge was stretched or clipped too loosely.
If the quilt puckers after washing, a gentle re-press and careful blocking can help settle the surface again. Lost points and mismatched corners usually mean the rows weren't nested or pinned tightly enough before stitching. The good news is that all of these issues are fixable, and each one tells you exactly where the process drifted.
For support, share your finished quilt in the Linda's Electric Quilters community, watch the next live shopping event, and build your second quilt with the beginner bundle once you're ready to cut again. A careful first project teaches the right habits fast, and the right supplies make those habits easier to repeat.
Linda's Electric Quilters carries batting, thread, rulers, binding tools, and longarm services that fit this kind of first quilt from start to finish. If you're ready to make your patchwork top without wasting fabric, visit Linda's Electric Quilters and gather the supplies that match your quilt before you make the first cut.


