
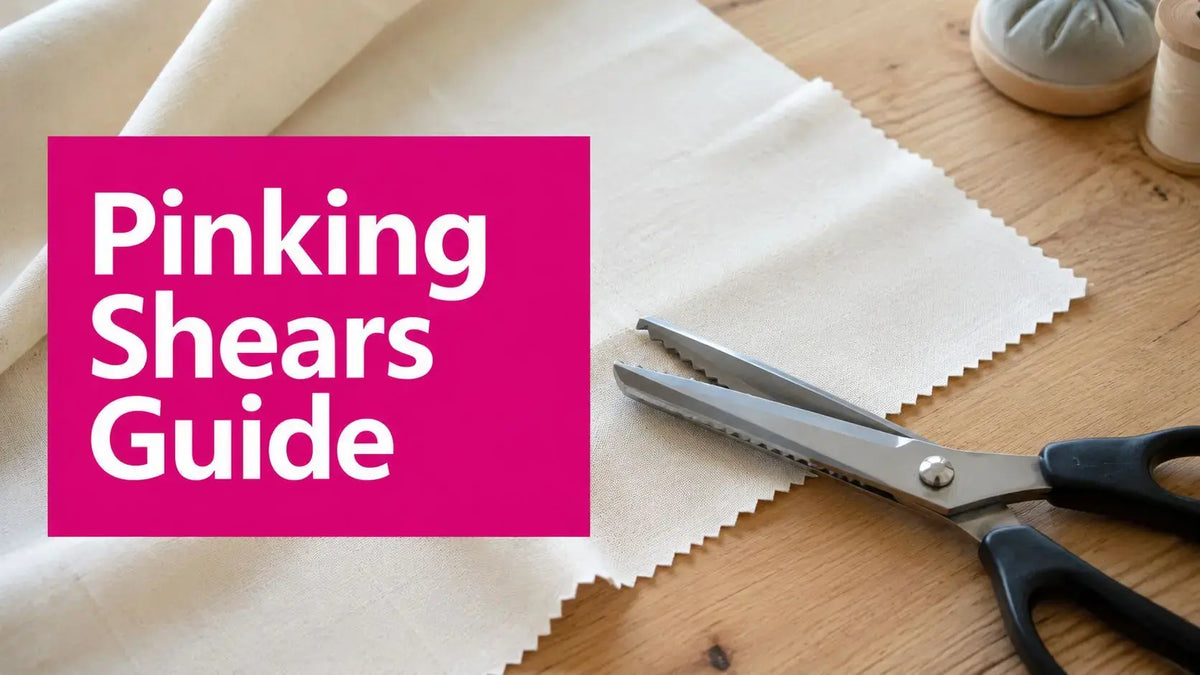
You've got a seam in front of you that wants to fray the moment it leaves the blade, and that's exactly where pinking shears earn their place in a sewing basket. What are pinking shears used for? They're used to cut a zigzag edge on woven fabric so raw edges unravel less, and they're also handy for trimming seam allowances, finishing hem edges, and giving certain projects a neat decorative edge. If you've ever clipped a quilt block, watched the threads loosen, and wished for a cleaner low-tech fix, these shears are the answer.
What Pinking Shears Actually Are
Pinking shears are sewing scissors with sawtooth blades. Instead of a straight cut, they leave a zigzag edge that helps woven fabric resist fraying, which is why quilters and garment sewists keep reaching for them. They're not a substitute for every cutting job, but they're a very specific tool with a very specific job.
The blade shape is the whole trick
A regular scissor blade gives you one clean line across the cloth. A pinking blade creates repeating points, so the fabric edge isn't one long open path for threads to escape. That zigzag shape is what makes the tool useful on seam allowances, raw edges, and other spots where you want a quick finish without adding thread.

A nice way to think about them is that each tooth changes the way the fibers meet the cut edge. That's why they belong in the notions caddy, not buried in a drawer with the office scissors. If you're browsing project ideas for a fabric refresh, the guide to DIY home accents is a useful place to see how decorative edge work can show up outside traditional quilting too.
Pinking shears also feel different in the hand than ordinary scissors. Many sewists prefer the springy, ergonomic feel of a good pair because long cutting sessions can get tiring fast. If you shop notions at Linda's Electric Quilters in McKinney, Texas, it helps to feel that pivot action before you commit, because a tool like this should open and close smoothly instead of fighting you.
Practical rule: if the edge is going to stay raw, and the fabric is woven, pinking shears are worth considering before you reach for a more complicated finish.
How the Sawtooth Blade Stops Fraying
The reason pinking shears work is simple once you picture the fabric threads. A straight cut leaves long thread paths exposed along the grain, and those long paths can pull loose with wear or washing. A zigzag cut breaks that path into short angled sections, so the edge has less uninterrupted thread to unravel.
Why the zigzag edge behaves differently
Think of each notch as creating tiny bias segments. Bias areas in fabric don't behave the same way as a straight grain cut, and that slight change in direction makes the edge less eager to slide apart. The sawtooth shape doesn't lock fabric forever, but it does slow down the unraveling that happens on raw woven edges.
That's why sewing references have long treated pinking shears as a home-sewing alternative to overlocking for light to medium woven cloth. They're also used on felt and on decorative edges that aren't meant to be turned under or enclosed. In other words, the tool does two jobs at once, it finishes the edge and it gives it a decorative profile.
For readers comparing tools, the principle is the same whether you're finishing a seam allowance or dressing up a visible edge. If you want another perspective on edge control, the article on preventing frayed seams naturally covers the same problem from a broader sewing angle.
The blade geometry matters more than people expect. If the teeth are dull or the cut is sloppy, the edge won't behave as well, and the fraying starts earlier than you want. That's why pinking shears are best treated as a precise cutting tool, not a casual snip-and-go gadget.
Practical rule: pinking shears work best when the fabric edge is still structurally sound. They slow fraying, but they don't rescue a seam that was cut too narrow to begin with.
For heavier cutting needs, 10" Heavy Duty Bent Trimmer is a separate shear designed for heavy fabric, rope, suede leather, and plastic packaging, so it belongs in a different part of the toolkit.
Pinking Shears vs Other Edge Finishes
The decision isn't whether pinking shears work. It's whether they're the right finish for the job. A quilter might choose them for a decorative raw edge, a quick seam cleanup, or a lightweight woven project, while a serger or stitch finish makes more sense when strength and stretch matter more.
Edge-Finishing Methods Compared
| Method | Fraying Control | Best For | Cost | Decorative Edge |
|---|---|---|---|---|
| Pinking shears | Good on woven edges | Seam allowances, felt, decorative raw edges | Low | Yes |
| Zigzag stitch | Good with thread coverage | General seam finishes, areas needing more hold | Uses machine thread | Somewhat |
| Serger or overlocker | Strong | High-stress seams, knits, frequent wear | Higher | Clean, professional |
| Pinking rotary cutter | Good on long straight runs | Long cuts where a rotary system is already in use | Medium | Yes |
| Pinking blade | Good when paired with rotary cutting | Rotary-based fabric prep | Medium to higher | Yes |
Pinking shears win when you want a fast, quiet, low-tech finish and don't want to change machine thread. They also win when the edge itself is meant to be seen. A serger wins when the seam needs more structure, especially on stretch fabrics. A zigzag stitch sits in the middle because it uses thread to cover the edge rather than relying only on the cut.
If you're building a finishing setup around your machine, Linda's notion bundles can help you pair edge tools with the rest of your sewing kit without overbuying. The Quick Cut Thread Cutter is another notions-room option for separating quilt chain pieces, and its replaceable Clover 45mm rotary blade makes it a very different kind of cutting helper than pinking shears.
A simple decision rule
Use pinking shears when the fabric is woven, the seam isn't under heavy stress, and you want the edge to stay light. Reach for a stitch or serger when the seam needs more durability or when the cloth has stretch. If you're unsure, think about how much the edge will move, rub, or be washed.
When and How to Use Them on a Seam
The cleanest pinked edge usually happens after the seam is sewn. That's the workflow most sewists trust because the seam line already holds the project together, and the pinking shears only have to manage the allowance. On some layers, you may need to cut one side at a time if the blades don't comfortably take both layers at once.

The seam-finishing rhythm
Sew the seam first. Press it open or to one side, depending on the pattern and the bulk you're managing. Then trim the allowance with pinking shears, keeping the teeth just outside the seam line so you don't weaken the stitching.
A useful workshop rule from McKinney is to remove only about 1/8 inch (0.3 cm) when pinking a seam allowance. That small trim keeps more fabric in reserve, which helps the seam stay stable while still slowing fraying toward the stitching line. If you cut too deep, you've defeated the point.
Pro-tip: on seams that need a crisp visual line, mark the allowance first and keep the pinking cut consistent. A tool like the Hera marker makes that kind of planning easier before the scissors ever touch the cloth.
What to avoid
Pinking shears aren't the first choice for curves that need to lie flat. The zigzag edge can add visual texture, but it can also create little bites that don't behave nicely around tight shapes. They're best on straight or gently shaped edges where the fabric can keep its structure.
Here's a video tutorial that shows the basic cutting motion in real time.
Soft fabric guidance matters here too. The cleaner the original stitch line, the better the pinked finish looks afterward. Pinking shears are a finishing step, not a rescue step.
Fabrics and Projects That Love a Pinked Edge
Pinking shears shine on materials that cooperate with a zigzag cut. Woven cotton, linen, felt, and flannel are all natural candidates because the sawtooth edge helps keep loose threads from wandering. They also work well on some decorative synthetics that do not fray much, where the goal is a tidy finish rather than heavy containment.

Good matches for the tool
Woven quilting cotton is the easy place to start. The cut edge stays neat without adding much bulk, which helps when you are piecing, layering, or finishing small components that need to lie flat. Felt also responds well because it does not unravel the way loose woven cloth does.
Pinking shears can be useful for appliqué motifs before they are attached, especially when you want a rustic edge instead of a turned-under finish. Quilters also use them on binding strips, prairie points, and decorative edge treatments where the zigzag becomes part of the look. For fabric choice, a silver or washable fabric marking pencil gives you a clear test line before you commit to the cut.
Where they're not the right answer
Knits are the big caution flag. Stretch fabrics move differently, and a pinked cut does not give the same security that a stretch seam finish does. High-loft fleece is another place to pause, since thickness and texture change how cleanly the teeth can bite.
The simplest check is whether the edge will stay visible and lightly handled, or whether it needs to be strong, flat, and fully enclosed. If it needs serious containment, pinking shears are usually the wrong finish.
A small wool felt coaster set is a good test drive because it lets you see how the tool behaves on a fabric that will not unravel much. A sample set like that makes it easier to judge stitch placement, cutting feel, and edge appearance before you move on to a larger project.
Caring for Your Pinking Shears
A good pair of pinking shears lasts a long time if you treat the teeth with respect. Wipe the blades after each sewing session so lint and finish residue don't build up in the serrations. That little habit protects the edge more than you might realize.
Keep the teeth clean and aligned
Don't cut pins, paper, or hard scraps with them. Those materials nick the blade geometry and make the zigzag less clean on fabric. If the action starts feeling rough, a touch of oil at the pivot can help the blades move more freely.
Store them closed or with a blade guard so the teeth don't bang into other tools in your notions drawer. That matters more than people think, because the sawtooth edge needs protection even when it's not in use. If the blades go dull, use a sharpener that understands serrated geometry rather than treating them like straight scissors.
A simple maintenance habit list
- Wipe after use: remove lint and fabric fuzz before it settles into the teeth.
- Avoid hard materials: keep the shears on cloth, not paper or pins.
- Oil the pivot lightly: use just enough to restore smooth opening and closing.
- Store safely: close the blades or use a guard before putting them away.
Linda's Electric Quilters also carries replacement notions and sharpening-related tools, so refreshing the kit doesn't have to mean starting over. A maintained pair feels better in the hand and makes the cut cleaner, which is the whole point.
Project Ideas and Pro Tips for Quilters
Pinking shears earn their keep fastest on real projects, not in the drawer. Use them on a pinked-edge appliqué quilt when you want a border that looks intentionally textured, or on a decorative pillow where the sawtooth edge becomes part of the design instead of a hidden finish.

They also work well on an embroidered sachet, especially in linen or felt, where the cut edge gives the piece a finished look without extra bulk. For a project that lets you see the tool doing real work, try a small wool felt coaster set. The edges stay decorative, and the fabric is less likely to wear in a messy way at the corners.
A pinked edge can do more than decorate a surface. On lighter projects, it can be paired with a short line of machine stay-stitching so the edge holds together better than a plain pinked cut alone. That combination is useful on samples, small pouches, and other pieces that need a tidy finish without another machine setup.
For quilters deciding between pinking shears, a zigzag stitch, a serger, or a rotary pinking blade, the question is usually speed versus control. Pinking shears give you immediate edge treatment on small or awkward pieces, while a zigzag stitch adds stitched security, a serger gives a cleaner wrapped edge, and a rotary pinking blade can help on longer cuts when you already have the cutter out. The hand tool is especially handy for trims, test blocks, and shapes that do not feed neatly through a machine.
A simple way to practice is to cut one piece with an exposed edge and one piece that will sit inside a project. That lets you see how the same tool behaves on decorative work and on a seam allowance. If you want to stock up on pinking shears, compatible notions, or project supplies, Linda's Electric Quilters keeps the tools and resources in one place.
Pinking Shears Questions, Answered
What are pinking shears?
Pinking shears are sewing scissors with sawtooth (zigzag) blades. Instead of one straight cut, they leave a notched zigzag edge on woven fabric, which slows fraying and gives seam allowances, hems, and decorative edges a cleaner finish.
What are pinking shears used for?
Quilters and garment sewists use pinking shears to trim seam allowances, finish raw edges on woven fabrics so they unravel less, tidy hem edges, and add a simple decorative edge — a low-tech alternative to serging or binding an edge.


