
If you’ve ever been told to never touch your bobbin tension, you’re not alone. But honestly? It's time to bust that myth. Learning how to change bobbin tension isn't some forbidden art—it's one of the most practical skills you can master for getting those perfect, professional-looking stitches for your next project.
Think of your top and bobbin tension as a constant tug-of-war. For a perfect stitch, it needs to be a tie. When one side pulls too hard, the whole seam pays the price.
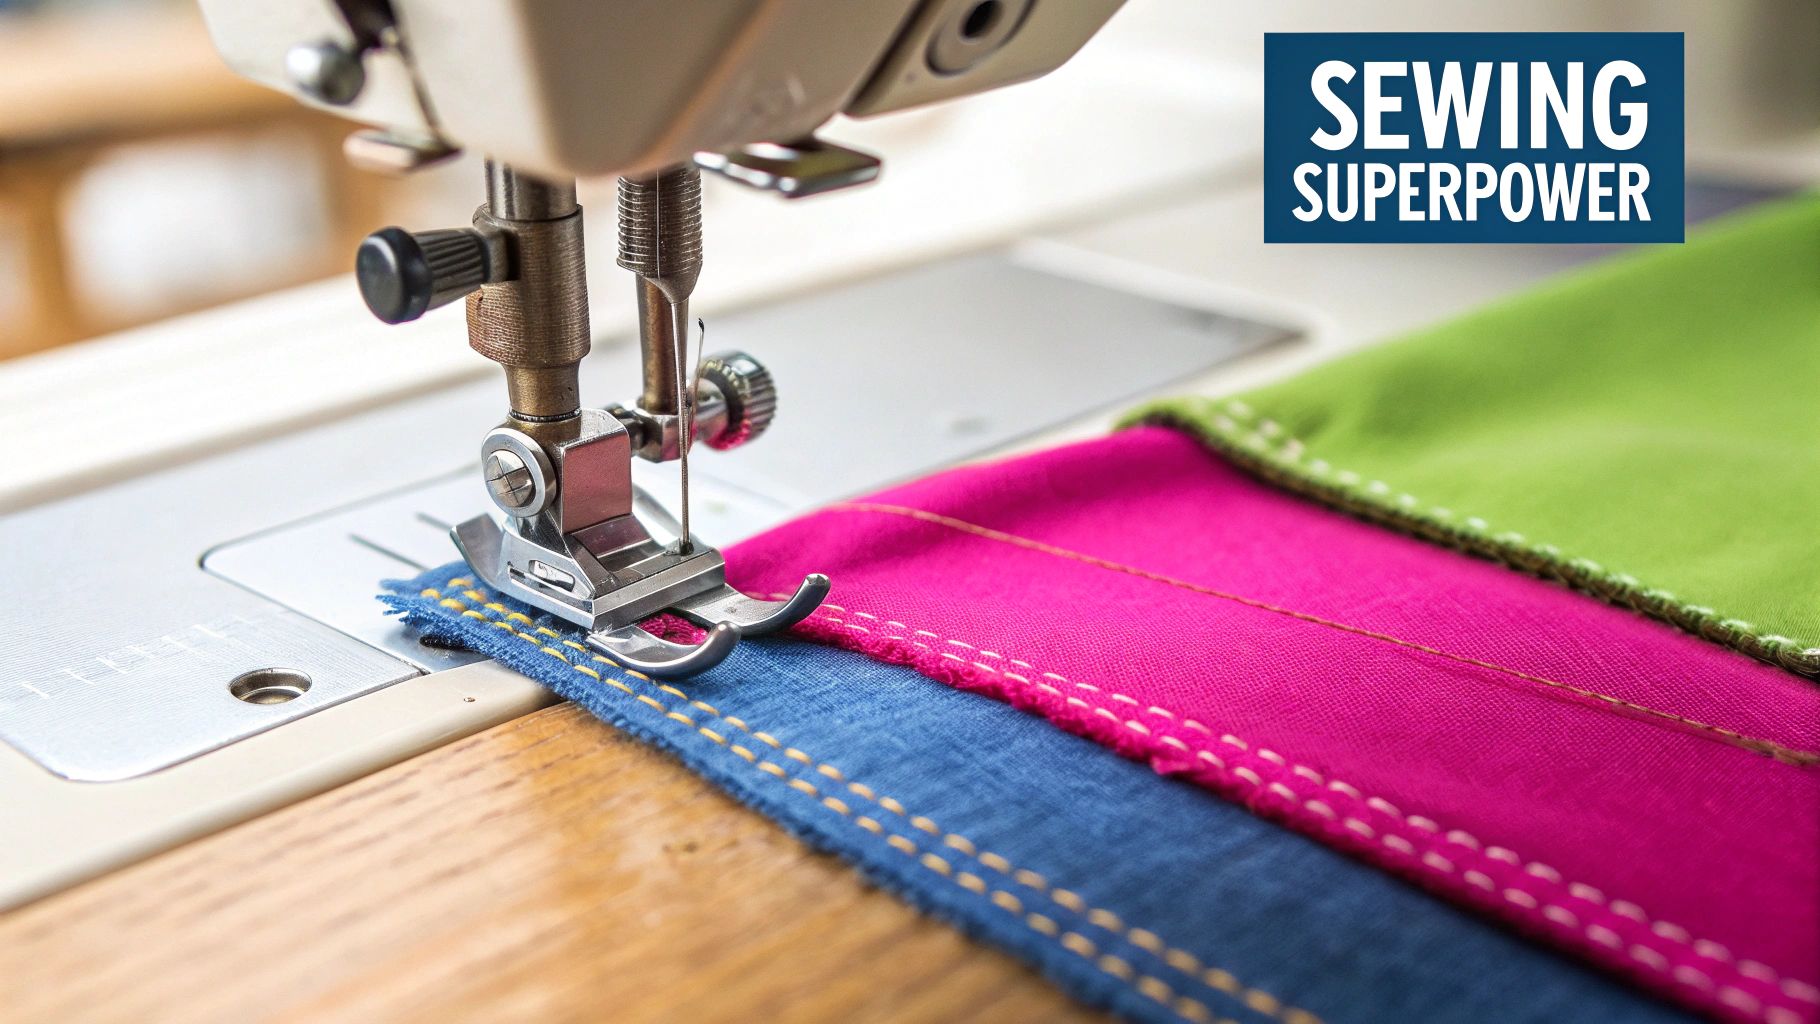
Why Bobbin Tension Is Your Sewing Superpower
Most of us get comfortable fiddling with the top tension dial, and for good reason—it's right there and easy to change. But that's only half the story. A truly balanced stitch, where the top and bobbin threads meet perfectly between the layers of your fabric, often needs a tiny tweak from below.
This becomes crystal clear when you switch materials for a new project. The settings that worked beautifully on that lightweight cotton lawn will almost certainly throw a fit when you move to a heavy denim or a slippery satin.
Ignoring the bobbin tension is a recipe for frustration. No amount of adjusting the top dial will fix these classic headaches:
- Loops on the back: The hallmark of top tension being too loose or, more often, bobbin tension being too tight. The bobbin thread is winning the tug-of-war and yanking the top thread down.
- Loops on top: The reverse problem. Your bobbin tension is probably too loose, allowing the top thread to pull it right up to the surface.
- Sad, weak stitches: When tension is out of whack, stitches just look off. They might be flat, uneven, or just plain weak, which is the last thing you want for a durable seam in your finished project.
From Simple Screws to a Sewer's Secret Weapon
Adjusting bobbin tension isn't a new concept. While the earliest machines from the 1850s were pretty basic, by the 1950s, over 90% of machines gave sewers this control. The funny thing is, surveys back then showed only about 10% of home sewers actually felt confident enough to do it.
That hesitation is still around today, but getting comfortable with that tiny screw can solve most stitch problems without a pricey trip to the repair shop. You can find more cool history and insights about sewing machine tension settings here.
A tiny, deliberate turn of the bobbin tension screw can be the difference between a frustrating sewing session and a flawless final project. It’s about taking control of your machine, not being afraid of it.
By learning to spot the signs and make small adjustments, you'll gain a massive advantage in every project you tackle. Ready to give it a try? The next sections will walk you through exactly how to do it. And remember, great projects start with great materials. Make sure you're set up for success with high-quality threads and notions from Linda's to finish your project perfectly.
Common Stitch Problems and Their Tension Cause
Not sure if your bobbin is the culprit? This quick-glance table can help you diagnose what's going on with your stitches.
| Symptom | Likely Bobbin Tension Issue | What You See on Your Fabric |
|---|---|---|
| Thread loops on the fabric's underside | Too tight | Small loops or "eyelashes" of the top thread are visible on the bottom side of the seam. |
| Thread loops on the fabric's top side | Too loose | Small loops of the bobbin thread are visible on the top side of the seam. The stitch might look loose. |
| Puckering or gathering fabric | Too tight | The fabric is bunching up along the seam line, especially on lightweight materials. |
| Skipped or weak stitches | Too loose or too tight | The stitch formation is inconsistent, with some stitches not forming correctly or the seam feeling weak. |
Keep this chart handy! It's a great starting point for troubleshooting before you start turning any dials or screws on your project.
First Things First: Prepping Your Machine for a Perfect Adjustment
Hold on there! Before you grab a screwdriver and start turning that tiny screw on your bobbin case, let's cover some crucial prep work. I can't tell you how many times a tension problem wasn't a tension problem at all. It was something much simpler.
Taking a few minutes to set the stage properly can save you a world of frustration and get you back to your project faster.
First up, give your machine a quick clean. Pop out the bobbin case and get in there with a little brush. You’d be amazed how quickly lint and dust can build up and wreak havoc on your thread path. Even a tiny bit of fuzz can throw everything off.
The Essential Pre-Flight Checklist
With a clean bobbin area, it's time to run through a few non-negotiables. Getting these basics right eliminates the usual suspects behind wonky stitches, so you can be sure you’re actually dealing with a tension issue.
- Start with a Fresh Needle: This is my number one tip for any stitch issue. A dull or slightly bent needle is the biggest cause of skipped stitches and shredding thread. Always pop in a new one that’s right for your fabric before you start troubleshooting.
- Use a Well-Wound Bobbin: A lumpy, loose, or unevenly wound bobbin is a recipe for disaster. It simply can't deliver thread smoothly, making consistent tension impossible to achieve. Grab a bobbin that’s been wound nice and evenly.
- Double-Check Your Threading: We've all done it—missed a guide or forgotten to raise the presser foot. Unthread your machine completely and re-thread it from scratch. Make sure that thread snaps firmly into the top tension discs.
Think of it like this: trying to adjust the tension without doing these checks is like trying to tune a car that's out of gas. You'll spend forever chasing a problem that isn't the real issue.
Once you’ve gone through this checklist, you can confidently move on to the bobbin itself. For those of us who want truly flawless results, starting with top-notch supplies makes all the difference. Using great thread and bobbins from a trusted source like Linda's Electric Quilters gives you the best possible foundation for perfect stitches on every project.
How to Confidently Adjust Bobbin Tension
Alright, your machine is clean and prepped, so let's get down to the business of mastering your stitch quality. Adjusting bobbin tension can feel intimidating, but it's really more of an art than a science. It's about developing a "feel" for your machine. We're going to demystify that tiny little screw and give you the confidence to dial it in for any project you can dream up.
First things first, you need to find the tension screw on your bobbin case. Whether you have a front-loading or drop-in style, you'll see a very small, flat-head screw on the side. This is your command center. Grab the little screwdriver that came with your machine—it's usually the perfect fit.
Mastering the Classic 'Drop Test'
For generations, sewers have sworn by the "drop test." It's a beautifully simple, time-tested technique that works wonders without any fancy gadgets.
Here’s how you do it:
- Hold the Thread: Pop your bobbin into its case, then let the whole thing dangle by holding onto the thread tail.
- Give a Gentle Bounce: Now, give your hand a little yo-yo-like flick. Just a gentle bounce.
- Observe the Drop: A perfectly set bobbin case will slide down a few inches and then stop. If it plummets toward the floor, your tension is way too loose. If it barely budges, it's too tight.
The sweet spot is a drop of about 3 to 4 inches after a gentle tug, followed by an immediate stop. This little movement tells you there's just enough resistance on the thread to form a perfectly balanced stitch.
Before you start twisting screws, it's always smart to run through a quick pre-flight check. This infographic is a great visual reminder of the basics.
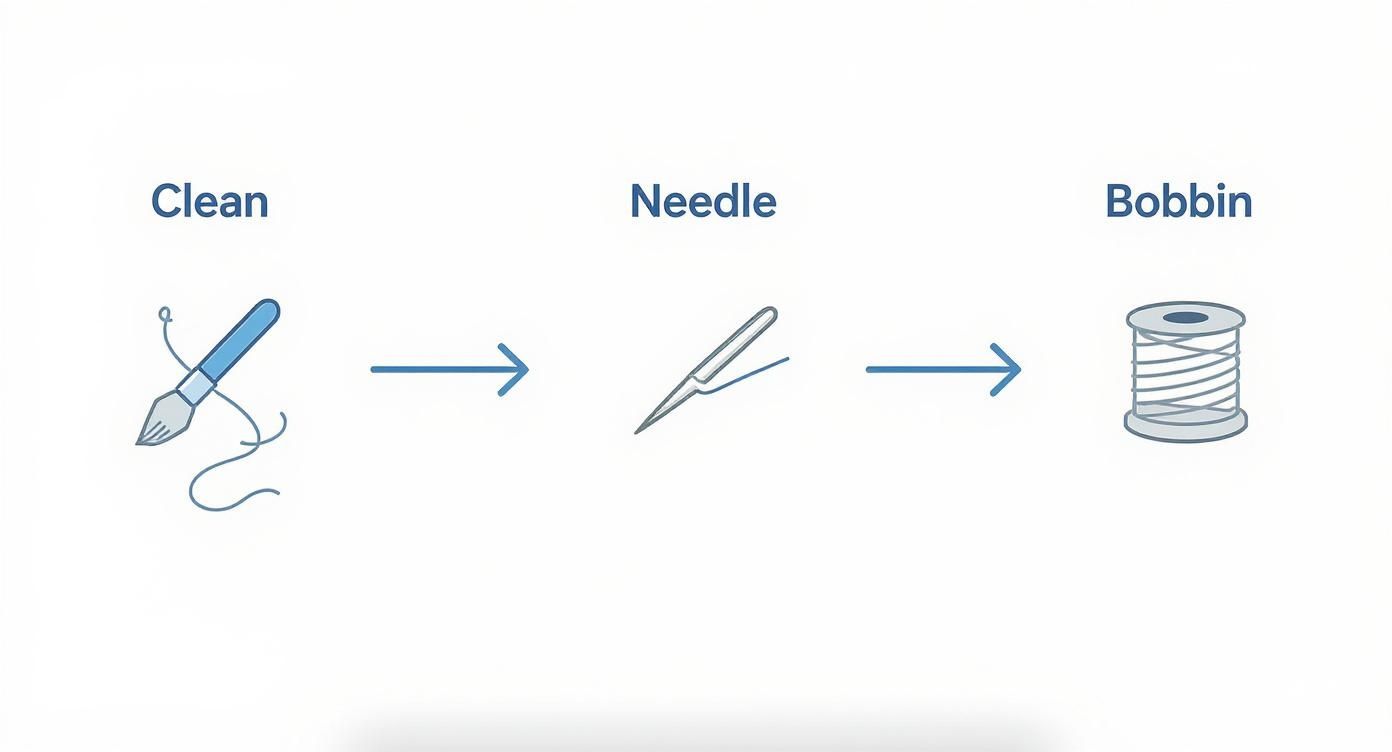
See? A clean machine, a new needle, and a properly wound bobbin are non-negotiable. They set the stage for any tension tweaks you need to make.
Making Tiny, Precise Adjustments
When it's time to turn the screw, think like a watchmaker. You're only going to make tiny adjustments, like moving the hand of a clock by just five minutes. Remember the old saying: "Righty-tighty, lefty-loosey."
If the bobbin case dropped too far, give the screw a teeny-tiny turn clockwise (to the right) to tighten things up. If it wouldn’t drop at all, a little nudge counter-clockwise (to the left) will loosen it.
Don't underestimate these small moves. You'd be surprised to learn that improper bobbin tension is responsible for approximately 30% of all stitch quality headaches. One study even found that 78% of these issues were solved with less than a quarter-turn of the screw. You can read more about these fascinating bobbin tension findings online.
After each little turn, do the drop test again. Lather, rinse, repeat until you nail that perfect, controlled drop. Once it's dialed in, the difference in your stitch quality will be night and day. And to make sure those gorgeous stitches hold up, always start with high-quality threads and bobbins from Linda's Electric Quilters—we're here to help every project succeed.
Testing and Fine-Tuning for Different Fabrics
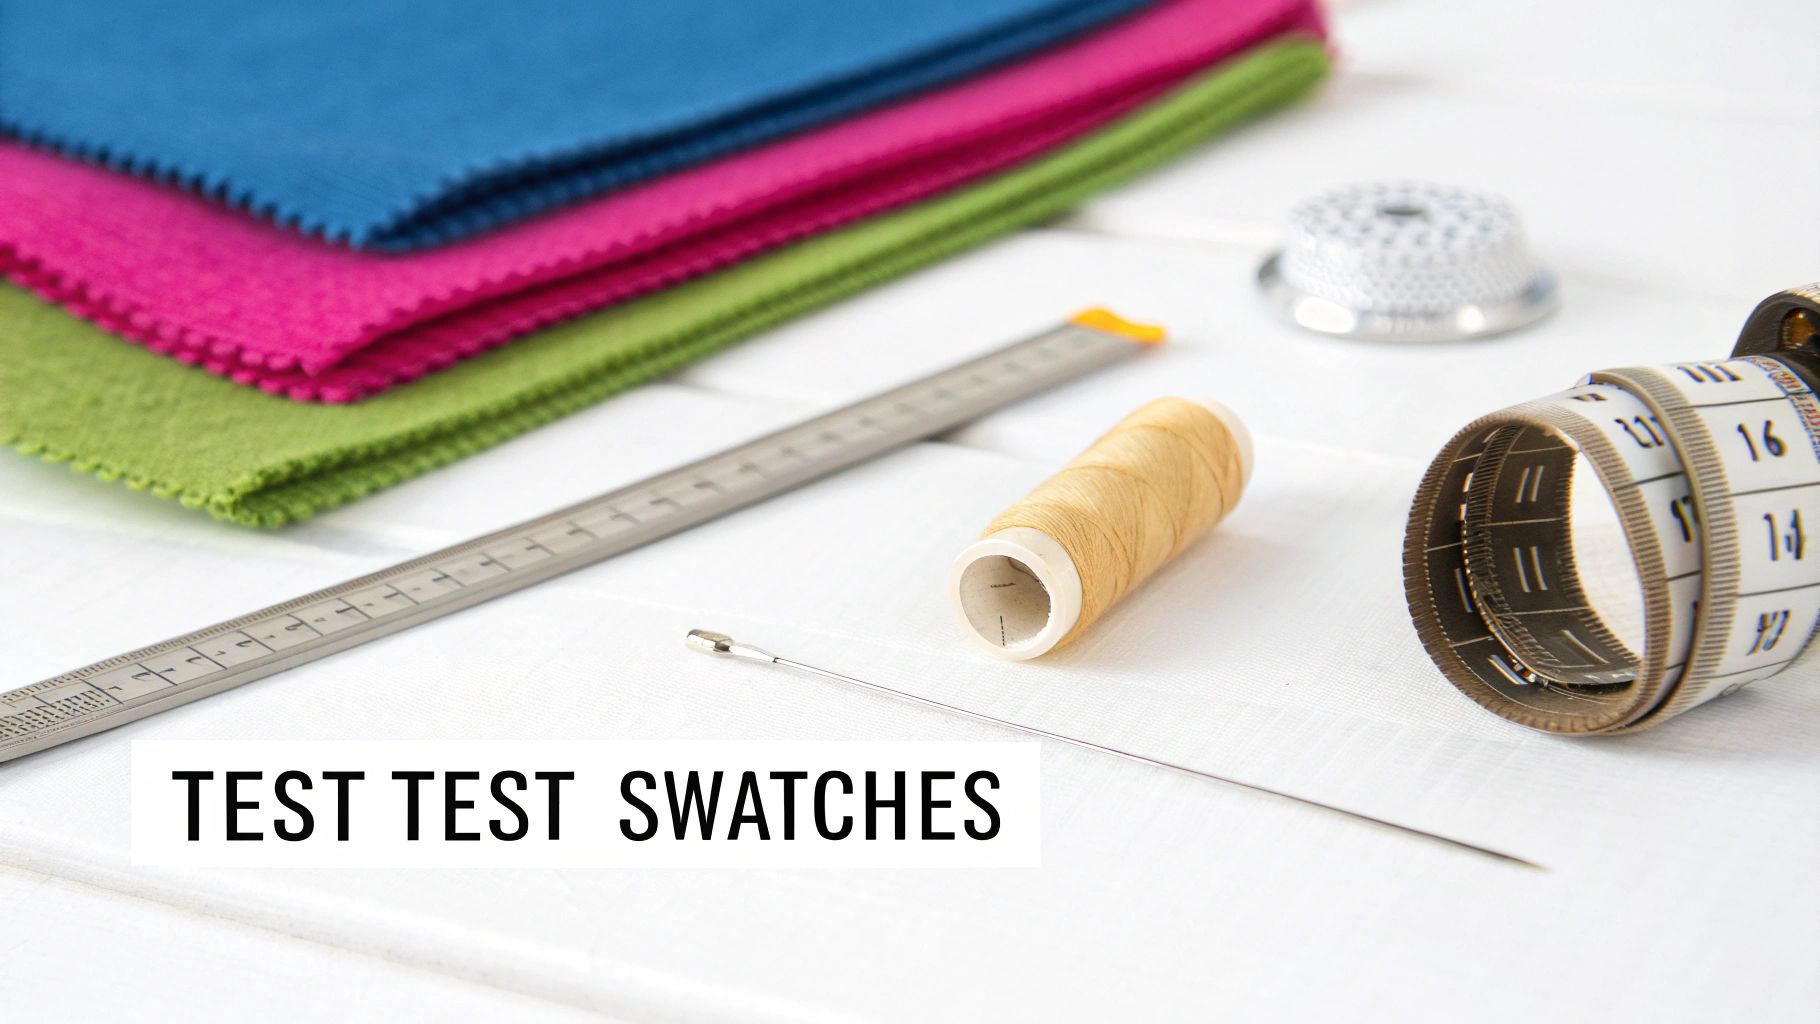
Any adjustment you make is really just a theory until you test it. After getting your bobbin tension dialed in, the real proof is how it performs on the fabric you're actually using for your project. A "perfect" setting doesn't mean much if it creates ugly stitches on your chosen material.
So, grab a scrap of your project fabric—it has to be the exact same stuff—and sew a little test swatch. I always stitch a few straight lines and then add some curves, because tension problems love to reveal themselves on corners and arcs. Now, it's time to put on your detective hat and see what the stitches are telling you.
What a Balanced Stitch Looks Like
A perfectly balanced stitch is truly a beautiful sight. When you look at your test swatch, both the top and bottom should show neat, even stitches. The real magic, though, is what’s happening inside the fabric. The spot where the top thread and bobbin thread lock together should be pulled right into the middle of the fabric layers, totally hidden from view.
If you can see little dots of your bobbin thread poking up to the top side, your top tension is too tight (or the bobbin is too loose). If you flip it over and see the top thread getting yanked to the back, your bobbin tension is too tight.
Remember, the goal is a harmonious partnership where neither thread overpowers the other. This perfect meeting point in the middle is the key to strong, beautiful seams for a long-lasting project.
Adapting for Challenging Materials
Let's be real: not all fabrics behave the same way. The tension that works like a dream for quilting cotton can cause a nightmare of puckering on silk or create weak seams on heavy canvas. This is where your ability to fine-tune becomes a sewing superpower for any project.
- Slippery or Fine Fabrics (Silk, Satin): These delicate materials will show every single flaw. You'll probably need a slightly looser tension all around to keep the fabric from gathering and puckering.
- Heavy-Duty Fabrics (Canvas, Denim): For these workhorse fabrics, you might need a slightly tighter bobbin tension to make sure that stitch lock is pulled firmly into the core of the thick material.
- Specialty Threads (Metallics, Holo): Oh, these threads. They are notoriously fussy and often require much looser tension on both the top spool and the bobbin to keep them from shredding or breaking constantly.
Never be afraid to make tiny, incremental adjustments and test again. And again. Having a great toolkit, including a variety of needles and high-quality threads from Linda's Electric Quilters, is a game-changer here. It ensures you’re ready to tackle any project that comes your way with total confidence.
Common Mistakes and How to Avoid Them
Figuring out bobbin tension can feel a bit like walking a tightrope at first, but once you know where the common tripwires are, it gets a whole lot easier. One of the biggest mistakes I see sewers make is giving that tiny tension screw a huge, dramatic turn. They expect a big change, but all it does is send the tension flying in the opposite direction, creating an even bigger mess.
Another classic error is jumping straight to tension when the real problem is something else entirely. Before you even think about grabbing that screwdriver, do a quick check-up. Is your needle dull? Is the bobbin wound poorly? These are the usual suspects. A little lint buildup can also be a master of disguise, perfectly mimicking a tension issue. So, always rule out the simple stuff first to save your project from frustration.
Myth Busting the Bobbin Screw
Let's tackle the biggest myth of all: that you should never, ever touch the bobbin tension screw. This piece of advice is so outdated, and honestly, it holds sewers back from truly understanding their machines. While you won't need to tweak it for every single project, knowing how to adjust it is a game-changer when you switch thread weights or run into stubborn stitch problems.
Think of the bobbin tension screw as a fine-tuning dial, not a panic button. The secret is always small, deliberate adjustments. That's how you'll hit that sweet spot of perfect stitch balance.
Just for perspective, in an industrial sewing environment, technicians might check tension constantly—sometimes over 200 times per machine per year! We don't need to be that obsessive at home, but it shows how important it is. In fact, repair shops report that a staggering 35% of service calls are related to unresolved tension problems. You can get ahead of that curve. If you want to dive deeper, you can find more global bobbin tension insights and practices here.
Your Bobbin Tension Questions Answered
Even after you think you've got it down, a few questions always seem to pop up. Learning the ins and outs of bobbin tension is a skill that really grows with experience, so let’s dive into some of the most common things people ask as they work on their projects.
A lot of sewists want to know how often they should actually be checking their tension. A great habit to get into is checking it every single time you start a new project or switch your thread type. I know, it sounds like a hassle, but it takes just a second and can save you from a huge headache—and hours of unpicking—later on. Think of it as a quick pre-flight check before you start sewing.
Handling Unique Situations
Another question I hear all the time is about having a separate bobbin case. Is it really worth it? Absolutely, especially if you love working with specialty threads for creative projects.
Having one bobbin case that you keep set for your go-to sewing thread and another one you can adjust freely for tricky metallics or thick topstitching thread is a massive time-saver. Plus, it keeps your main case's factory settings from getting all out of whack.
But what if the tension screw feels totally stuck and just won't turn? First thing's first, double-check that you’re using the right size screwdriver—you need one that fits perfectly in the slot. If it still won’t move, a tiny drop of sewing machine oil left to sit for a few minutes can usually work its magic and loosen things up.
The most important thing to remember is that you are in control of your machine. Don't ever be afraid to experiment and test your adjustments on scrap fabric. Every single stitch is a chance to learn something new.
Armed with these answers, you’re in a much better spot to tackle those real-world sewing challenges. Perfect tension isn't about nailing it on the first try; it's about knowing how to spot a problem and feeling confident enough to make the right adjustments to complete your project beautifully.
With every project, the right supplies make all the difference. For high-quality threads, bobbins, and notions that will help you achieve that perfect stitch, explore the amazing selection at Linda's Electric Quilters. Get everything you need for your next creation at https://lindas.com.


