
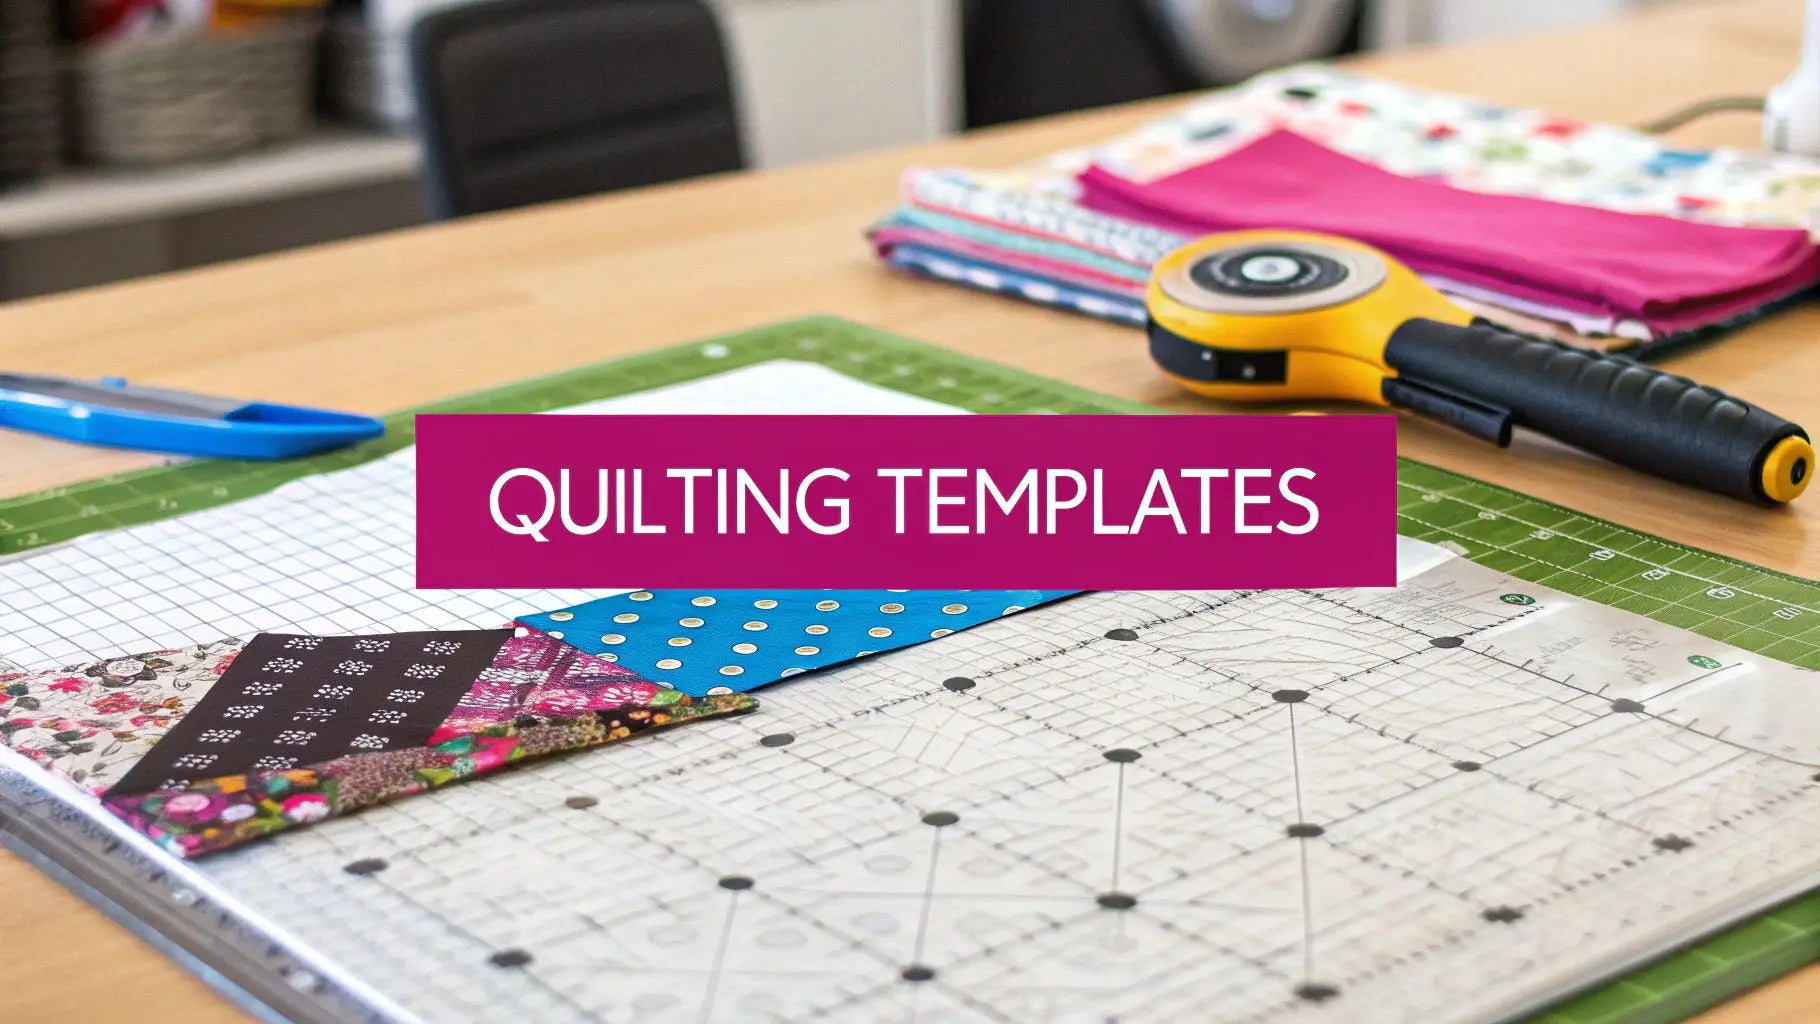
What exactly are quilting ruler templates? At their heart, they’re specialized tools, usually made from tough, clear acrylic, that work with your rotary cutter to give you perfectly accurate, repeatable cuts every single time.
Think of them as a stencil for your fabric shapes. They guarantee that every piece of your quilt block is absolutely uniform. That precision is the real secret behind those crisp points and seams that line up flawlessly in a finished quilt. Let's explore how these tools can elevate your next project.
Building Your Foundation for Flawless Quilts
If you've ever found yourself wrestling with wonky blocks or seams that just refuse to meet, the problem often starts long before you sit down at your sewing machine. It starts at the cutting mat. Using quilting ruler templates is that foundational step that can take a project from frustrating to fantastic.
They completely remove the guesswork. Every square, triangle, or curve you cut will be an identical twin to the last one. For intricate patterns where even a tiny slip can throw off the whole design, this kind of precision isn't just nice—it's everything. These rulers are your blueprint for a beautiful quilt.
Why Every Quilter Needs Templates
For anyone just starting, templates are a huge confidence booster, ensuring accuracy from the very first slice. For those of us who have been quilting for years, they're all about efficiency and opening the door to more complex designs without the headache.
It’s no surprise that their popularity is skyrocketing. The global quilting ruler market, valued at around $310 million, is expected to jump to nearly $495 million by 2033. That number tells a story: quilters everywhere recognize the value these tools bring to our craft. You can explore more insights on the quilting tools market to see just how much our community loves precision.
Having just a few key templates in your toolkit can completely change your quilting game. They bring so much to the table:
- Consistency: Every piece cut from the same template is a perfect match. This is non-negotiable for clean, professional piecing.
- Speed: Forget measuring and marking each piece individually. Templates let you fly through cutting multiple identical shapes.
- Complexity: They make tricky shapes like curves, wedges, and hexagons not just possible, but downright simple to cut accurately.
I’ve always said that the biggest leap in a quilter's skill often happens at the cutting mat. Learning to master good templates is what truly transforms a pile of fabric into a work of art, one perfect piece at a time.
Ready to start building your own collection? Diving into the world of templates can feel overwhelming, but a few key shapes will get you through the vast majority of patterns out there.
Essential Quilting Ruler Template Types
This table breaks down the must-have quilting ruler templates that form the backbone of any quilter’s toolkit.
| Template Type | Best For | Example Project |
|---|---|---|
| Square Rulers | Squaring up blocks, cutting squares, half-square triangles (HSTs) | Classic patchwork quilts, checkerboard designs |
| Triangle Rulers | Flying geese units, hourglass blocks, equilateral triangles | Star patterns, modern geometric quilts |
| Hexagon Rulers | "Grandmother's Flower Garden" patterns, modern hexie quilts | Traditional English paper piecing (EPP) style quilts |
| Dresden Plate Rulers | Creating the classic circular "Dresden Plate" or fan blocks | Vintage-inspired quilts, decorative table runners |
| Orange Peel/Curve | Piecing gentle curves, creating appliqué shapes | Orange Peel quilts, Clamshell patterns |
Once you have these basics covered, you'll be amazed at how many quilt patterns suddenly feel within reach. You can find these essential shapes and so many more in our curated collection at Linda's to get your next project started on the right foot.
How to Choose the Right Quilting Rulers
Ever walk into a craft store and just stare at the wall of quilting rulers? It’s completely overwhelming, and you start to wonder if you need every single one. Trust me, you don't. The real secret isn't owning a massive collection, but knowing what makes a ruler a truly great tool that will last you for years.
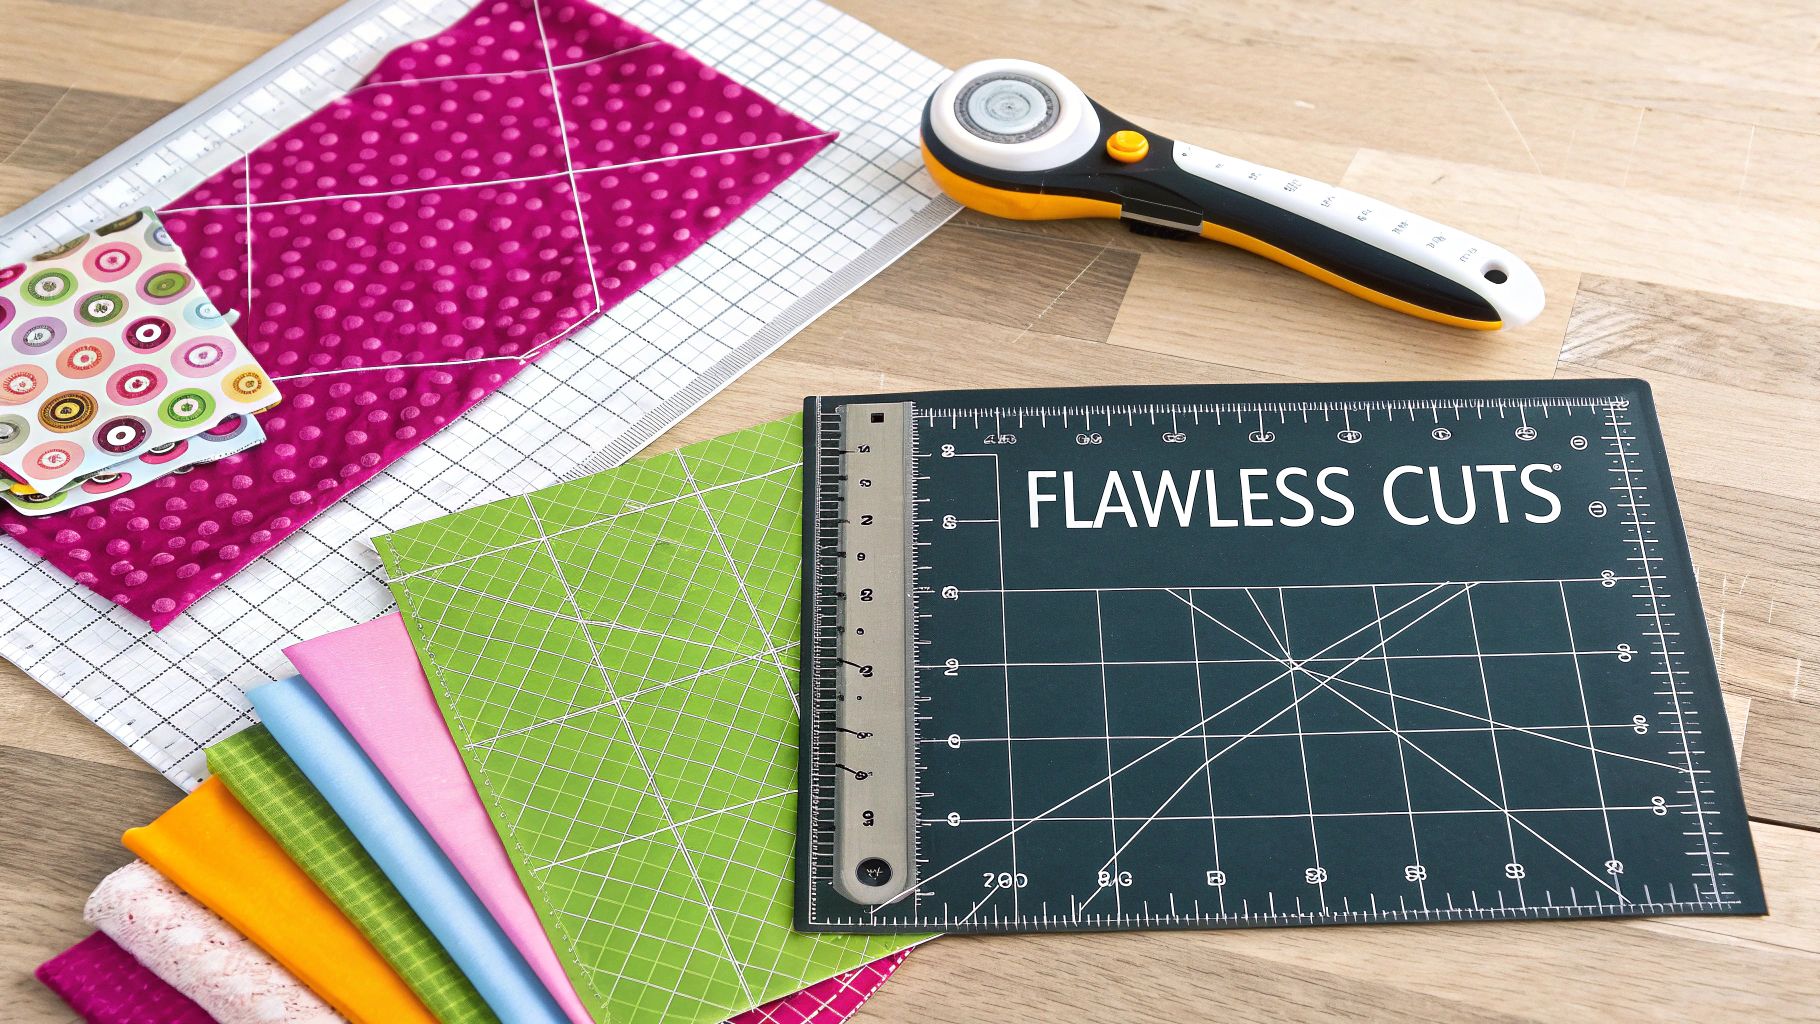
First things first, let’s talk material. A quality ruler is made from a hefty, durable acrylic. You’ll want to look for one that’s about 1/4-inch (or 6mm) thick if you’re using a longarm, and a solid 1/8-inch thick for your domestic machine. That thickness is your best friend—it acts as a safe wall for your rotary cutter and, more importantly, keeps the ruler from slipping under your machine’s ruler foot. A flimsy ruler is just asking for crooked cuts and a whole lot of frustration.
Look for Clear and Accurate Markings
After checking the thickness, get a good look at the markings. The best rulers have lines that are etched right into the acrylic, not just printed on top. Why? Because printed lines will eventually wear away with use, leaving you guessing. It's also a huge help to find rulers with multiple angle lines—your basic 30, 45, and 60 degrees are absolute lifesavers for cutting triangles and other geometric shapes without having to break out a protractor.
A good ruler should have a grid that covers the whole surface with clear, easy-to-see increments. This lets you measure from any side and line up your fabric just right, so you can actually "measure twice, cut once" and mean it.
The Non-Slip Grip Advantage
We’ve all been there: you’re making that final, perfect cut, and the ruler slides at the last second, completely ruining a piece of fabric you love. That’s exactly why non-slip grips are a quilter’s secret weapon. Many of the best quilting ruler templates today have a special non-slip coating or a textured back that grabs the fabric just enough to keep it steady.
This one little feature is a total game-changer for your accuracy and your safety. It gives you the stability to press down firmly with your rotary cutter for crisp, clean cuts and way fewer do-overs.
If you’ve got a favorite ruler that’s a bit on the slippery side, don’t worry! You can easily buy some adhesive non-slip dots or rings and add them yourself. It's a tiny investment that makes a huge difference in your finished quilts.
Building Your Essential Ruler Collection
You really don't need a drawer overflowing with rulers when you're starting out. A few solid, versatile rulers will get you through almost any project you can dream up.
- A long rectangular ruler (like a 6" x 24"): This one is non-negotiable. It’s your go-to for cutting long strips for binding and sashing, and for squaring up bigger cuts of fabric.
- A medium square ruler (like a 12.5" x 12.5"): Absolutely perfect for squaring up your standard quilt blocks.
- A smaller square ruler (like a 6.5" x 6.5"): This little guy is amazing for smaller blocks and for precisely trimming things like half-square triangles (HSTs) and flying geese.
Once you get more comfortable, you can start adding specialty quilting ruler templates to your collection as you need them—think curved rulers for a Drunkard’s Path block or a wedge ruler for a Dresden Plate. Start with these basics, and let your projects tell you what to buy next.
Ready to build your collection with tools that are built to last? We’ve hand-picked a fantastic selection of high-quality rulers right here at Linda's Electric Quilters. We only stock the best, so you can be sure every project starts with a perfect cut.
Mastering Your Rotary Cutter and Ruler
This is where the real magic happens—when your quilting ruler template meets your rotary cutter. Precision starts right here. Getting a perfect, clean cut every single time isn't about luck; it's all about technique, a good setup, and the right tools for the job.
Before you even think about laying that blade to fabric, take a minute to set up your space for success. Your two best friends in this process are a large self-healing cutting mat and a rotary cutter armed with a fresh, sharp blade. Trust me, a dull blade is the number one culprit behind skipped threads and those jagged, frustrating cuts that throw everything off. A sharp blade, on the other hand? It'll glide through your fabric like a hot knife through butter.
Aligning Your Fabric for Success
One of the most common mistakes I see beginners make is forgetting to align the fabric's grainline. Your fabric has a lengthwise grain (running parallel to the selvage) and a crosswise grain (running perpendicular). Cutting with the grain is what keeps your pieces from stretching and warping down the line, ensuring they all fit together like a perfect puzzle.
To get started, lay your fabric out on the mat and find that selvage edge. Line this edge up perfectly with one of the horizontal lines on your cutting mat. Now, fold your fabric over, bringing that selvage edge up to meet the other one, and smooth everything out. This simple prep step is your guarantee that every cut will be straight and true.
The infographic below really nails down what to look for when choosing a ruler in the first place, which is half the battle for getting a clean cut.
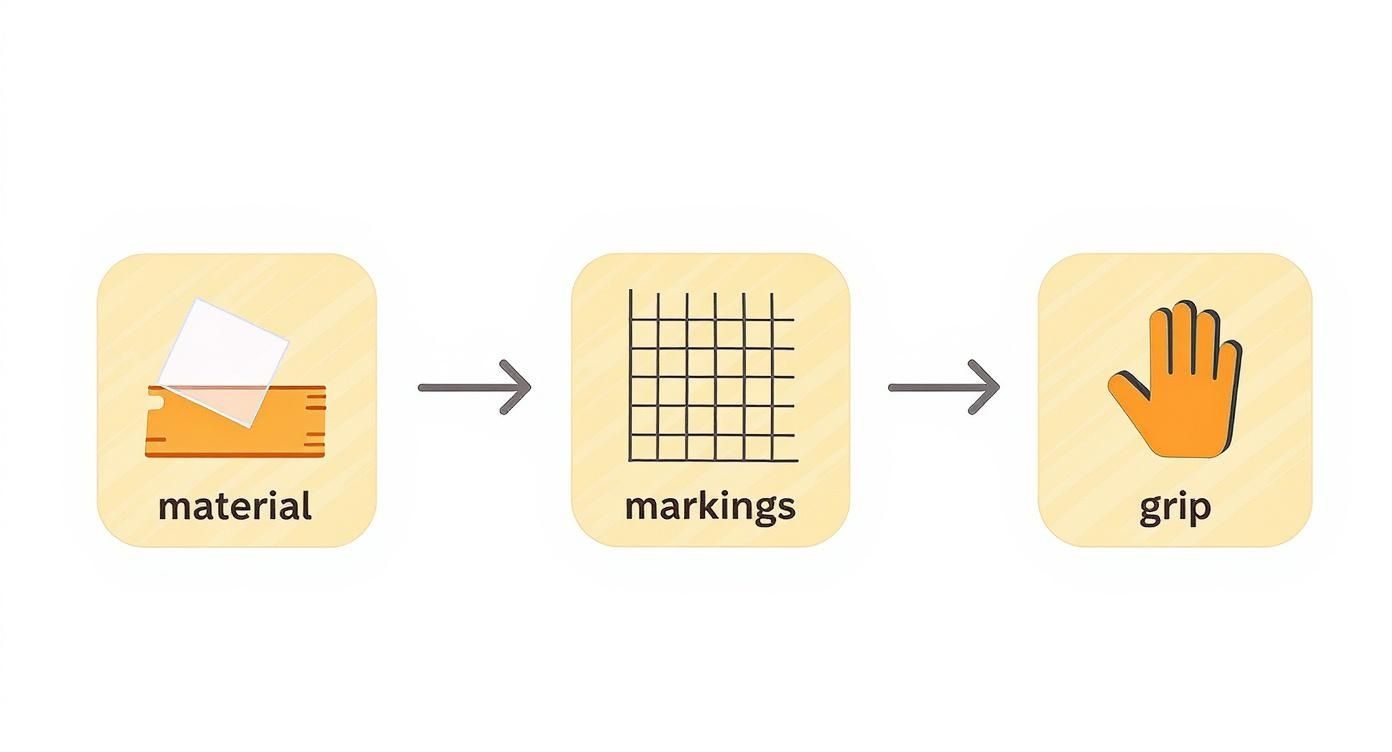
As you can see, the best rulers combine durable material, crystal-clear markings, and a non-slip grip. Getting these features right is foundational to mastering your cutting technique.
Executing the Perfect Cut
Let's walk through this with a simple nine-patch block. To build this block, you need perfectly cut squares. After you've aligned your fabric grain, it's time to "true up" the edge to get a clean starting point. Place your quilting ruler template on the fabric, aligning one of its vertical lines with your folded edge.
Now, hold the ruler down firmly with your non-cutting hand. Spread your fingers out wide—I always say to make a "starfish hand." This pressure is what keeps the ruler from slipping while you cut. With your rotary cutter held upright, press down firmly and just roll that blade smoothly along the ruler's edge in one single, continuous motion. Just like that, you have a perfectly straight edge to measure from.
A little motto I live by in my sewing room is, "Let the tool do the work." When you have a sharp blade and a stable ruler, you shouldn't have to force the cut. Just apply firm, even pressure and let the blade glide. That’s the real secret to an effortless, clean edge.
Okay, now rotate your mat (not your fabric!) a full 90 degrees. To cut a 2.5-inch strip for that nine-patch block, line up the 2.5-inch mark on your ruler with the fresh edge you just cut. Before you slice, double-check that the horizontal lines on your ruler are still aligned with the folded edge of the fabric. This is what we mean by "measure twice, cut once." Once you're confident it's all lined up, make your cut.
Repeat this a few times to create several strips. From there, you can turn these strips and subcut them into perfect 2.5-inch squares. You've just created the fundamental building blocks for your nine-patch with absolute precision.
This methodical approach might feel a little slow at first, but I promise that building these foundational habits will make you a much faster and more accurate quilter in the long run. Mastering that synergy between your hand, the ruler, and the cutter is a skill that will pay off in every single project you make.
Feeling inspired to start your next masterpiece? Make sure you have the best tools for the task. You can find a fantastic selection of sharp rotary cutters, self-healing mats, and the perfect quilting ruler templates over at Linda's Electric Quilters.
Creative Projects with Specialty Rulers
Once you're comfortable cutting straight lines and squares, a whole new world of quilting opens up. This is where quilting ruler templates really get to show off, turning those complex, intimidating designs into beautiful, totally achievable projects.
Let's step beyond the basic ninety-degree angles and try our hands at a couple of classic patterns that absolutely depend on specialty rulers for their signature look. These projects are fantastic for building confidence and seeing just how precise your work can be when you have the right tool for the job.
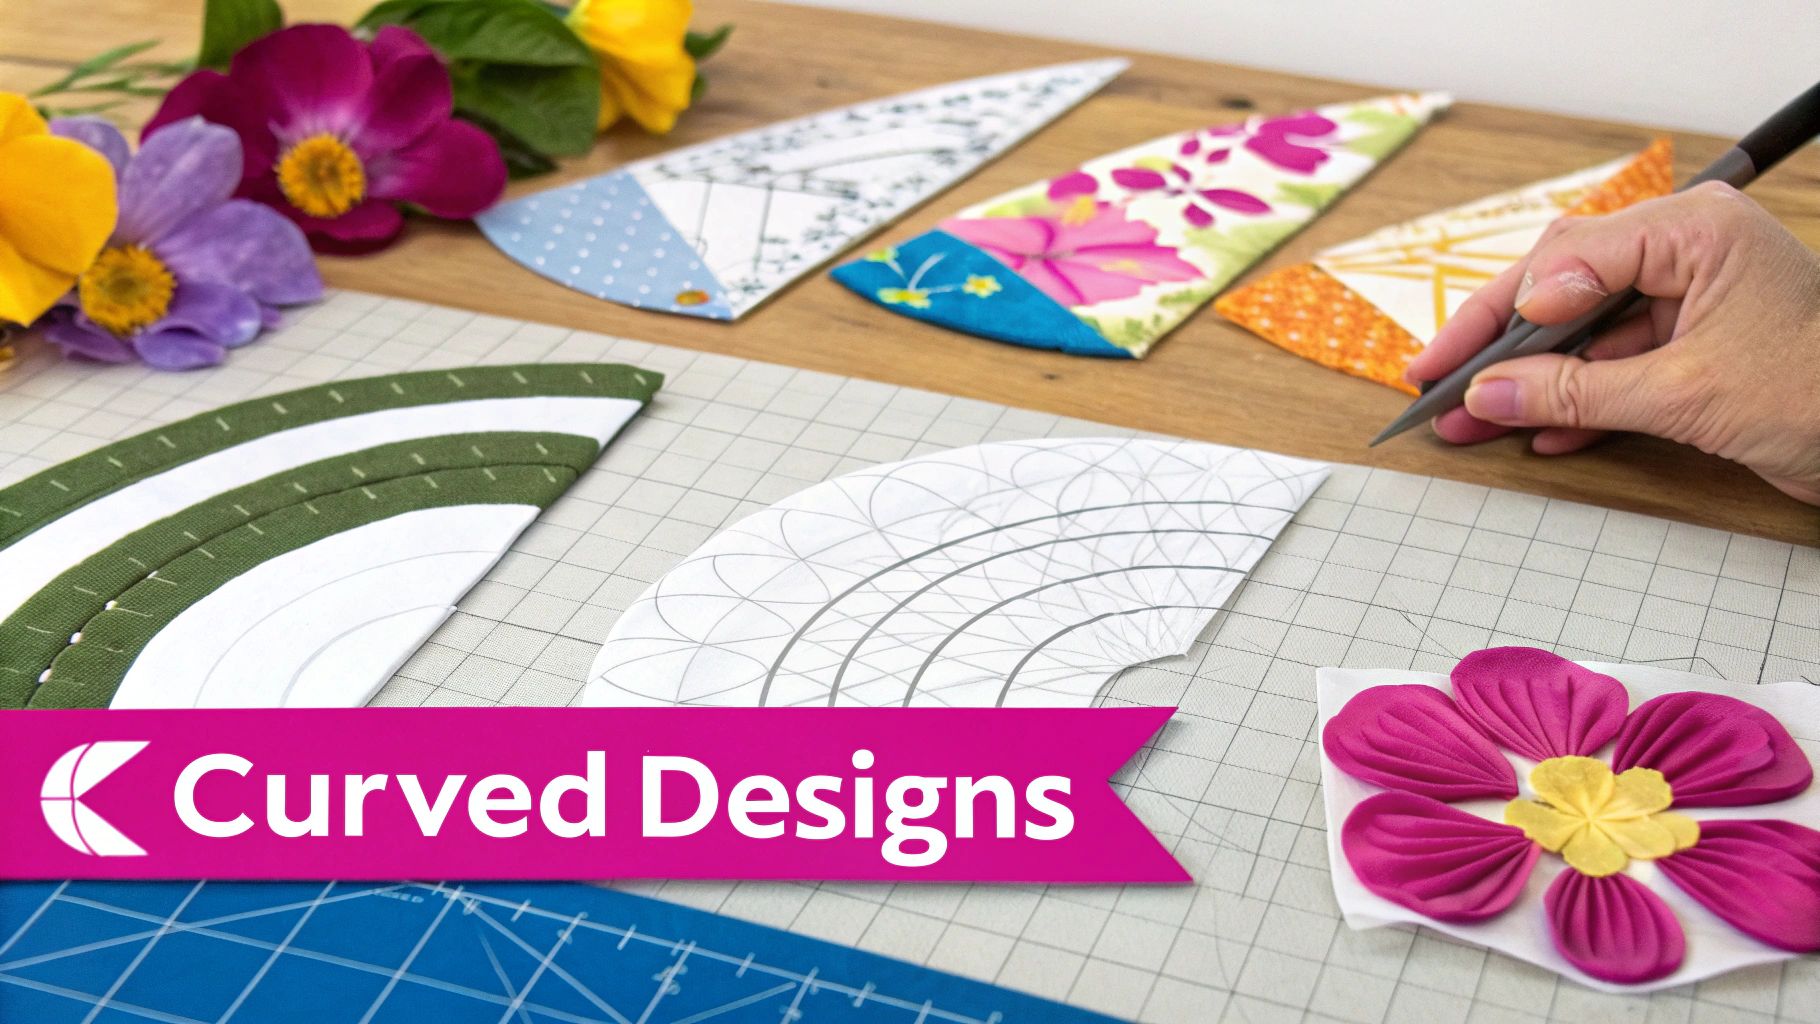
Project One: The Drunkard's Path Block
The Drunkard's Path is a gorgeous, traditional block that can feel incredibly modern, all depending on your fabric choices. Its distinct look comes from piecing a concave (inward-curving) shape with a convex (outward-curving) one. Trying to do this freehand is a one-way ticket to frustration, but with a curved quilting ruler template? It's smooth sailing.
To get going, you'll need a template set made specifically for this block, which will include both the concave and convex shapes.
How to Cut Your Pieces:
- The Convex Piece (The "Ball"): Lay your ruler on the first piece of fabric. Always align the straight edges with the grainline first and make those cuts. Then, hold that ruler down firmly and let your rotary cutter glide smoothly along the outward curve.
- The Concave Piece (The "L-Shape"): Grab the matching ruler and your second fabric. Just like before, cut the straight sides first. For that inward curve, press down firmly and carefully guide your blade along the template's inner edge. A smaller 28mm rotary cutter can be a lifesaver here, making it much easier to navigate tight curves.
Once your pieces are cut, the secret to sewing them is finding the center of each curve. Just fold both pieces in half and make a little finger-press at the middle of each curve. Match those center points up, pop a pin in, and then gently ease and pin the rest of the curve together before you head to the machine.
Project Two: The Classic Dresden Plate
The Dresden Plate is one of those wonderfully vintage-inspired blocks that brings so much charm to a quilt. It's built from several wedge-shaped "petals" that are arranged in a circle. Getting those petals uniform is next to impossible without a specific wedge ruler—it's truly essential for this pattern.
A Dresden Plate wedge ruler is designed to help you cut perfectly identical petals every single time. Most of these rulers even have markings for different lengths, which gives you total control over the final size of your plate.
Crafting Your Petals:
- Start by cutting your fabric into strips that match the height you want your finished petals to be.
- Place the wedge ruler onto a fabric strip, lining up the marked height line with the top edge of the fabric.
- Make your first angled cut along one side of the ruler.
- Now for the magic trick: flip the ruler over (don't move the fabric!) and line up that same angled edge with the fresh cut you just made.
- Cut along the other side, and you've got your first perfect petal. Just keep flipping and cutting your way down the strip for perfectly uniform petals with almost no fabric waste.
After all that satisfying cutting, you'll simply sew the straight sides of the wedges together to form your beautiful circle.
Tackling patterns like the Dresden Plate or Drunkard's Path is a true milestone for any quilter. It's the moment you realize that with the right template, no shape is too complex. It transforms your cutting from a task into a creative process.
This passion for precision and creativity is a huge part of the craft, especially in certain areas. In fact, North America leads the global quilting ruler market with an estimated value of around $60 million, all thanks to a strong and dedicated quilting culture. You can explore the full research on quilting tool trends if you're curious to see how that passion shapes the industry.
Ready to give one of these timeless designs a try? We have the perfect quilting ruler templates and a huge selection of gorgeous fabrics to bring your project to life. Swing by Linda's Electric Quilters to find the exact specialty rulers you need to get it done with confidence.
Solving Common Cutting Frustrations
Let's be honest—even with the best tools in hand, a little trouble at the cutting mat is just part of the quilting journey. We've all been there. But a bit of frustration shouldn't be enough to derail a project you're excited about. Let’s walk through the most common issues that pop up when using quilting ruler templates and get you back to cutting with confidence.
Probably the number one complaint I hear is a ruler that slips mid-cut, completely ruining a beautiful piece of fabric. It’s infuriating! This tends to happen more with larger rulers, where it’s just plain harder to apply even pressure across the whole surface.
Your first line of defense is simply your hand placement. Try spreading your fingers out wide like a starfish to distribute that pressure evenly. But for a real long-term fix, you need a ruler with a good grip. It's no surprise that market data shows a growing demand for rulers with built-in ergonomic features like non-slip grips. You can actually discover more about quilting ruler market trends to see how brands are responding to what we quilters need.
Don't fight with a slippery ruler. If your favorite one doesn't have a grip, just add some adhesive non-slip dots to the back. It’s a tiny, inexpensive fix that makes a world of difference in your precision and peace of mind.
Why Is My Rotary Blade Skipping?
Another classic headache: your rotary blade starts skipping threads or leaves a jagged, chewed-up edge instead of that clean, satisfying slice. When this happens, it almost always points to one of two culprits: a dull blade or not enough pressure.
A rotary blade can dull much faster than you’d think, especially if you’re cutting through multiple layers or tough fabrics like batiks. The moment you notice your cuts aren't as crisp, it’s time for a new blade. A sharp blade should practically glide through the fabric with minimal effort on your part.
If you’ve just put in a fresh blade and you're still having trouble, take a look at your cutting technique. A few small adjustments can change everything.
- Stand Up: Cutting while standing gives you so much more leverage. You can use your body weight to apply firm, even pressure.
- Press Down: Focus on applying consistent downward pressure on the cutter itself. Let the tool do the heavy lifting.
- One Smooth Motion: Try to avoid those little start-and-stop movements. Your best bet is a single, fluid cutting motion right along the edge of your quilting ruler template.
Pushing through these small challenges is how you build real skill and confidence. With the right tools and a little practice, you can turn any cutting frustration into a learning moment. If you're looking to upgrade, you can find a great selection of non-slip rulers and sharp rotary cutter blades at Linda's Electric Quilters to perfect your setup.
Your Quilting Ruler Questions Answered
We’ve gone over a lot, but I know there are always a few lingering questions that come up when you're at the cutting mat. Let's tackle some of the most common ones I hear from fellow quilters about getting the most out of their rulers. These little bits of know-how will keep your tools in great shape for years of projects.
How Should I Care For My Acrylic Rulers?
Taking care of your rulers is pretty straightforward, but it's incredibly important. The number one rule is to always store them flat. Hanging them from a pegboard might look nice, but it can lead to warping over time, and a warped ruler is an inaccurate ruler.
Also, keep them away from heat. I've heard horror stories of rulers left in hot cars or sitting in a sunny window, which can make them brittle or bendy. When it's time to clean off those little fabric fibers and fingerprints, just use a soft cloth, a little water, and maybe a drop of mild soap. Steer clear of harsh cleaners like Windex or anything with alcohol, as they can cause tiny cracks (called "crazing") in the acrylic and wear away the measurement lines.
Can Rulers Be Used By Left-Handed Quilters?
You bet! It used to be a real struggle for lefties, but thankfully, most quality quilting ruler templates today are made with everyone in mind. The key is to look for rulers with markings that run in both directions. This means you can read the numbers clearly whether you're cutting from the left or the right, without having to do any mental gymnastics.
The best tool is one that feels like a natural extension of your hand. For left-handed quilters, a ruler with mirrored markings isn't just a convenience—it's essential for achieving comfort, speed, and accuracy at the cutting mat.
What Is A Longarm Template?
This is a great question, and the answer comes down to one critical thing: thickness. Your standard rulers for cutting with a rotary cutter and quilting on a domestic machine are typically 1/8-inch thick.
Longarm templates, on the other hand, are much beefier—usually 1/4-inch thick. This is a non-negotiable safety feature. A longarm machine uses a special "ruler foot" that hops along the edge of the template. If you try to use a thin, 1/8-inch ruler, that foot can easily jump right over it and crash into your needle. It's a disaster waiting to happen! So, always, always match your ruler thickness to your machine.
Hopefully, that clears a few things up! Armed with this knowledge, you’re ready to cut with confidence and let your creativity flow. The right tools truly make all the difference, helping you bring the beautiful quilt in your mind to life.
Here at Linda's Electric Quilters, we've carefully selected a collection of high-quality quilting ruler templates, sharp rotary cutters, and gorgeous fabrics to help you at every stage.
Explore our full range of notions at lindas.com and find the perfect tools to finish your masterpiece.


