
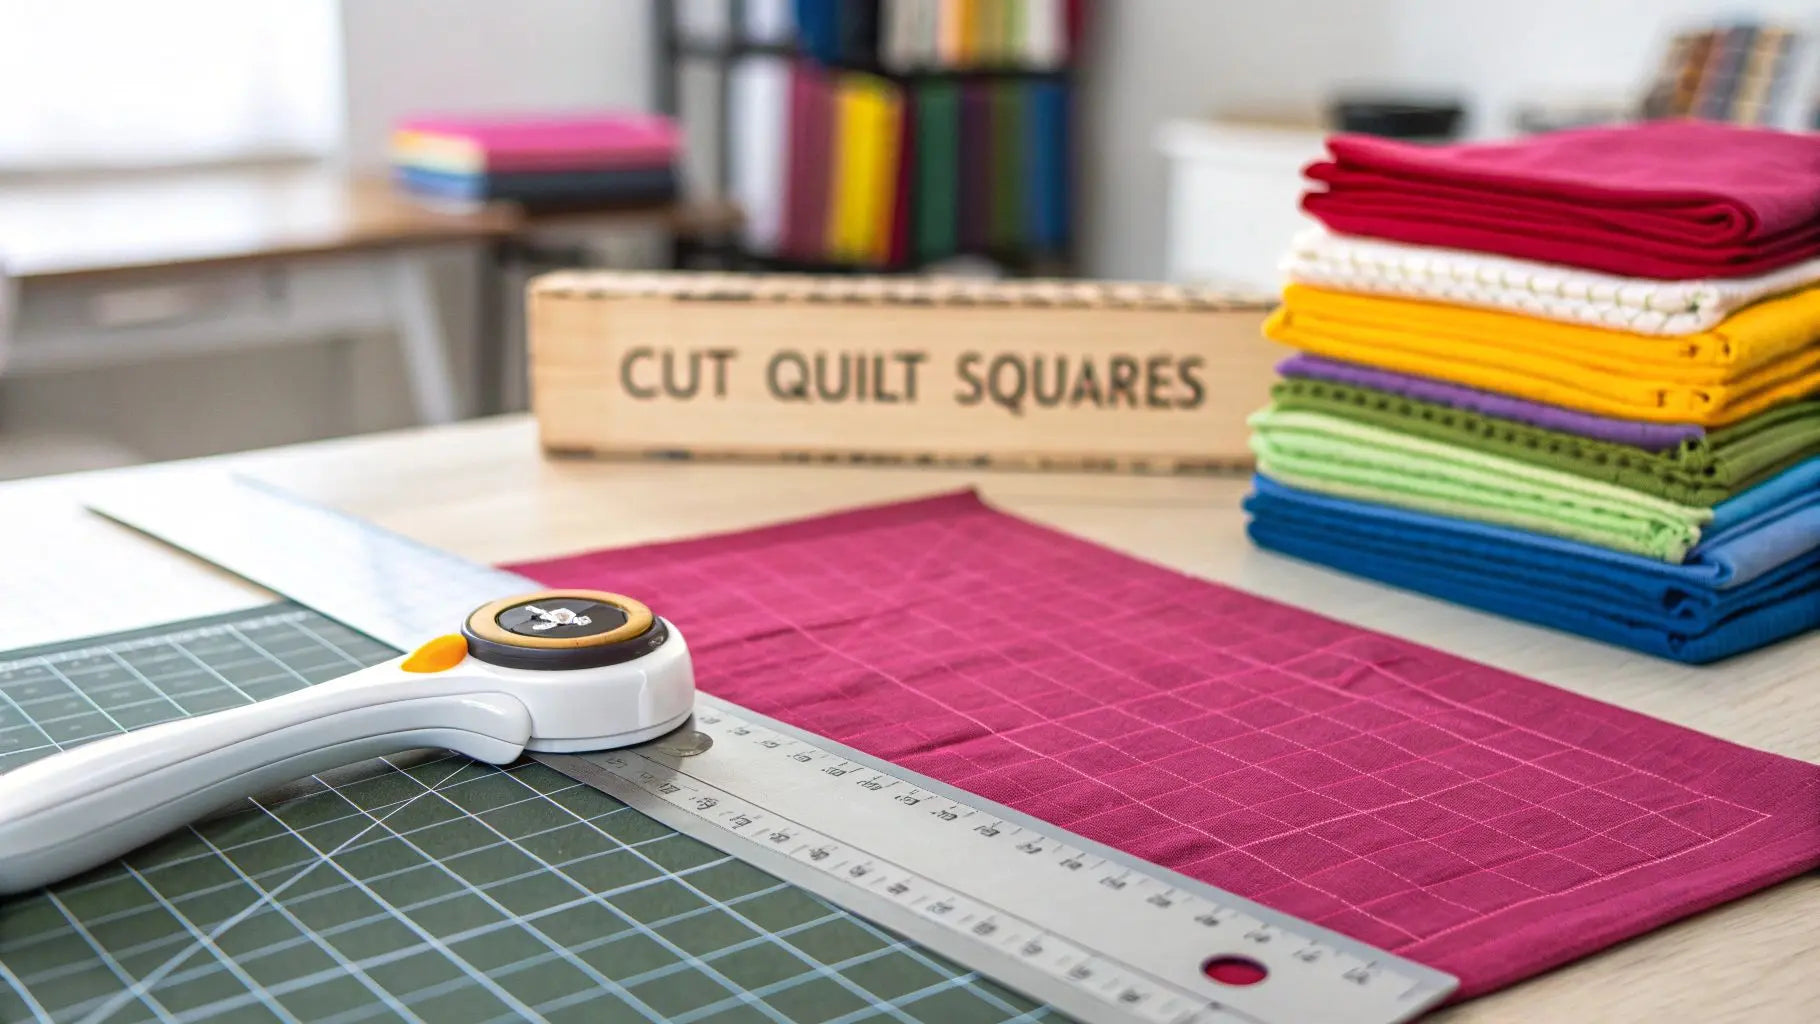
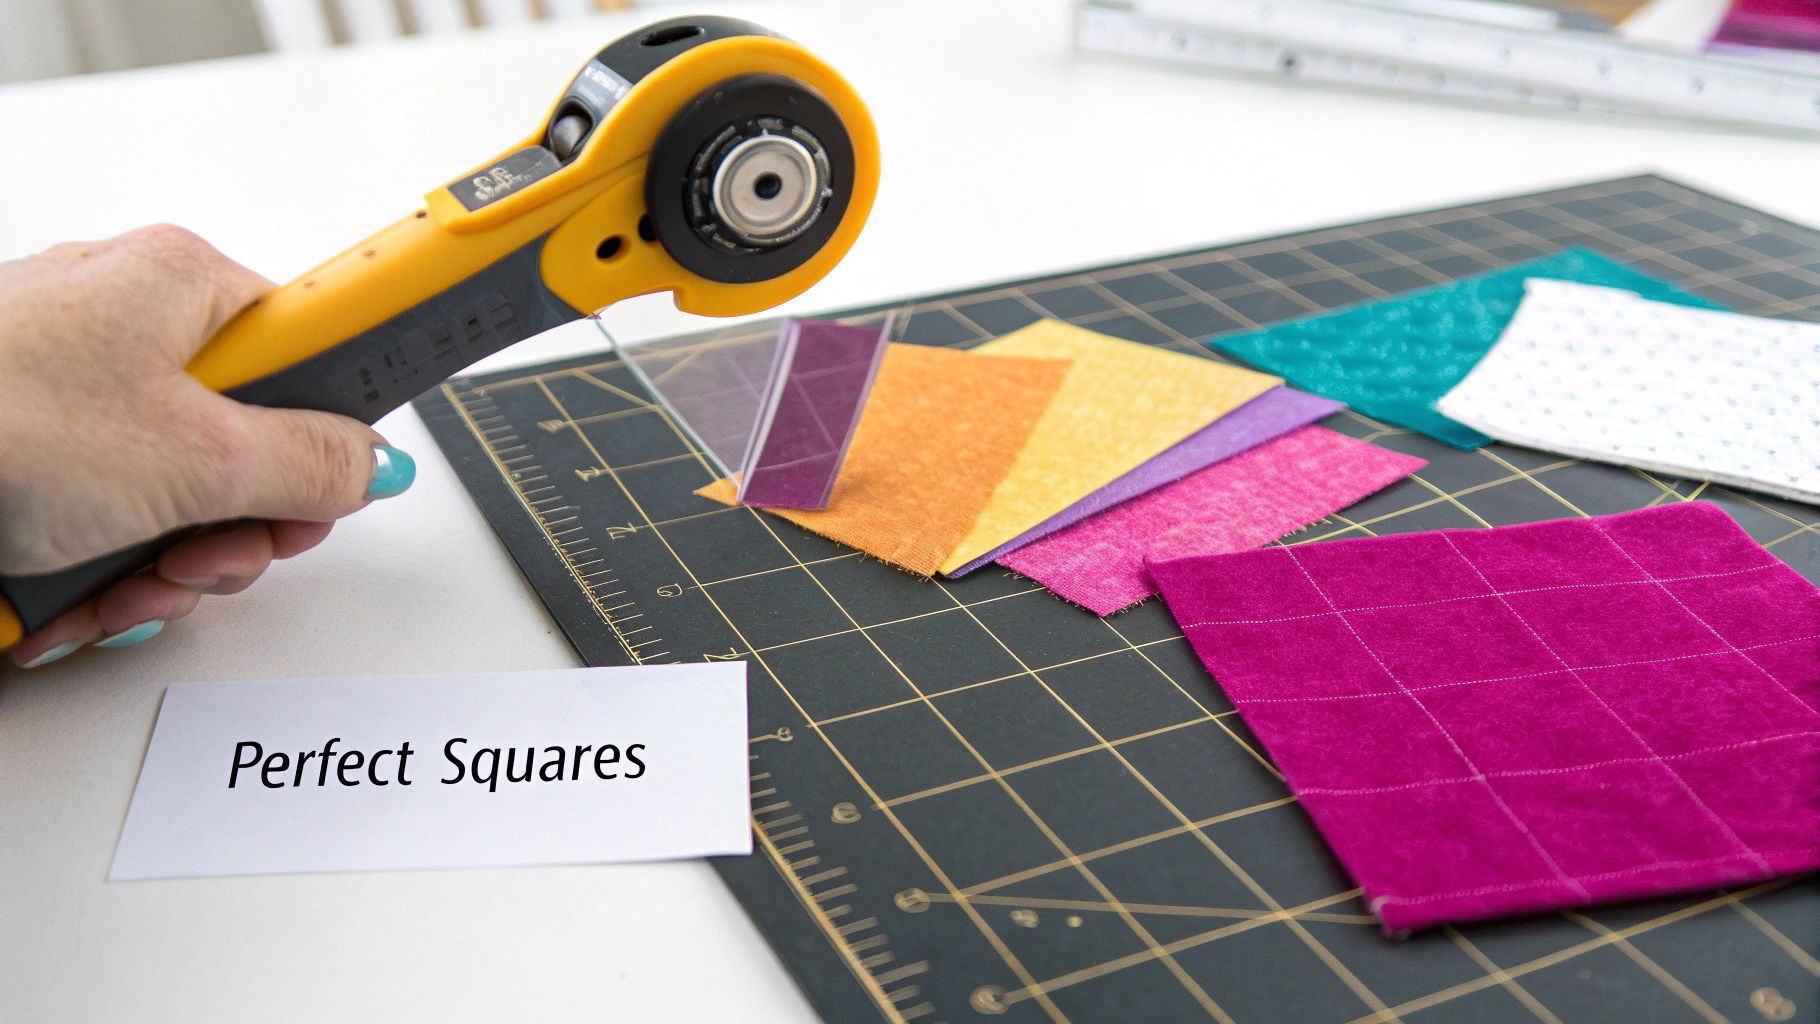
If you want to know how to cut perfect quilt squares for your next project, it all starts with your tools. Forget scissors and guesswork. The real secret is the combination of a rotary cutter, a self-healing mat, and a clear acrylic ruler. Once you master this trio, you'll be cutting perfect blocks every single time, ready to create a stunning quilt top.
Your Essential Toolkit for Accurate Quilt Squares
The key to flawlessly uniform quilt squares happens long before you make that first slice. Think of your tools as a complete system, all working together to give you the precision your project deserves. If one piece is off, the whole setup can fall apart, leading to frustration down the line.
This trifecta—a quality self-healing mat, a sharp rotary cutter, and a clear acrylic ruler—is the gold standard in quilting for a reason. Each tool plays a crucial role in getting you those clean, professional results that make a quilt truly special.
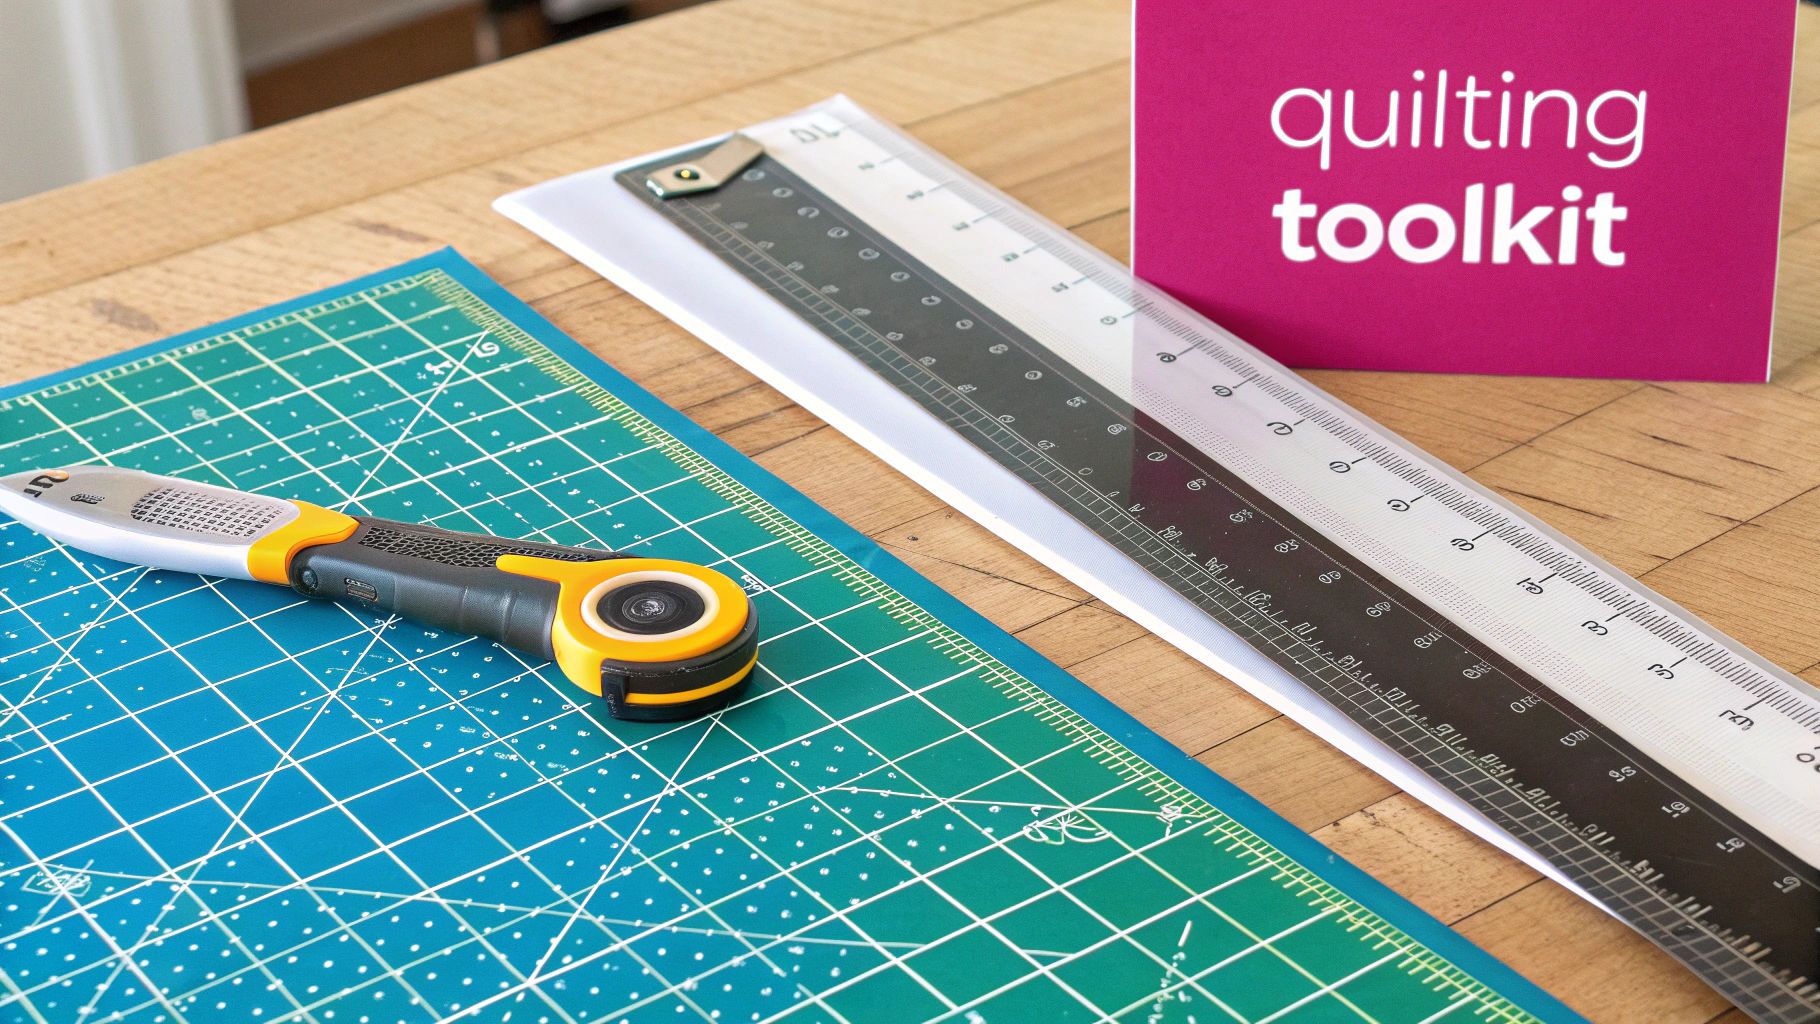
The Foundation: Your Mat and Ruler
Your cutting mat is so much more than just something to protect your table; it's your entire work grid. We always recommend a larger mat, something like a 24" x 36", because it lets you square up the whole width of your fabric without having to constantly shift it around.
Clear acrylic rulers are just as important. Being able to see the fabric right through the ruler, with all its precise grid lines, is a game-changer for making sure every cut is perfectly aligned with the grain. A 6" x 24" ruler is the workhorse you'll grab again and again—it’s perfect for cutting those long strips right off the bolt.
Pro Tip: Always look for rulers with non-slip grips. Our personal go-to rulers are from Creative Grids because their textured dots keep the ruler from sliding on the fabric. That tiny bit of slippage is one of the biggest culprits behind crooked cuts!
The Blade: The Rotary Cutter
There’s a reason rotary cutters completely changed the quilting world. They glide through fabric, giving you a cleaner and faster cut than scissors ever could.
A 45mm blade is the most versatile size you can get, great for everything from straight strips to gentle curves. And keeping that blade sharp is non-negotiable. A dull blade will snag and drag your fabric, leading to frayed edges and inaccurate cuts that can ruin your project.
We've put together a quick look at the must-have tools for cutting accurate quilt squares and why each one is crucial for your project's success.
The Ultimate Quilt Square Cutting Toolkit
| Tool | Why It's Essential for Precision | Insider Tip |
|---|---|---|
| Self-Healing Cutting Mat | Provides a stable, non-slip surface with a grid for accurate alignment and protects your blade. | Go for the largest mat your space allows, at least 24" x 36". You'll thank yourself later when working on big projects. |
| Clear Acrylic Ruler | Lets you see the fabric underneath for perfect placement along the grainline. The printed grid is key. | A 6" x 24" ruler is the MVP, but having a few smaller square rulers is also incredibly handy for trimming. |
| Rotary Cutter | Delivers a clean, precise cut through multiple layers of fabric much faster and more accurately than scissors. | A 45mm blade is the all-around best size for most quilting projects. Change your blade regularly! |
| Fabric Weights | Keeps your fabric from shifting while you're aligning your ruler and making cuts. | No need for anything fancy! Large washers from the hardware store or even clean, flat rocks work great. |
Don't forget the unsung heroes, either: things like fabric weights and spray starch can make a huge difference. These simple additions stop that frustrating fabric shifting, making your cutting experience way smoother and more precise.
Ready to build out your system? You can find an amazing selection of high-quality mats, rulers, and cutters at Linda's to get your project started with confidence.
Preparing Your Fabric for Flawless Cuts
I can’t stress this enough: a perfect cut starts long before your rotary blade ever touches the fabric. The prep work you do now is what separates a quilt that lies flat and beautiful from one that’s a frustrating mess of wonky seams. Take it from an expert, a little time spent here saves a lot of headaches later.
Of course, it all begins with choosing the right material. If you want to dive deeper into the nitty-gritty, check out this guide on understanding how fabric weights influence drape, feel, and durability. It’s no surprise that quilters are getting more discerning; the global quilt market is expected to hit $7.8 billion by 2031, largely because we all want high-quality, beautiful materials for our projects.
This simple chart breaks down the essential steps to get your fabric ready.
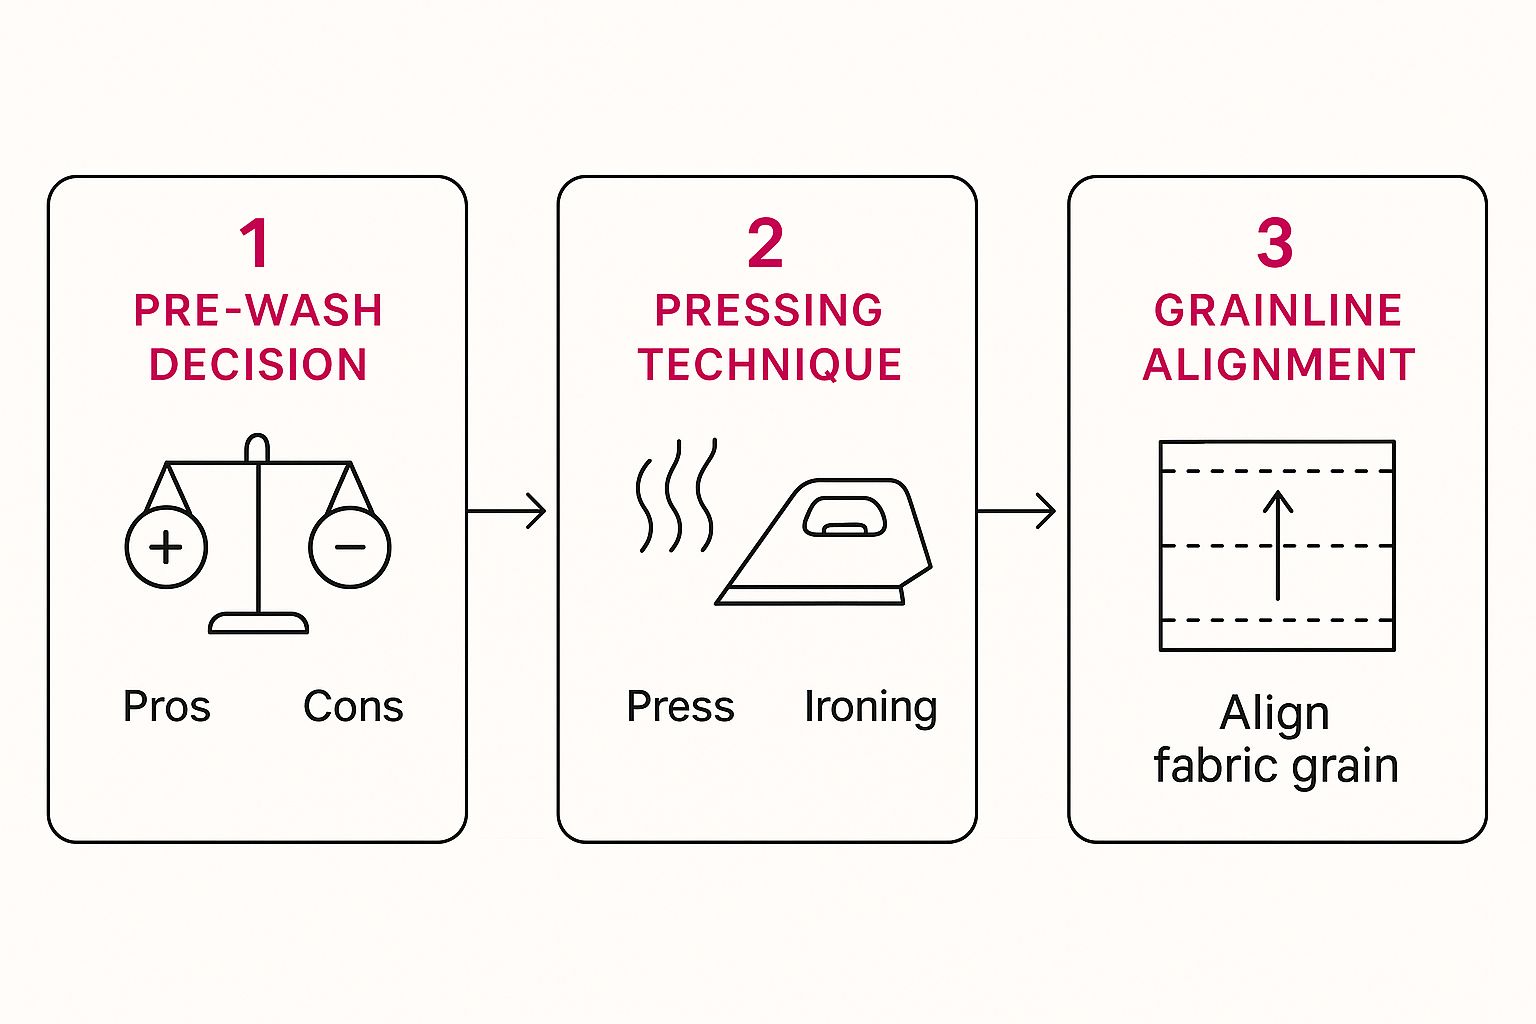
As you can see, each step builds on the one before it, from the great pre-washing debate to lining everything up on the grainline.
Pressing, Not Ironing
The first question every quilter asks: to pre-wash or not to pre-wash? There are strong feelings on both sides.
- Why Pre-wash? It gets rid of sizing chemicals, pre-shrinks the cotton (so long, puckering!), and lets you know if any colors are going to bleed. This is a lifesaver when you're mixing deep reds with crisp whites.
- Why Skip It? Pre-washing can cause some serious fraying and you lose that crisp, straight-from-the-bolt finish, which can make cutting a bit more challenging.
Whether you wash or not, the next step is absolutely non-negotiable: pressing. This isn't your weekly chore of ironing shirts. When you press, you lift and place the iron in an up-and-down motion. Sliding the iron back and forth, like you do when ironing, can easily stretch and distort the fabric's grain.
Want to know a quilter’s secret weapon? A good spray starch. A light mist while you press can give flimsy cotton a crisp, stable hand. It resists shifting while you cut, and honestly, it’s just incredibly satisfying. We have some of our favorites over at Linda's to help you perfect your fabric prep.
Finally, always, always align your fabric with the grainline—that’s the direction of the threads running parallel to the selvedge edge. Cutting with the grain ensures your squares won’t stretch out of shape when it's time to piece them all together.
Mastering the Art of Cutting Perfect Strips
Alright, with your fabric pressed and looking sharp, we get to the really satisfying part. Cutting perfectly straight strips is the absolute foundation of accurate quilting, and this is where your trusty rotary cutter, ruler, and mat truly shine. They work together to turn that big piece of yardage into the building blocks of your quilt.
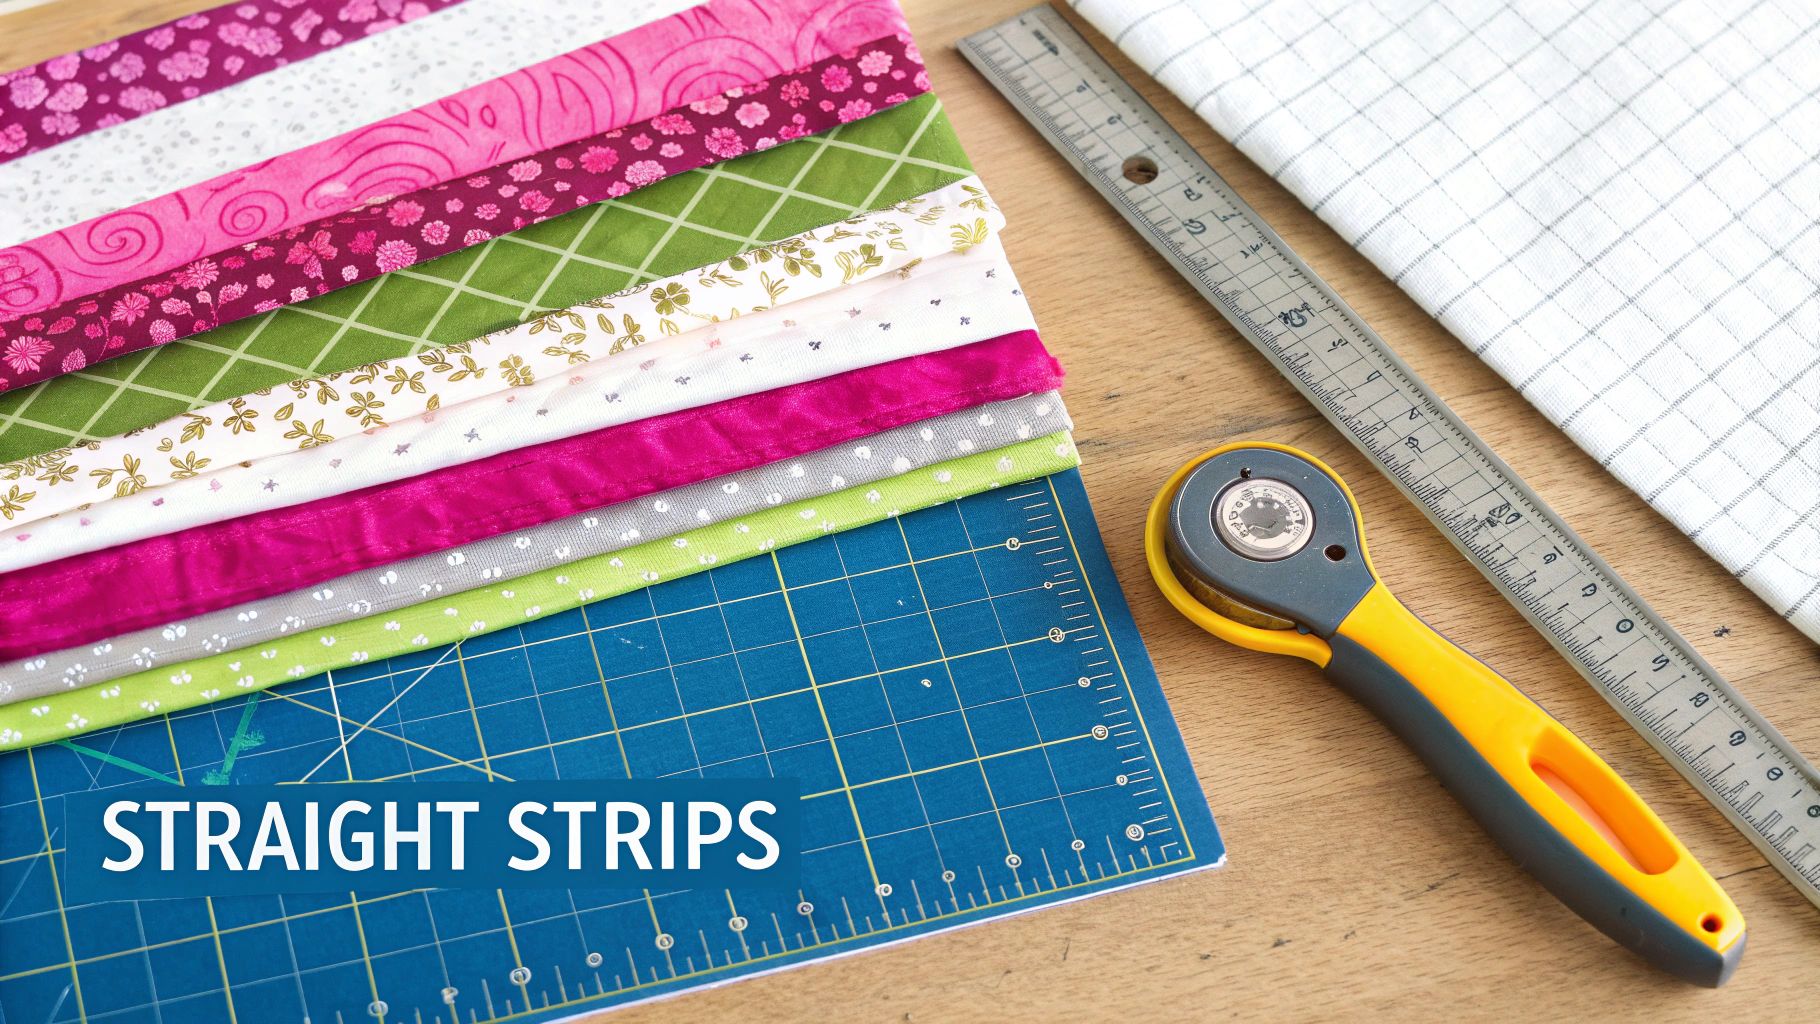
Before you cut a single strip, you have to create a perfectly straight starting edge. We can pretty much guarantee the fabric didn't come off the bolt with a true 90-degree angle, so it's on you to make one. We call this squaring up, and it’s a non-negotiable step for precision.
Get started by folding your fabric in half, bringing those two selvedge edges together. Smooth it out on your cutting mat so the fold lines up nicely with one of the horizontal grid lines. That mat line is now your reference point for a dead-on straight cut.
Your First Clean Cut
Now, grab your long acrylic ruler and lay it across the width of your folded fabric, near one of the wonky raw edges. We're just going to trim off a sliver to create that clean, straight line we need.
Here’s the key: align one of the horizontal lines printed on your ruler with the fold of the fabric. This is how you ensure your ruler is perfectly square to the fabric. Once you've got it lined up, press down firmly with your non-cutting hand. We like to spread our fingers out like a spider to get even pressure and keep that ruler from budging.
With your rotary cutter, apply steady, even pressure and always cut away from your body. Let the ruler guide the blade, and just like that, you’ll have a perfect 90-degree edge to measure from.
So many new quilters just eyeball the edge of the ruler against the fabric. Don't do it! Always use the lines on the ruler to line up with your fabric's fold or a previous cut. This one little habit makes all the difference between wonky, frustrating strips and perfect, happy ones.
Cutting Consistent Strips
Once you’ve squared up that edge, cutting the actual strips is just a simple, repeatable motion. Let's imagine your project calls for a 2.5-inch strip.
- Measure with the Ruler: Line up the 2.5-inch mark on your ruler right over that clean edge you just made.
- Double-Check Alignment: Take a quick peek to make sure a horizontal line on your ruler is still parallel with the fabric's fold.
- Hold Firmly: Get that same firm, spider-finger grip on your ruler.
- Cut Smoothly: Glide the rotary cutter along the ruler’s edge with a confident, consistent motion.
Just keep repeating this process for every strip you need. Before you know it, you'll build the muscle memory to make your cutting faster and more accurate every single time. Honestly, once you can cut perfect strips, making perfect squares is a piece of cake.
You can find all the rulers, cutters, and mats you need to master this technique right here in Linda's online store and start your next project with the best tools.
Turning Your Strips into Identical Squares
You've got a gorgeous stack of perfectly straight fabric strips, and now it's time for the magic. This is what we call "sub-cutting," and it's where all that careful prep work truly shines. It's a quick, rhythmic process that feels incredibly satisfying and moves your project forward.
Grab one of your strips and lay it flat on your cutting mat, smoothing out any wrinkles. See that raw, slightly jagged selvedge edge? We need to deal with that first. Just like when you squared up your initial piece of fabric, our first move is a quick "cleanup" cut to get a perfect 90-degree angle.
Place your ruler over one end of the strip. The key here is to line up one of the horizontal lines on your ruler with the long, straight edge of your fabric strip. Once it's perfectly aligned, slice off just a tiny sliver. That's your new, pristine starting edge.
The Efficient Workflow for Cutting Squares
Ready for your first square? If your pattern calls for 2.5-inch squares, simply slide your ruler down the fabric until the 2.5-inch mark is lined up exactly with that clean edge you just cut. Plant your hand firmly on the ruler and slice. Boom. Your first perfect square is done.
Here’s a great trick to make this go way faster. Don't move that first square you just cut. Leave it right there and keep the assembly line going:
- Slide your ruler further down the strip.
- Line up that same 2.5-inch mark with the newest cut you just made.
- Make your next slice.
By leaving the cut pieces in place, you avoid shifting the long fabric strip around, which keeps everything incredibly accurate and efficient.
Our absolute biggest game-changer for this part of the process was investing in a rotating cutting mat. Instead of having to awkwardly pick up and reposition your fabric strip for every few cuts, you just give the mat a little spin. It keeps your body in a comfortable position, your fabric stays put, and the whole process becomes faster and way more precise.
Avoiding Common Sub-Cutting Pitfalls
As you get into a rhythm, you might notice your strip starting to get a little... curvy. We call this a "bowed" strip, and it happens when tiny, almost invisible inaccuracies in your cuts start to add up, causing the whole strip to warp. If you see this happening, stop right away. Re-align the long edge of the strip with a line on your mat and square it up again. This prevents you from cutting a whole bunch of wonky, off-grain squares.
Another thing to watch out for is the dreaded ruler slip. When you’re making dozens of repetitive cuts, it's easy to get a little lazy with your hand pressure. Don't do it! Keep that firm, "spider-fingers" pressure on your ruler for every single cut. Consistency is what guarantees every single square is identical to the last.
With these simple habits, you’ll turn those flawless strips into a beautiful, uniform stack of squares, all ready for piecing. To make this step practically effortless, you have to check out the amazing selection of rotating cutting mats we have at Linda's.
Troubleshooting Common Cutting Mistakes
Even when you've prepped everything perfectly, little gremlins can sneak into your cutting process. It happens to everyone! Let's walk through some of the most common hiccups and figure out how to get your cuts back on track so your project turns out beautifully.
Are your squares coming out a little wonky, more like trapezoids than perfect squares? The number one culprit is almost always ruler slip. It's so easy to do! Make sure you’re applying firm, even pressure with your non-cutting hand, spreading those fingers out like a starfish to really anchor the ruler down for every single cut.
Diagnosing Wavy Edges and Fraying
If you're looking at your freshly cut strips and see a slight wave along the edge, or if they're fraying like crazy, your rotary blade is probably telling you it's tired. A sharp blade should slice cleanly through the fibers, not pull and drag them. Of course, sometimes the fabric itself is the issue; certain lower-quality cottons are just more prone to fraying no matter how sharp your blade is.
It's worth noting that the quilting world is seeing a bigger push for higher-quality, sustainable materials. While recycled fibers currently account for less than 1% of total textile production in quilts, this growing trend is a great thing for us quilters. You can dive deeper into these market shifts and see how they impact the fabrics we use. Discover more insights about the quilt market from Business Research Insights.
Ever finish a cut and find a tiny, maddening 'V' notch at the very end? That's usually from hesitating or slightly pivoting the blade just as you finish the slice. The key is a smooth, confident motion all the way through, pushing the blade completely past the edge of the fabric.
Nailing these little details will make a huge difference in your accuracy. If you're ready for a fresh start with a new blade, you can find high-quality replacement blades and all the other tools you need to perfect your projects right here at Linda's.
Got Questions About Cutting Squares? We've Got Answers
Let's dive into some of the questions we hear all the time from quilters about getting that perfect cut. A few small tweaks to your process can make a world of difference, so let's clear up the confusion and get you cutting like a pro.
Common Cutting Questions, Answered
One of the biggest questions is always: how many layers can I cut at once? It's tempting to stack 'em high, but for the best accuracy, stick to 4 to 6 layers of standard quilting cotton. Sure, a brand-new blade might slice through more, but every extra layer is another chance for the fabric to wiggle and shift, leaving you with wonky squares. Always, always make sure your layers are perfectly flat and lined up before you even think about cutting.
"Why aren't my squares actually square?" This is probably the most frustrating problem, and it usually comes down to two culprits. The first is a slippery ruler—we’ve all been there. The second is not squaring up your fabric before you start cutting your pieces. The fix? Slap some non-slip grips on the back of your ruler and take the time to create a true, clean 90-degree edge on your fabric from the get-go.
Another thing people ask is how often they should change their rotary cutter blade. There’s no magic number here; it really comes down to feel.
The rule we live by is this: if you see skipped threads, notice the edges are getting a little frayed, or you have to lean into the cutter to get it through the fabric, it’s time for a fresh blade. It's the cheapest, easiest upgrade you can make for guaranteed perfect cuts.
Staying on top of these little details is what separates a good quilter from a great one.
A sharp blade is a quilter's best friend. Keep your projects crisp and precise by checking out the high-quality replacement blades and other essential quilting tools we have at Linda's Electric Quilters. You can find everything you need to bring your next masterpiece to life at https://lindas.com.


