

When it comes to quilting, the humble seam allowance is one of those tiny details that makes a world of difference. It’s the secret ingredient that ensures every piece of your quilt puzzle fits together perfectly. The gold standard is a precise quarter-inch (1/4") seam, and mastering it is your first step toward creating beautiful, professional-looking quilts without all the frustration. This educational guide will walk you through why it's so important and how you can achieve it on your next project.
The Secret To Flawless Quilt Blocks
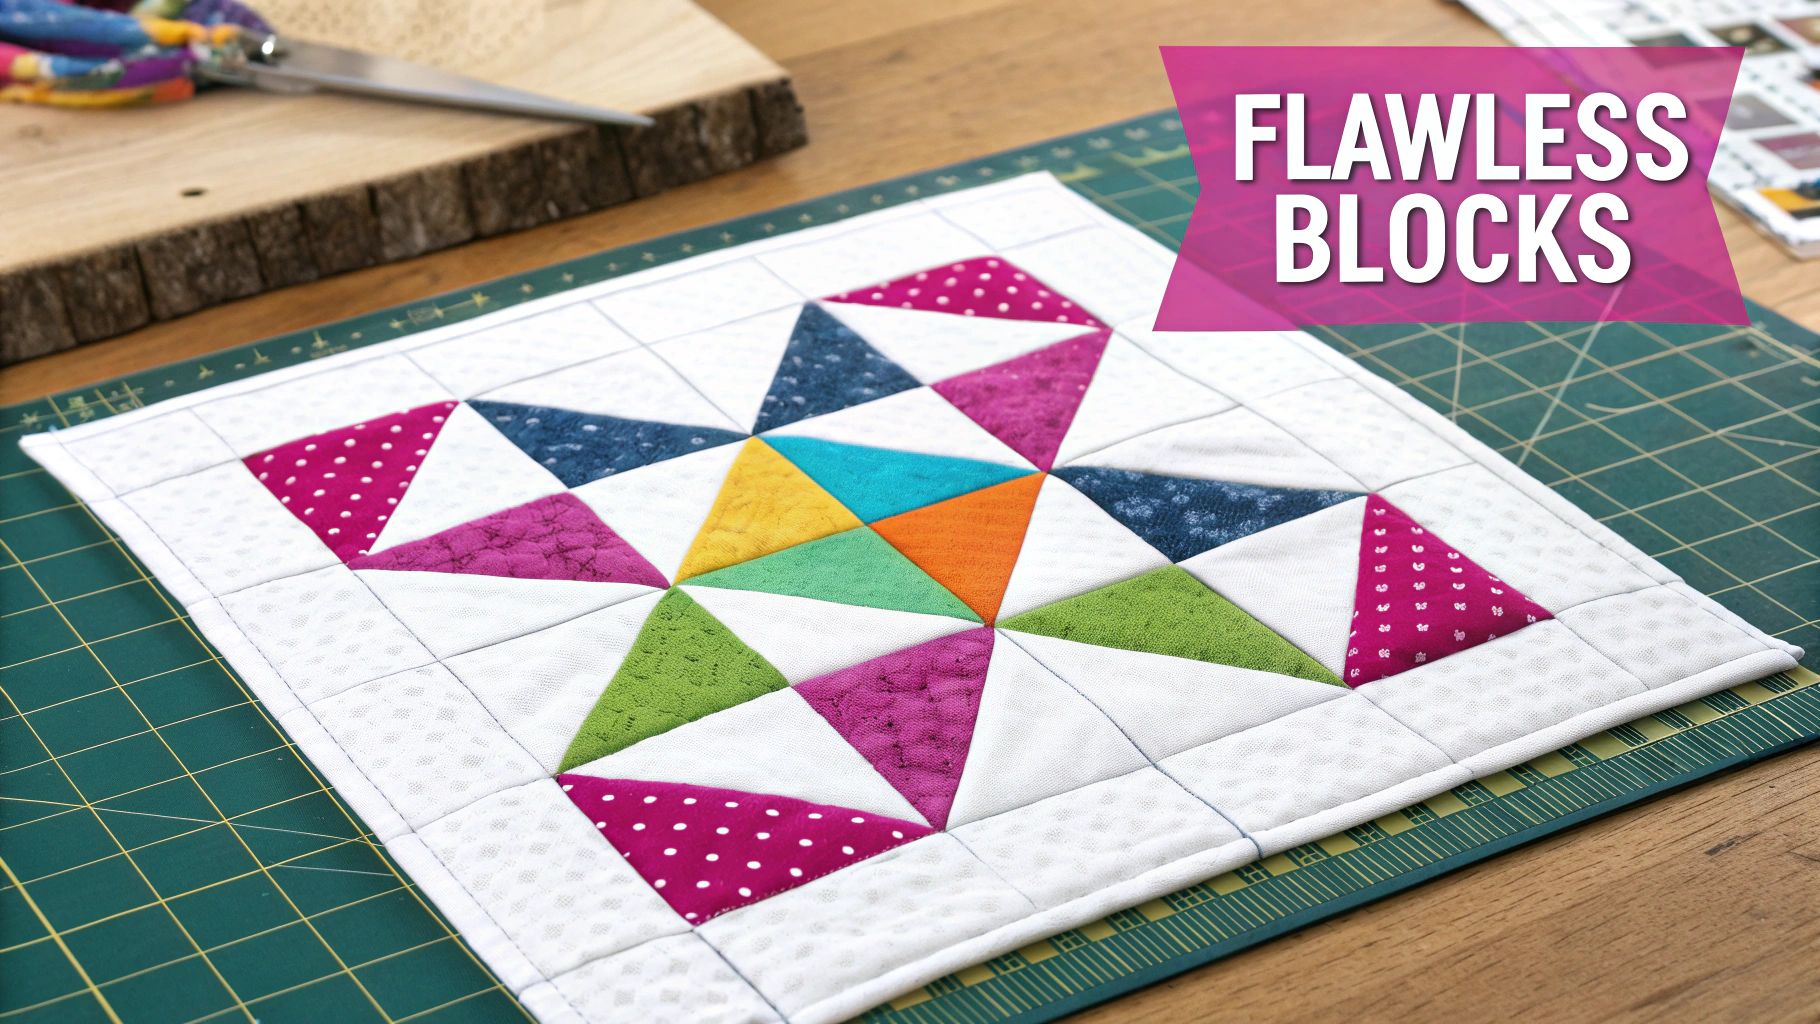
Have you ever meticulously cut and sewn your quilt blocks, only to find they don't quite measure up to the pattern's dimensions? Nine times out of ten, the culprit is an inconsistent seam allowance. This little strip of fabric along the stitched edge is the absolute bedrock of accurate piecing for any quilting project.
Think of it like the mortar holding bricks together. If you slap on too much or too little, the bricks won’t line up, and the whole wall will end up wonky. The same thing happens in quilting. A seam allowance that wanders even a little bit can cause a cascade of problems:
- Sharp points on stars and triangles get lopped off.
- Blocks finish up too big or, more often, too small.
- Rows don't align, leading to frustrating waves or puckers.
- The finished quilt top refuses to lay flat.
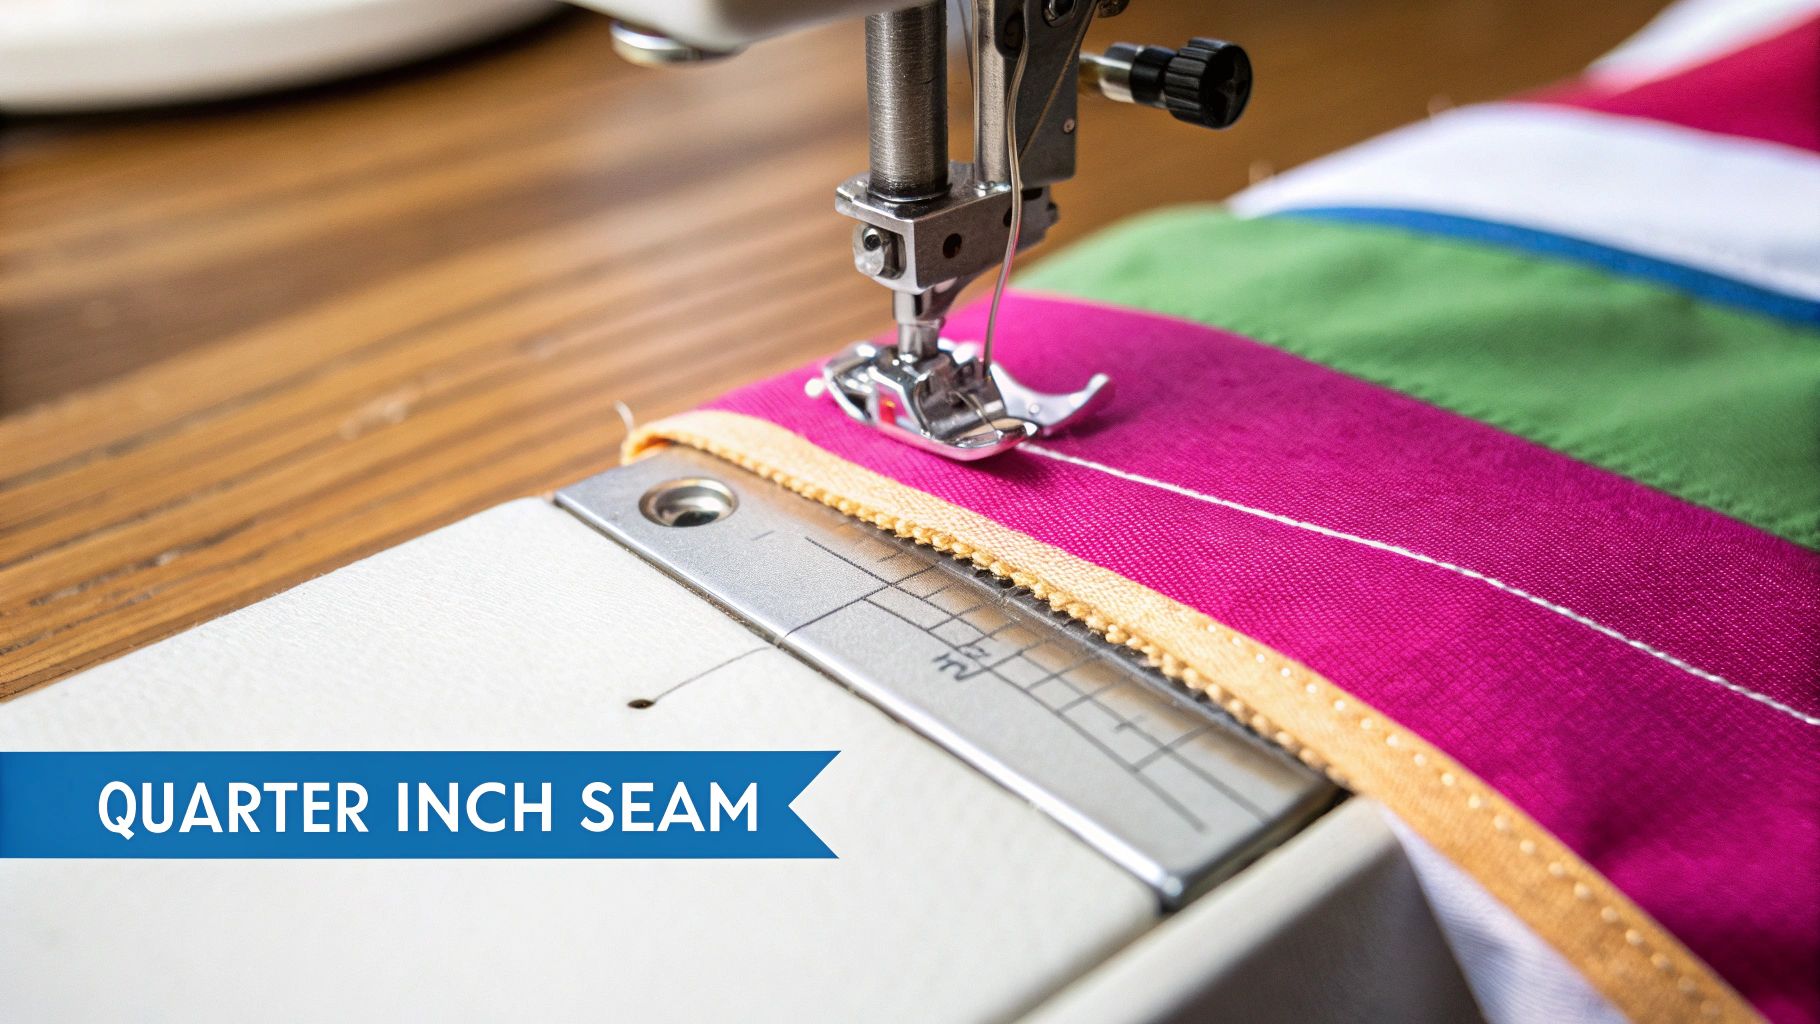
Why A Quarter Inch Is The Magic Number
There’s a good reason the quilting world settled on the 1/4 inch seam allowance. It’s the sweet spot. This measurement is just wide enough to create a strong, durable seam that won’t fray and pull apart under stress, but it's also narrow enough to keep bulk to a minimum where several seams come together.
A consistent seam allowance is more than just a rule; it's a habit that transforms your piecing from homemade to handmade. It’s the difference between a quilt that fights you every step of the way and one that comes together beautifully.
Let's see just how much a tiny variation can throw things off.
How Seam Allowance Affects Your Quilt Block
This quick table shows what happens when your seam allowance is just a little off, using a simple 12-inch block made of four 6.5-inch squares as an example.
| Your Seam Allowance | Impact on Quilt Block | Final Project Result |
|---|---|---|
| Too scant (less than 1/4") | Each 6.5" piece becomes 6.125" instead of 6". | Your final 12" block is now 12.25". |
| Perfect 1/4" | Each 6.5" piece becomes exactly 6" after sewing. | Your final block measures a perfect 12". |
| Too generous (more than 1/4") | Each 6.5" piece becomes 5.875" instead of 6". | Your final 12" block shrinks to 11.75". |
A quarter-inch difference might not sound like much, but when you multiply that error across an entire quilt top, you end up with a big headache.
Getting it right starts long before you sit down to sew. It begins with precise cutting, which means you need to know exactly how much fabric your project requires. Make sure to check out our guide on https://lindas.com/blogs/education/how-to-calculate-fabric-yardage to get your projects started on the right foot.
A tidy workspace also plays a huge role in accuracy and focus. When you can find everything you need easily, your sewing sessions are smoother and more precise. For some great ideas, check out this ultimate guide to organizing craft supplies.
Why the Quarter Inch Seam Is Your Best Friend
In the wonderfully diverse world of quilting, with its infinite patterns and techniques, there's one thing that brings it all together: the 1/4 inch seam allowance. It's more than just a measurement. It's the unspoken language that connects quilters, pattern designers, and even tool manufacturers.
Think of it as the mortar holding bricks together. Without that consistent, reliable layer, the whole quilt structure can become wobbly and misaligned. This magic number wasn't picked out of a hat, either. It’s the perfect sweet spot—just enough fabric to give you a strong, durable seam that holds up to wear and washing, but narrow enough to keep things from getting bulky where multiple seams meet. That’s the secret to getting a quilt top to lie perfectly flat.
The Foundation of Pattern Design
Every single quilt pattern is built on the mathematical bedrock of the 1/4 inch seam. When a designer tells you to cut a piece of fabric, they've already factored in that precise amount of extra material on every side. As you sew two pieces together, that 1/4 inch from each piece gets used up in the seam, leaving you with a perfectly sized unit.
For instance, if a pattern calls for a 2.5-inch square, it’s designed to finish at exactly 2 inches after it’s been sewn into the quilt. Honoring this standard is your golden ticket to a world of patterns. You can tackle any project with confidence, knowing that as long as you stick to that seam allowance, your pieces will fit together like a dream.
The quarter-inch seam is the invisible architecture of your quilt. When you maintain it precisely, you're not just sewing fabric together—you're building a strong, beautiful, and accurate foundation for your creative vision.
This consistency is what allows quilting magic to happen. Without it, the stunning geometry of a Lone Star or the clean, crisp lines of a Log Cabin quilt would be almost impossible to pull off.
How It Works with Pressing
A perfect seam allowance also goes hand-in-hand with your pressing technique. Whether you press your seams open or to one side, you're "setting" the stitches and getting the fabric to behave. The 1/4 inch width is key here, making sure there isn't too much excess fabric creating a lumpy ridge under your quilt top.
This beautiful partnership between stitching and pressing is what gives you that smooth, professional finish. Here’s why it’s a game-changer:
- Reduces Bulk: A narrow seam is a lifesaver, especially where four or more pieces come together. No more thick, lumpy intersections!
- Ensures Flatness: When your seams are pressed correctly, your blocks lay completely flat. This makes the final quilting process a whole lot easier.
- Creates Crisp Points: It allows you to press your seams in a way that keeps your star points and triangle tips sharp and perfectly defined.
Ultimately, by embracing the industry standard, you're plugging into a system that’s designed for your success. Every quilting ruler, specialty presser foot, and pattern is made with this one little measurement in mind. To start building your own precision toolkit for your next project, explore the fantastic selection of quilting rulers and guides at Linda's. You’ll find everything you need to make the quarter-inch seam your best friend on this quilting journey.
Get Perfect Seams with the Right Quilting Tools
Alright, let's move from theory to practice. Nailing that perfect seam allowance for quilting isn’t about guesswork or having magical sewing skills—it’s all about having the right gear in your corner. The proper tools don't just make your project easier; they turn it into a craft of precision and take the frustration right out of the equation.
Think of these tools as your trusty sidekicks. They’re designed to do the heavy lifting of keeping everything consistent, so you can just relax and focus on the fun part: bringing your beautiful design to life. From that very first cut to the final stitch, accuracy is everything.
Start with Accurate Cutting
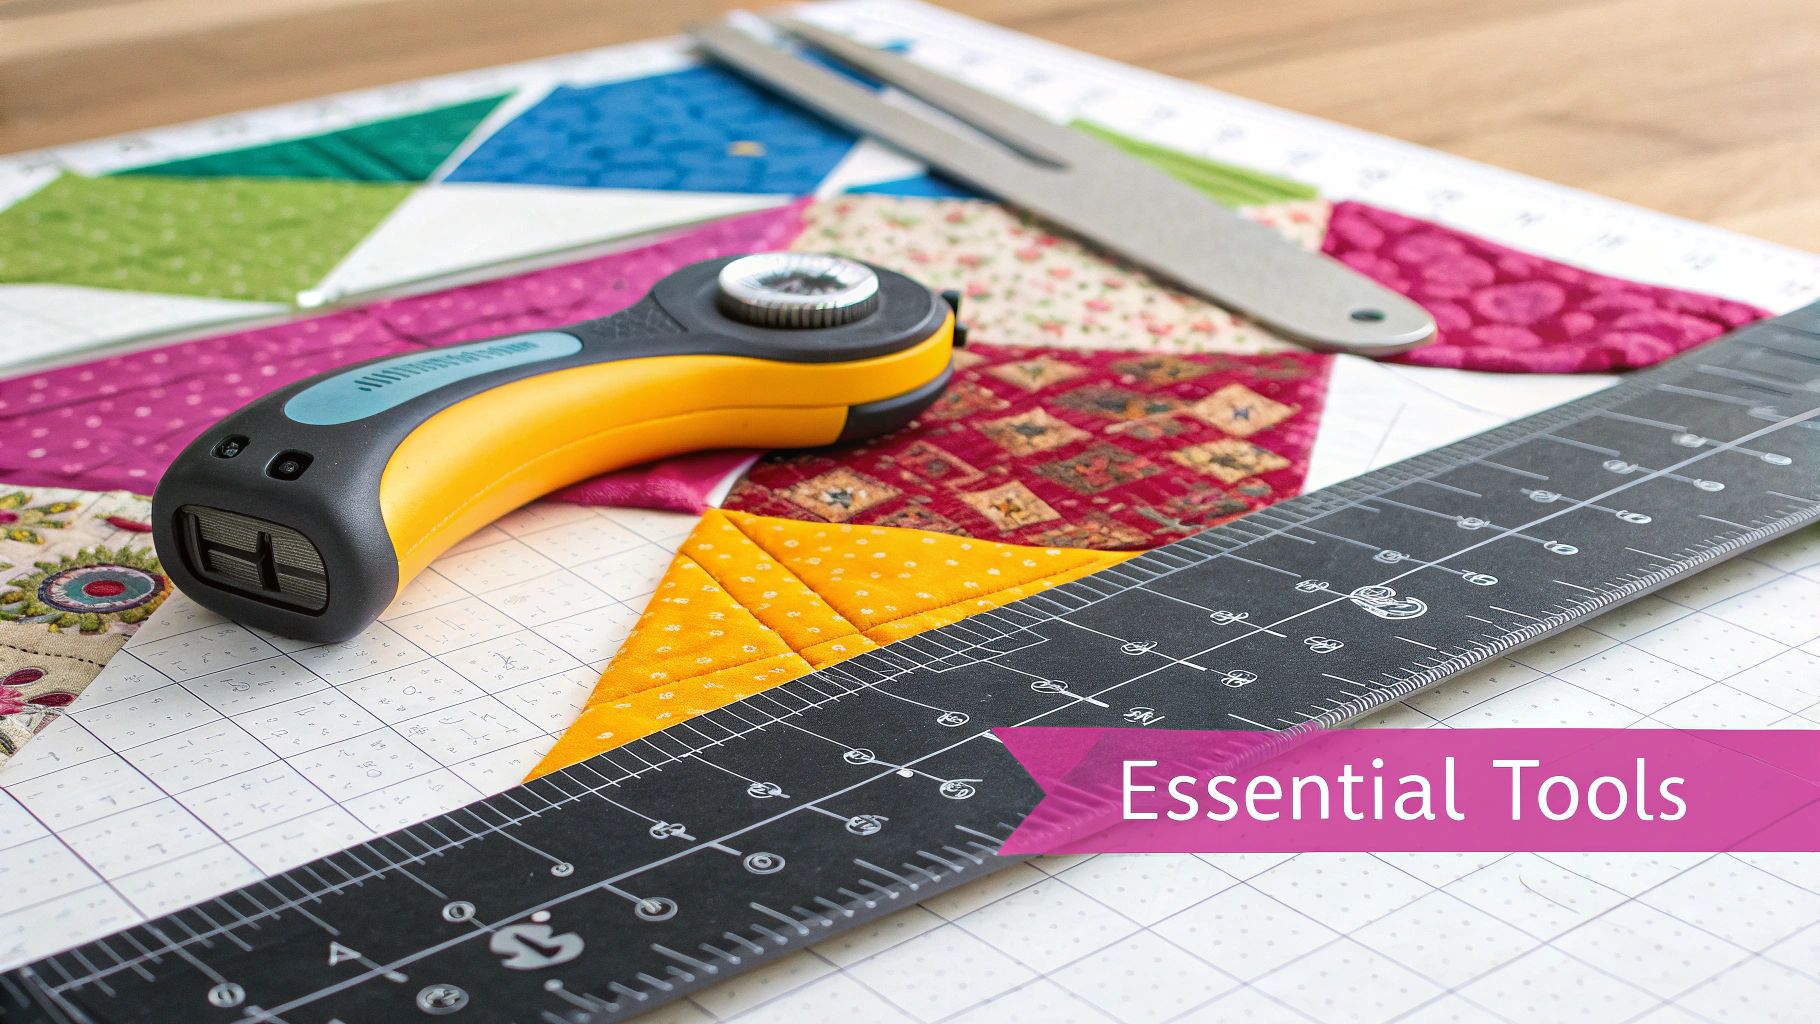
Long before you even power on your sewing machine, your quest for the perfect seam allowance begins at the cutting mat. A top-notch rotary cutter and a clear quilting ruler are the absolute non-negotiables for any quilter who's serious about getting clean, straight cuts every single time.
- Rotary Cutters: A fresh, sharp blade is your best friend. It will glide right through your fabric without any pulling or stretching, making sure your pieces are cut to the exact size the pattern demands.
- Quilting Rulers: The beauty of a transparent ruler is that you can see your fabric right through it. This makes it a breeze to line everything up on the grain and cut to the precise dimensions you need.
Getting this foundation right means your fabric pieces are perfect from the get-go. It’s the best way to set yourself up for success when it’s time to start piecing your quilt top.
Essential Tools for Your Sewing Machine
Once you’re at your machine, a few key accessories become total game-changers for holding that consistent 1/4 inch seam. These handy little tools guide your fabric flawlessly, helping you create straight, even stitches with hardly any effort.
A great sewing machine is the heart of any quilting studio, but it's the right accessories that give it surgical precision. Investing in the proper feet and guides is one of the fastest ways to improve your piecing accuracy.
The famous 1/4 inch quilting foot, which you'll often hear called a patchwork foot, was literally made for this job. It has a small metal guide on the right side that you simply nestle your fabric edge against. It makes sewing a perfect quarter-inch seam almost foolproof.
If your machine doesn't have a special foot, an attachable seam guide works just as well. It’s a simple little guide that sticks to your machine bed, giving you a raised edge to follow. With these simple but incredibly effective tools, you can build your very own 'Accurate Seam Toolkit.' You’ll find everything you need to start your next project with total confidence in Linda’s curated collection of quilting notions.
The Three-Strip Test for Seam Accuracy
It’s tempting to just trust your machine’s settings right out of the box, but taking a few minutes to test and confirm your seam allowance for quilting is a game-changer. The three-strip test is a fast, easy diagnostic that tells you exactly how accurate your quarter-inch seam is. It’s a crucial little step that many quilters skip, but once you do it, you can sew with absolute confidence that your project pieces will fit perfectly.
This simple test gives you undeniable proof of your seam’s accuracy, taking all the guesswork out of your piecing.
Performing the Test Step-by-Step
The best part about this method is how simple it is. You don't need any fancy gadgets—just a few fabric scraps and your sewing machine. The idea is to sew three strips of fabric together and see if the final measurement adds up correctly.
Here’s how to do it:
- Cut Your Fabric: Grab your rotary cutter and a good ruler. Slice three identical strips of fabric, each 1.5 inches wide and about 5 inches long. Cutting accurately here is the foundation for the whole test.
- Sew the Strips: Place two of the strips right sides together and sew along one long edge using what you believe is your quarter-inch seam.
- Add the Third Strip: Now, sew the third strip to the other side of the two-piece unit you just made, using that same seam allowance. You’ll end up with one piece made of three strips sewn side-by-side.
This quick infographic shows you exactly what we're aiming for.
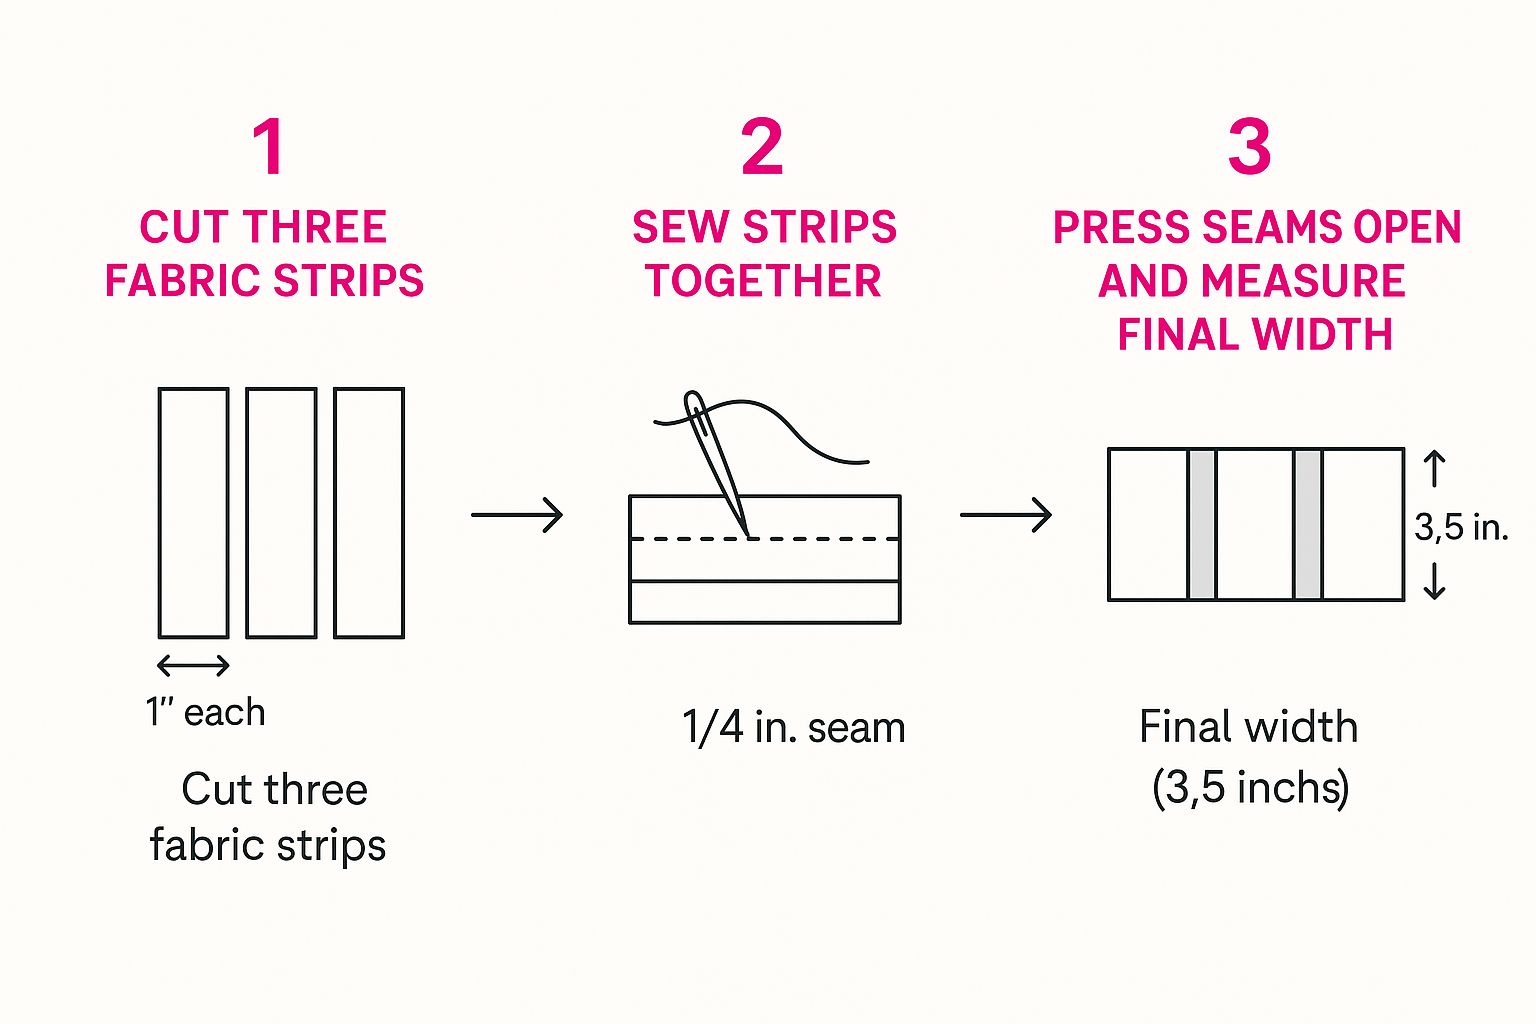
You can see how the starting width gets trimmed down by those two seams to land on one perfect final measurement.
Measure and Adjust
Okay, here comes the moment of truth. Press your seams—it doesn't matter if you press them open or to one side, as long as you're consistent. Lay your finished three-strip piece on your cutting mat and measure its width. If you started with three 1.5-inch strips, your final piece should measure exactly 3.5 inches wide.
A tiny bit off might not seem like a big deal, but imagine that small error multiplied across every seam in your quilt. It can throw your blocks off by a full inch or more! Think of this test as your insurance policy against that kind of quilting headache.
So, what do you do if your measurement is off?
- Wider than 3.5 inches? This means your seam allowance is "scant," or too narrow. You’ll need to move your needle a smidge to the left or adjust your fabric guide.
- Narrower than 3.5 inches? Your seam is "generous," or too wide. You'll need to nudge your needle slightly to the right.
Keep tweaking and re-testing until you hit that magic 3.5-inch mark. Once you’ve got it, make a note of the setting! A little sticky note on your machine can save you a world of frustration on future projects. If you need the perfect tools to get this test started, check out the rotary cutters and rulers available at Linda's.
Solving Common Seam Allowance Problems
Let's be honest, even with the best tools and intentions, every quilter eventually hits a snag. It's a classic story: you follow a pattern to the letter, but your finished block is somehow too small, or those beautiful triangle points have vanished right into the seam.
These are incredibly common frustrations, but the good news is they almost always point back to a tricky seam allowance for quilting. And even better? They are all fixable.
Figuring out why these things happen is the first real step to preventing them. It’s rarely one giant mistake. More often, it's a series of tiny little things that add up—the thickness of your thread, the type of fabric you're using, and even how you press your seams can all throw off your final measurements.
Why Are My Quilt Blocks Too Small?
This is probably the number one question asked in quilting groups everywhere. The culprit is almost always a "generous" or "fat" seam allowance, meaning your seam is just a little bit wider than the 1/4 inch standard.
A teensy, tiny difference might seem harmless on a single seam, but that difference gets multiplied with every piece you sew together. Across a whole block, it can "steal" a surprising amount of fabric, shrinking your block's final size. It's a classic case of little things adding up to a big headache. For more details on how much this can vary, check out these great insights on seam allowance accuracy.
Why Do My Triangle Points Disappear?
Losing the sharp, crisp points on your triangles, stars, or flying geese units is another all-too-common problem. This happens when your stitches go right over the "V" where the two diagonal seams are supposed to meet perfectly.
There are usually two reasons for this:
- Your seam allowance is off: If your seam is too wide, it will swallow that point every single time.
- Your fabric is stretching: Bias edges (the diagonal grain of your fabric) are super stretchy. If you pull or handle these pieces too much while sewing, you can easily distort them, causing your points to get buried in the seam.
The fix here has two parts. First, double-check that your 1/4 inch seam is spot on (or even a "scant" 1/4 inch). Second, handle those bias-cut pieces like they're delicate! Pre-starching your fabric before you even cut gives it a ton of stability and makes a huge difference in reducing stretch.
When your blocks are even slightly off, it can throw off your entire quilt top and make it a nightmare to get square. If you're running into that problem, we’ve got some fantastic advice on how to handle a quilt top that is not square over on our education blog.
With a little bit of troubleshooting and some high-quality thread from Linda’s, you can absolutely conquer these issues and get back to creating beautiful projects with confidence.
Start Your Next Project with Confidence
Let's pull it all together. Getting a handle on your seam allowance for quilting is the single best thing you can do to create the beautiful quilts you see in your mind's eye. Now that you've got the right tools, a method for testing your accuracy, and a few tricks for fixing mistakes, you've built a foundation that will make every future project a success.
You can finally feel that confidence that comes from knowing your pieces are going to fit together perfectly. That old frustration? It’s about to turn into pure quilting joy. So, it's time to put that new skill to work!
Embrace the process, trust your new skills, and watch as your precision transforms simple fabric squares into a work of art. The journey from fabric to finished quilt starts with one perfect seam.
A fantastic place to start is with this free quilt pattern for beginners. It's the perfect project for practicing your newfound accuracy.
And to make it even more fun, why not pair your new skills with one of the gorgeous pre-cut fabric collections from Linda's? They take the guesswork out of coordination and let you focus on practicing your precision, ensuring a beautiful result from your very first stitch.
Your Quilting Seam Allowance Questions Answered
Even after you get the hang of the basics, some specific questions about seam allowances always seem to come up. We've all been there! Let's clear up some of the most common ones so you can piece with confidence, no matter what project lands on your cutting mat.
What Is a Scant Quarter Inch Seam?
You've probably seen a pattern call for a "scant" quarter-inch seam and thought, "What on earth is that?" It sounds way more complicated than it is.
A scant 1/4 inch seam is simply a seam that’s a thread’s width smaller than a true 1/4 inch. That’s it! It’s just a tiny bit shy of the real deal. So, why bother with such a minuscule adjustment? It all comes down to the fold of the fabric. When you press your seam open or to the side, the fabric has to fold over the thread, and that little fold uses up a tiny bit of your fabric's width.
That scant seam gives you that tiny bit of fabric back, ensuring your finished block is the exact size it's supposed to be. This becomes incredibly important when you're working on a pattern with lots and lots of small pieces where every little bit counts.
Do I Always Have to Use a Quarter Inch Seam?
When it comes to piecing a traditional quilt top, the 1/4 inch seam is the gold standard. It’s the magic number that almost every quilt pattern, ruler, and specialty foot is designed around.
However, it’s always a smart habit to read through your pattern before you start sewing. While piecing is almost always a quarter-inch, other construction steps might call for something different. For instance, you might see instructions for a sturdier 3/8 or 1/2 inch seam when you're attaching the binding or making a coordinating project like a tote bag that needs to be extra durable.
The accuracy of your seam allowance is a skill that grows with you. As you move from simple blocks to more intricate designs, that consistent quarter-inch becomes the foundation of your success.
Once you’ve mastered that perfect seam, you might be ready to elevate your quilting craft with advanced techniques that all start with this fundamental skill.
Can't I Just Eyeball My Seam Allowance?
Oh, the temptation to just eyeball it and save a few seconds is real. We get it. But especially when you're starting out, this is one shortcut you'll want to avoid. Quilting is truly a game of precision, and what looks "close enough" can throw your whole project off track later on.
Think about it this way: a tiny deviation of just 1/16 of an inch on one seam doesn’t seem like a big deal. But if you multiply that tiny error across the dozens, or even hundreds, of seams in a full quilt top? Suddenly your blocks won't line up, points won't match, and your finished quilt could be inches off from the intended size.
With these common questions cleared up, you’re ready to tackle any quilting project with a new level of precision! To get started on your next masterpiece, explore the amazing selection of fabrics, notions, and tools at Linda's Electric Quilters. You can find everything you need to finish your project perfectly at https://lindas.com.


