
So, what exactly is free motion quilting? Put simply, it’s like drawing with your sewing machine. It’s a wonderfully creative technique that lets you stitch any design you can dream up, just by guiding the fabric freely under the needle. This gives you complete artistic control over the final look of your quilt.
Drawing With Thread: The Heart of Free Motion Quilting
Picture this: you're holding a pen still and moving a piece of paper underneath it to draw. That's the essence of free motion quilting (FMQ). Instead of letting the machine's feed dogs pull your fabric forward in a straight line, you drop them out of the way, pop on a special foot, and take complete control.
You become the artist. You're the one moving the quilt sandwich—the top, batting, and backing—in any direction you please. This freedom lets you create flowing curves, playful swirls, and intricate patterns that are impossible with standard sewing.
This is a complete departure from traditional straight-line quilting, where you’d use a walking foot to help the machine stitch perfectly even lines. Free motion quilting shatters those rigid boundaries, turning a simple finishing step into a truly expressive art form. It's this liberation that allows quilters to add a personal, one-of-a-kind signature to every single project.
From Necessity to Artistry
While quilting itself has been around for centuries, the ability to "draw" with a sewing machine is a much more recent innovation. For a long time, quilting was done either by hand or with machines that could only stitch in a straight line.
It wasn't until sewing machine technology advanced in the late 20th century that quilters could finally move fabric dynamically under the needle. If you're curious about the journey, the history of quilting on Wikipedia offers a fascinating look at how technology opened up a whole new world of creative doors.
This visual guide breaks down the simple setup process to switch your machine from standard sewing to free motion quilting.
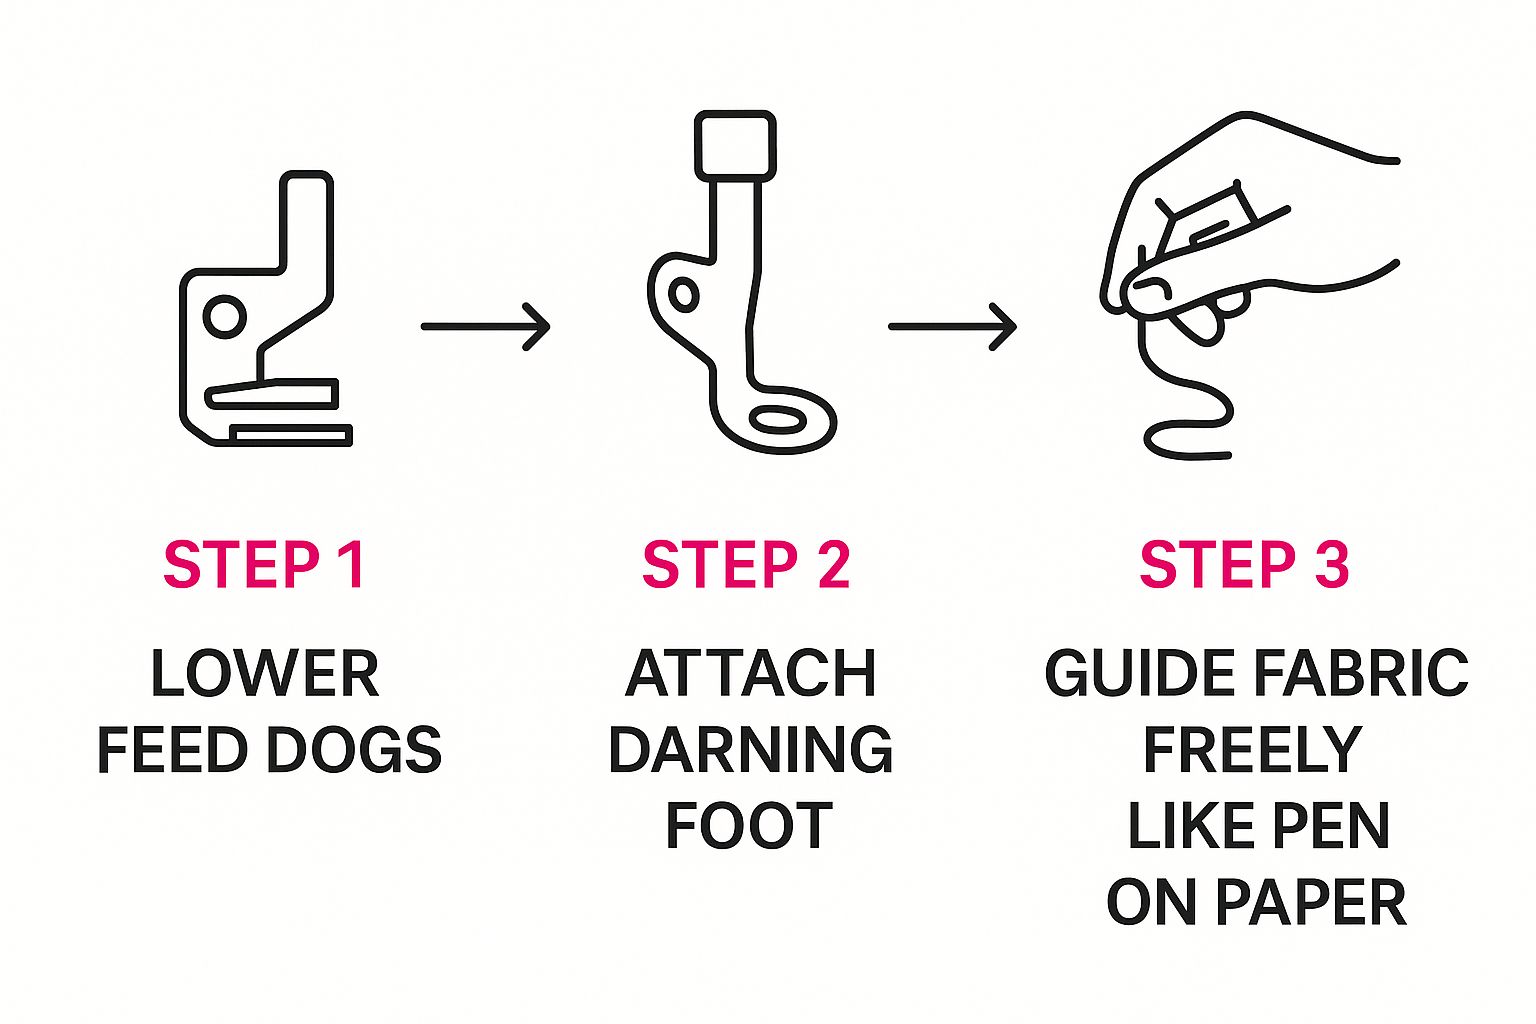
As you can see, unlocking your machine’s potential for FMQ only takes a few key adjustments. Suddenly, all that creative power is right at your fingertips.
Free Motion Quilting vs Traditional Machine Quilting
To really understand what makes FMQ special, it helps to see it side-by-side with traditional machine quilting. Here’s a quick breakdown:
| Feature | Free Motion Quilting (FMQ) | Traditional Quilting (Walking Foot) |
|---|---|---|
| Fabric Movement | You move the fabric in any direction | The machine moves the fabric forward |
| Feed Dogs | Disengaged (Lowered) | Engaged (Up) |
| Design Possibilities | Unlimited; curves, swirls, any pattern | Primarily straight or gently curving lines |
| Primary Foot Used | Darning or Free Motion Foot | Walking Foot |
While both methods secure your quilt layers, FMQ is all about artistic freedom, whereas traditional quilting offers precision and control for geometric designs.
The Key Benefits of This Technique
The real magic of free motion quilting is what it brings to your finished piece. When you create your own quilted designs, you can:
- Add Unique Texture and Depth: Your stitching creates incredible shadows and highlights, making the quilt pop and feel visually dynamic.
- Personalize Every Project: No two free-motion quilted projects will ever be identical. Your "thread-writing" is as unique as your own handwriting.
- Finish Quilts Faster: Once you get into a comfortable rhythm, you can finish quilts much more quickly than with painstaking hand quilting.
Of course, using the right materials is crucial for getting a beautiful result. Choosing the perfect inner layer can make your stitches stand out just right—check out our guide to batting choices to learn more.
Setting Up Your Machine for Creative Freedom
Before you can start doodling with thread, your sewing machine needs a few little tweaks. Think of it less like a complicated overhaul and more like flipping a switch to unlock its creative potential. It's a quick setup that opens up a whole new world, letting you focus on the fun part—actually quilting!
Getting this prep work right is the secret to a headache-free experience. A few minutes of setup will save you from the frustration of skipped stitches, bird's nests, and puckered fabric. It's all about creating the perfect environment for your creativity to flow.
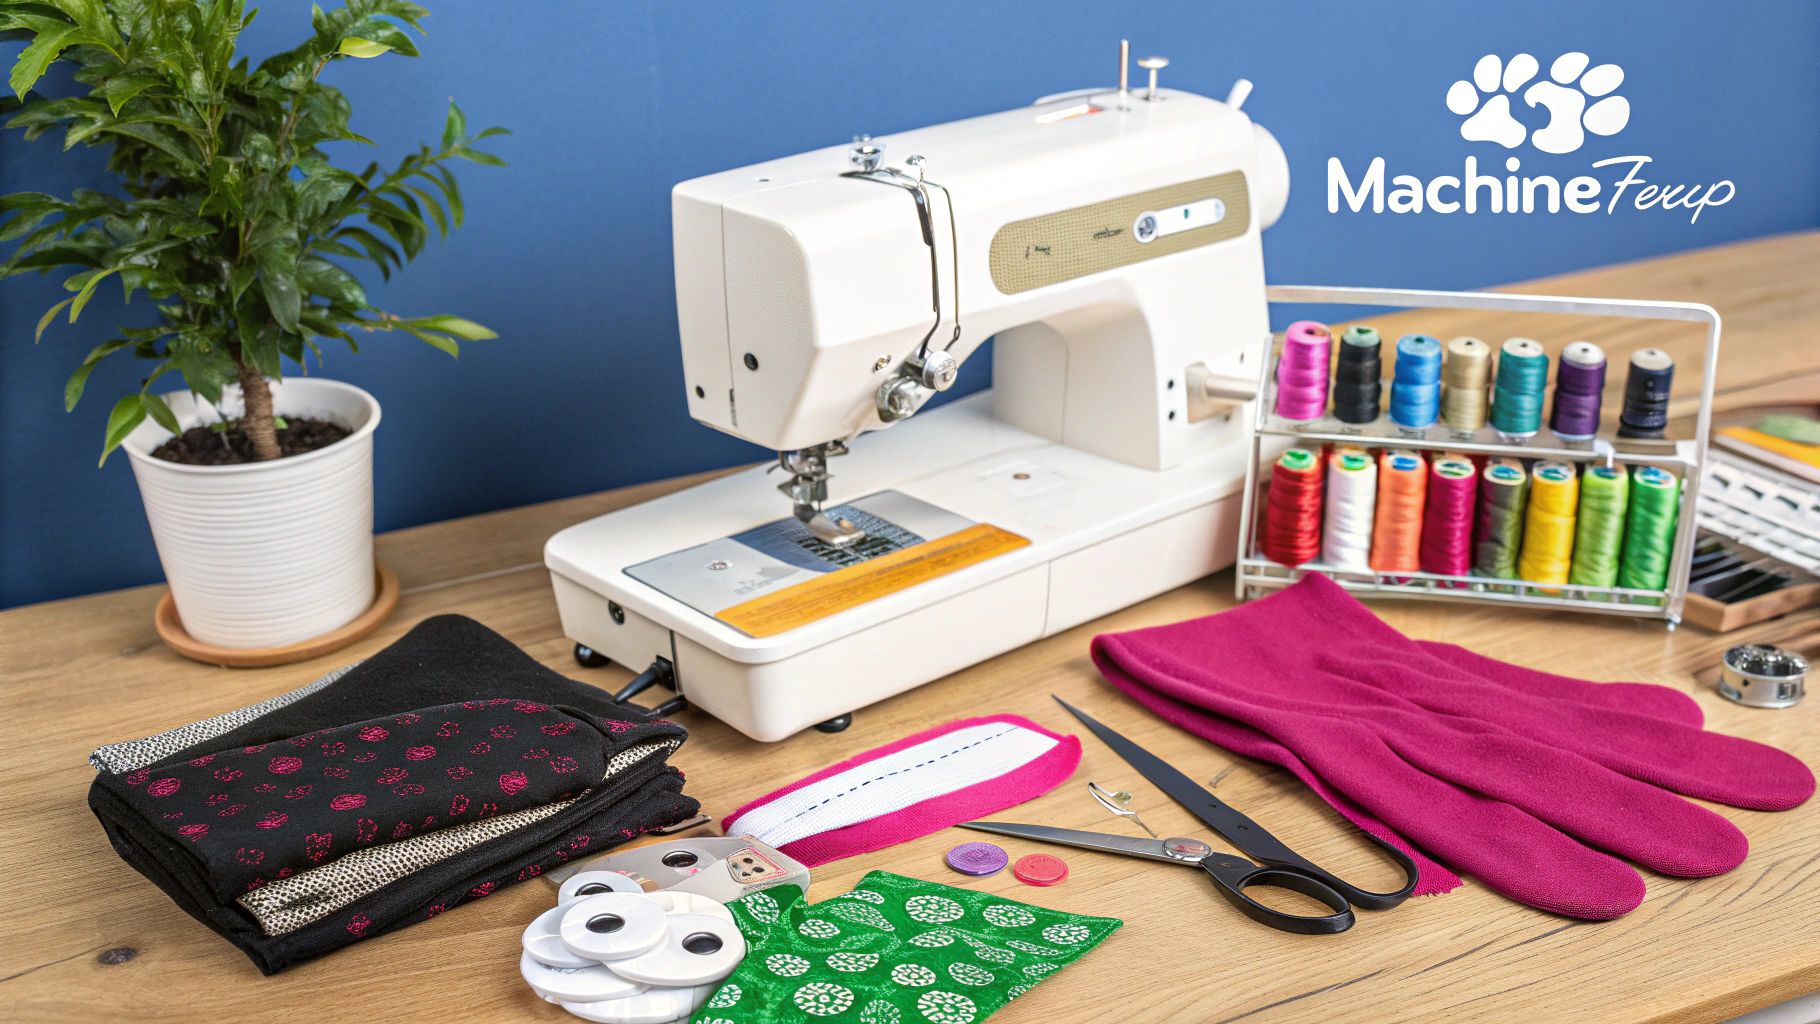
Essential Tools for Success
You wouldn't try to paint a masterpiece with a toothbrush, right? Same idea here. Having the right accessories isn't just a suggestion; it’s what makes smooth, controlled free motion quilting possible.
-
A Darning or Free Motion Foot: This little guy is the absolute star of the show. Unlike a standard presser foot that pins your fabric down, this foot "hops" with every stitch. This gives you the freedom to move your quilt sandwich in any direction—forward, backward, sideways, you name it. Without this foot, you’re just not doing free motion quilting.
-
Quilting Gloves: They might seem like a small thing, but trust me, they make a huge difference. Gloves like Machingers give you just the right amount of grip to guide your quilt sandwich without a death grip. This means less hand fatigue and way more control over your stitches.
-
The Right Needle and Thread: Always, always start with a fresh needle! A size 90/14 Quilting or Topstitch needle is a great all-rounder. Pair it with a high-quality thread from a brand like Superior Threads, and you'll dramatically cut down on annoying breaks and shredding.
Here at Linda's, we have all the essential feet, needles, and threads you need to get set up for success and finish your project beautifully.
Calibrating Your Sewing Machine
Got your tools? Great! Now it's time to tell your machine what's happening. These simple adjustments are what officially put the "free motion" into free motion quilting.
The goal is to take away the machine's control over fabric movement and stitch length, handing that creative power entirely over to you. This is the crucial step that shifts you from a machine operator to a thread artist.
These three steps are totally reversible, so don't worry—you can easily switch back to regular sewing whenever you want.
- Lower the Feed Dogs: The feed dogs are those little metal teeth under your needle that usually pull the fabric through. We don't want them pulling anymore! Find the switch or lever on your machine to drop them out of the way. If you're not sure where it is, your machine's manual is your best friend.
- Set Stitch Length to Zero: Since you're now in charge of how long the stitches are based on how you move the fabric, you need to set your machine's stitch length to "0". This is a belt-and-suspenders move that ensures the machine isn't even trying to move the fabric.
- Adjust Your Tension: You’ll likely need to lower your top thread tension a smidge. The sweet spot is when the top and bottom threads meet perfectly in the middle of your quilt sandwich. Always stitch on a small practice scrap first to dial it in!
The good news is that most modern home sewing machines can handle this with ease. If you're thinking about a new machine, you might find some helpful advice in our guide on deciding on a sewing machine to match your quilting goals.
Mastering Your First Free Motion Stitches
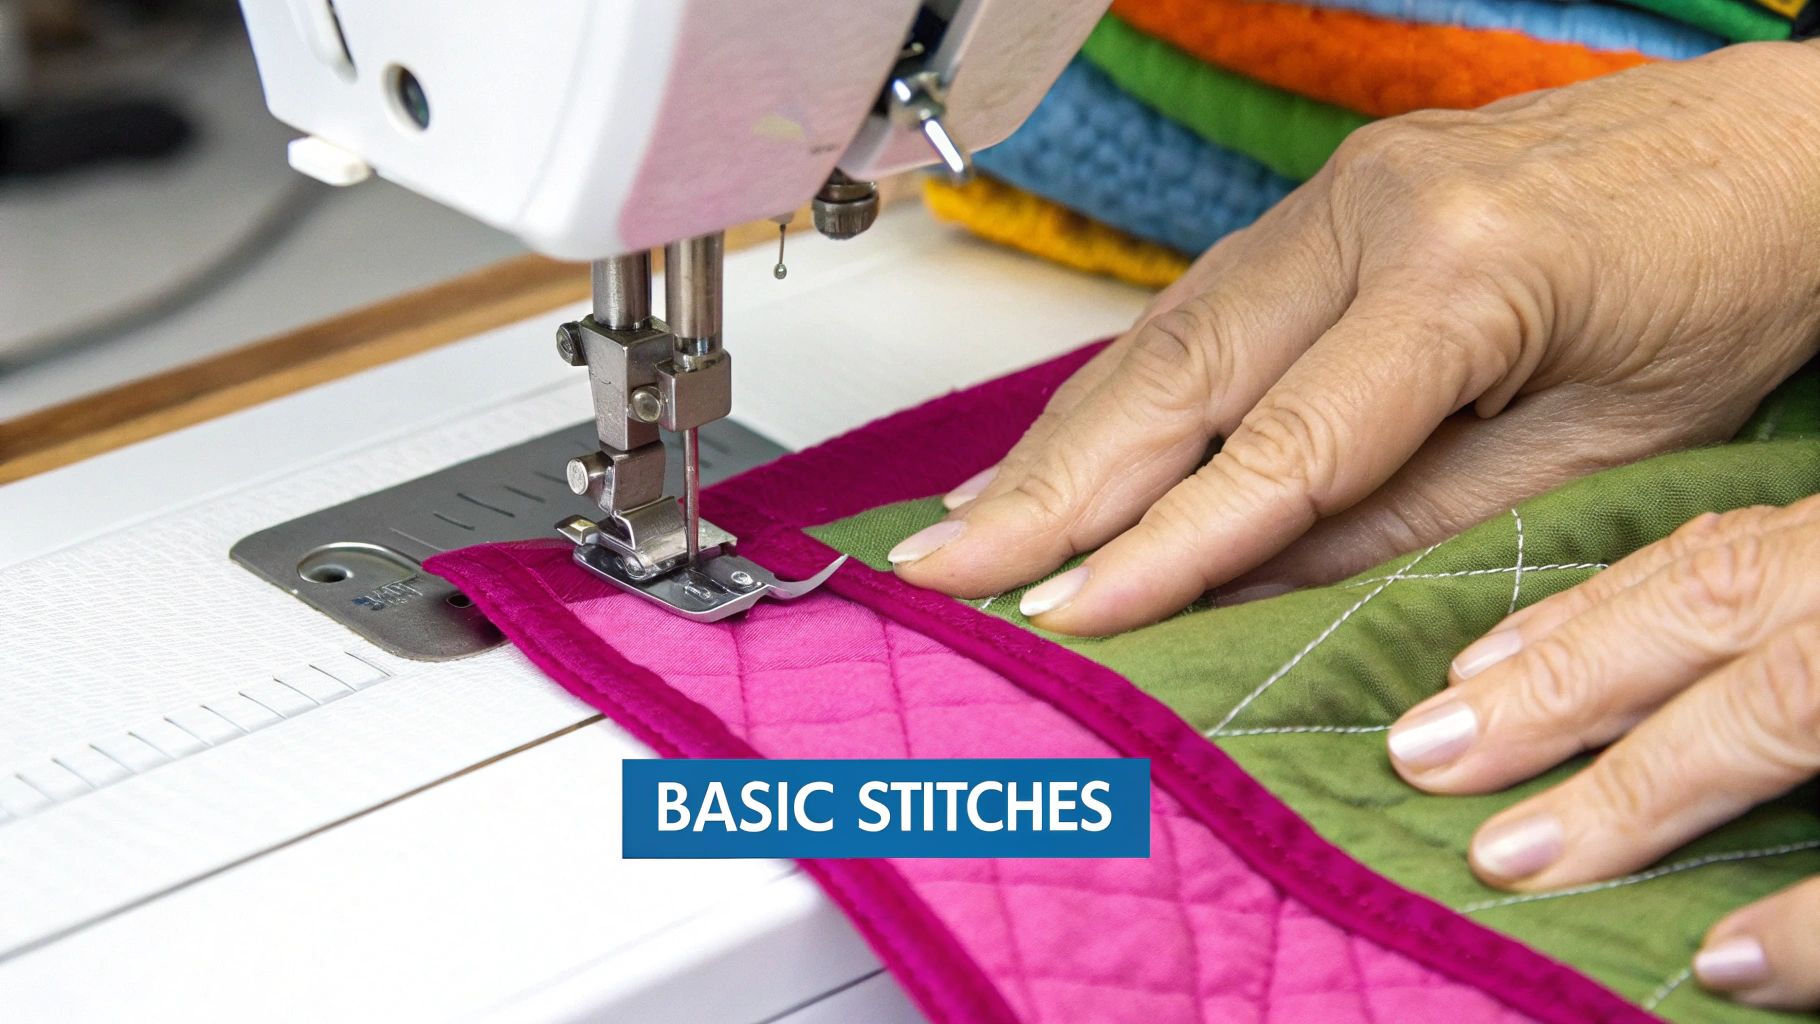
Alright, this is where the real fun begins. With your machine all set up, it’s time to put that thread to fabric and find your free motion quilting rhythm.
The goal right now isn't perfection. It's all about building that connection between what your hands are doing, what your foot is doing, and how the machine responds.
Think of it like learning to ride a bike. You're going to feel a little wobbly and uncoordinated at first, but with practice, the movements start to click. Pretty soon, you'll be cruising along without even thinking about it.
Creating Your Practice Canvas
Before you even think about bringing your beautiful quilt top near the needle, you need a low-stakes way to practice. This is where the mighty "quilt sandwich" comes in. It’s just a mini version of your actual quilt, and it's perfect for warming up and finding your groove.
Making one is a piece of cake:
- Grab two scrap pieces of fabric for your top and backing. Something around 12x12 inches is a great starting size.
- Cut a piece of batting to the same size.
- Layer them up: backing fabric (wrong side up), your batting in the middle, and the top fabric (right side up).
- Pin it! Use a few safety pins to secure the layers so nothing shifts while you're stitching.
This little sandwich is your playground. It’s the place to experiment, make all the "oops" stitches, and build the muscle memory you need to tackle bigger projects with confidence. I always recommend making a few of these so you always have one ready for a quick warm-up session.
Finding Your Rhythm and Flow
The biggest hurdle in free motion quilting is syncing up two things: the speed of your hands moving the fabric and the speed of the needle. This coordination is what determines your stitch length.
If your hands move too fast while the needle is slow, you get long, gangly stitches. Move your hands slowly with a fast needle, and you’ll get tiny, bunched-up stitches.
The secret is finding a comfortable, steady pace for both your hands and your foot on the pedal. Don't stress about perfect stitches right away. Instead, just focus on making smooth, fluid movements. Pretend you're writing in cursive—the idea is to keep moving without jerky stops and starts.
Start with simple patterns that build confidence. Meandering lines (often called stippling) and big, loopy swirls are fantastic for beginners. They’re forgiving and get you comfortable with moving the fabric in every direction. Don't worry if you cross over your lines! Just keep stitching and feel the flow.
As you get more comfortable, a tool like a Stitcher's Friend can be a huge help for keeping your spacing consistent. It's a handy little guide that helps your lines stay even as you build your skills, and you can learn more about using on our blog.
Here at Linda’s, we have all the high-quality threads and batting you'll need to make your practice sessions productive and your final projects absolutely stunning. So go ahead—grab some supplies, whip up a practice sandwich, and start your free motion adventure today.
Exploring Beginner-Friendly Quilting Designs
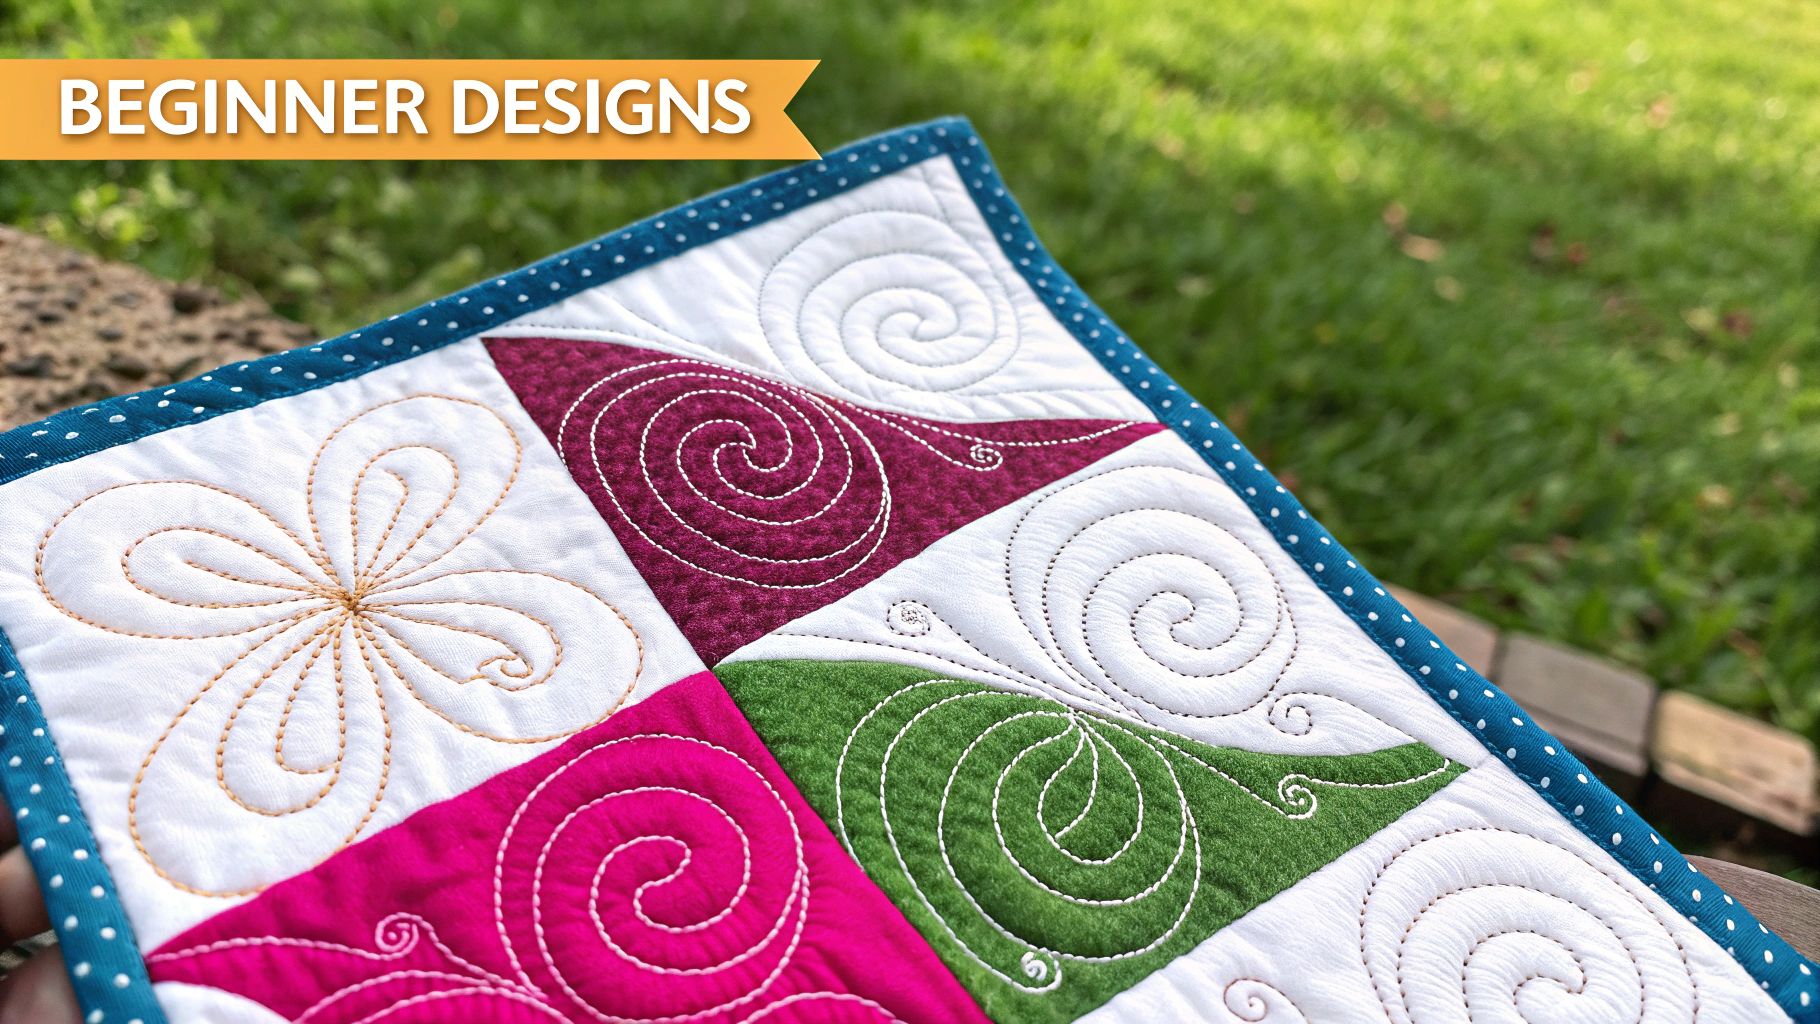
Alright, once you've gotten the hang of moving the fabric and you're feeling more comfortable, a whole new world of creativity starts to open up. The real magic of free motion quilting is that you don't need to be a seasoned pro to create some seriously stunning textures.
It all boils down to simple, repeatable shapes. They’re the secret sauce, the building blocks for beautiful quilting. Now’s the time to graduate from those practice loops and really start thinking like an artist with a needle and thread.
Let’s dive into a few go-to designs that are perfect for beginners but look fantastic on any quilt, whether your style is modern, traditional, or somewhere in between.
The Power of Simple Shapes
You are going to be shocked by how a few basic shapes, repeated and combined, can fill up your quilt top. A few well-stitched, simple designs will give you a polished, professional finish. Remember, the goal here is consistency, not complexity.
Here are a few versatile patterns to get you going:
- Pebbles and Circles: This one is all about stitching circles of different sizes, either right next to each other or slightly overlapping. It’s absolutely fantastic for filling in those smaller, tighter areas and gives your quilt an incredible bumpy texture. Just imagine you're filling a jar with marbles—keep adding circles until the space is packed!
- Swirls: A classic for a reason. Swirls are flowy, elegant, and way easier to master than you might think. Just start in the center and spiral your way out, then travel over to a new spot and do it again. They’re incredibly forgiving and are my go-to for covering larger areas quickly.
- Basic Floral Motifs: Don't let the word "floral" scare you off! A simple flower can be as easy as a few connected loops for petals around a small center circle. You can scatter these across a block or even link them together to create a wandering vine for a border.
Making Your Practice Count
As you’re trying out these new designs, I recommend using a thread that really pops against your practice fabric. Grabbing a high-contrast thread from Linda's collection makes it super easy to see how consistent your stitches are and lets you literally see your progress.
The goal isn't just practice; it's productive practice. When you turn those practice sandwiches into a little gallery of different designs, you're not just building muscle memory—you're creating your own visual library to reference for future quilts. It transforms a simple practice piece into a work of art.
This approach keeps things fun and seriously rewarding. You get to watch your skills improve in real-time, and that confidence boost is exactly what you need before tackling your first full quilt top.
If you're looking for the perfect project to try out your new moves, check out this free quilt pattern for beginners—it’s a great way to show off what you've learned.
Adapting Designs for Your Quilt
One of the absolute best things about these beginner-friendly designs is how flexible they are. You can use the exact same swirl pattern, just stitch it tiny to fill a skinny one-inch sashing, or blow it up to cover an entire quilt block.
This scalability is what makes free motion quilting such a game-changer. You could fill the background of an appliqué block with tight pebbles and then stitch big, open swirls in the border. This creates a wonderful mix of textures that makes the whole quilt feel more alive and dynamic. The best part? The choice is completely yours, letting you put your personal stamp on every single project.
Solving Common Quilting Frustrations
Let's be honest—every single quilter, no matter how long they've been at it, has had a moment of pure frustration with their sewing machine. It’s practically a rite of passage! When you're just starting out with free motion quilting, hitting these little roadblocks is a totally normal part of the learning curve.
The real trick isn't avoiding problems, but knowing how to fix them quickly so you can get back to the fun part without losing that creative spark. Think of this guide as your go-to friend for deciphering what your machine is trying to tell you.
Diagnosing Common Issues
Most of the time, free motion quilting headaches come from just a few usual suspects. Before you get discouraged and think about throwing in the towel, just run through a quick mental checklist. Is my machine threaded right? Is the needle fresh? Is the tension happy? It's amazing, but probably 90% of issues can be traced right back to these simple things.
Often, the problem isn't you—it's just a tiny mechanical hiccup. A quick adjustment is usually all it takes to get those stitches looking gorgeous again.
Understanding why a problem is happening is the first step toward preventing it in the future. Learning to "listen" to your machine will make you a more confident and intuitive quilter.
To help you get back to quilting faster, we’ve put together a handy little table to sort out the most common frustrations.
Quick Troubleshooting Guide for Free Motion Quilting
When your machine starts acting up, don't panic! This chart is a quick reference for diagnosing and fixing the most common issues that pop up when you're free motion quilting. Find your problem, check the cause, and try the solution.
| Problem | Common Cause | Solution |
|---|---|---|
| Thread Nests (Bird's Nests) | The machine was threaded with the presser foot down, or your top tension is way too loose. | Completely re-thread your machine. The key is to make sure the presser foot is up so the tension discs can grab the thread properly. |
| Skipped Stitches | A dull, damaged, or wrong-sized needle is almost always the culprit here. | Pop in a fresh 90/14 Quilting or Topstitch needle. Double-check that you've inserted it all the way up and facing the right direction. |
| Fabric Puckering | You're moving the fabric too fast for your machine speed, or the tension is off. Sometimes the quilt top itself has extra fullness. | Try to slow down your hand movements to match your stitching speed. You can also try reducing the top tension just a bit. |
| Thread Breaking or Shredding | Cheap thread is a common cause! It could also be the wrong needle for your thread or the tension is cranked too high. | Switch to a high-quality thread from a brand like Superior Threads. Make sure your needle eye is large enough for the thread you're using. |
With these quick fixes in your back pocket, you’ll be ready to tackle just about anything your machine throws at you.
One more thing on puckering—sometimes the issue starts before you even sit down to quilt. If a quilt top isn't perfectly square, that extra fabric has to go somewhere, and it often turns into puckers. To learn how to handle this from the get-go, check out our guide on what to do when your quilt top is not square. A great foundation makes for much smoother quilting
Taking Your Quilts From Functional to Fabulous
Free motion quilting is where the real magic happens. It’s that final, creative step that takes your project from a simple, well-made blanket to a true piece of art. This is where you get to inject your personality, tell a story, and add a texture that’s all your own. You're moving past just finishing a quilt and starting to bring it to life.
Every swirl, pebble, or meandering line you stitch adds a layer of depth and character that you just can't get any other way. Think of it as your creative signature, as unique and personal as your own handwriting. It’s what transforms a beautiful quilt top into a cherished heirloom, a piece that has your stamp on it, forever.
The Art of Personal Expression
For a long time, quilting was purely a practical craft. The arrival of sewing machines back in the 1870s certainly sped up the piecing process, but quilting designs themselves were pretty much stuck in straight lines. It wasn't until the big quilting revival in the late 20th century that quilters really started pushing the boundaries, using free motion techniques to create the incredible, flowing designs that helped establish quilting as a genuine art form. You can dive deeper into this fascinating journey from necessity to artistry in quilting history.
Now, it's your turn to carry on that tradition of expression. Free motion quilting is the key that unlocks a world of creative potential, letting you add movement, emotion, and life to your fabric canvas.
Think of it this way: your quilt top is the story, and your free motion quilting is how you choose to tell it. You control the tone, the emphasis, and the feeling, making every project a testament to your creativity.
With the know-how from this guide and the right tools in your hands, you're all set to start your own quilting adventure. It's time to take your projects from simply functional to truly fabulous.
Ready to start your journey? Explore the amazing selection of quilting threads, darning feet, and premium fabrics at Linda's today. We have everything you need to finish your project beautifully and with confidence.
Your Top Questions About Free Motion Quilting Answered
Even after getting the hang of the basics, a few questions always seem to pop up. Let's tackle some of the most common ones so you can feel confident and excited to get started on your next masterpiece.
Do I Need a Special Sewing Machine?
Nope, not at all! The good news is that most modern home sewing machines are more than capable of free motion quilting. You definitely don’t need to rush out and buy a fancy, expensive model to start this creative journey.
The only two must-have features are the ability to lower or cover the feed dogs and a way to attach a darning or free motion foot. A bigger throat space is a nice bonus for large quilts, but it's certainly not a dealbreaker when you're just learning.
What Is the Hardest Part of Learning?
For most quilters dipping their toes into free motion for the first time, the biggest hurdle is getting your hands and feet to work together. It’s all about building that muscle memory to sync your hand movements with the speed of your machine to create beautiful, consistent stitches.
In free motion quilting, you are in complete control of the stitch length, not your machine. It feels a little strange at first, but practicing simple, repetitive motions like loops and meanders is the key to building that rhythm. Before you know it, the whole process will feel much more natural.
This is exactly why starting with a small practice quilt sandwich is so vital—it lets you build those skills in a totally low-pressure way.
Can I Quilt Without a Frame?
Absolutely! A quilting frame is a large piece of equipment used with specialized longarm machines. When you’re doing free motion quilting on your regular home machine, you don't use a frame at all.
Instead, your own two hands guide the quilt sandwich under the needle. This is where a good pair of quilting gloves becomes your best friend. They give you a much better grip on the fabric, which translates to better control and way less fatigue in your hands, arms, and shoulders as you stitch your designs to life.
Feeling inspired to start your free motion quilting adventure? At Linda's Electric Quilters, we have everything you need, from the perfect thread to the right machine foot, to bring your creative vision to life. Explore our amazing selection of quilting supplies at https://lindas.com and finish your projects with confidence.


