
There's nothing more frustrating than putting your foot on the pedal, excited to start a new quilt or garment, only to find a tangled mess of loops on the back of your fabric. We’ve all been there. That sinking feeling almost always points back to one thing: unbalanced thread tension.
Getting a handle on your sewing machine's tension is one of those skills that elevates your sewing projects from "homemade" to "handmade." It's the secret to strong, professional-looking stitches that last, ensuring your finished project is something you can be proud of.
Why Balanced Stitches Are Non-Negotiable
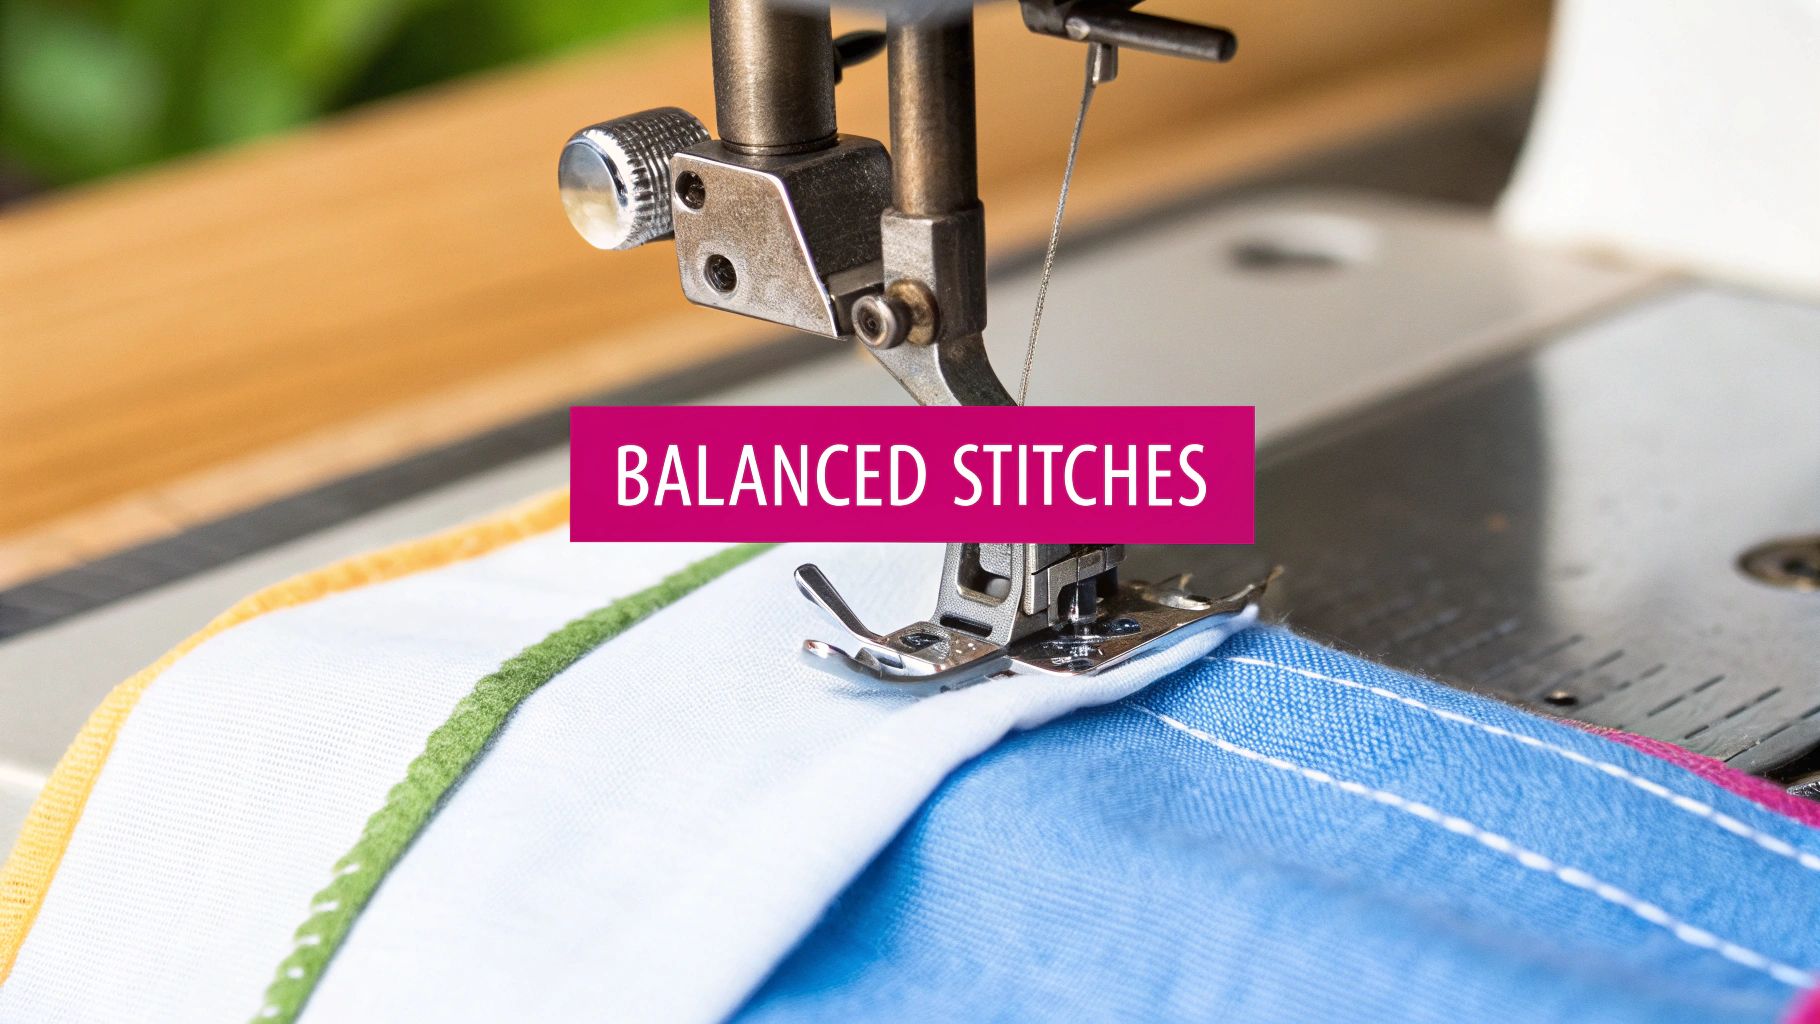
Think of your top thread and your bobbin thread as a team. For a perfect stitch, they need to meet right in the middle of your fabric layers and lock together in a tiny, perfect knot. This is what we call a balanced stitch, and it's the foundation of every great sewing project, from a simple tote bag to an intricate quilt.
When the tension is off, that teamwork falls apart.
If your top thread tension is too loose, you'll see ugly loops forming on the bottom of your fabric. If it's too tight, it yanks the bobbin thread right up to the top, creating a weak and puckered seam. Neither is a good look, and neither will hold up over time.
The Goal: Consistent, Strong Seams
Getting this balance right isn't just about aesthetics; it’s about durability. An unbalanced stitch is a weak stitch. It’s far more likely to snag, pull, or break, especially on items that get a lot of love and use, like clothing and quilts. Imagine spending hours on a beautiful quilt, only for the seams to pop!
The sweet spot is when that little "twist" where the threads lock is completely hidden between the layers of your fabric. When you nail this, your stitches will look identical on both the top and the bottom. That's the professional finish we're all after for our projects.
You’re not alone in chasing this perfect stitch. A survey found that over 70% of sewists say getting the tension right is absolutely essential for their work.
Mastering tension is a fundamental skill that applies across different fiber arts, too. For instance, you can see similar principles at play when understanding tension in crochet. Before we start twisting dials, let's first get a clear picture of what we're looking for. Knowing what to look for is half the battle.
How to Read Your Stitches Like a Pro

Before you even think about touching those tension dials, you have to play detective. Your sewing machine is always talking to you through its stitches, and learning its language is the secret to a quick fix. Don't just start cranking dials hoping for the best.
The easiest way to figure out what's going on is the two-color thread test. This little trick takes all the guesswork out of the equation. Grab a scrap of the fabric you’re using for your project, put one color thread in the needle and a completely different, contrasting color in the bobbin.
Now, just stitch a few straight lines and maybe a curve or two. Flip it over and take a good, hard look. The contrast between the threads makes it painfully obvious which one is acting up.
What Your Stitches Are Telling You
So you've sewn your test swatch. Now it’s time to see what it's saying. You're almost certainly looking at one of two common tension tantrums:
- Loops on the Bottom: If you see loops of your top thread color peeking through on the underside of your fabric, it's a dead giveaway. Your upper tension is too loose, and the bobbin thread is winning the tug-of-war, pulling that top thread right down.
- Bobbin Thread on Top: Seeing little specks or "eyelashes" of your bobbin thread color on the top side of your fabric? That means your upper tension is too tight. It’s yanking the bobbin thread up where it doesn't belong.
The goal is a perfectly balanced stitch. This is where the knot formed by the top and bottom threads gets buried neatly between the layers of fabric. You shouldn't be able to see the top thread on the bottom, or the bottom thread on the top.
This simple diagnostic step is your best friend. For more indispensable advice every sewist needs to complete their projects beautifully, check out our guide on becoming a Stitcher’s Friend. Taking a moment for this test saves you from a world of frustration on your real project.
Alright, now let’s talk about how to actually adjust that upper tension dial.
Making Friends with the Upper Tension Dial
That little numbered dial on your machine? It's the command center for your sewing machine tension adjustment. It might seem intimidating, but once you get the hang of it, you’ll be in complete control of your project's outcome. Just remember this simple logic: a higher number gives you a tighter top thread, and a lower number loosens it up.
The real secret is to go slow. Never, ever jump from a 3 to an 8 all at once. If you see those tell-tale loops on the bottom of your fabric, it means your upper tension is too loose. All you need to do is nudge the dial up by one number—say, from a 4 to a 5—and then stitch a new test line on your scrap. This gradual, one-step-at-a-time method is the key to avoiding frustration and overcorrection.
The Most Common Rookie Mistake
Okay, before you even think about touching that dial, there’s one non-negotiable step that trips up so many new sewists: always lift your presser foot.
Why? Lifting the foot actually opens up the tension discs inside your machine. This is what allows the thread to settle properly between them. If you try to adjust the tension with the presser foot down, the discs are clamped shut, and your adjustment won't take effect correctly. It’s a recipe for a headache you just don't need on your next project.
This little infographic is a great visual reminder of the right way to do things.
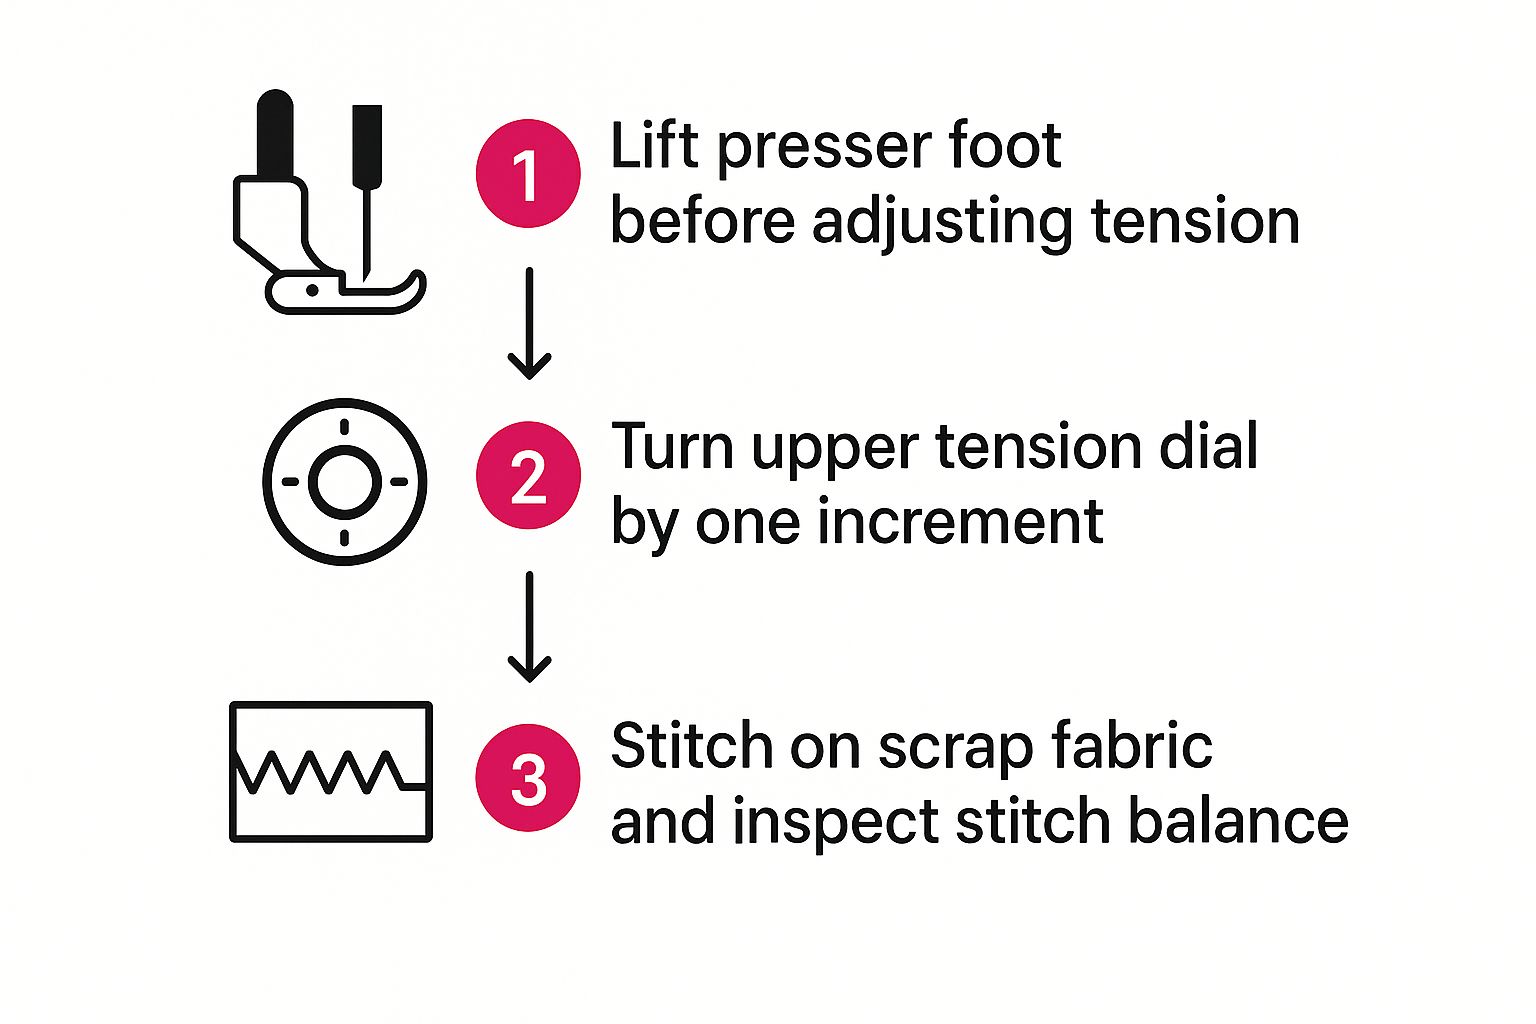
Stick to this sequence every single time, and you'll find your adjustments are far more predictable and effective. Soon enough, that dial will feel less like a mystery and more like your trusted partner for getting beautiful stitches.
It's also worth noting that the feel of a tension dial can vary a lot between machines, which is a small but important detail when you're looking for a new one. If you're curious about what's out there, you can browse through our sewing machine recommendations guide. By treating each adjustment like a quick experiment, you'll build the skill to dial in perfection on any project that comes your way.
When and How to Adjust Bobbin Tension
Let's be honest, touching the bobbin tension is something most of us avoid. And for good reason! Your machine's factory setting is usually spot-on for everyday sewing projects. But sometimes, a tiny tweak down below is the only thing that will get you that perfect, balanced stitch.
Think of it as your last resort. You should only head for the bobbin after you’ve already re-threaded the machine, popped in a fresh needle, and tried every possible adjustment on your upper tension dial. If you've gone through all those steps and your stitches are still off, it's time to brave the bobbin case.
Locating and Adjusting the Bobbin Screw
So, when would you actually need to do this? Specialty threads are the usual culprits. Think of those beautiful, thick decorative threads or the super-fine, lightweight ones you might use for techniques like free-motion quilting. If you're curious about that, our guide on what is free motion quilting really gets into how thread choice makes a difference in your project.
Once you're sure the bobbin is the problem, pop the bobbin case out of your machine. Take a close look and you'll spot a very small, flat-head screw on the side. That tiny screw is what we're after.
Pro Tip: Before you turn anything, grab a fine-tip permanent marker and make a tiny mark that lines up on both the screw and the casing. This is your "get out of jail free" card—it shows you the original factory setting so you can always go back.
The secret to adjusting bobbin tension is making incredibly small changes. Just remember the old phrase: "righty-tighty, lefty-loosey."
- To tighten tension (if bobbin thread is loopy on the bottom), give the screw a tiny turn to the right.
- To loosen tension (if bobbin thread is pulling top thread to the bottom), give it a tiny turn to the left.
I mean it when I say tiny—think an eighth of a turn, or even less. Make one small adjustment, put the bobbin case back in, and sew another test seam. Check your stitches, and repeat if needed. This slow and steady approach is what gives you total control, and honestly, it’s a skill that will take your sewing projects to the next level.
Common Problems That Mimic Bad Tension

So you've fiddled with the upper tension, messed with the bobbin, and your stitches still look off. It’s enough to make you want to throw the machine out the window.
But hold on! Before you get too frustrated, know that many common sewing headaches disguise themselves as tension problems when the real culprit is much simpler.
I've seen it a thousand times. The problem often has nothing to do with the settings at all. In my experience, running through a quick "pre-flight" checklist solves the problem 90% of the time without ever touching a single tension dial. This is a non-negotiable step in any proper sewing machine tension adjustment process.
Your Checklist Before Touching the Dials
Before you declare war on your tension settings, always check these three usual suspects first. You'd be amazed how often one of these is the real issue.
- A Worn or Incorrect Needle: A needle isn't a "forever" tool. If it's dull, bent, or even slightly damaged, it will cause skipped stitches and puckering that looks exactly like a tension problem. As a general rule, pop in a fresh needle after every 8-10 hours of sewing.
- Incorrect Threading: It happens to the best of us. You get distracted, miss a guide—it’s easy to do. Completely unthread your machine—both top and bobbin—and rethread it carefully. Make sure the presser foot is up!
- A Dirty Machine: You wouldn't believe the havoc a little lint can cause. Dust bunnies in the bobbin case or under the throat plate can mess with the thread path and ruin your stitches. A quick clean can honestly work miracles.
The simplest solution is almost always the right one. Get in the habit of checking your needle, threading, and machine cleanliness before you even think about adjusting tension. It will save you hours of headaches down the road.
Finally, don't underestimate the power of good supplies. Using high-quality thread and the right needle for your fabric isn't just a suggestion; it's fundamental. A quilting project, for instance, has very different needs, which is why a good guide to batting choices for passionate quilters can be so helpful.
To make sure your tools are never the problem, check out the fantastic selection of premium threads and Schmetz needles right here at Linda's. The right supplies are the foundation for perfect stitches, every time.
Your Sewing Machine Tension Questions Answered
Even after you get the hang of adjusting your sewing machine tension, some projects will throw you a curveball. Let's walk through a few of the most common questions we get from fellow sewists so you can get past those tricky spots and back to creating.
How Does Fabric Type Affect Tension?
The kind of fabric you're using makes a huge difference. For sheer, lightweight materials like chiffon or organza, you'll want to dial things back to a lower tension setting, usually around a 2-3. This prevents the delicate fabric from puckering up and keeps the fine thread from snapping.
On the other hand, when you’re wrestling with heavy-duty stuff like denim, canvas, or thick quilt sandwiches, you need to crank that tension up. A higher tension setting, maybe a 5-6, helps pull the thread lock right into the middle of those dense layers. Always, always test on a scrap of your actual project fabric first!
That little test swatch is your best friend. Don't just assume the factory default setting of "4" is going to cut it. Taking a moment to test and adjust for your fabric is what separates a frustrating afternoon from a beautifully finished seam.
Why Is My Thread Suddenly Shredding?
This is a classic! You're sewing along just fine, and then suddenly your thread starts fraying and breaking. It's incredibly frustrating, but it's rarely a tension problem.
Before you even think about touching that tension dial, check your needle. A dull, bent, or slightly burred needle is the number one culprit. It snags and tears at the thread with every single stitch. I make it a habit to change my needle for every new project, or at least after about 8 hours of solid sewing time.
You also want to make sure your needle and thread are a good match. Using a delicate thread with a needle that has a huge eye can cause it to slap around, creating friction that leads to shredding.
Getting a feel for these little details is all part of growing as a quilter. If you’re looking for more ways to level up your skills, our guide on essential quilt projects for every skill level is packed with ideas to build your confidence one project at a time.
Now that you have these answers in your back pocket, you're better equipped for whatever your next project throws at you. Of course, perfect stitches start with great supplies. For the high-quality threads, needles, and notions that make all the difference, explore the incredible selection at Linda's Electric Quilters. Shop our supplies now and give your projects the professional finish they deserve.


